3
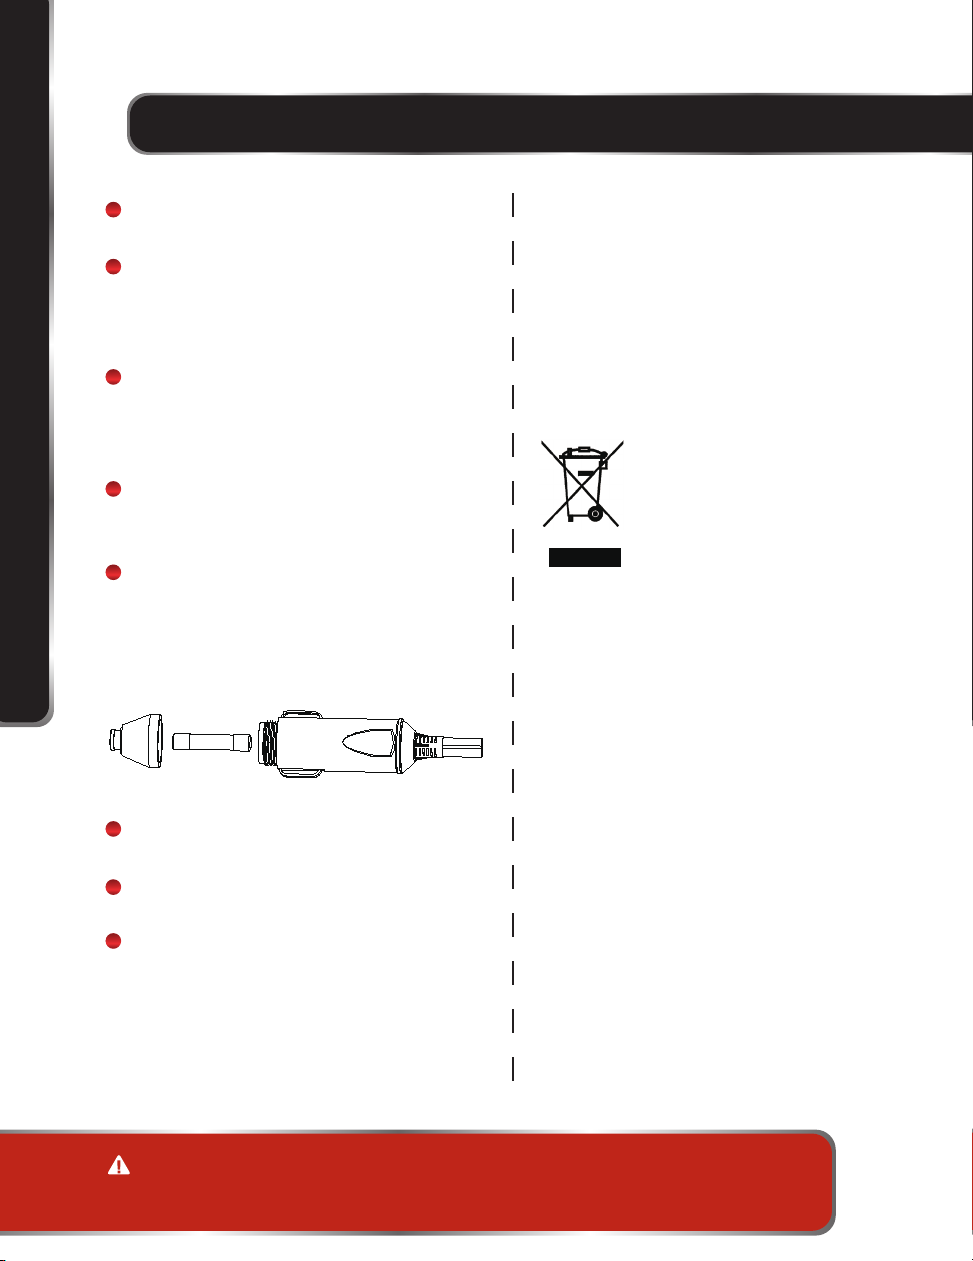
IMPORTANT
Pressure Pre-Set
OPERATION
The pre-set pressure is factory set at 45
PSI when manufactured.
To avoid over-inflation of tires, please check
the recommended car tire pressure in the
vehicle’s owner’s manual or on the vehicle
placard located in the driver’s door panel.
For bicycle tires, please check the tire
marking.
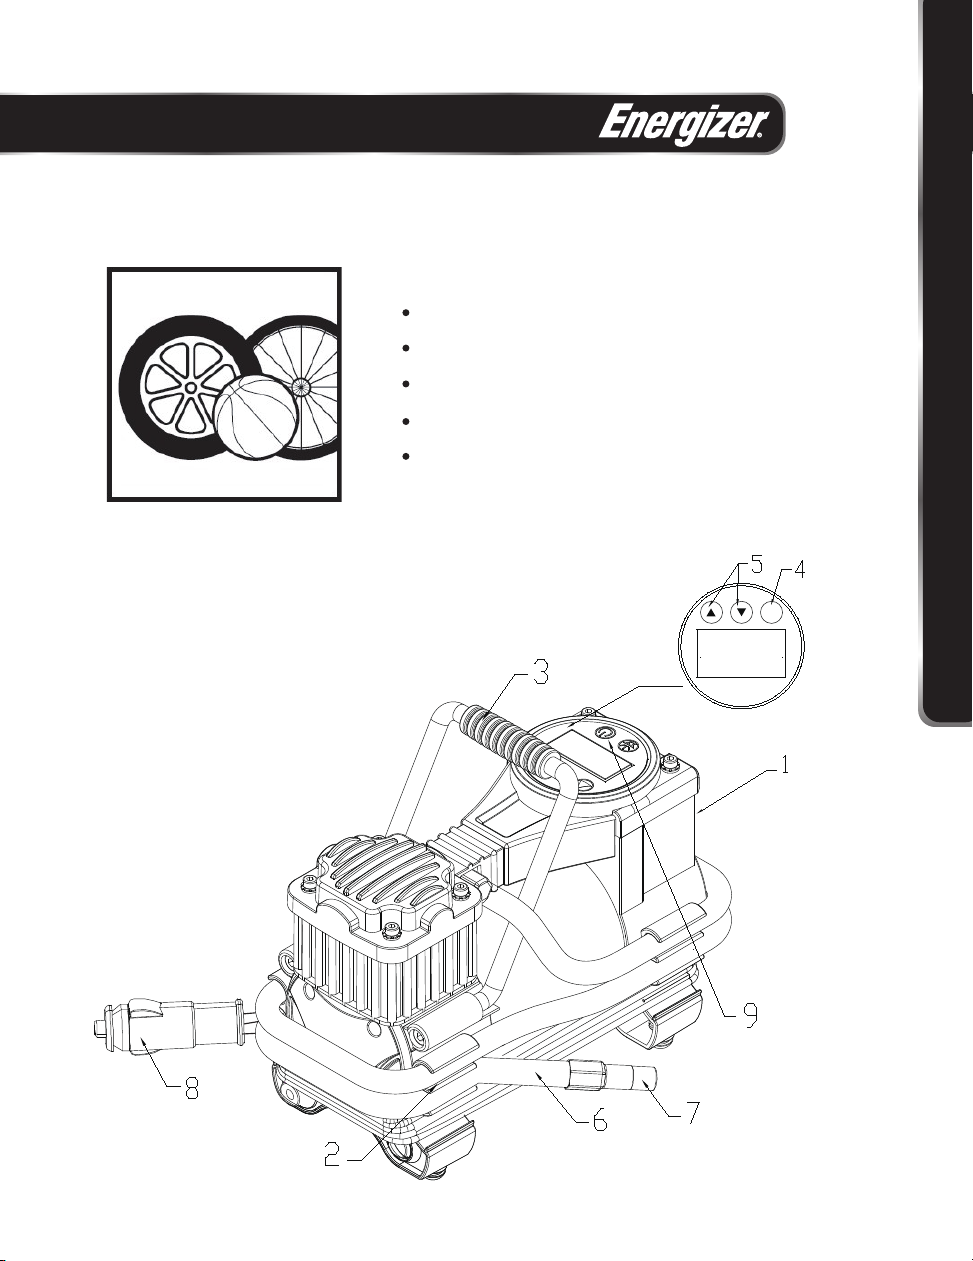
1
2
3
1
2
3
4
2
3
1
5
6
7
Press button ‘set’ for 3 seconds to
check the pre-set pressure. The
pre-set pressure is factory set at 45
PSI when manufactured.
Adjust your desired pressure by
pressing the buttons ▲/ ▼. Press
Button ▲to increase the pressure
and press Button ▼to decrease
the pressure. Once the desired
pressure is reached, the displayed
figure will flicker several times,
then return to 0.0 PSI. That means
the pressure is preset successfully.
The product is ready for inflating.
Press button ‘set’ to read gauge by
PSI/BAR.
Roll out the 12 V cord and connect the
12 V adaptor to the outlet.
Adjust to your desired pressure.
(Refer to Pressure Pre-Set)
Screw the thread connection onto
tire’s valve stem.
Move the On/Off switch to ‘I’ position
Inflating tires
NOTE
Inflating sports equipment and/or
small inflatables
Do not adjust the pressure setting when the unit is operating, which would cause the
unit to stop. If the unit stops due to changing the setting, turn the ON/OFF switch
to off, then restart the unit.
and the Compressor will begin to operate.
The Compressor will automatically shut
off once the pre-set pressure is reached.
Press LED button for visibility in the
dark. Move the On/Off switch to ‘I’
position to turn on LED. Move the On/Off
switch to ‘O’ position to turn off LED.
When car or bicycle tire’s pressure
reaches pre-set pressure, the air
compressor will stop automatically.
Remove the thread connection from the
tire and disconnect the 12 V car adaptor.
Roll out the 12 V cord and connect the
12 V adaptor to the outlet.
Screw the ball/balloon adaptor into the
thread connection.
Insert the ball/balloon adaptor into valve
of the object to be inflated.