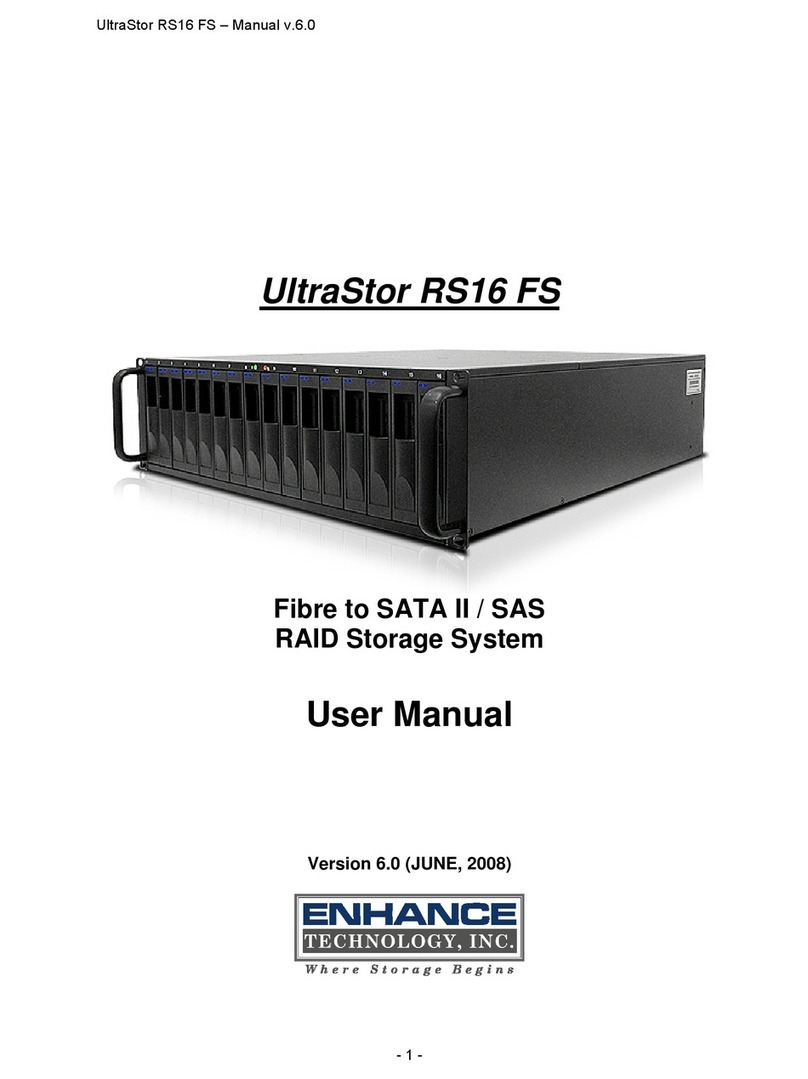
ENHANCE TECHNOLOGY RS8 HDS User manual

ENHANCE|TECHNOLOGY
www.enhance-tech.com
RS8 HDS Professional VideoRAID Storage
Installation Guide

RS8 HDS Professional VideoRAID Storage
Installation Guide

ENHANCE | Technology
© 2006 Enhance Technology, Inc. All rights reserved.
Under copyright laws, this manual may not be copied, in whole or in part,
without the written consent of Proavio.
Every effort has been made to ensure that the information in this manual is
accurate. Proavio is not responsible for printing or clerical errors.
Enhance Technology, Inc.
1221 Florence Ave. Santa Fe Springs, CA 90670
www.enhance-tech.com

Table of Contents
Welcome to HDS……………………………………………………………..…...1.0
Getting Started……………………………………………………………….……1.1
Getting to know your HDS............................................................................1.2
Hardware Installation………………………………………………………..……2.0
RAID Settings Configuration………………………………………………..……3.0
LCD Control Panel
Hyper terminal console guideline
Web GUI guideline
Storage Configuration………………………………………………………….…5.0
Advanced
Operation…………………………………………………………………………...7.0

1.0 Welcome to RS8 HDS
Thank you for choosing RS8 HDS, professional SATA-to-SCSI storage
solution designed for high resolution digital media production and general high
performance storage requirements.
Note: Your RS8 HDS storage solution features the latest in high-performance RAID
technology, including an advanced 64-bit X-Scale core processor, high-speed SATA-II disks,
cross-platform browser based management and next generation Ultra320 SCSI interface.
1.1 Getting Started with RS8 HDS
Getting Started with RS8 HDS
Before you begin, carefully remove any protective film from LCD panel and
system. Inventory each array to ensure all necessary components are
included. If you are missing any components, please contact your dealer for
immediate replacement.
System Includes:
•Two eight disk, rack-optimized video RAID storage systems
•Two external Proavio certified Ultra320 SCSI cables
•Two Ultra320 diagnostic SCSI terminators
•Two RS232 terminal cables, DB-9 interface
•Two slide-rail kits for rack-mount configuration
•Advanced user guide on CD
System Requirements:
•Host computer configured for desired application
•Qualified dual channel Ultra320 SCSI controller

1.2 Getting to Know Your RS8 HDS
This chapter provides basic system information needed to operate your new
RS8 HDS video arrays.
Note:
To learn more about re-configuring your HDS system, contact your local system dealer or call
Enhance Technology at (562) 777-3488
HDS Configuration Diagram
Note:
Each system is factory configured for “independent” RAID level-5 which offers maximum
performance & 100% media protection.

2.0 Hardware Installation
Before installing your new RS8 HDS system, please make sure that you have
properly installed a certified U320 SCSI adapter in your workstation. To learn
more about certified SCSI host adapters visit www.enhance-tech.com
Installation Procedures:
•Place the two RS8 HDS systems next to your Axio editing system.
•Connect a SCSI cable to the CHANNEL1 port (left) on the each system.
Do NOT connect to CHANNEL2.
•Terminate each system using the supplied U320 terminators
•Power-on both RS8 HDS systems and wait for array to completely
initialize. You will hear an audible beep when array initialization has
completed.
•Power-on your workstation

3.0 Re-Configuration Using LCD Panel
Note:
Both systems are then combined (striped) within the OS to appear as a single large VOLUME.
Data is written to and read across the two arrays, increasing format and frame size support.
Your HDS storage solution has been optimized & pre-configured at the factory
for RAID level-5 protection on each array. This section provides advanced
users with information on how to re-configure the storage.
There are four buttons to control LCM (LCD Control Module), including: c
(up), d(down), ESC (Escape), and ENT (Enter).
After the system boots up, the following screen will be shown on the LCM:
ENHANCE
UltraStor RS8
←
Press “ENT”, the LCM functions “Alarm Mute”, “Reset/Shutdown”, “Quick
Install”, “View IP Setting”, “Change IP Config” and “Reset to Default” will
be rotate by pressing c(up) and d(down).

3.1 LCD Control Panel Menu Flow
Alarm Mute
Select Alarm Mute to mute the alarm.
Reset/Shutdown
Select Reset to restart the controller without powering
down.
Select Shutdown to prepare controller for shutdown prior
to powering off.
Before powering off system, it is recommended to do
Shutdown from the controller to clear the data from
cache.
Quick Install
Select Quick Install to setup a RAID array from the
available drives. Please see Appendix for RAID level
definitions and minimum requirements for each RAID
level.
View IP Setting
Select View IP Setting to display current IP address, IP
subnet mask, and IP Gateway.
Change IP Config
Select Change IP Config to modify IP address, IP subnet
mask, and IP Gateway.
Reset to Default
↵
Reset to default will set password to default: 1234, and
set IP address to default.
Default IP address: 192.168.0.1
Default subnet mask: 255.255.255.0
Default gateway: 192.168.0.254

3.2 The following is LCD Panel Menu Hierarchy
[Alarm Mute] [cYes Nod]
[Reset] [cYes
Nod]
[Reset/Shutdown]
[Shutdown] [cYes
Nod]
Volume
Size
(xxxxxx
M)
Adjust
Volume
Size
Bus ID
(x)
Adjust Bus
ID
SCSI ID
(xx)
Adjust
SCSI ID
LUN
(x)
Adjust
LUN
[Quick Install]
RAID 0
(RAID 1/RAID 3/
RAID 5/RAID 6)
xxxxxx MB
Apply The
Config
[cYes
Nod]
[IP Config]
[Static IP]
[IP Address]
[192.168.000.001]
[IP Subnet Mask]
[255.255.255.0]
[View IP Setting]
[IP Gateway]
[192.168.000.254]
[DHCP] [cYes
Nod]
[IP
Address]
Adjust IP
address
[IP
Subnet
Mask]
Adjust
Submask
IP
[IP
Gateway]
Adjust
Gateway
IP
[Change IP
Config] [Static IP]
[Apply IP
Setting]
[cYes
Nod]
ENHANCE
Technology
cd
[Reset to Default] [cYes Nod]

3.3 Striping under Windows XP
Volume Configuration under Windows XP
•Right click on “MY COMPUTER” and select “MANAGE”.
•A new window will open named “COMPUTER MANAGEMENT. Click
on “STORAGE”,
and then select “DISK MANAGEMENT”.
Note:
Windows XP is up to 2 Terabytes and Windows Server 2003 can over 2 Terabytes.

•Each array will be displayed as a “NEW VOLUME”. Right click each
“NEW VOLUME” and select “CREATE DYNAMIC DISK” for each array
volume.
•Right click on each new DYNAMIC DISK and select “FORMAT”. From
the format options, select create a “striped set”. Select both volumes as
part of the stripe.
Continue the format process and assign the new SINGLE
LARGE VOLUME a name.
•

3.0 Re-Configure the RAID Controller – HyperTerminal RS232
RAID Settings & Configuration
Warning: The UltraStor RS8 RAID controller is configured, at the factory, for
RAID 5 and should NOT normally need to be changed. The procedure in this
chapter outlines the steps involved to restore the RAID settings should
anything happen to the factory default configuration and should be used
ONLY under such circumstances.
1. Connect the RS232 serial cable (supplied with your RS8 storage
system) to the RS232 Terminal Port
Connect the other end of this same cable to the COM1 port (DB-9
serial port) on your computer.
2. Install the HyperTerminal 6 utility that was supplied on your UltraStor
CD installation disk. Please contact Enhance Technology if are missing
the installation CD.

3. In the Windows Start menu, go to: Programs-Hyper Terminal Private
Edition. Click on Hyper Terminal Private Edition.lnk.
.
4. Enter a name for the new connection (eg. RS8 HDS) and press OK.
5. In the “Connect using:” list box, select COM1 and click OK.

6. You should now see the Port Settings dialog box. You should set the
parameters as show below and press OK.
Bits per Second: 115200
Data Bits: 8
Parity: None
Stop Bits: 1
Flow Control: None

7. In the main HyperTerminal Window, select: File -> Properties
8. In the Emulation list box (on the Settings Tab), choose VT100 and click
on OK

9. Enter the login name (admin) and password (1234) and press Enter
(Make sure Caps Lock is not on)
You should now see the RS8 configuration screen.

EnhanceRAID S-series Menu
Quick Install
Quick install Step1 / Step 2 / Step 3 / Confirm
System Config
System name Change Name
IP address DHCP / Static
SCSI Modify BUS Speed
Change Password Administrative password change
Change Date Date and time setting
Event log View event log
Volume Config
Physical disk Free disc / Global spares / Dedicated spares / Details
Volume group Create / Delete / Details / Rename / Migrate
User data volume Create / Delete / Attach LUN / Snapshot / Details /
rename / On/Off Line / Set read/write mode / Set
priority / Resize Snapshot space / Auto Snapshot
Cache Volume Create / Delete / Details / Resize
Logical unit Attach / Detach
Enclosure Management
SAF-TE config SAF-TE enable/disable
Voltage & View current voltage and temperature of system
Temperature
Maintenance
System Upgrade Remote upgrade firmware
System Info Current system firmware version
Reset to Factory Reset to Default
Default
Reset Controller Reset
Shutdown Reboot / Shutdown
Controller
Logout
Logout Logout of system menu

3.1 Quick install
Step 1: Select “Quick install” then choose the RAID level to set. After
choosing the RAID level, press “Enter”, it will show volume size and press
“Enter “again.
Step 2: Please select a number for each of them. Be careful to avoid the
conflict of SCSI ID at the same SCSI bus.
Step 3: Confirm page. Click “OK” if all setups are correct. Then a page with
the “User data volume” just been created will be shown as Figure 2.2.1

Note: LAB 64 Support?
→Please choose ”YES” if using OS such as Windows 64 bits, Windows Server 2003 SP1,
Linux kernel 2.6.x, FreeBSD 5.2.1 or latter.
→Please choose “NO” if SCSI speed down below Ultra 320 or OS doesn’t support 64 bits.
The block size will automatically be changed to 4KB, therefore the maximum capacity for a
single sub-system is up to 16TB. The trade-off is that this volume can not support Dynamic
Disk due to limitation in Windows OS.
Done. It can be used as a disk.
Table of contents
Other ENHANCE TECHNOLOGY Storage manuals
Popular Storage manuals by other brands
IBM
IBM System Storage DS5020 Installation, user's, and maintenance guide

Apricorn
Apricorn Upgrade Kit for iPod manual
QNAP
QNAP TVS-h 88X Series user guide
DANE-ELEC
DANE-ELEC SO MOBILE - DATASHEET 2 datasheet
Seagate
Seagate ST1.2 Series installation guide
HP
HP StorageWorks 2100 - Disk System user guide

Vestil
Vestil CYL-V Series Assembly & Maintenance Manual

Arrow Storage Products
Arrow Storage Products EG108AN Owner's manual & assembly guide
Synology
Synology DiskStation DS916+ Quick installation guide
MCE Technologies
MCE Technologies POWERBOOK G4 installation guide

ATON
ATON RA.Store-3 installation manual
Atmel
Atmel ATEVK525 Hardware user's guide
