How to Use This Guide
UsethisguidetoquicklysetupyourEnterasys®B5switch.
EnterasysNetworksrecommendsthatyourefertotheEnterasys
B5GigabitEthernetSwitchHardwareInstallationGuidefor
specificationsandsafetywarnings.
ThelatestB5documentationislocatedat
www.enterasys.com/support/manuals.
Hardware Components
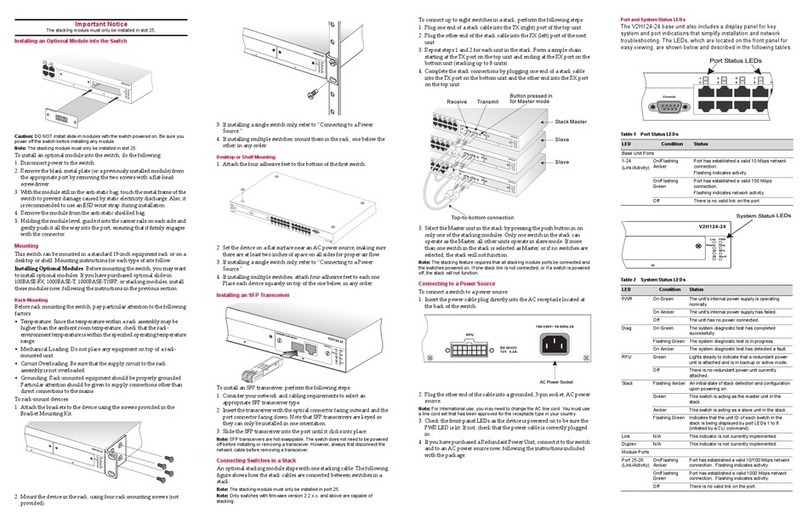
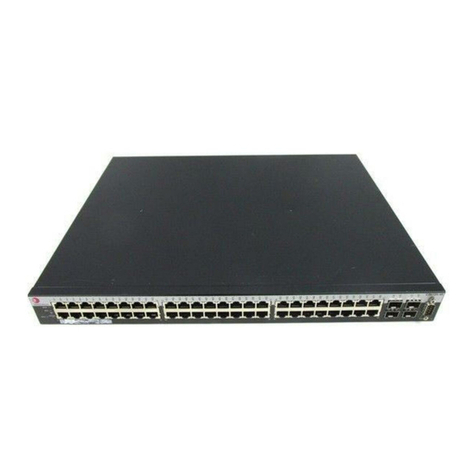
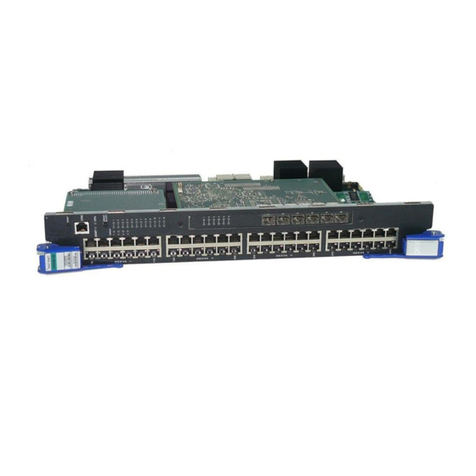
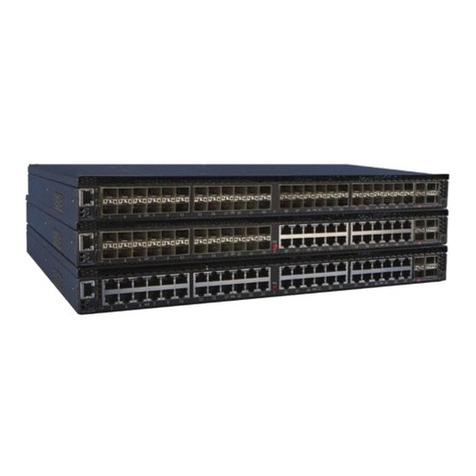
Thefollowingfiguresshowtheseveraltypesoffrontpanelport
andrearpanelconnectionsonyourB5switch.
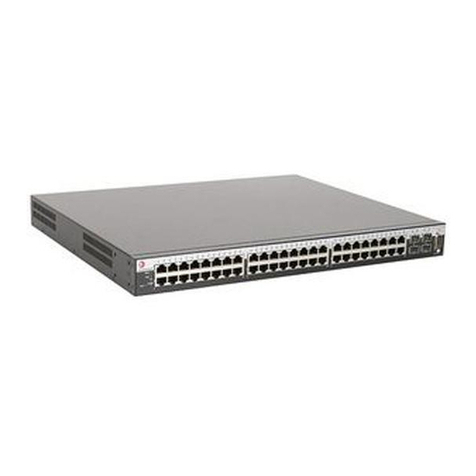
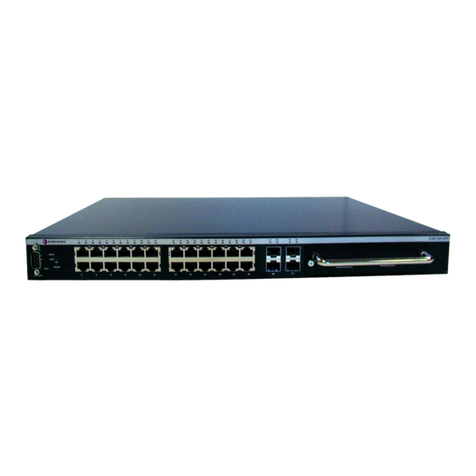
Figure 1 B5 Switch Front Panels
B5G124-24, B5G124-24P2
B5G124-48, B5G124-48P2
B5K125-24, B5K125-24P2
B5K125-48, B5K125-48P2
Figure 2 B5 Switch Back Panels
Non-PoE B5 Switches
PoE B5 Switches
Key
1Switch status LEDs 8Console port
2RJ45 10/100/1000 Mbps ports 9Stack connection ports
3SFP slots 10 Rotary switch
410G slots 11 Password reset button
5RJ45 status LEDs 12 AC power input connector
6SFP port status LEDs 13 Redundant power supply
710G port status LEDs (RPS) connector
Handling the Switch
Topreventelectrostaticdamage,attachanelectrostaticdischarge
(ESD)wriststraptoyourwristbeforehandlingtheswitch.
Unpacktheswitchasfollows:
1. Removethepackingmaterialprotectingtheswitch.
2. Removethetapesealonthenon‐conductivebagtoremovethe
switch.
3. Performavisualinspectionoftheswitchforanysignsof
physicaldamage.ContactEnterasys Networksifthereareany
signsofdamage.See“GettingHelp”formoreinformationon
contactingEnterasys Networks.
Stacking Switches
UptoeightB5switchescanbestackedtogetherandconnectedby
high‐speedstackingcables,whichallowtheentirestacktooperate
withasingleIPaddress.
TheB5supportsthefollowinghigh‐speedstackingcablesonly,
whichyoumustorderseparately:
•STK‐CAB‐SHORT
•STK‐CAB‐LONG
•STK‐CAB‐2M
•STK‐CAB‐5M
Forcompleteinformationaboutstacking,refertotheEnterasysB5
GigabitEthernetSwitchHardwareInstallationGuide.
Connecting Power to the Switch
Youcanconnecttoasingle,primarysourceofpower,ortotwo
sourcesofpowerforredundancy.Theexampleusedhere
describesconnectingtotwopowersources.
Thefollowingredundantpowersuppliesareavailabletobe
purchasedfromEnterasys NetworksforconnectiontoaB5
switch:
•STK‐RPS‐150PS,a102‐156wattDCpowersupplycapableof
providingpowertoafully‐loadednon‐PoEswitch.
•STK‐RPS‐500PS,a500wattDCpowersupplyrecommended
forfullPoEcapability.
Topower‐upyourB5switch:
1. Attachthepowercordfromyourredundantpowersupply
intotheB5switch’sredundantpowerreceptacle.
2. AttachtheACpowercordtotheB5switch’sACpower
receptacle.
3. PlugtheredundantpowersupplyandtheB5switchAC
powercordsintodedicated,groundedACoutlets.
4. Oncepowerisconnected,verifythattheCPU(system)LED
turnsamberuntiltheB5switchfinishesitsinitialization.
Iftheinitializationprocessissuccessful,theCPULEDturnsgreen.
IftheCPULEDdoesnotturngreen,refertotheEnterasysB5
GigabitEthernetSwitchHardwareInstallationGuidefor
troubleshootinginformation.
Caution: The switch can be damaged by electrostatic discharge.
Note: You can stack a B5 switch only with other B5 switches.
Electrical Hazard: Only qualified personnel should perform
installation procedures.
Completing Switch Setup and Downloading the Latest
Firmware
OnceyouhaveconnectedpowertotheB5switchandverified
LEDactivity,youcancompletethesetupprocessasfollows.Refer
totheEnterasysB5GigabitEthernetSwitchHardwareInstallation
Guideformoreinformation.
1. DeterminethelatestB5firmwareversionbyvisitingthe
EnterasysNetworksdownloadsiteat:
http://secure.enterasys.com/services/support/downloads/software
2. Connecttheswitchtothenetwork.
3. Connectamanagementstationtotheconsoleport.
4. Verifythatthenetworkdevicesconnectedtotheswitchports
arepoweredon,andthateachlink/activityLEDison(solid
greenorblinkinggreen).
5. Atthedeviceconnectedtotheconsoleport,performthe
following:
a. EnteradminforUsername.
b. AtthePasswordprompt,pressENTER(RETURN).
c. Atthecommandprompt,determineifthelatestfirmware
imageisloadedontheswitchbyenteringthiscommand:
show version
d. Iftheoutput(underFWVer si on )displaysanolderversion
numberthanthatdeterminedinstep1,downloadand
activatethenewversionasdirectedonthedownload
website.(Alternatively,youcanusetheCLIcommands
listedinTable 1.)
Basic Setup Commands
Table 1listsCLIcommandsthatarerequiredforsettinguptheB5
switchwiththelatestfirmware.Table 2listsadditional
configurationcommandsforyourB5switch.Forthecompletelist
ofCLIcommands,seetheEnterasysB5CLIReference.
Table 1 Required CLI Setup Commands
Step Task CLI commands
1Set a new password set password [username]
2Set the switch IP address set ip address ip-address
[mask ip-mask] [gateway
ip-gateway]
3Download, activate, and
verify new firmware on the
switch using TFTP copy
Note: You can reboot the
system immediately with the
set boot system
command, or reboot later
with the reset command.
copy
tftp://tftp_server_ip_address/
filename system:image
set boot system filename
show version
Table 2 Optional CLI Setup Commands
Task CLI commands
Save the active configuration save config
Enable or disable SSH set ssh enable | disable
Enable or disable Telnet set telnet {enable | disable}
[inbound | outbound | all]
Enable or disable HTTP
management (WebView)
set webview {enable | disable}
Enable or disable SNMP port link
traps
set port trap port-string
{enable | disable}
Set the per port broadcast limit set port broadcast port-string
threshold-value
Configure a VLAN set vlan create vlan-id
set port vlan port-string
vlan-id modify-egress
Set a Syslog server IP and severity set logging server index
ip-addr ip-addr severity
severity state enable
Specifications
Foracompletelistofspecifications,seetheEnterasysB5Gigabit
EthernetSwitchHardwareInstallationGuide.
Interfaces
Switch Dimensions
Size: 44.1Wx4.4Hx36.85Dcm
17.4Wx1.7Hx14.5Din
Power Consumption
InputVoltage:100to240VAC
Temperature and Humidity
Operatingtemperature:0°Cto50°C
Storagetemperature:‐40°Cto+70°C
Operatingrelativehumidity:5%to95%
Getting Help
Configure and enable a RADIUS
server
set radius server index
ip-addr port [secret-value]
{realm {management-access |
any | network-access}
set radius enable
Table 3 B5 Interface Descriptions
B5G124-24 • 24 10/100/1000Base-T ports
• Four combo SFP ports
B5G124-24P2 • 24 10/100/1000Base-T 802.3af and 802.3at
PoE-capable ports
• Four combo SFP ports
B5G124-48 • 48 10/100/1000Base-T ports
• Four combo SFP ports
B5G124-48P2 • 48 10/100/1000Base-T 802.3af and 802.3at
PoE-capable ports
• Four combo SFP ports
B5K125-24 • 24 10/100/1000Base-T ports
• Two combo SFP ports
• Two 10G ports
B5K125-24P2 • 24 10/100/1000Base-T 802.3af and 802.3at
PoE-capable ports
• Two combo SFP ports
• Two 10G ports
B5K125-48 • 48 10/100/1000Base-T ports
• Two combo SFP ports
• Two 10G ports
B5K125-48P2 • 48 10/100/1000Base-T 802.3af and 802.3at
PoE-capable ports
• Two combo SFP ports
• Two 10G ports
World Wide Web www.enterasys.com/support/
Phone 1-800-872-8440 (toll-free in U.S. and Canada)
or 1-978-684-1888
To find the Enterasys Networks Support toll-free
number in your country:
www.enterasys.com/services/support/contact/
To expedite your message, type [Switching] in the
subject field of your message.
Latest image and
release notes
www.enterasys.com/services/support/downloads/
software/
Table 2 Optional CLI Setup Commands (Continued)
Task CLI commands
