manuals.online logo
Brands
  1. Home
  2. •
  3. Brands
  4. •
  5. ENVIO
  6. •
  7. Security Camera
  8. •
  9. ENVIO Luna Series User manual

ENVIO Luna Series User manual

Luna Series | IESS-PTZ308M
www.enviosecurity.com
IESS-PTZ308M
8MP 4K Speed Dome Network Camera
Main Features
•1 / 2.7” Black Light Illumination Cmos Sensor
•8Megapixel (3840x2160)
•Zoom 30X
•Maximum IR Led Distance more than 100m
•Human Detect/Vehicle Detect/Videoanalysis
•Onvif 16.2
•H265AI/H265+ (Compatible with H265/H264
•6 High Power IR Leds (4 pcs Wide + 2 pcs Tele)
•IP65
•DC12V/ POE IEEE802.3af/3at
4. Configuration
Connect the camera to the router and insert the power cable (12V at least 3A). It is possible to power the camera via POE
(IEEE.802.3af/3at). Download the “Device Manager” software from the website www.enviosecurity.com and install it on your PC.
Once the software is open, press the “IP Search” button (1). Select the IP address shown by the software (2), and change the IP
address of the camera (3), taking care to enter an IP address having the same subnet as your router, enter the relevant network
mask and IP address of the gateway.
Finally, press the “Modify” button (4) to save the settings. The software will display a “modification successful” message.
5. Login
Open your Internet browser (such as Chrome, Edge, Opera, Firefox etc.).
In the address bar of your browser, enter the IP address of the camera http://192.168.1.10. Allow you to download the
Enter your login credentials:
user: admin
password: (no password
For the complete manual visit the web page
www.enviosecurity.com
Technical Specification
System
Embedded RTOS,dual-core 32bit DSP(NT98566),pure hard compression
,watch dog
Image Sensor
8.0M 1/2.7" Black light illumination CMOS sensor CMOS Sensor
Video compression H.265AI/H.265+(Compatible with H.265/H.264)
Minimum
Illumination
color 0.0001Lux@F1.2, black/white 0.0001Lux@F1.2
IR Distance More than 100m
IR On/Off Control Auto / Manual
LEDs 6 High Power IR Led (4pcs Wide + 2 pcs for Tele)
Lens Type Motorized Varifocal
Focal Length 4.7mm-94mm (30X)
Angle of View 68,5°-4,2°
Focus Control Automatic
Resolution 3840*2160
Video Output
Main stream: 8MP 3840*2160@15fps
;5MP 2880*1616@25fps;4MP
2560*1440@25fps
;2MP 1920*1080@25fps;
S
ub-stream: 800*448@25fps;
Record N/D
Interface 1*RJ45 10/100M adaptive port;RTSP/FTP/DHCP/NTP/UPnP
ONVIF
16.2
Mobile Monitor XMEYE/XMEYE PRO (iOS,Adroid)
Detect Human Detect/Vehicle Detect/Video Analysis(Tri Wire, Intrusion area)
Noise Reduction 2D/3D
White Balance Auto / Manual
Audio Bidirectional
Power Supply 12V DC ±30% / POE IEEE802.3af/3at
Power Consumation Max 10W (Leds on and rotation)
IP Protection IP65
Housing
Metal (Alluminium)
Dimensions / Weight 222mm×136mm
1.
Warnings and precautions
Dear Customer, thank you for choosing one of our products whose correct use guarantees solutions of the highest quality
and reliability over time. This manual provides instructions for using the product.
2.
Connections
Connect the camera to the router and insert the power cable (12V at least 3A), or with POE (IEEE.802.3af/3at)
3.
Installation
Speed Dome cameras are equipped with a wall mounting bracket, specially designed to allow the passage of cables inside
and protect them from tampering attempts. The fixing base has a side slot for cable exit, if the cables come from outside.
The bracket must be fixed to the wall in a stable manner.
Luna Series | IESS-PTZ308M
www.enviosecurity.com
1
. Avertismente și precauții
Stimate Client, Va multumim pentru ca ati ales unul dintre produsele noastre a carui utilizare corecta garanteaza
solutii de cea mai inalta calitate si fiabilitate in timp. Acest manual oferă instrucțiuni de utilizare a produsului.
2. Conexiuni
Conectați camera la router și introduceți cablul de alimentare (12V cel puțin 3A). De asemenea,
puteți alimenta camera cu POE (IEEE.802.3af/3at)
3
. Instalare
Camerele Speed Dome sunt echipate cu un suport de montare pe perete, special conceput
pentru a permite trecerea cablurilor în interior și pentru a le proteja de încercările de manipulare.
Cu toate acestea, baza de fixare are și o fantă laterală de ieșire a cablurilor dacă cablurile vin din
exterior. Suportul trebuie fixat de perete într-un mod stabil.
4. Configurare
Conectați camera la router și introduceți cablul de alimentare (12V cel puțin 3A). Este posibilă alimentarea
camerei prin POE (IEEE.802.3af/3at). Descărcați software-ul „Device Manager” de pe site-ul web
www.enviosecurity.com și instalați-l pe computer.
Odată ce software-ul este deschis, apăsați butonul „Căutare IP” (1). Selectați adresa IP afișată de software (2) și
modificați adresa IP a camerei (3), având grijă să introduceți o adresă IP care să aibă aceeași subrețea ca și
routerul dvs., introduceți masca de rețea și adresa IP relevante a gateway-ului. .
În cele din urmă, apăsați butonul „Modificare” (4) pentru a salva setările. Software-ul va afișa un mesaj
„modificare reușită”.
5. Login
Deschideți browserul de internet (cum ar fi Chrome, Edge, Opera, Firefox etc.).
În bara de adrese a browserului, introduceți adresa IP a camerei http://192.168.1.10. Permiteți descărcarea pluginului
Envio VideoPlayTool.Instalați-l și reîmprospătați pagina.
Introduceți datele dvs. de conectare:
utilizator: admin parola: (fara parola)
Pentru manualul complet vizitați
www.enviosecurity.com
Per il manuale completo visitare la pagina web
www.enviosecurity.com
Inserire le credenziali di accesso:
user:admin
password: (nessuna password)
5. Login
Apri il browser Internet (come Chrome, Edge, Opera, Firefox ecc.).
Nella barra degli indirizzi del browser, inserire l'indirizzo IP della telecamera http://192.168.1.10.
Consenti di scaricare il plug-in Envio VideoPlayTool. Installalo e aggiorna la pagina
4.
Configurazione
Collegare la videocamera al router e inserire il cavo di alimentazione (12V almeno 3A). È possibile
alimentare la telecamera in POE (IEEE.802.3af/3at). Scaricare dal sito www.enviosecurity.com , il software
“Device Manager” ed installarlo sul pc.
Una volta aperto il software, premere sul pulsante “IP Search” (1). Selezionare l’indirizzo IP mostrato dal
software (2), e modificare l’indirizzo IP della telecamera (3), avendo cura di inserire un indirizzo ip avente
la stessa sottorete del proprio router, inserire la relativa maschera di rete e l’indirizzo IP del gateway.
Premere infine sul pulsante “Modify” (4) per salvare le impostazioni. Il software mostrerà un messaggio di
“modifica avvenuta con successo”.
1.
Avvertenze e precauzioni
Gentile Cliente, la ringraziamo per aver scelto uno dei nostri prodotti il cui corretto utilizzo garantisce
soluzioni di altissima qualità e affidabilità nel tempo. Questo manuale fornisce le istruzioni per l'uso del
prodotto.
2.
Connessioni
Collega la videocamera al router e inserisci il cavo di alimentazione (12V almeno 3A). Puoi anche alimentare
la cam con POE (IEEE.802.3af/3at)
3.
Installazione
Le telecamere Speed Dome sono dotate di una staffa per il montaggio a parete, appositamente studiata per
consentire il passaggio dei cavi al suo interno e proteggerli da tentativi di manomissione. La base di fissaggio
dispone però anche di un'asola uscita cavi laterale se i cavi provengono dall’ esterno. La staffa deve essere
fissata a parete in modo stabile.

This manual suits for next models

1

Other ENVIO Security Camera manuals

ENVIO Terra Series User manual

ENVIO

ENVIO Terra Series User manual

ENVIO WESS-BFM60500-DLM User manual

ENVIO

ENVIO WESS-BFM60500-DLM User manual

ENVIO AESS-BFM90H500ST User manual

ENVIO

ENVIO AESS-BFM90H500ST User manual

ENVIO AESS-DFP70H500 User manual

ENVIO

ENVIO AESS-DFP70H500 User manual

ENVIO Luna Series User manual

ENVIO

ENVIO Luna Series User manual

ENVIO Terra AESS-BVM75H500ST User manual

ENVIO

ENVIO Terra AESS-BVM75H500ST User manual

ENVIO Full Color Series User manual

ENVIO

ENVIO Full Color Series User manual

ENVIO WESS-BFM60500 User manual

ENVIO

ENVIO WESS-BFM60500 User manual

ENVIO Luna Series User manual

ENVIO

ENVIO Luna Series User manual

ENVIO Terra Series User manual

ENVIO

ENVIO Terra Series User manual

Popular Security Camera manuals by other brands

Security Labs SLD261 Specifications

Security Labs

Security Labs SLD261 Specifications

Ganz ZC-Y20PH instruction manual

Ganz

Ganz ZC-Y20PH instruction manual

Hitachi KP-FM500WCL Operation manual

Hitachi

Hitachi KP-FM500WCL Operation manual

Hi-view HD-1021IR user manual

Hi-view

Hi-view HD-1021IR user manual

Panasonic WV-CP290 series Specifications

Panasonic

Panasonic WV-CP290 series Specifications

ERNITEC DS-2CD6924G0-IHS quick start guide

ERNITEC

ERNITEC DS-2CD6924G0-IHS quick start guide

Swann SwannSecure NVW-470 Firmware update guide

Swann

Swann SwannSecure NVW-470 Firmware update guide

Sanyo VCC-4372P instruction manual

Sanyo

Sanyo VCC-4372P instruction manual

EverFocus True Day/Night user manual

EverFocus

EverFocus True Day/Night user manual

Mace Easy Watch EWIP-DOM-WIFI product manual

Mace

Mace Easy Watch EWIP-DOM-WIFI product manual

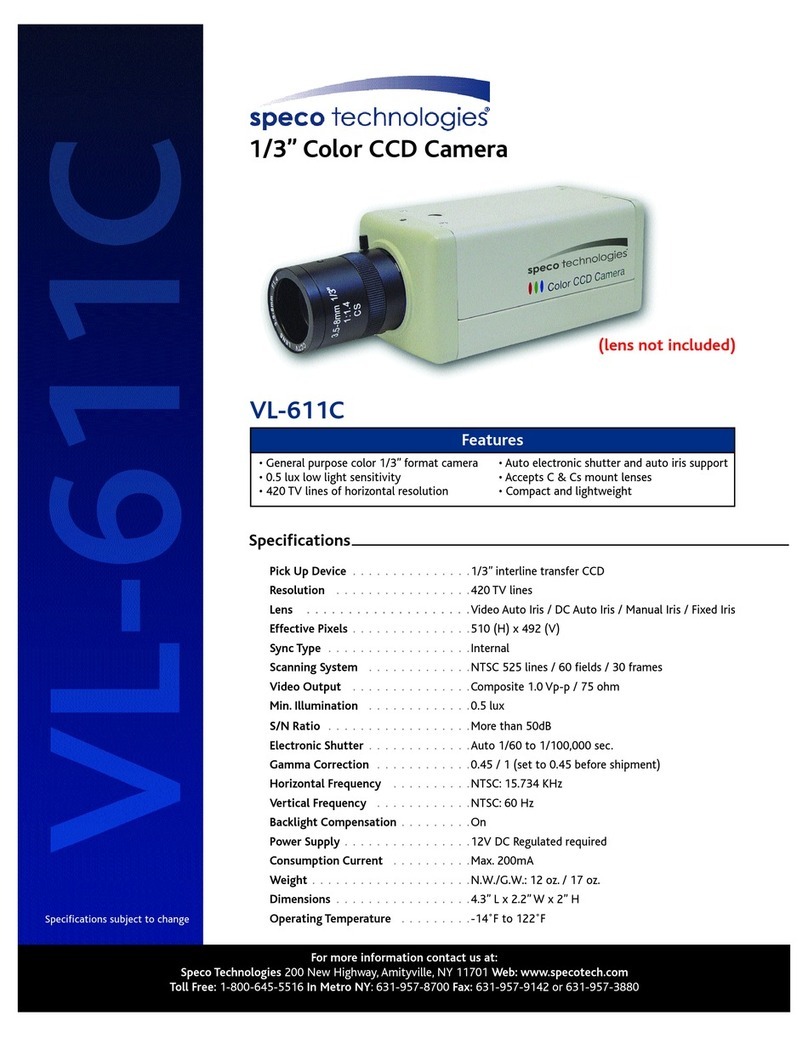
Speco VL-611C Specification sheet

Speco

Speco VL-611C Specification sheet

Axis 0406-001 user manual

Axis

Axis 0406-001 user manual

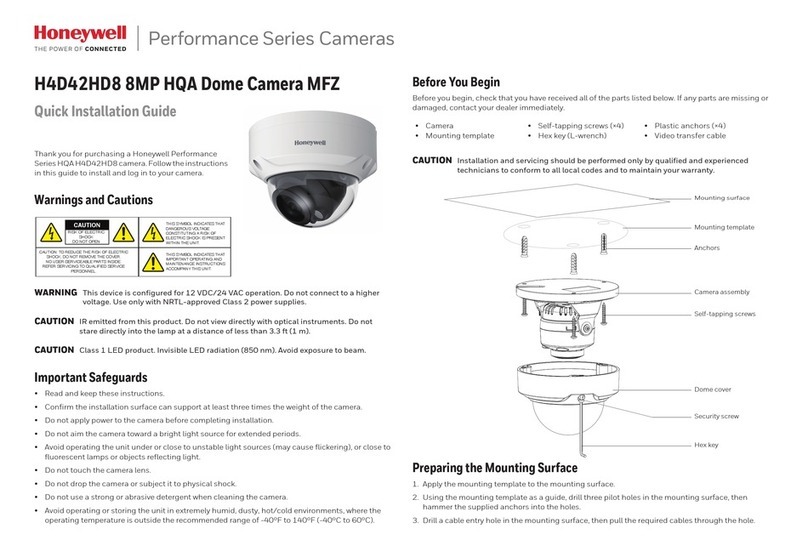
Honeywell 2450Cm Series Quick installation guide

Honeywell

Honeywell 2450Cm Series Quick installation guide

Mobotix Q25M manual

Mobotix

Mobotix Q25M manual

SECO-LARM 36 manual

SECO-LARM

SECO-LARM 36 manual

Weldex WDP-17S05MF Quick installation guide

Weldex

Weldex WDP-17S05MF Quick installation guide

Burg Wächter SNC-421FDIA Quick installation guide

Burg Wächter

Burg Wächter SNC-421FDIA Quick installation guide

Speco O2P25X user manual

Speco

Speco O2P25X user manual

manuals.online logo
manuals.online logoBrands
  • About & Mission
  • Contact us
  • Privacy Policy
  • Terms and Conditions

Copyright 2025 Manuals.Online. All Rights Reserved.