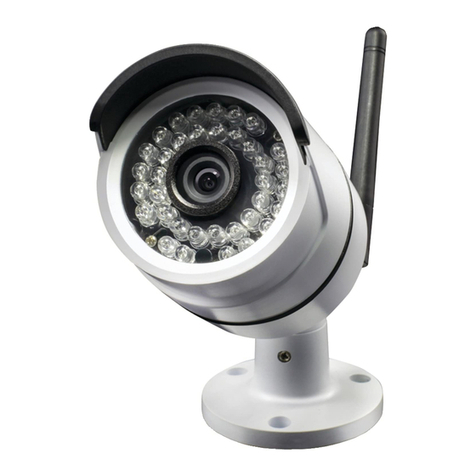
ENVIO WESS-BFM60500-DLM User manual

● La corretta configurazione di tutte le
password e altre impostazioni di sicurezza è
responsabilità dell'installatore e / o dell'utente
finale.
● Nell'uso del prodotto, è necessario rispettare
rigorosamente le norme di sicurezza elettrica
della nazione e della regione. Si prega di fare
riferimento alle specifiche tecniche per
informazioni dettagliate.
● La tensione di ingresso deve soddisfare sia
SELV (Safety Extra Low Voltage) sia la Limited
Power Source con 24 VAC o 12 VDC secondo lo
standard IEC60950-1. Si prega di fare
riferimento alle specifiche tecniche per
informazioni dettagliate.
● Non collegare più dispositivi a un adattatore
di alimentazione poiché il sovraccarico
dell'adattatore può causare surriscaldamento o
pericolo di incendio.
● Assicurarsi che la spina sia saldamente
collegata alla presa di corrente. Quando il
prodotto è montato a parete o soffitto, il
dispositivo deve essere fissato saldamente.
● In caso di fumo, odore o rumore dal
dispositivo, spegnere immediatamente
l'alimentazione e scollegare il cavo di
alimentazione, quindi contattare il centro di
assistenza.
● Accertarsi che la tensione di alimentazione sia corretta
prima di utilizzare la telecamera.
● Non lasciar cadere la telecamera o sottoporla a shock
fisici.
● Non toccare i moduli sensore con le dita. Se è
necessaria la pulizia, utilizzare un panno pulito con un po’
'di etanolo e pulirlo delicatamente. Se la telecamera non
verrà utilizzata per un lungo periodo, sostituire il copri
obiettivo per proteggere il sensore dallo sporco.
● Non puntare la telecamera verso il sole o in luoghi
particolarmente luminosi. In caso contrario, possono
verificarsi fioriture o sbavature (che non rappresentano
un malfunzionamento) e allo stesso tempo influiscono
sulla resistenza del sensore.
● Il sensore può essere bruciato da un raggio laser, quindi
quando si utilizzano apparecchiature laser, assicurarsi che
la superficie del sensore non sia esposta al raggio laser.
● Non posizionare la telecamera in ambienti
estremamente caldi, freddi (la temperatura di esercizio
deve essere compresa tra -20 ° C e +60 °), luoghi
polverosi o umidi e non esporli a radiazioni
elettromagnetiche elevate.
● Per evitare l'accumulo di calore, è necessaria una
buona ventilazione per l'ambiente operativo.
● Tenere la telecamera lontana da liquidi durante l'uso.
● Durante la consegna, la telecamera deve essere
imballata nella sua confezione originale
1
La configurazione wireless della telecamera può avvenire in 3 modi differenti:
•Configurazione da APP mediante collegamento alla rete Wireless domestica.
•Configurazione da APP mediante Hot Spot generato dalla Telecamera
•Configurazione mediante collegamento cablato LAN
Configurazione da APP mediante collegamento alla rete Wireless domestica
Scaricare l’applicazione XMEYE
Lanciare l’App ed effettuare la registrazione di un account, oppure
APP Store (Dispositivi iOS)
accedere come utente locale premendo il simbolo in basso a sinistra
Play Store (Dispositivi Android) Premere poi il pulsante + in alto a destra e selezionare Wi-Fi Config.
L’applicazione individuerà la rete Wi-Fi su cui è collegato il cellulare.
A questo punto inserire la password della rete Wi-Fi e premere OK
NOTA:
Assicurarsi che il cellulare sia
collegato ad una rete Wi-Fi a 2.4Ghz
L’applicazione inizierà la ricerca della telecamera come mostrato in figura. Appena compare il simbolo della
telecamera verde, premere su di essa. Verrà richiesto di inserire un nome alla telecamera, la user e la password.
La user è admin, senza password.Premere poi sul pulsante ADD, per completare la configurazione. A questo
punto la telecamera è stata aggiunta alla Lista Dispositivi e verrà mostrato il suo seriale. Premere sul seriale,
premere sulla telecamera che è presente sotto il seriale e premere infine il pulsante in basso Avvia Anteprima.
2
3
4
Configurazione da APP mediante collegamento alla rete Hot spot della telecamera:
Accendere Telecamera ed attendere che la guida sonora termini.
Premere per 3 volte il pulsante reset presente sul cavo della telecamera.
In questo modo latelecamera genererà una sua rete Wi-Fi.
Accedere alle impostazioni Wi-Fi del proprio cellulare, e collegarsi allarete Wi-Fi denominata camera_XXX, dove
XXX saranno dei numeri diversi per ogni telecamera.
La password della rete Wi-Fi Hot spot della telecamera è: 1234567890
Aprire l’app XMEYE, e selezionare il pulsante centrale in basso, per accedere all’APP.
All’interno della schermata Lista Dispositivi, verrà mostrato il seriale della telecamera. Premere sul seriale,
premere sulla telecamera che è presente sotto il seriale e premere infine il pulsante in basso Avvia Anteprima.
Configurazione da APP mediante collegamento alla rete Cablata:
Collegare un cavo LAN alla telecamera e collegare l’altro capo del cavo LAN al Modem/Router
Collegare il cellulare alla rete Wi-Fi generata dal Modem/Router a cui è stata collegata la telecamera.
Aprire l’applicazione XMEYE ed effettuare il login, o come utente registrato oppure come utente locale.
Premere il tasto +in alto a destra situato nella schermata della Lista Dispositivi, e selezionare Aggiungi
Manualmente. Premere sul pulsante CERCA.Una volta trovata la telecamera, ne verrà mostrato il suo seriale.
Premere sul seriale, inserire un nome alla telecamera ed inserire la user e la password della telecamera.
La user è admin, senza password. Premere sulla telecamera che è presente sotto il seriale oppure il nome appena
assegnato e premere infine il pulsante in basso Avvia Anteprima.
Installazione MicroSd:
Svitare lo sportello situate nel lato inferiore della telecamera.
Inserire la MicroSd nell’apposito Slot.
Riavvitare lo sportello.
Prestare molta attenzione alla richiusura dello sportello avendo cura di assicurarsi che esso sia richiuso in maniera
corretta.
1: Sportello Alloggio MicroSd con altoparlante
2: Alloggio per MicroSd
3: Pulsante reset (Interno)
4: Connettore SMA per antenna Wi-Fi
5: Antenna Wi-Fi
NOTA:
Per resettare la telecamera tenere premuto per circa 5 secondi il pulsante reset presente sul cavo della
telecamera oppure all’interno dello sportello per alloggiare la MicroSd ③
Contenuto Della confezione:
N°1 Telecamera WESS-BFM60500-DLM
N°1 Set Di Viti e Tasselli
N°1 Antenna Wi-Fi
N°1 Specifiche Tecniche
www.enviosecurity.com
www.enviosecurity.com
www.enviosecurity.com
www.enviosecurity.com
IT
Grazie per aver acquistato un nostro prodotto. Questa
guida vi aiuterà nella configurazione della telecamera.
Si prega di leggere attentamente questa guida prima di
accendere la telecamera. Per il manuale completo
visitare il sito www.enviosecurity.comoppure inviare
una email a: support[email protected]
Istruzioni di sicurezza
Queste istruzioni hanno lo scopo di garantire che
l'utente possa utilizzare correttamenteil prodotto per
evitare pericoli o perdite di proprietà. La misura
precauzionale è suddivisa in Avvertenze ePrecauzioni.
WESS-BFM60500-DLM
GUIDA RAPIDA

● Correct configuration of all passwords and
other security settings is the responsibility of
the installer and / or end user.
● When using the product, it is necessary to
strictly comply with the electrical safety
regulations of the country and region. Please
refer to the technical specifications for detailed
information.
● The input voltage must meet both SELV
(Safety Extra Low Voltage) and the Limited
Power Source with 24 VAC or 12 VDC according
to the IEC60950-1 standard. Please refer to the
technical specifications for detailed
information.
● Do not connect multiple devices to one
power adapter as overloading the adapter may
cause overheating or fire hazard.
● Make sure the plug is firmly connected to the
power outlet. When the product is mounted on
the wall or ceiling, the device must be fixed
firmly.
● If there is smoke, smell or noise from the
device, immediately turn off the power and
unplug the power cord, and then contact the
service center.
● Make sure the power supply voltage is correct before
using the camera.
● Do not drop the camera or subject it to physical shock.
● Do not touch the sensor modules with your fingers. If
cleaning is necessary, use a clean cloth with a little
ethanol and wipe it gently. If the camera will not be used
for a long time, replace the lens cover to protect the
sensor from dirt.
● Do not aim the camera at the sun or in particularly
bright places. Otherwise, blooms or smears may occur
(which is not a malfunction) and at the same time affect
the resistance of the sensor.
● The sensor can be burned by a laser beam, so when
using laser equipment, make sure the sensor surface is
not exposed to the laser beam.
● Do not place the camera in extremely hot, cold
environments (the operating temperature must be
between -20 ° C and +60 °), dusty or humid places, and do
not expose them to high electromagnetic radiation.
● To prevent heat build-up, good ventilation is required
for the operating environment.
● Keep the camera away from liquids during use.
● During delivery, the camera must be packed in its
original package
1
The wireless configuration of the camera can be done in 3 different ways:
• Configuration from APP by connecting to the home Wireless network.
• Configuration from APP via Hot Spot generated by the Camera
• Configuration via wired LAN connection
Configuration from APP by connecting to the home wireless network
Download the XMEYE application Launch the App and register for an account access as a local user by
APP Store (iOS devices) pressing the symbol at the bottom left Then press the + button at
Play Store (Android devices) the top right and select Wi-Fi Config. The application will identify
the Wi-Fi network on which the mobile phone is connected. At this
point, enter the password of the Wi-Fi network and press OK
NOTE:
Make sure your mobile is
connected to a 2.4Ghz Wi-Fi network
The application will start searching for the camera as shown in the figure. As soon as the symbol of the
green camera, press on it. You will be prompted to enter a camera name, user and password.
The user is admin, without password. Then press the ADD button to complete the configuration. At this point
the camera has been added to the Device List and its serial will be shown. Press on the serial, press on the
camera that is present under the serial and finally press the button below Start Preview.
2
3
4
Configuration from APP by connecting to the camera's Hot spot network:
Turn on the Camera and wait for the sound guide to finish.
Press the reset button on the camera cable 3 times.
In this way the camera will generate its own Wi-Fi network.
Access the Wi-Fi settings of your mobile phone, and connect to the Wi-Fi network named camera_xxx.where
XXX are different numbers for each camera.
The password of the camera's Wi-Fi Hot Spot network is: 1234567890
Open the XMEYE app, and select the central button at the bottom, to access the APP.
Within the Device List screen, the camera serial will be shown. Press on the serial, press on the camera that is
present under the serial and finally press the button at the bottom Start Preview.
Configurazione da APP mediante collegamento alla rete Cablata:
Connect a LAN cable to the camera and connect the other end of the LAN cable to the Modem / Router
Connect the mobile phone to the Wi-Fi network generated by the Modem / Router to which the camera has been
connected.
Open the XMEYE application and log in, either as a registered user or as a local user.
Press the +button at the top right located on the Device List screen, and select Add Manually. Press the SEARCH
button. Once the camera is found, its serial will be shown.
Press on the serial, enter a name for the camera and enter the user and password of the camera.
The user is admin, without password. Press on the camera that is present under the serial or the name just
assigned and finally press the button at the bottom Start Preview.
MicroSd installation:
Unscrew the door located on the underside of the camera.
Insert the MicroSd in the appropriate slot.
Screw the door back on.
Pay close attention to closing the door, making sure that it is closed correctly.
1: MicroSd Slot Door with speaker
2: Slot for MicroSd
3: Reset button (Internal)
4: SMA connector for Wi-Fi antenna
5: Wi-Fi antenna
NOTE:
To reset the camera, press the reset button on the camera cable for about 5 seconds or inside the door to house
the MicroSd ③
Package Contents:
N ° 1 WESS-BFM60500-DLM camera
N ° 1 Set Of Screws and Plugs
N ° 1 Wi-Fi antenna
N ° 1 Technical Specifications
N ° 1 Quick Installation Guide
www.enviosecurity.com
www.enviosecurity.com
www.enviosecurity.com
www.enviosecurity.com
EN
Quick Installation Guide
WESS-BFM60500-DLM
Thank you for purchasing one of our products. This
guide will help you in camera setup. Please read this
guide carefully before turn on the camera. For the
complete manual, visit www.enviosecurity.com or
send e-mail to:[email protected]
Safety instructions
These instructions are intended to ensure that the
user can use it correctly the product to avoid danger
or loss of property. The precautionary measure is
divided into Warnings and Precautions:
Table of contents
Languages:
Other ENVIO Security Camera manuals

ENVIO
ENVIO Terra Series User manual

ENVIO
ENVIO Luna Series User manual
ENVIO
ENVIO Luna Series User manual

ENVIO
ENVIO AESS-BFM90H500ST User manual

ENVIO
ENVIO AESS-DFP70H500 User manual
ENVIO
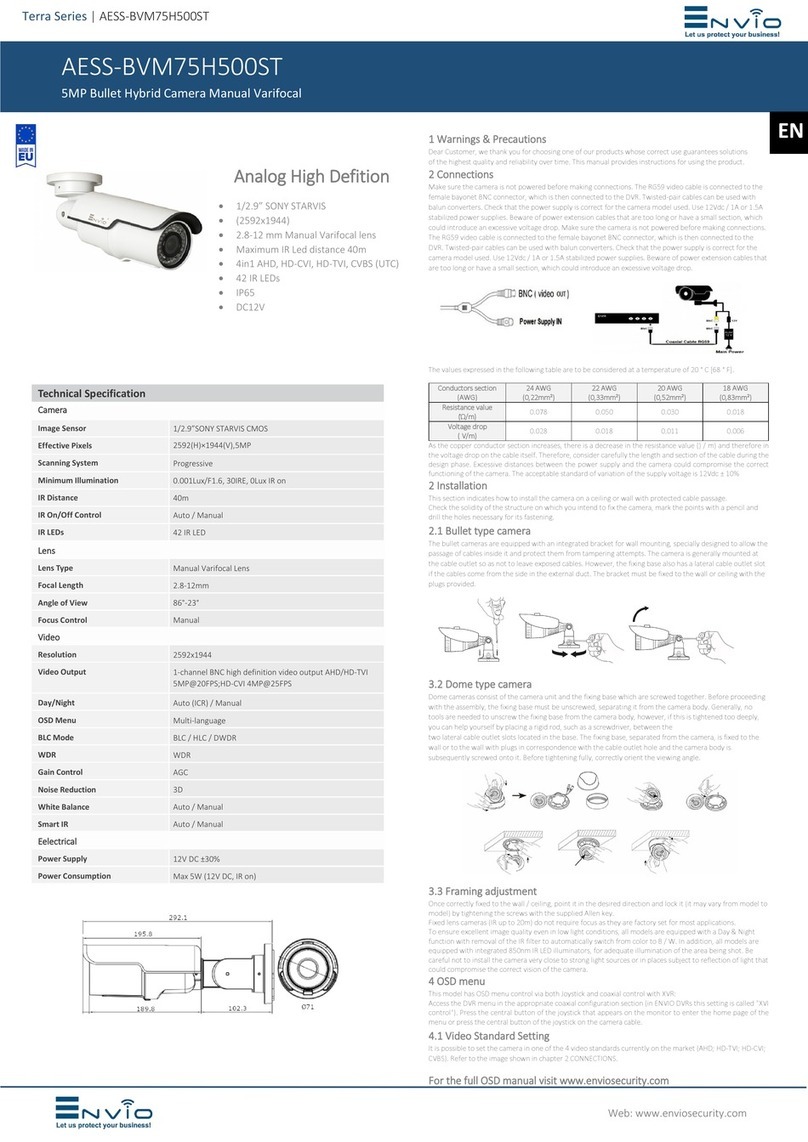
ENVIO Terra AESS-BVM75H500ST User manual

ENVIO
ENVIO Terra Series User manual

ENVIO
ENVIO WESS-BFM60500 User manual

ENVIO
ENVIO Full Color Series User manual

ENVIO
ENVIO Luna Series User manual
