Envision Technologies Envision Glasses User manual

Envision Glasses
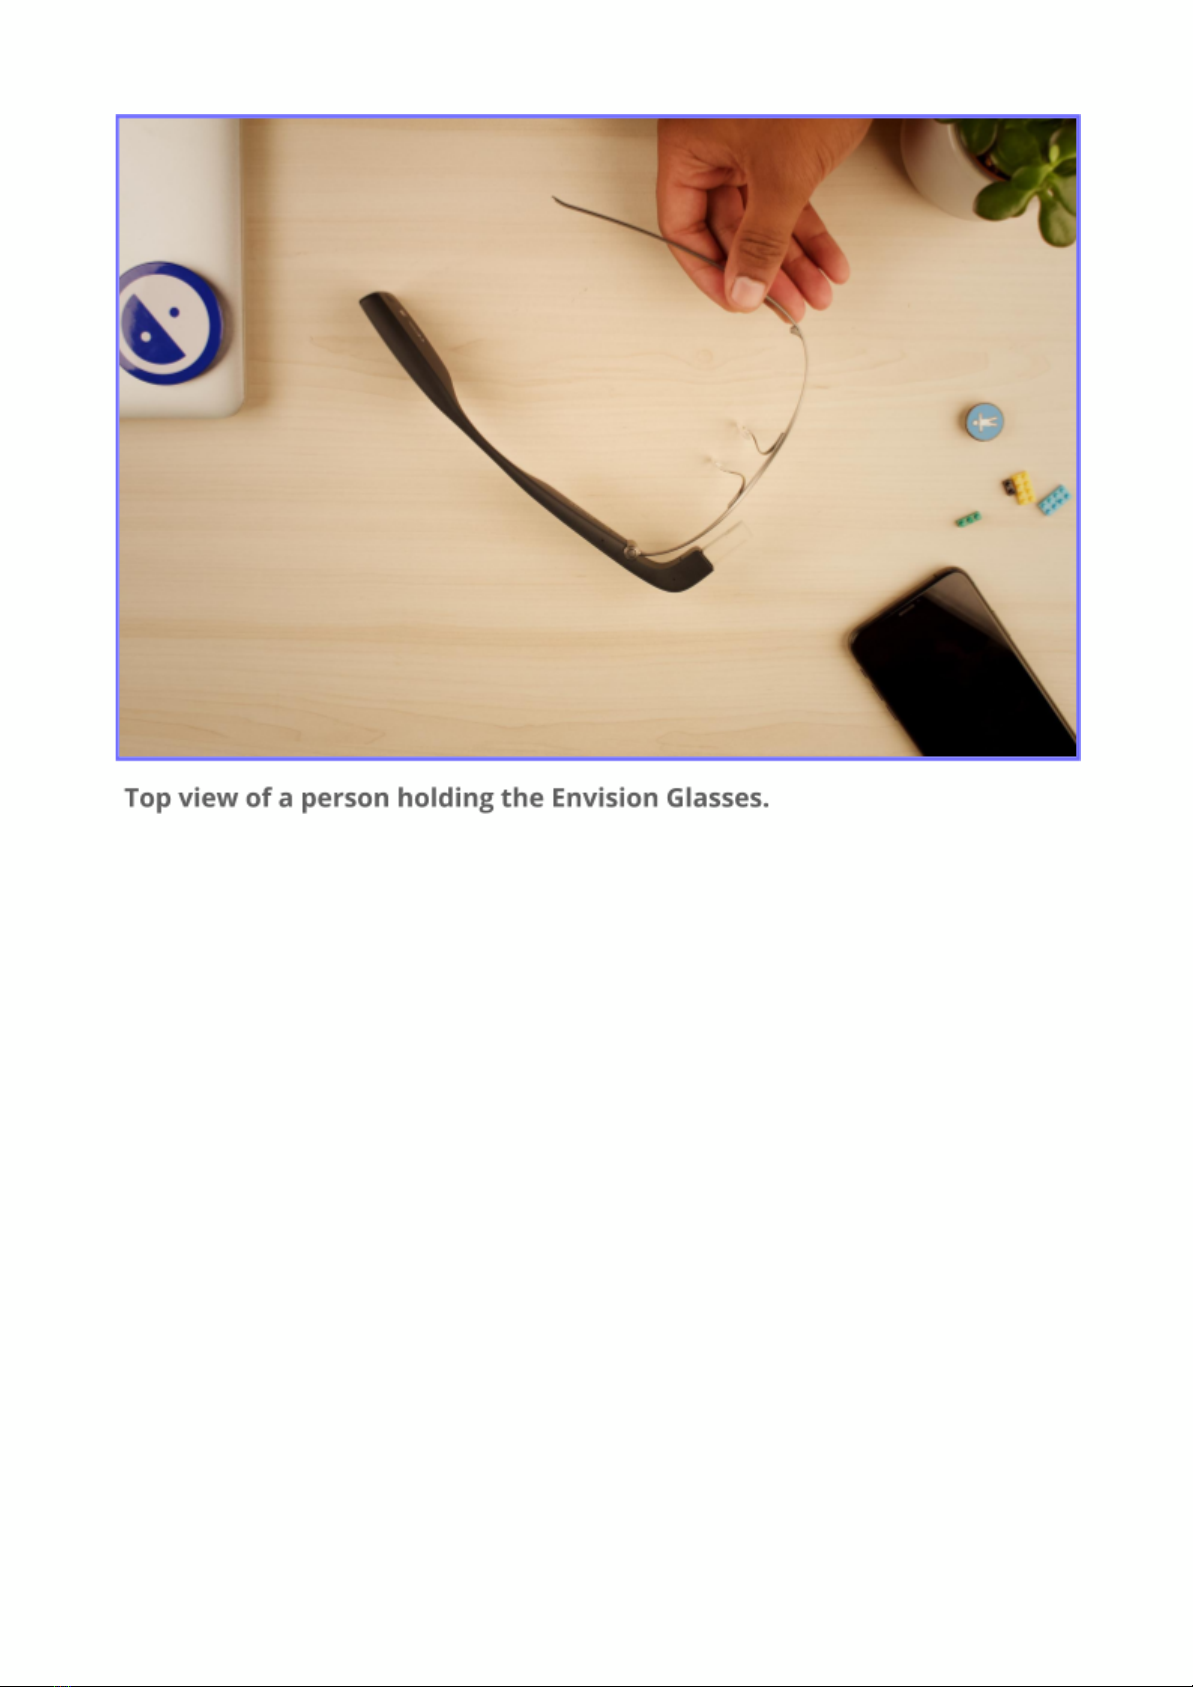
Envisioner’s Guide
Beginner’s guide for Envision Glasses users (Envisioners). Learn
more about the Envision Glasses; what’s inside the box, how to get
started and how to use the gestures of the Envision Glasses.


Envision Technologies B.V.
Wilhelmina van Pruisenweg 104
2595 AN, The Hague
The Netherlands

Table of content
1. Congratulations, you own a pair of Envision Glasses! 5
2. What’s in the box? 7
2.1 Envision Glasses Body 7
2.2 Envision Glasses Frame 8
2.3 Envision Glasses Power Cable 9
2.4 Envision Lifetime Subscription 9
What to do if I already have a subscription? 9
3. Getting started 10
3.1 Install the Envision app on your phone 10
Using a QR code 11
Finding the Envision App 11
For iPhones 11
Manually: Option 1 11
Using Siri: Option 2 11
For Android phones 12
Manually: Option 1 12
Using Google Assistant: Option 2 13
3.2 Login to the Envision app 13
3.3 Attach the Envision Glasses Frame 14
Attaching the frame 14
Detaching the frame 15
3.4 Turn on your Envision Glasses 16
3.5 Pair Envision Glasses with the app 17
3.6 Welcome to the Envision Glasses! 18
4. Interacting with the Envision Glasses 19
4.1 Buttons 19
1

Power Button 19
4.2 Overview 20
Screens 20
First level: Main menu 21
Second level: Feature menu 21
Third level: Active 22
Fourth level: Options 22
4.3 Gestures 22
Swipe forward 23
Swipe back 23
Swipe down 23
Two-finger swipe down 24
Single-tap 24
Double-tap 24
Tap-and-hold 25
Two-finger single tap 25
5. Staying connected 26
5.1 Network 26
Connect to the internet using the Envision Glasses (Wi-Fi QR
Code) 26
How do I create a Wi-Fi QR code? 27
Connect to the internet by using your Envision Glasses and the
Envision app 27
Connect to the internet by using the Envision app 28
Features that do not require an internet connection 28
Hotspot 28
Hotspot on iOS: 29
Hotspot on Android: 29
My hotspot is not detected by the Envision Glasses? 30
5.2 Bluetooth 30
Connecting to AirPods 31
5.3 USB-C 31
2

What to do if I don’t have USB-C earphones or speakers? 32
6. Power 33
6.1 Charging 33
6.2 Behaviour 34
6.3 On or off 34
6.4 Sleep or awake 34
Folding the glasses 34
Power button 34
Settings 34
7. Features 36
7.1 Read 36
Instant Text 36
Follow the steps to activate ‘Instant Text’: 36
Pause instant text? 36
Reset instant text? 37
Switch between online and offline instant text? 37
Option 1: Two-finger single tap 37
Option 2: Feature Preferences menu 37
Scan Text 38
Scan Text with text detection? 38
Switch text detection on or off? 39
Reader 39
Batch Scan 39
7.2 Identify 40
Describe Scene 40
Taught faces? 40
Detect colors 40
The spoken colors are not correct? 41
7.3 Find 41
Find objects 41
Find people 41
3

Taught faces? 42
Explore 42
7.4 Call 42
Call an Ally 42
Add ally? 43
Complete the steps below to add someone as an Ally: 43
8. Make it personal! 45
8.1 Device Settings 45
Audio 45
Change volume 45
Change speed 46
Wi-Fi 46
Bluetooth 46
Language 46
Screen 46
Software 47
Power 47
Sleep 47
Battery 48
Power 48
8.2 Feature Preferences 48
Instant Text Preferences 48
Scan Text preferences 49
Teach Faces Preferences 49
Ally Preferences 50
9. I still need help 51
9.1 Playground 51
Want to exit the Playground? Press and hold the hinge button. 51
9.2 Frequently asked questions 52
What to do if I already have a subscription? 52
How do I create a Wi-Fi QR code? 52
4


1. Congratulations, you own a pair of
Envision Glasses!
Congratulations and welcome to Envision! We really hope you will enjoy
the Envision Glasses, and that you will make Envision an integral part of
your daily life.
The Envision Glasses are AI-powered smart glasses that help visually
impaired and blind people become more independent by turning text,
images and more into speech.
This document is a detailed manual that will help you use the Envision
Glasses on a daily basis. Its goal is to get you started exploring as soon
as possible. In this document, you will learn everything you need to
know to take full advantage of the device.
If for any reason, your Envision Glasses are not working as expected,
we have also included a list of troubleshooting steps in this guide.
However, the Envision customer care team is always happy to assist
you with any issue.
Envision partnered with Google Glass Enterprise Edition 2 to provide
you with the best experience of Envision AI on a pair of smartglasses. In
addition to being a robust and comprehensive software platform, the
Google Glass has a sleek and lightweight design which makes it easy
to wear during the day. We were able to design fluid and intuitive
controls with a combination of tap and swipe gestures.
The future of wearable cameras that we have all been dreaming of is
finally here.
6
7

2. What’s in the box?
Open the box and start unpacking! The box should include the
following items:
•Envision Glasses Body
•Envision Glasses Frame
•Envision Glasses Power Cable
•Envision Lifetime Subscription
•Let’s Get Started Booklet
2.1 Envision Glasses Body
The body is the main part of the Envision Glasses and it features the
processor, the battery, the speakers and the camera. It is shaped like
one half of a spectacle frame and sits on your right ear, when you put it
on. It weighs roughly 45 grams.
8

At the back of the body, you can find the battery, the USB-C inlet, the
power button and the speakers. A bit more towards the front you will
find the touchpad, located on the outside part next to your temple
(when you are wearing the device). The touchpad leads to the foldable
front of the body, that consists of the camera and the display. The body
is located at the top of the box once you open the lid.
2.2 Envision Glasses Frame
The Envision Glasses frame needs to be attached to the body through
the hinge. This will allow you to wear the Envision Glasses. The
lightweight titanium frame is shipped separately in the cardboard box.
The packaging is wrapped in plastic and is smaller than the main
Envision Glasses box with the body and the charging cable.
If you have also ordered the additional black frames by Smith Optics,
they will be shipped in a separate box.
9

2.3 Envision Glasses Power Cable
To charge your Envision Glasses, we have added a power cable. This is
a USB to USB-C cable. You can plug the cable in any USB adapter and
start charging your device right away. Keep in mind that this device
supports fast charging so, if you have a fast charger adapter, use it to
your advantage! The power cable can be found underneath the
Envision Glasses body in a small white box.
2.4 Envision Lifetime Subscription
Every pair of Envision Glasses comes with a lifetime subscription of the
Envision AI app for your smartphone. Although the subscription is not
present in the box in a physical way, once you pair the Envision
Glasses with your account, the lifetime subscription will be
automatically added to your account.
Note: Only the first account that you pair with your Envision Glasses
will include the lifetime subscription.
What to do if I already have a subscription?
If you already have a monthly or annual subscription of the Envision AI
app, you will have to cancel your subscription manually through the
PlayStore or AppStore after the lifetime subscription is added to your
account. If you already had a lifetime subscription, then there is nothing
you have to do.
10

3. Getting started
This chapter is a quick guide to get you started with the Envision
Glasses. It consists of How-Tos on installing the Envision app,
attaching the frame, charging your device and starting the onboarding
process with the Envision Glasses.
3.1 Install the Envision app on your phone
Let’s start with installing the Envision app. If you have already installed
the Envision app, you can skip this step and continue to 3.2.
Below you will find the instructions on how to install the Envision app
for iOS and Android phones. You can do this by using the QR code
below or by finding the Envision app in the App Store or Google Play
Store.
11

Using a QR code
The easiest way to find the Envision app is by scanning the QR code
located above, which you can do by following these instructions:
Step 1: Open the camera app on your smartphone.
Step 2: Point the camera to the QR code located on the next page.
Step 3: It will recognise the QR code and a notification will appear on
your phone.
Step 4: Tap on the notification and you will be brought to the Envision
app on the App Store if you use iOS or the Play Store if you use an
Android phone.
Note: On some Android phones you might need to enable to Scan QR
Codes with the camera app or use a separate QR Code Scanner app.
Finding the Envision App
For iPhones
Read below to find out how to install the Envision app on iOS. This can
be done manually (option 1) or by using Siri (option 2).
Manually: Option 1
Step 1: Navigate to the App Store icon on your phone.
Step 2: Double-tap on App Store.
Step 3: Double-tap on the search tab, located on the bottom right
corner of the screen.
Step 4: Type Envision AI into the search box and tap the enter key.
Using Siri: Option 2
Step 1: Hold down the home or side button on your device to activate
Siri. (Note: If you have an iPhone 8 or older, Siri will be activated with
the home button. If you have an iPhone X (10), Siri will be activated with
the side button.)
12

Step 2: Clearly say Search for Envision AI on the App Store. Siri
recognises Envision AI as “Envision Aye Eye”.
Step 3: Allow it to open the App Store.
After you search for Envision manually or with Siri, you will be
presented with a list of apps that match (or come close to matching)
what you searched for. Envision AI will be the first option to choose
from. Once you are on this search results page, complete the following
steps:
Step 1: Swipe through the results and look for Envision AI from Envision
Technologies B.V.
Step 2: Click the ‘Free’ button and authenticate your purchase.
Step 3: Click the ‘
Download’ button if necessary.
You will then have to wait for a moment while the application
downloads and installs. To open the application, you may click on the
open button, navigate to the app on your home screen or use Siri to
open the app for you.
For Android phones
Read below to find out how to install the Envision app on Android
phones. This can be done manually (option 1) or by using Google
Assistant (option 2).
Manually: Option 1
Step 1: Navigate to the PlayStore icon on your phone.
Step 2: Double-tap on PlayStore.
Step 3: Double-tap on the search tab, located on the top of your screen
Step 4: Type Envision AI into the search box and tap enter.
13

Using Google Assistant: Option 2
Step 1: Activate Google Assistant on your phone using the assigned
shortcut.
Step 2: Clearly say Search for Envision AI on the PlayStore. Your phone
recognises Envision AI as “Envision Aye Eye”.
Step 3: Allow it to open the Play Store.
After you search for Envision manually or with Google Assistant, you
will be presented with a list of apps that match (or come close to
matching) what you searched for. Envision AI will be the first option to
choose from. Once you are on this search results page, complete the
following steps:
Step 1: Swipe through the results and look for Envision AI from Envision
Technologies B.V.
Step 2: Click the ‘Install’ button and authenticate your purchase (the
app is free).
Step 3: Click the ‘
Download’ button if necessary.
3.2 Login to the Envision app
To get started with the Envision Glasses, log in to the Envision app. If
you don’t have an account yet, an account will be created. You can
sign up by using your email or the other methods. As stated in chapter
2.4, the first account that you pair your Envision Glasses with will have
the lifetime subscription added to it.
Once you are logged in, you can start the pairing process with the
Envision Glasses by navigating to the Glasses tab and tapping on the
Start pairing process
button. From this point on, you can follow the
instructions via the app or continue reading.
14

3.3 Attach the Envision Glasses Frame
Get your Envision Glasses body out of the box (if you haven't already
done so). After that, open the other smaller box where you will find the
titanium frame. Attach the frame to the body by following the
instructions below.
These instructions can also be used for the Smith Optics frame, but, in
that case, the right earpiece will have to first be detached in order for
the Envision Glasses body to take its place. To detach the right
earpiece of the Smith Optics frame, you can follow the instructions in
the next page on how to detach the frame from the body, keeping in
mind that the right earpiece of the Smith Optics frame serves as the
Envision Glasses body, in that case.
Attaching the frame
Step 1: Take the frame and make sure it is in an unfolded position.
15

Step 2: Make sure that the body is also in an unfolded position. That
means that the front of the body, where the camera and display are
located, is folded out.
Step 3: With your left hand, take the frame and, with your right hand,
take the body. While holding the body with your right hand, make sure
your thumb is on the front part of the body and your index finger below,
to prevent the body from folding in.
Step 4: Locate the metallic hinge button with your thumb on the top of
the body.
Step 5: With your left hand, make sure to grab the end of the frame
where you can feel a circular part. This is the circular piece that will fit
on the hinge button of the body.
Step 6: Bring the circular piece of the frame on top of the button on the
body. You can do this by keeping your left thumb on the circular part.
Step 7: Once the circular part is on top of the button, you will have to
lock the frame by turning it clockwise while pressing on the circular part
with your right thumb. This will allow you to rotate the frame to its
position.
Step 8: You will hear a soft metallic click when the frame is attached to
the body.
Step 9: That’s it! You can start wearing your Envision Glasses, or
practice how to detach the frame with the help of the next guide.
Detaching the frame
Step 1: Take your Envision Glasses off your face and make sure they
stay in a folded-out position. This means that the front of the body,
where the camera and display are located, is folded out.
Step 2: Hold the frame with your left hand and the body with the right
hand.
Step 3: While holding the body in your right hand, make sure your
thumb is on the top part of the body, in the area before it curves to the
front. Make sure your index finger is behind the part where the camera
and glass plate are located.
16

Step 4: There is a button on the body around the area where your
thumb and index are located. Press this button with your thumb.
Step 5: Now, with your left hand, rotate the frame towards you (or
counter-clockwise). This will allow you to detach the frame from the
body.
Step 6: To detach the frame, push down with your thumb on the
connected piece of the frame and body, then push away with your
index finger.
At first, the process of attaching and detaching the frames may seem a
little complicated. Once you practice it a few times and get the hang of
it, it gets pretty easy!
3.4 Turn on your Envision Glasses
Now that your frame is attached to the body, let’s turn on the Envision
Glasses! You can do so by holding the power button for 6 seconds. The
power button is located in the rear end of the glasses, next to the
17
Table of contents


