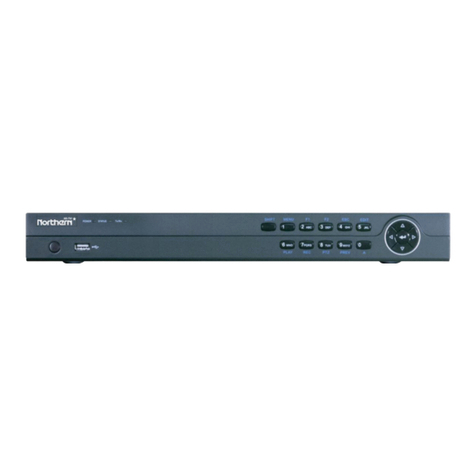
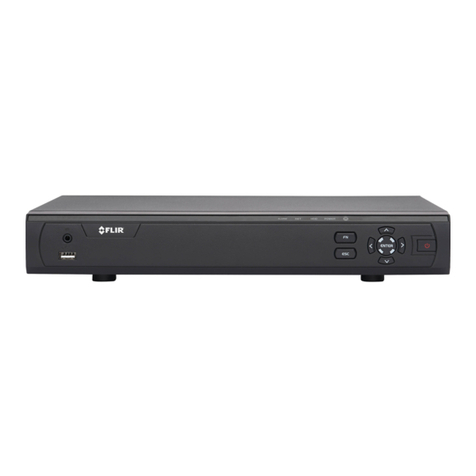
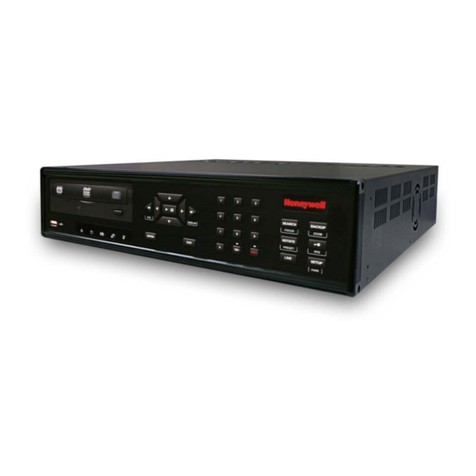
Envision LTD-4100 Series User manual

LTD-4100 Series HD-DVR
Quick Guide
3822 Hwy 90 E.
Broussard, LA 70518
Office 337.232.5039
Fax 866.615.2442
www.envisionsecurity.net
Security Systems
Camera Systems
Structured Wiring
Audio / Video
Access Control
PAGE 1
Full User Manual available at envisionsecurity.net/cameras

1.1 The Front Panel
Figure 1. 1 Front Panel of 4/8ch-FT&FA Series
Figure 1. 2 Front Panel of 16ch-FT&FA
Table 1. 1 Description of Front Panel
Index Name Function
1 IR Receive the remote control signal.
2 Esc Back to previous menu, operation cancel;
Back to live view when playing back records.
3 Direction
Up/Down: Move up or down. Change the settings and increase or
decrease the digital.
Left/Right: Control the playback control bar of the records.
4 Enter
Confirm the operations.
Jump to the default button.
Enter the menu.
5 Fn
The button displays PTZ control and image color when in the state of
the single-screen monitoring.
Simultaneously press the Fn key and the direction key to complete the
settings with the dynamic monitoring area.
Press the Fn key to empty all contents of the edit box.
Press the key to switch among English, Chinese and figure.
Special with the function of each menu page prompts.
6 Num Lock
1~9
Digital input(digital input mode).
Text input(Text input mode).
Image switch(single screen mode).
7 REC Manually start/Stop recording.
8 Function
keys Function keys, Play/Stop Function
9 USB Connect the mouse and HDD.
10 ON/OFF Power on/off.
1.) Introduction
PAGE 2

2.1 Power on and Off
2.1.1 Power On
Correctly install and power on the DVR. When the power indicator lit up, The DVR
will automatically detect hardware state of the device during the starting. The booting process
will continue for about 30 seconds. After boot, the equipment sounds and then enters the
state of multi-screen real-time video surveillance.
2.1.2 Power Off
Steps:
There are two proper ways to shut down the DVR. To shut down the DVR:
OPTION 1: Standard shutdown
1. Enter the Shutdown menu.
Menu > Shutdown
Figure 2. 1 Shutdown menu
2. Select the Shutdown button.
3. Click the Yes button.
4. Turn off the power switch on the rear panel when the note appears.
OPTION 2: By operating the front panel
1. Press and hold the POWER button on the front panel for 3 seconds.
2. Enter the administrator‘s username and password in the dialog box for authentication.
3. Select the Shutdown button and Click the Yes button.
2.) Basic Operations Guide
PAGE 3

2.2 Preview and Login in
2.2.1 Preview
After the device is turned on, you will enter the real-time monitoring interface. Right click and the
following interface will pop up.
Figure 2. 2 Live view
2.2.2 Login In
Click the image above with [main menu], and then input the user name and the password of the
DVR to complete the login.
*Note: default user name and password admin, 123456
Figure 2. 3 Login
PAGE 4

supports this function. PTZ will turn to the clicked point and move it to the center of screen. It
also supports zooming. Drag the mouse in the quick location page. The dragged box supports 4
to 16 times zooming. Hold the mouse and drag it up to complete zoom of the box. Drag it
down to narrow the box.
2.3Search
In real-time monitoring screen, right click and select【search】to enter the searching interface.
1
3
4
5
6
2
Figure 2. 4Search interface
Table 2. 1Description of Rear Panel
Index
Type
Description
1
Calendar
Date and time
2
Choose the time
Input the date and time of records searched.
3
Playback control
It can achieve a full screen, circle playback, stopping /
playing, pausing, fast playing, slow playing and the
previous/next frame on a suspended state .
4
Recoding mode
There are alarm recording and regular recording for
selecting.
5
Select channels to
query
Choose the channels for querying.
6
Playback controls
It can achieve a full screen and circle playback.
7
Search
Click the button to search.
PAGE 5

2.7The Input Method
In the input box, you can select figures, symbols, English capitalization and the input of Chinese.
Click the mouse to complete the input.‖← ―represents the backspace and ―_ ―represents a space.
Figure 2. 5English figures interface
Figure 2. 6Chinese figures interface
‖ refers connection error.
P Series
Check B-Lamp on front panel, light indicates connection.
Set IP, subnet mask and gateway for computer and DVR. Please assign the same segment IP
address without router, need to set the appropriate subnet mask and gateway with router.
The detail of DVR network configuration please see【Configuration】→【Network Setting】
Ensure the IP is correct and check whether the DVR is on the network by using the Windows
command ―ping‖.
3.1.2 The control installation and the user login logout
Users can remote access to DVR by Internet Explorer, assuming you have a correct network
configuration.
3.) Web and Client
3.1 Web Operation
3.1.1 Network Connection
H&M Series
Check network connection by LCD on front panel, ―
PAGE 6

Figure 3. 1 Login Screen
Install ActiveX: Right click and choose install. If installation is blocked by Windows, please add
the IP as a trusted site or lower your Internet Explorer security settings to allow this.
The following interface will pop up when you access the IP address in Internet Explorer.
Figure 3. 2 Install Control
The following interface will popup when you input your username, password and click ―Login‖.
Interface like Diagram 5-3 Web Interface when user login successfully. Click ―Exit‖ to quit.
PAGE 7

3.1.3 The Interface of Web Operations
Figure 3. 3 Web main interface
Table 3. 1 Description of Main interface
Index Name Description
1 Channel Channel selection
2 Function key Local playback: playback local record
Open all: play live views in surveillance window
3 Surveillance window Change window layout
4 Image color & other saturation
Image color: modify brightness, contrast and
Other: set capture path, record download path and
reboot
5 PTZ control PTZ control menu
6 Menu System configuration, record search, alarm
setting, exit, etc.
3.1.4 The Real-time Monitoring
Into the WEB interface, select the focus window in live window, the focus window has a light blue
border.
From the left channel column select channel, as shown in the following interface.
Figure 3. 4 Channel Choices interface
PAGE 8

Click on 2 area in upper right corner can choose open / close the channel of the main stream or
secondary stream, shows the current DVR's IP and rate information.
Figure 3. 5 Stream information interface
Lower left corner shows the current video channel name.
Upper right corner shows the current video time information.
Click ― ‖(Lower left corner of the display window)to switch between
single screen and multi-screen.
Lower right corner of the display window is function keys, as the following interface. Refer to
area zoom, switching multi screens, local records, capturing and so on.
Figure 3. 6 Function Key interface
3.1.5Search Record
Click ―Search record‖ to open the search interface, can search and operate record, alarm, motion,
local record
Figure 3. 7Search Record interface
PAGE 9

Table 3. 2Description of PTZ Control
Index Name Description
1 Search
record
By selecting the record type, start and end times, and click the
check button, get a list of files on the DVR. Select the
appropriate file and download can be played
2 Play
Double click a search result to play in video window. Control the
playing video by the control keys on the bottom. At this point,
the bottom of the video window will display the video control
buttons, video playback can be controlled
3 Download select a searched video to download to local
The download speed and percentage are displayed on the bottom of the screen.
Figure 3. 8Search interface
3.2 Browser Access
PAGE 10

3.3 Client Access
PAGE 11
Table of contents
