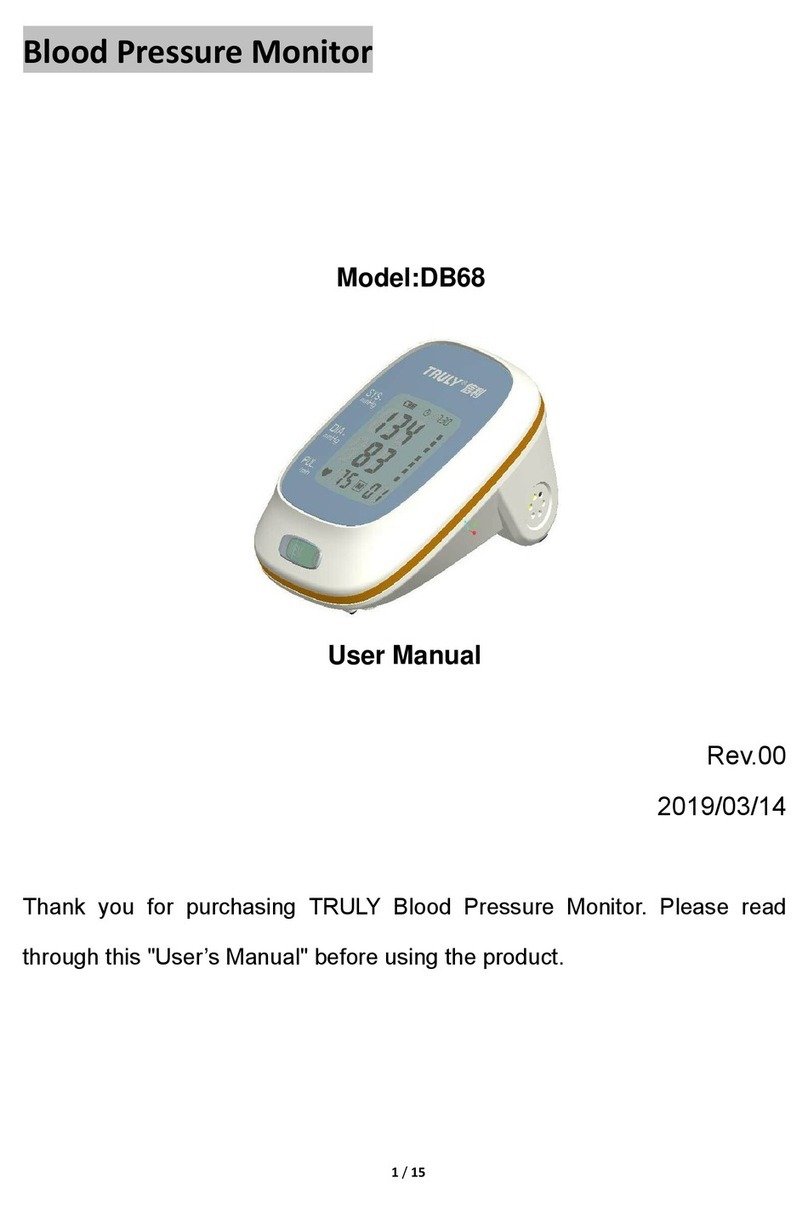
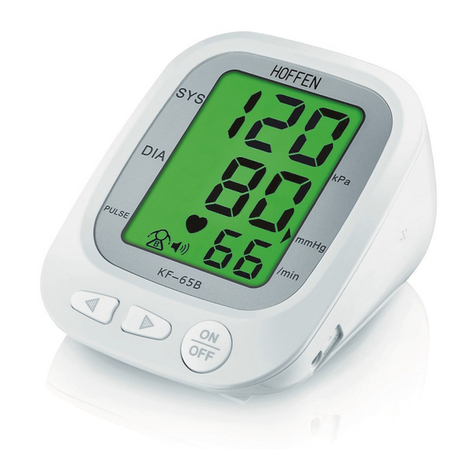
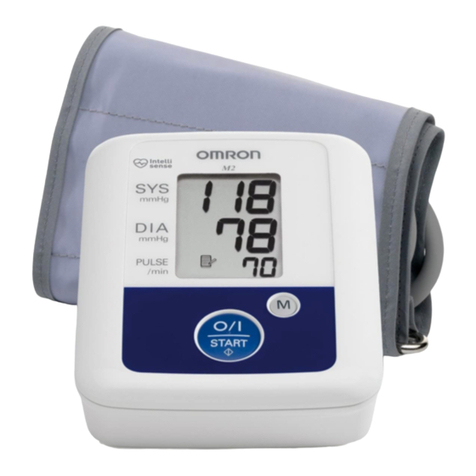
Eocene EOC -SBPBT-L User manual

User Guide
Digital Blood Pressure Monitor
EOC -SBPBT-L
EOCENE HEALTH SYSTEMS

Dear Customer,
Thank you for choosing the Eocene Blood Pressure Monitor EOC -SBPBT-L .
For the purpose of proper usage and maintenance of the Blood Pressure Monitor, please read this manual completely
before operating the unit.
Please retain this instruction manual for future use. The warranty card is attached to this manual. please retain it as well.
Note: Illustrations in this manual is solely for interpretation purposes only.
Table of Content
Safety Information
What is in the Box
Battery Installation/Replacement
Setting Date and Time
Using the Cu
Correct posture
Measuring blood pressure
Using the Memory Function
Care and Maintenance
Product declaration
Error display-Interpretation
When you have queries
Specications
Product warranty
To obtain accurate blood pressure readings, measure your blood pressure at the same time every day.
2
3
3
3
4
4
4
5
6
6
6
7
8
9
10

Safety Information
To assure the correct use of this device, the following basic safety measures should always be followed including the
warnings and cautions listed in this instruction manual.
Contact your doctor and obtain all information about your blood pressure.
Self-diagnosis and self-treatment based on the measurements obtained using this device may be dangerous.
Always follow the instructions of your physician or licensed healthcare provider.
Patients with chronic conditions or blood circulation obstacle issues should use this device under the guidance of
a medical doctor.
This device is intended for the use of adults to measure their blood pressure and pulse rate. Do not use this device
on infants and on people who have diculty in expressing their intentions.
DO NOT adjust medication based on measurement results from this blood pressure monitor. Take medication as
prescribed by your physician. Only a physician is qualied to diagnose and treat High Blood Pressure.
The monitor is not intended to be a diagnostic device.
Control the pressure of the device within 300m mmHg (40kPa) to avoid congestion or numbness in the arm.
This device is only for use on human body for measuring Blood Pressure.
Always use the special cu provided with the device in order to obtain accurate measurement.
Do not use a mobile / cell phone near this device.
Do not dismantle or repair the device or the cu. there is no user serviceable parts in it.
Use only 1.5 V (Volt) alkaline batteries for this device. Using other type of batteries may damage the unit.
Ensure the batteries are inserted in to the battery compartment with the correct polarity.
If battery uid gets in to your eyes, rinse with plenty of water and contact a physician immediately.
When the ‘Low battery’ indicator appear on the screen, replace all 4 batteries after turning o the device.
If the device is being used after more than 3 months of inactivity, please replace the batteries.
Dispose batteries and the device with all accessories in accordance with the prevailing laws and regulation of your
City/county/State
What’s in the Box
The box should have the following items:
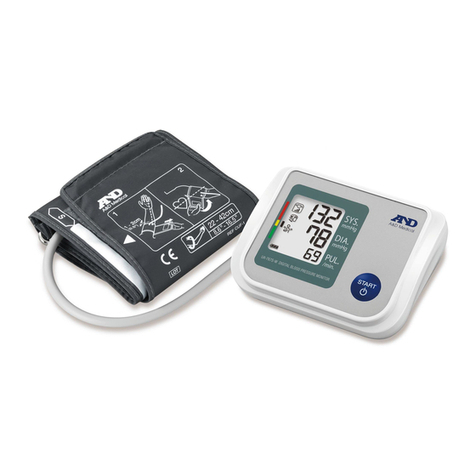
Main body - The Blood Pressure Monitor
Cu and cu tube
Batteries (4xAA Alkaline batteries)
Instruction Manual
Warranty card
1.
2.
3.
4.
5.
1.
2.
3.
Battery Installation
Turn around the main body, press on the cover
of the battery compartment and slide it down.
Install the four‘AA’Batteries by matching the
polarities: + (positive) and - (Negative) as
marked in the battery compartment.
Slide in the battery compartment cover back.
When replacing batteries in the future, ensure that the Blood Pressure Monitor is turned o. When the battery is
low, This icon will appear and start ashing. At this time please replace all 4 batteries. The time and date
need to be reset every time the batteries are replaced. However, the stored data will not be eliminated.
123
Please follow the directions mentioned below:
3

Setting Date and Time
To set-up the date and time, the user has to be set up rst
User Set-up
Press the‘SET” button to activate the set-up process.
The user number appears and ashes.
Press the ’Memory’ button to select a user and the press “SET” button to conrm the user.
When the User is set up, the“Year”icon will start ashing to prompt to set the year. Press the ‘MEMORY’button
continuously until the desired year appears. Press ‘SET’ button to set the year.
Now the‘Month’icon will start ashing. Press the‘Memory’ button continuously until the desired month appears.
Press the‘SET’ button to set the month. When the month is set, the“Date”icon will start ashing. Press the‘Memory’
button continuously until the desired date appears. Press the‘SET’ button to set the date. similarly set the hour and
minute.
Once the year , month, date and time is set, press the‘Memory’ button and select the measurement unit: “mmHg”or
“kPa”and press the‘SET’button to set the measurement unit.
Using the Cu
Both left and right arms can be used to measure. Usually the left arm is used.
Keep your wrist bare or only wear thin and close-tting clothes when measuring.
Measure in a room with favorable temperature.
Don’t roll you sleeves up or measure when wearing thick clothes, but perform measurement after removing o your
heavy clothes.
For accurate measurement, please pay attention to position the arm band correctly.
Connect the air plug to the connector on the monitor
Sit on a chair with your feet at on the oor. Place your left
arm on a table so the cu is level with your heart.
Insert your left arm through the arm band.
Place the air tube on the palm and turn your palm upward
Rotate the cu so the metal stripe is on the inside of your arm and aligned with your middle nger. The air
tube runs down the inside of your arm. The bottom of the cu should be approximately 1/2" above your
elbow.
Wrap the cu rmly in place around your arm using the cloth fastener.
1.
2.
3.
4.
5.
6.
4

Measuring Blood Pressure
If you are using the Eocene Home Control (EHC) Unit, sit near the EHC and keep correct posture during
measurement. Do not move your body and remain silent.
Power-on, tap“on/o” button to start measurement.
If you need to stop measuring, press the“on/o”button for a longer period. The pressure stops building up
and the air in the arm band start to discharge.
When you have completed the measurement, result appears on the BP monitor as well as on your Television
or your mobile device and made available to your healthcare providers if you are using the Eocene Health
System and the EHC. If you are not, the measurement result can be uploaded through wireless transmission
mode to the Eocene ROS platform. Please contact Eocene support or go to Google play store for android
devices or go to App Store for iOS device to install the Eocene App so that the readings can appear on your
mobile device. Please log in to your account by going to eocenehealth.com to view your readings online.
Once you have installed the Eocene App, click on the Eocene icon and register yourself by selecting
“Registration”as shown in the gures 1 below. Input the requested information as shown in gure 2 and
complete the registration. Once you are registered, you can log in by selecting “Log in”as shown in gure 1.
1.
2.
3.
4.
Figure 1 Figure 2
After logging in, on window that appears, select“Blood Pressure”as shown in gure 3. The new window that
opens up will show your latest blood pressure reading as shown in gure 4
All readings are stores automatically and can be retrieved any time.
To retrieve previous readings, tap on“History” located in the bottom of the screen (Please see gure 4) to see
previous readings/data as shown in Figure 5. To see a graphical representation of data, you may tap on“Chart”
located at the bottom of the screen as shown in gure 6.
To edit user information, you may tap on the“Settings”tab located in the far right bottom of the screen. please
see gure 7.
Figure 3 Figure 4
5.
6.
7.
Figure 5 Figure 6 Figure 7
Apps: This device is congured to be compatible with Bluetooth 4.0 and the communication distance is
within 10 meter or 25 feet. For Android devices, the operating system should be above Android 4.3. For Apple
the operating system should be iOS 7.0
8.
5
Table of contents
