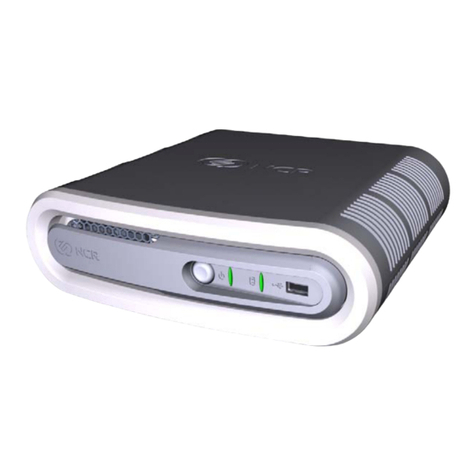
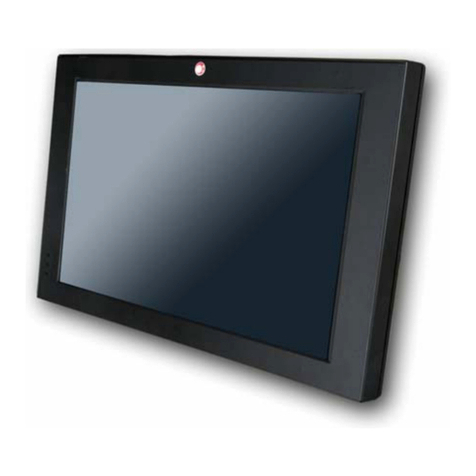
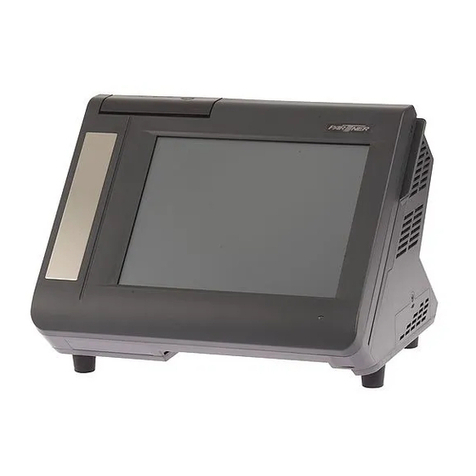
EPOS Odysse User manual

User Manual
December 2007 Revision 1.2
Odysse
Hardware System

Copyright 2007 Dec.
All Rights Reserved
ManualVersion 1.2
The information contained in thisdocument issubject to change without notice.
Wemake no warranty of any kind with regardto this material,including, but not
limited to, theimpliedwarranties of merchantability and fitness foraparticular
purpose. Weshallnotbe liableforerrors contained herein orforincidentalor
consequential damages in connectionwith thefurnishing,performance, oruse of
this material.
This document contains proprietaryinformation that is protected by copyright. All
rights are reserved. No part of thisdocument may be photocopied, reproduced or
translatedto anotherlanguage without the priorwrittenconsentof the
manufacturer.
TRADEMARK
Intel , Pentium and MMXare registered trademarks of Intel Corporation.
Microsoft and Windows areregistered trademarks of Microsoft Corporation.
ELO Touch is the registered trademark of ELO Touch Systems.

3
Safety
IMPORTANT SAFETY INSTRUCTIONS
1. Read these instructions carefully. Save theseinstructions forfuturereference.
2. Followallwarnings and instructions marked on the product.
3. Do not use this product nearwater.
4. Do not placethisproduct on anunstable cart,stand,ortable.The product may
fall, causing serious damage to theproduct.
5. Slots andopenings inthecabinet and theback orbottomareprovided for
ventilation;to ensurereliable operationof theproduct and to protect itfrom
overheating. Theseopenings must not be blocked orcovered.The openings
should neverbeblockedby placing theproduct on abed,sofa, rug, orother
similarsurface.Thisproductshouldneverbeplacednearoroveraradiatoror
heat register,orin a built-ininstallation unless properventilationisprovided.
6. Thisproduct shouldbe operated fromthe type of powerindicated on the
marking label.If you arenot sureof thetype of poweravailable, consultyour
dealerorlocalpowercompany.
7. Do not allowanythingto rest on the powercord. Do not locate thisproduct
where persons willwalk onthe cord.
8. Neverpush objects of any kind into thisproduct throughcabinet slots as they
maytouch dangerous voltage points orshortout parts thatcouldresultinafire
orelectric shock.Neverspillliquid of any kind on the product.
FCC
This device complies with part 15of theFCC rules.Operation is subject to the
followingtwo conditions:
(1) Thisdevice may not cause harmfulinterference
(2)Thisdevice must accept any interference received, includinginterference that
may cause undesired operation.
CE Mark
This device complies with the requirements ofthe EEC directive
2004/108/EC with regard to “Electromagnetic compatibility”and
2006/95/EC “LowVoltage Directive”.
Caution on Lithium Batteries

4
Danger ofexplosion ifbatteryisincorrectlyreplaced. Replaceonly with the same
orequivalent type recommended by the manufacturer. Discard used batteries
according to the manufacturer’sinstructions.
LEGISLATIONANDWEEESYMBOL
2002/96/EC Waste ElectricalandElectronicEquipmentDirective onthe
treatment, collection, recyclinganddisposal of electric andelectronic
devices andtheircomponents.
The crossed dustbin symbolon the devicemeans that itshould not bedisposed of
with otherhousehold wastes at the end of itsworking life. Instead, the device
should be taken to the waste collection centres foractivation of the treatment,
collection, recycling and disposalprocedure.
To prevent possibleharmto the environment orhuman health fromuncontrolled
waste disposal,please separate this fromothertypes of wastes and recycle it
responsibly to promote the sustainable reuse of materialresources.
Household users should contact eitherthe retailerwhere they purchased this
product, ortheirlocalgovernment office, fordetails ofwhere and howthey can
take thisitem forenvironmentally safe recycling.
Business users should contacttheirsupplierand check the terms and conditions
of the purchase contract.
This product should not be mixed with othercommercial wastes fordisposal.

5
TableofContents
1. ItemChecklist................................................................................................ 6
1.1. Standard Items ................................................................................... 6
1.2. OptionalItems..................................................................................... 6
2. System View.................................................................................................. 7
2.1. Front view........................................................................................... 7
2.2. Rear View........................................................................................... 8
3. Drivers Installation......................................................................................... 9
3.1. DriverList............................................................................................ 9
3.2. Chipset DriverInstallation................................................................... 9
3.3. VGADriverInstallation ......................................................................11
3.4. Audio DriverInstallation.................................................................... 13
3.5. LAN DriverInstallation...................................................................... 14
3.6. USB2.0 DriverInstallation................................................................. 15
3.7. ELO Touch Screen DriverInstallation ............................................... 18
3.8. POSTouch Touch Screen DriverInstallation ..................................... 20
4. Peripherals Installation................................................................................ 23
4.1. MSR.................................................................................................. 23
4.2. VFD CustomerDisplay ..................................................................... 24
4.3. Compact Flash Card......................................................................... 26
5. SystemDisassembly................................................................................... 27
5.1. Replace HDD.................................................................................... 27
5.2. Install second HDD........................................................................... 29
5.3. Replace I/O Board............................................................................ 30
5.4. Replace CD-ROM............................................................................. 31
5.5. Replace PowerSupply ..................................................................... 32
5.6. Replace Memory & CPU................................................................... 33
5.7. Remove Motherboard....................................................................... 34
5.8. Remove the Touch Board................................................................. 37
5.9. Remove the InverterBoard............................................................... 38
5.10. Remove the Touch Panel ................................................................. 39
6. JumperSettings........................................................................................... 40
7. Connectors.................................................................................................. 45
8. Default BIOSSettings.................................................................................. 47
9. BIOSUpdating Procedure........................................................................... 50
10. Troubleshooting........................................................................................... 51
AppendixA: Specification................................................................................... 57

6
1. Item Checklist
Take the systemunitout of the carton. Remove the unit fromthe carton by holding
it by the foaminserts. Thefollowing contents should be found inthe carton:
1.1.Standard Items
a. DriverCD b. PowerCord
1.2.OptionalItems
a. Card Reader(MSR) b. CustomerDisplay (VFD)

7
2. System View
2.1.Front view
CD
-
ROM
USB 1&2
On/Off
Switch
Compact Flash
PowerLED
MSR
Key
VFD

8
2.2.Rear View
24VDC
LPT
COM4
VGA
Keyboard/ Mouse
COM1
COM2
COM3
PowerUSB24V
PowerUSB 12V
LAN
CashDrawer
Line
-
in
Line
-
out

9
3. Drivers Installation
3.1.Driver List
Folder/File File Description
<CD>:\Odysse.htm Odysse DriverList
<CD>:\Common\INTEL\Chipset Chipset Driver
<CD>:\Common\INTEL\VGA\i85x VGA Driver
<CD>:\Common\Ac97_codec\RealteK\ALC202A Audio Driver
<CD>:\Common\Lan_driver\R8139_810x 10/100Mb LAN Driver
<CD>:\Common\INTEL\USB20 USB 2.0 Driver
<CD>:\Common\Elo_Touch ELO Touch Screen Driver
<CD>:\Common\POS_Touch POSTouch Touch Screen Driver
The followingproceduresareforWindows 2000/XP, otherplatforms are similar.
3.2.Chipset Driver Installation
a. Double click the “infinst_enu_6.0.1002”
on the “My Computer”window. b. Click the “Next”button on the “Welcome”
window.

10
c. Click the “Yes”button on the “License
Agreement”window. d. Click the “Next”buttonon the “Readme
Information”window.
e. Click the “Finish”button and restart your
system.

11
3.3.VGADriver Installation
a. Click the “Win2K_XP”on the My
Computerwindow. b. Click the “v14.19.50”on the My Computer
window.
c. Select “win2K_xp141950”on the
v14.19.50window. d. Click the “Next”buttonon the Intel(R)
ChipsetGraphics DriverSoftware-
InstallShield(R)Wizard window.

12
e. Click the “Next”buttonon the Intel(R)
Graphics Media AcceleratorDriver
window.
f. Click the “Yes”button on the Intel(R)
Graphics Media AcceleratorDriver
window.
g. Select “Yes, I want to restart my computer
now”and click the “Finish”buttonon the
Intel(R)Graphics Media AcceleratorDriver
window.

13
3.4.AudioDriver Installation
a. Click “A3.71”on theMyComputerwindow.
b. Double click “wdm_a371”on the My
Computerwindow.
c. Click “Next”button on the Realtek AC’97
Audio Setup window.
d. Click “Yes”button on the DigitalSignature
Not Found window.

14
e.Click “Finish”button on theRealtek
AC’97 Audio Setup window.
3.5.LANDriver Installation
a. Double click the ”Setup”on the “My
Computer”window. b. Click the “Finish”button onthe
“Maintenance complete”window.

15
c. Click the “OK”button and restart your
system.
3.6.USB2.0Driver Installation
a. Right click the “My Computer”on the
windows and select “properties”. b. Select “Hardware”à”Device Manager”
on systemproperties.

16
c. Select ”OtherDevices”à“UniversalSerialBus (USB)Controller”à”Properties”in the
Device Manager.
d. Select “Device”à“Update Driver…” e. Click the “Next”button onthe “Welcome”
window.
f. Select “Search fora suitable…”and click
the “Next”button on the “InstallHardware
Device Drivers”window.
g. Select “Specify a location”and click the
“Next”button on the “Locate DriverFiles”
window.

17
h. Press “Browse”to select driverand then
click the “OK”button to next page. i. Click the “Next”buttonon “DriverFiles
Search Results”window.
j. Click the “Finish”button to complete this
process. k. Finished.

18
3.7.ELOTouchScreen Driver Installation
a. Click ”sw500930”on the My computer
window.
b. Click the “OK”button on the Welcome
window.
c. Click the ”Unzip”buttonon the WinZip
Self-Extractorwindow.
d. Select “InstallSerialTouchscreen
Drivers”and then click the “Next”
button
on the Welcome window.

19
e. Click the “Yes”button on the License
Agreement window.
f. Click the “Next”buttonon the on the
“Selectthe COMports…” window.
g. Select “COM5”andclick the “Next”
button
on the Choose theCOMports…window.
h. Click the “Next”buttonon theYou have
selected theCOMports…window.
i. Click the “Finish”button onthe Setup
Complete window
j. Click the “Yes”button and restart your
system.

20
k. Afterthe computer has restarted, click
“Align”on the Elo Touchscreen Properties
window.
l. Followthe instructions on the screen to
calibrate the touchpanel.
3.8.POSTouchTouchScreen Driver Installation
a. Double click the ”Setup”on the “My
Computer”window.
b. Click the “Next“buttonon the “Welcome
window”.
Table of contents
Other EPOS Touch Terminal manuals
