Page 2
Using Fiery WebSetup 46
RIP Station Setup from Fiery WebSetup 46
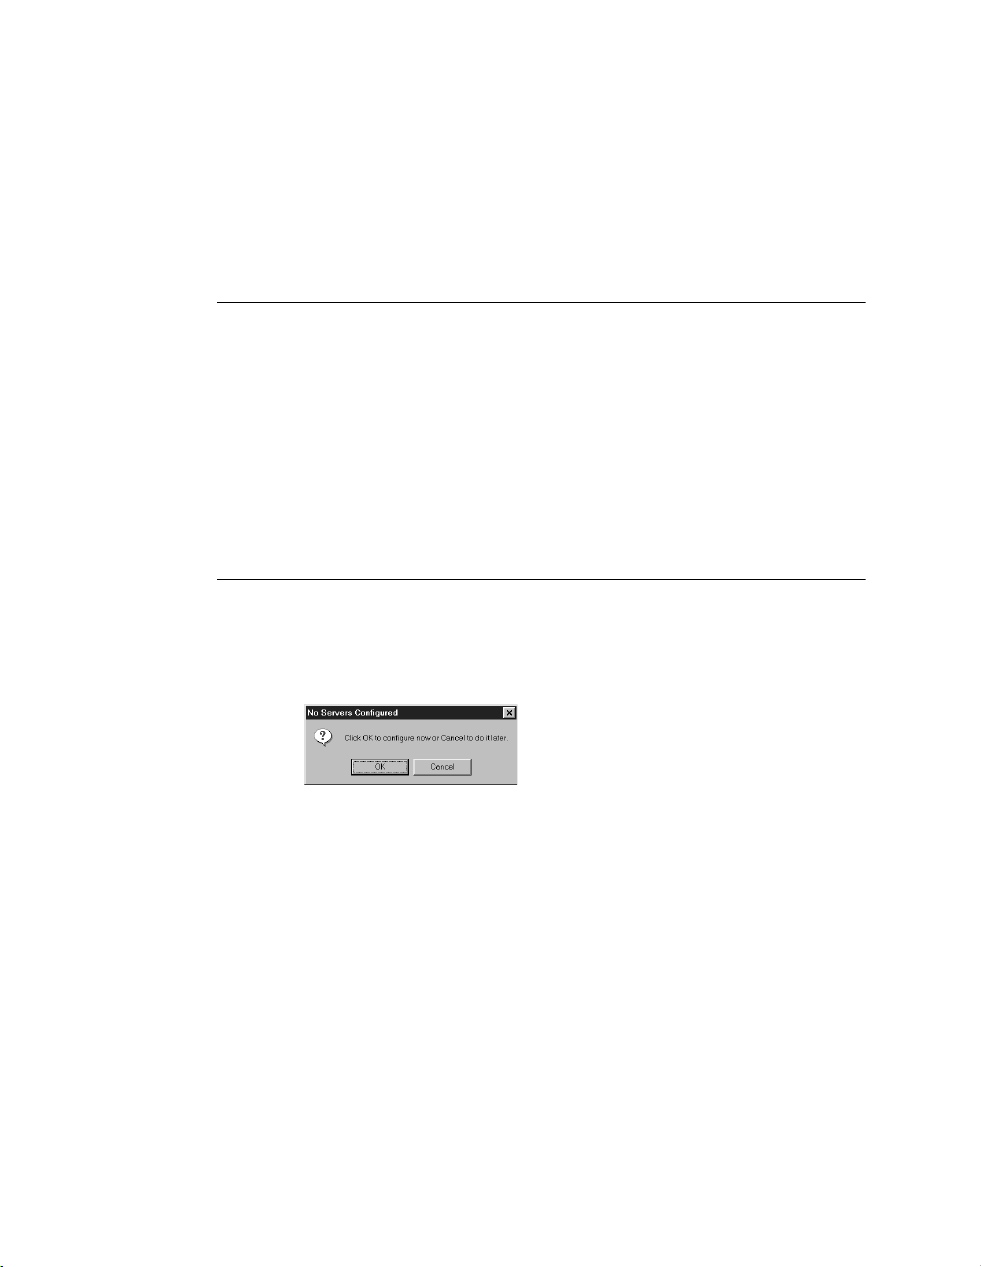
Server Setup 47
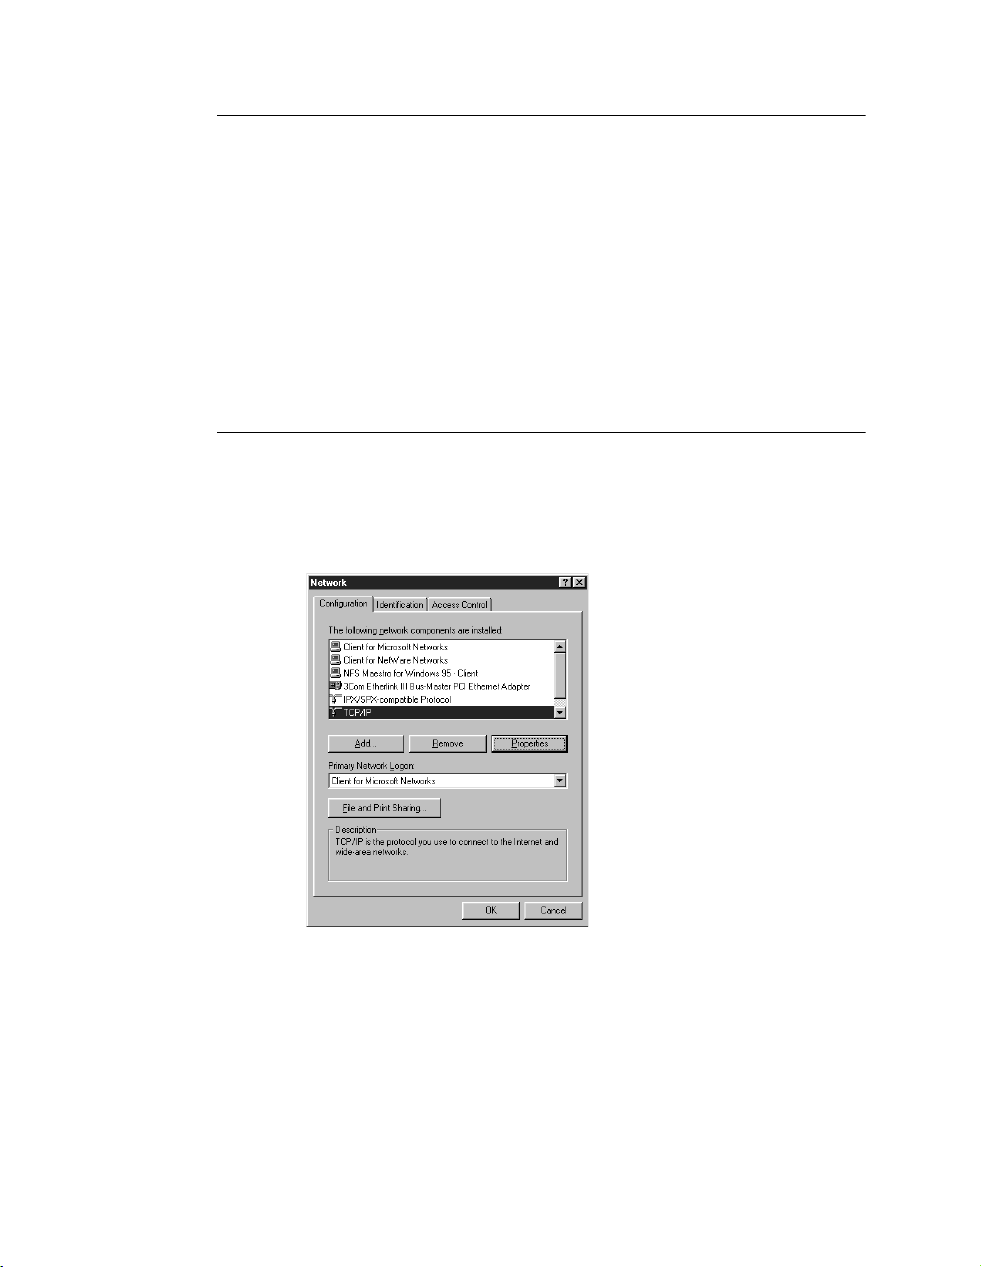
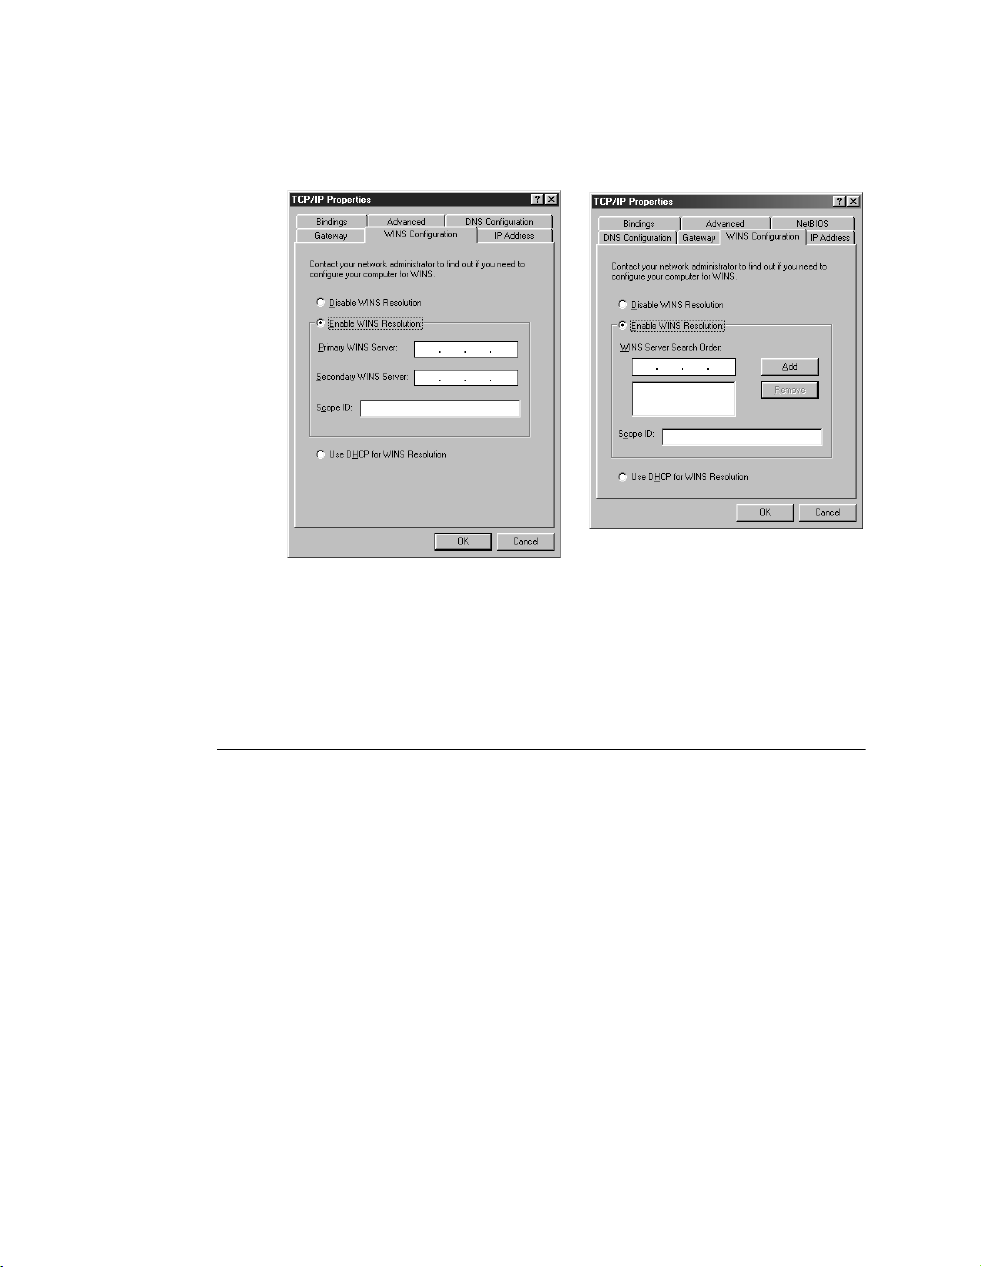
Network Setup 50
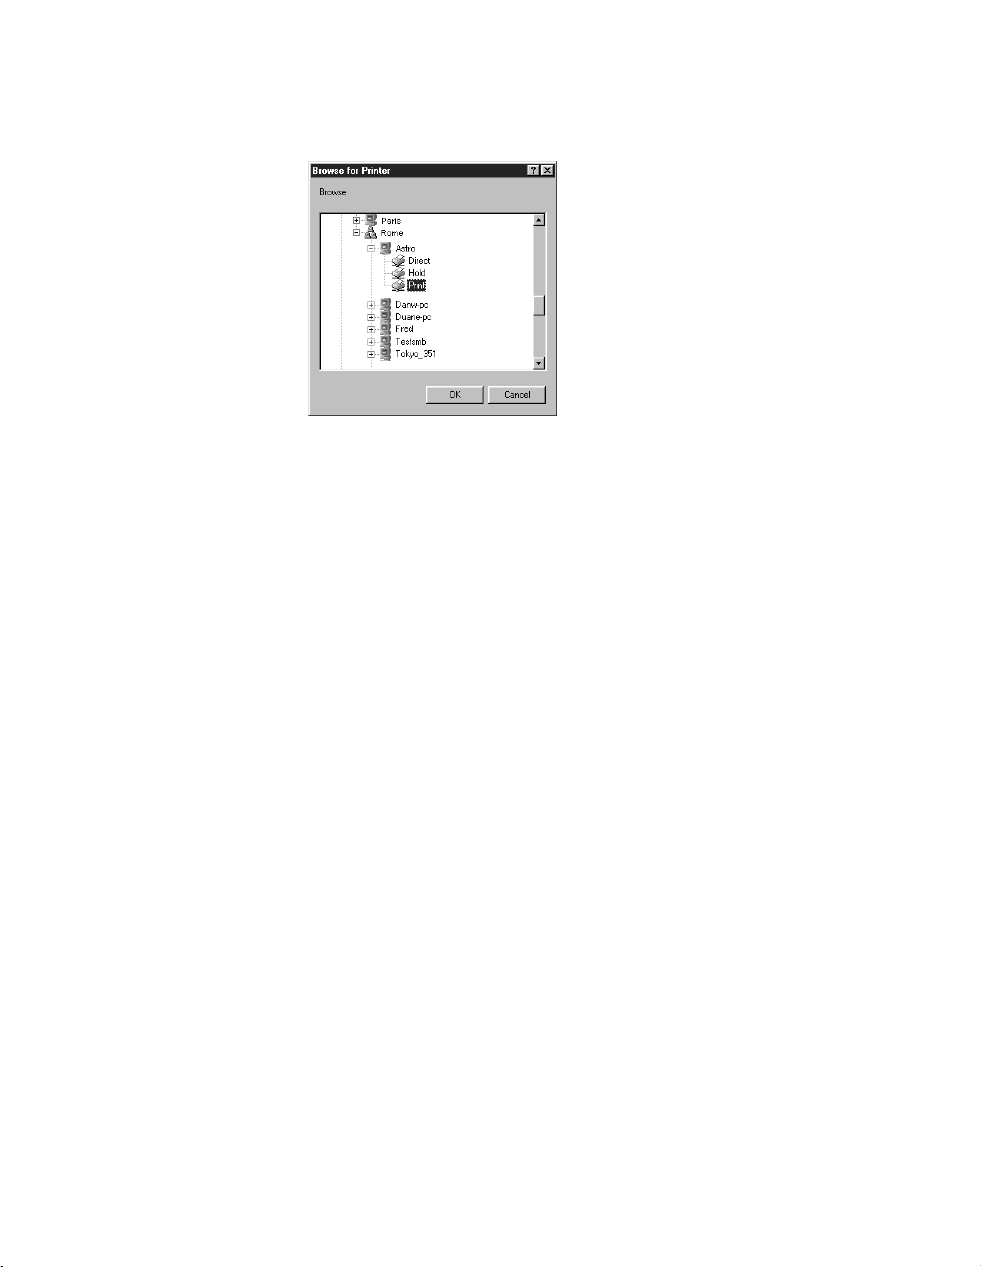
Printer Setup 57
Restarting the RIP Station 59
Color Management 59
RIP Station color management 59
Copyright © 1998 Electronics for Imaging, Inc. All rights reserved.
This publication is protected by copyright, and all rights are reserved. No part of it may be reproduced or transmitted in any form or by
any means for any purpose without express prior written consent from Electronics for Imaging, Inc., except as expressly permitted herein.
Information in this document is subject to change without notice and does not represent a commitment on the part of Electronics for
Imaging, Inc.
The software described in this publication is furnished under license and may only be used or copied in accordance with the terms of
such license.
Patents: 5,666,436; 5,553,200; 5,543,940; 5,537,516; 5,517,334; 5,506,946;5,424,754; 5,343,311; 5,212,546; 4,941,038; 4,837,722;
4,500,919
EFI, the EFI logo, Fiery, the Fiery logo, Rip-While-Print, and ColorWise are trademarks registered in the U.S. Patent and Trademark
Office. Fiery ZX, Fiery LX, Fiery Driven, the Fiery Driven logo, Command WorkStation, AutoCal, Starr Compression, Memory
Multiplier, and NetWise are trademarks of Electronics for Imaging, Inc. Although ICC profiles have from a wide variety of sources been
tested, EFI cannot guarantee any support of third party ICC profiles. In addition, ICC profiles provided by EFI are not guaranteed to
be supported by any third party product.