EQK J1-72 User manual

REMOTE
18

Remote controller 1
Operation instructions
Operation modes 3
3
Airflow direction control 4
Smart mode 5
Clock button 5
Timer mode 6
8° Heating mode 7
Super mode 7
Sleep mode 8
Ifeel mode 8
Remote controller Instructions
(J1-72)

Remote controller
1
1
2
3
13
45
6
12
11
8
7
9
10
SUPER BUTTON
SWING BUTTON
FAN BUTTON
ROOM TEMPERATURE
SETTING BUTTONS
SLEEP BUTTON
IFEEL BUTTON
CLOCK BUTTON
ON/OFF BUTTON
SMART BUTTON
MODE BUTTON
TIMER ON/OFF BUTTON
61°F(16
°F(30
.)
.
Remote controller
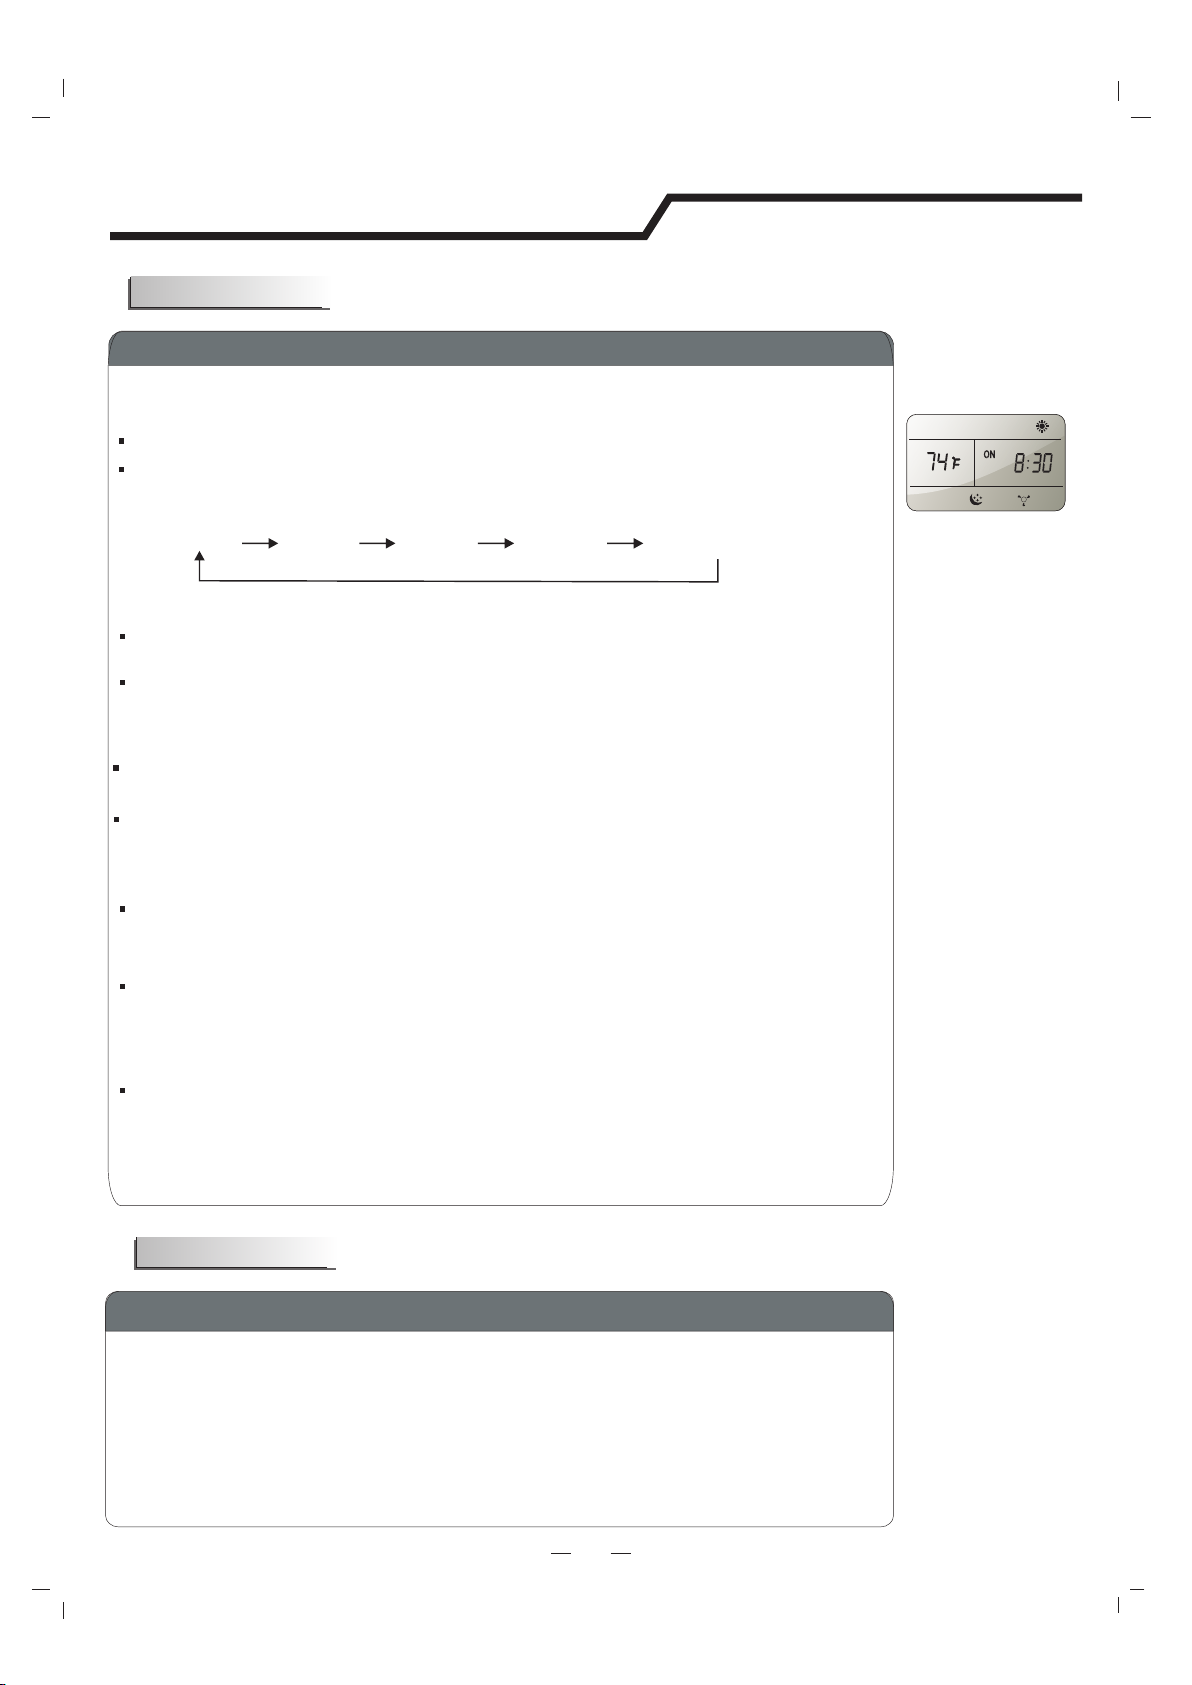
Indication symbols on LCD:
14 DIMMER BUTTON
.
15 SWING BUTTON
16 MUTE BUTTON
17 8 BUTTON°HEAT
° .
Note: Each mode and relevant function will be further specified in following pages.
FF
88
12
ON/OFF
MODE FAN
SLEEP SUPER
SMART IFEEL DIMMER
TIMER ON TIMER OFF CLOCK
SWING
SWING
MUTE
FFFF
8
8HEAT
10
11
13
14
3
4
1
2
6
8
5
7
9
16
17
15

ON
OFF
ON
OFF
ON/OFF
MODE FAN
SWING SLEEP SUPER
SMART IFEEL DIMMER
TIMERON TIMEROFF CLOCK
8
SWING MUTE
8
HEAT
How to Insert the Batteries
How to Use
Remove the battery cover according to the arrow direction.
Insert new batteries making sure that the (+) and (-) of
battery are matched correctly.
Reattach the cover by sliding it back into position.
Note:
Use 2 LR03 AAA(1.5volt) batteries. Do not use rechargeable batteries.
Replace batteries with new ones of the same type when the display
becomes dim.
Storage and Tips for Using the Remote Controller
The remote controller may be stored mounted on a wall with a holder.
Note: The remote controller holder is an optional part.
2
To operate the room air conditioner, aim
the remote controller to the signal receptor.
The remote controller will operate the air
conditioner at a distance of up to 7m when
pointing at signal receptor of indoor unit.
Remote controller
Remote controller
Signal receptor
CAUTIONS
For appropriate signal transmission between remote controller and
indoor unit, keep the signal receiver away from the following items:
Direct sunlight or other strong lights or heat
Flat panel television screen or other electrical appliances that
react to the remote controller
Additionally, the air conditioner will not operate if curtains, doors or
other materials block the signals from the remote controller to the
indoor unit. If the signal may not be transmitted properly, either move
these materials or consult your local dealer.

.
F
°F 1℃.
°F 1℃.
°
-
F
Operation instructions
3
ON/OFF
MODE FAN
SLEEP SUPER
SMART IFEEL DIMMER
TIMER ON TIMER OFF CLOCK
SWING
SWING
MUTE
FFFF
8
8HEAT
1
4
2
3
61°F ~°F(16℃~30℃)
Note: ”
together for 3 seconds will alternate the temperature display
between the ℃ and °F scale.
Note: Heating mode is NOT available for cooling only models.
Note: At “Dry” mode, the unit can decrease or rise 7°F by remote
controller if you feel uncomfortable.
Press and hold “ MODE” button and “ button

SWING
5
Airflow direction control
Vertical airflow(Horizontal airflow) is automatically adjusted to a certain
angle in accordance with the operation mode after turning on the unit.
The direction of airflow can be
also adjusted to your own
requirement by pressing the
"SWING" button of the
remote controller.
Operation mode Direction of airflow
COOLING, DRY
*HEATING,
FAN ONLY
horizontal
downward
Vertical airflow control (with the remote controller)
Using remote controller to set various angles of flow or specific angle
as you like.
Swinging airflow
Pressing " SWING" button once, the vertical adjustment louver will
swing up and down automatically.
Desired direction airflow
Pressing the " SWING" button again when the louvers swing to a
suitable angle as desired.
Do not turn the vertical adjustment louvers manually, otherwise malfunction may occur. If that happens, turn off the
unit first and cut off the power supply, then restore power supply again.
It is better not to let the vertical adjustment louver tilt downward for a long time at COOLING or DRY mode to prevent
condensed water from dripping.
Operation instructions
4
*Heating mode is only available for heat pump models.
Airflow direction control
Horizontal airflow control (with the remote controller)
Using remote controller to set various angles of flow or specific angle
as you like.
Swinging airflow
Pressing " SWING" button once, the horizontal adjustment louver will
swing left and right automatically.
Desired direction airflow
Pressing the " SWING" button again when the louvers swing to a
suitable angle as desired.
NOTE:If the unit doesn’t have four ways airflow function,you can adjust horizontal
airflow by yourself.(invalid for some models)
ON/OFF
MODE FA N
SLEEP SUPER
SMART IFEEL DI MM ER
TIMER ON TIMER OFF CLOCK
SWING
SWING
MUTE
ON
OFF
ON
OFF
8
8 HEAT

SMART button is ineffective in SUPER mode.
Your feeling
What you can do in SMART mode
button adjustment procedure
Press the SMART button, the unit enters SMART mode(fuzzy logic operation) directly regardless of
the unit is on or off. In this mode, temperature and fan speed are automatically set based on the
actual room temperature.
Uncomfortable
because of
unsuitable air
flow volume.
Uncomfortable
because of
unsuitable flow
direction.
Indoor fan speed alternates among
Auto, Higher, High, Medium, low and Lower
each time this button is pressed.
Press it once, the vertical adjustment louver
swings to change vertical airflow direction.
Press it again, swings stops.
For horizontal airflow direction, please
refer to the previous page for details.
Note: Temperature, airflow and direction are controlled automatically in SMART mode.
However, for the inverter you can choose from -7 to 7.If you still feel uncomfortable.
Operation instructions
5
SMART mode
CLOCK button
You can adjust the real time by pressing CLOCK button, then
using and buttons to get the correct time, press
CLOCK button again the real time is set.
FAN
SWING
SWING
Press MODE button cancel SMATR mode.
ON/OFF
MODE FAN
SLEEP SUPER
SMART IFEEL DIMMER
TIMER ON TIMER OFF CLOCK
SWING
SWIN G
MUTE
ON
OFF
ON
OFF
8
8 HEAT
Indoor temperature Target temperature
70 )°F(21℃ or below 72 )°F(22℃
79°F(26℃)Over 79°F(26℃)
70°F °F(21℃~23℃)-73
73 -79°F °F(23℃~26℃)
Operation mode
HEATING
FAN ONLY
DRY Room temperature
decrease 2°F(2℃) after
operate for 3 minutes
COOLING
Operation mode and temperature are determined by indoor temperature
Heat pump models
Cooling only models
Indoor temperature Target temperature
73 )°F(23℃ or below
79°F(26℃)
Over 79°F(26℃)
73°F °F(23℃~26℃)-79
Operation mode
FAN ONLY
DRY Room temperature
decrease 2°F(2℃) after
operate for 3 minutes
COOLING

6
TIMER mode
The TIMER ON button can be used to set the timer to switch on the appliance at your
desired time.
Press the TIMER ON button and when "ON 12:00" flashes on the LCD display, you can
then press the or buttons to select the time you wish for the appliance to turn on.
Press the or button once to increase or decrease the time setting by 1 minute.
Press the or button 2 seconds to increase or decrease the time setting
by 10 minutes.
Press the or button for a longer time to increase or decrease the time by 1 hour.
Press the TIMER ON button again. Once you hear a "beep" and the indicator disappears,
the TIMER ON mode has been canceled.
A "beep" will sound.
Note: If you don't set the time in 10 seconds after you press the TIMER ON button, the remote control
will exit the TIMER ON mode automatically.
Note: It is similar to set TIMER OFF. You can make the appliance switch off automatically at
your desired time.
The TIMER indicator on the indoor unit lights up.(invalid for some models)
"ON" stops flashing.
After the set timer is displayed for 5 seconds the clock will be displayed on the LCD
of the remote control.
It is convenient to set the timer on with TIMER ON buttons when you go out in the
morning to achieve a comfortable room temperature when you get home. You can also
set the timer off at night to enjoy a good sleep.
Operation instructions
How to set the TIMER ON
How to cancel TIMER ON
Increase
Decrease
i)
it.
When your desired time is displayed on the LCD, press the TIMER ON button and confirm
ii)
iii)
ON

7
Operation instructions
SUPER mode
SUPER mode
8° HEATING mode
The mode will be started when you press at
the heating mode.
8°HEATING 8°HEAT button
If you
and SWING button, you can escape from 8°HEATING mode.Then the
display will disappear and the 8°HEATING mode will be cancelled.
press any button except for TIMER ON, TIMER OFF, CLOCK, IFEEL
In 8°HEATING mode, the fan speed is set at "AUTO" automatically.
8°HEAT button is used to set 8 heating mode. ℃
8° HEATING mode
8
Note:
mode can be set only when the air conditioner works in the heating mode.8°HEATING
In mode, the temperature is set 8 .8°HEATING default ℃
8
SUPER mode can be set when the appliance is in operation or energized.
In SUPER mode, you can set airflow direction or timer.
If you want to escape from SUPER mode, press SUPER, MODE, FAN,
ON/OFF or SLEEP button, the display will return to the original mode.
temperature,
Note:
The Appliance will continue working in SUPER mode , if you don't escape from it by
pressing any of the buttons mentioned above.
SMART button is not available in SUPER mode.
SUPER mode is used to start or stop fast cooling or heating. In SUPER
mode, the super indicator will .
Fast cooling operates at high fan speed, changing the set temperature
automatically to 61°F(16℃);Fast heating operates at auto fan speed, changing the
set temperature automatically to 86 °F(30℃).
display on LCD
Heating is NOT available for cooling only air conditioner.
For the first generation of products, you can’t set temperature in super mode, but you
can press TEMPERATURE SETTING button to escape super mode.
ON
OFF
ON
8
Operation instructions
SLEEP mode
Note: When using IFEEL mode, advice to put the remote in the place where the indoor unit can
receive the signal easily.
Note: When stopping the air conditioner, advice to cancel the IFEEL mode so as to save energy.
In IFEEL mode, the temperature sensor built in remote controller is activated. It can
sense its surrounding temperature, and transmit the signal back the unit, the unit
can adjust the temperature so as to provide maximum comfort.
IFEEL mode
IFEEL mode
SLEEP mode
SLEEP mode can be set in COOLING ,HEATING mode. or DRYING
This function gives you a more comfortable environment for sleep.
The appliance will stop operation automatically after operating for 8 hours.
Fan speed is automatically set at low speed.
Note: Heating is NOT available for cooling only air conditioner.
Set temperature will rise by 2 ) if the appliance operates in cooling °F(2℃mode at most
for 2 hours constantly, then keeps steady.
Set temperature will decrease by 2 )°F(2℃ at most if the appliance operates in heating
mode for 2 hours constantly, then keeps steady.
SLEEP mode 1:
Set temperature will rise by 2 ) if the appliance operates in cooling
constantly, decrease by 1°F(1℃) after 6 hours, then decrease by 1°F(1℃) after 7 hours.
°F(2℃mode for 2 hours
Set temperature will decrease by 2°F(2℃) if the appliance operates in heating mode for
hours constantly, rise by 1°F(1℃) after 6 hours, then rise by 1°F(1℃) after 7 hours.
SLEEP mode 2:
Set temperature will rise by 1 ) if the appliance operates in cooling
hour, rise by 2°F(2℃) after 2 hours, then decrease by 2°F(2℃) after 6 hours,
decrease by 1°F(1℃) after 7 hours.
°F(1℃mode for 1
Set temperature will decrease by 2°F(2℃) if the appliance operates in heating mode
for 1 hour , decrease by 2°F(2℃) after 2 hours, then rise by 2°F(2℃) after 6 hours,
rise by 2°F(2℃) after 7 hours.
SLEEP mode 3:
Set temperature will keeps steady.
SLEEP mode 4:
Each time SLEEP button is pressed, the operation mode is changed in sequence:
SLEEP 2 SLEEP 3 QUIT SLEEP MODE
SLEEP 4
SLEEP 1
Note: Press SUPER ,SMART, MODE,SLEEP or FAN button cancel SLEEP mode.

1- 888-493-0305

1- 888-493-0305
&RQWUROUHPRWR
,QVWUXFFLRQHVGHIXQFLRQDPLHQWR
0RGRVGHIXQFLRQDPLHQWR
&RQWUROGHODGLUHFFLyQGHOIOXMRGHDLU
0RGR60$57
%RWyQ&/2&.
0RGR7,0(5
0RGR+($7,1*
0RGR683(5
0RGR6/((3
0RGR,)((/
Instrucciones del control remoto
(J1-72)

El control remoto transmite señales al sistema.
Control remoto
1
1
2
4
3
13
12
5
6
11
8
7
9
10
BOTÓN SUPER
BOTÓN FAN
BOTONES PARA CONFIGURAR LA
TEMPERATURA DE LA HABITACIÓN
BOTÓN CLOCK
BOTÓN SMART
BOTÓN TIMER ON/OFF
Se utiliza para encender o detener el enfriamiento/calentamiento
rápido. (El enfriamiento rápido funciona a gran velocidad del
YHQWLODGRUFRQXQDWHPSHUDWXUDDXWRPiWLFDGH)&HO
FDOHQWDPLHQWRUiSLGRIXQFLRQDDXQDYHORFLGDGDXWRPiWLFDGHO
YHQWLODGRUFRQXQDWHPSHUDWXUDDXWRPiWLFDGH)&
Se utiliza para seleccionar la velocidad del ventilador en
secuencia de auto, higher, high, medium, low o lower.
BOTÓN SLEEP
Se utiliza para establecer o cancelar el funcionamiento del
Modo Sleep.
BOTÓN SWING
Se utiliza para detener o iniciar el movimiento de las rejillas
de ajuste vertical y establece la dirección deseada del flujo de
aire hacia arriba/abajo.
BOTÓN IFEEL
6HXWLOL]DSDUDHVWDEOHFHUHOPRGRGHRSHUDFLyQGH,)((/
3XOVDUHOERWyQXQDYH]SDUDLQLFLDUODIXQFLyQGH,)((/
3XOVDUHOERWyQRWUDYH]SDUDDSDJDUODIXQFLyQGH,)((/
Se utiliza para establecer la hora actual.
Se utiliza para introducir el funcionamiento fuzzy logic
independientemente si la unidad está encendida o pagada.
BOTÓN ON/OFF
Si se presiona este botón, el electrodoméstico se encenderá
cuando esté energizado o parará cuando esté enfuncionamiento.
BOTÓN MODE
Presionar este botón para seleccionar modo de
funcionamiento.
Se utiliza para establecer o cancelar el funcionamiento del reloj.
Control remoto
Símbolos de indicación en la pantalla LCD:
Se utiliza para ajustar la temperatura de la habitación
y el reloj; también la hora.
14 BOTÓN DIMMER
Cuando se presiona este botón, la pantalla de la unidad
interna se cerrará. Presionar cualquier botón para
reanudar la pantalla.
15 BOTÓN SWING
Se utiliza para detener o iniciar el movimiento de las
rejillas de ajuste horizontal y establece la dirección
del flujo de aire deseado de izquierda/derecha.
16 BOTÓN MUTE
Se utiliza para detener o iniciar el funcionamiento del
Modo MUTE.
La velocidad del ventilador se ajusta automáticamente a
una velocidad baja del ventilador.
17 BOTÓN 8º HEAT
Se utiliza para establecer el modo 8º Heating.
1212
15
ON/OFF
MODE FAN
SLEEP SUPER
SMART IFEEL DIMMER
TIMER ON TIMER OFF CLOCK
SWING
SWING
MUTE
ON
OFF
ON
OFF
8
8 HEAT
10
11
13
14
3
4
1
2
6
8
5
7
9
16
17
Nota: Cada modo y función será especificado en las siguientes páginas.
Transmisión de la señal
Pantalla de temperatura
Pantalla del temporizador
Pantalla de tiempo real
ON
OFF
Indicador Dry Indicador Fan Only
Indicador Cooling
Indicador Smart Indicador Super
Ifeel
Indicador Mute
8 Indicador de 8º Heating Indicador de calentamiento
Velocidad del
ventilador Auto Velocidad del
ventilador Higher
Velocidad del
ventilador High
Velocidad del ventilador
Medium Velocidad del ventilador Low
Velocidad del
ventilador Lower
Indicador Sleep 4
Indicador Sleep 3
Indicador Sleep 2
Indicador Sleep 1
15

ON
OFF
ON
OFF
ON/OFF
MODE FAN
SWING SLEEP SUPER
SMART IFEEL DIMMER
TIMER ON TIMER OFF CLOCK
8
SWING MUTE
8
HEAT
¿Cómo colocar las pilas?
¿Cómo se utiliza?
Quitar la tapa siguiendo la dirección de la flecha.
Insertar las nuevas pilas; asegurarse de que el (+) y (-) de las
pilas coincidan de manera correcta.
Volver a colocar la tapa deslizándola nuevamente a su posición
Nota:
Utilizar 2 pilas LR03 AAA (1,5 voltios). No utilizar pilas recargables.
Reemplazar las pilas por unas nuevas del mismo tipo cuando la
pantalla se oscurezca.
Almacenamiento y consejos para utilizar el control remoto
El control remoto se debe guardar el soporte montado en la pared.
Nota: El soporte del control remoto es un parte opcional.
2
Para manejar el aire acondicionado de la habitación, apuntar el
control remoto hacia el receptor de señal.
El control remoto funcionará a una distancia de 23pies(7m)
cuando se apunte al receptor de señal de la unidad interna.
Control remoto
Control remoto
Receptor de la seña
PRECAUCIONES
Para una transmisión adecuada de la señal entre el control remoto y la
unidad interna, mantener al receptor de la señal lejos de los siguientes
artículos:
Luz de sol directa y otras luces fuertes o cal
Televisor de pantalla plana u otros electrodomésticos eléctricos que
reaccionen al control remoto
Además, el aire acondicionado no funcionará si las cortinas, puertas u otros
materiales bloquean las señales del control remoto a la unidad interna. Si la
señal no se transmite correctamente, mover los materiales o consultar con el
proveedor local.

Cada vez que se presiona el botón MODE, la operación del modo
cambia en secuencia:
Cada vez que se presiona el botón FAN, la velocidad del ventilador
cambia en secuencia:
61°F ~86°F(16℃~30℃)
El modo Heating NO está disponible para los aires acondicionados
de Cooling Only.
HEATINGCOOLING DRY FAN ONLY
Selección del modo
Modo FAN
"Auto" no está disponible en el modo "FAN ONLY".
En modo "DRY", la velocidad del ventilador se establece automáticamente
en "AUTO". El botón "FAN" es ineficaz en este caso.
Setting temperature
Presionar una vez para disminuir la temperatura de a 1ºF o 1ºC
Presionar una vez para aumentar la temperatura de a 1ºF o 1ºC
Range of available set temperature
*HEATING, COOLING
DRY -7 ~ 7
no se puede establecer
Encender
Los modos de funcionamiento SWING, SMART, TIMER ON, TIMER OFF, CLOCK, 8 HEATING, SLEEP y SUPER
se especificarán en las siguientes páginas.
Presionar el botón ; cuando el electrodoméstico recibe la
señal, el indicador RUN de la unidad interna se encenderá.
Si se cambian los modos durante el funcionamiento, a veces la unidad no responde en seguida. Esperar 3 minutos.
Esperar 3 minutos antes de reiniciar el electrodoméstico.
Al principio, durante el funcionamiento a calor, el flujo de aire no se descarga. Luego de 2-5 minutos, el flujo de aire
se descargará hasta que la temperatura del intercambiador de calor interno aumente.
FAN ONLY
Instrucciones de funcionamiento
3
Modos de funcionamiento
Nota: Al presionar y mantener el botón “MODE” y el botón“
la pantalla de la temperatura entre la escala ºC y °F.
Nota: El modo Heating NO está disponible para los modelos de Cooling Only.
Nota: Si no se siente cómodo, en el modo DRY, la unidad puede disminuir o aumentar 7ºF (7ºC) con el
control remoto.
” juntos por 3 segundos, se alternará
Auto Higher High Medium Low Lower
ON/OFF
MODE FAN
SLEEP SUPER
SMART IFEEL DIMMER
TIMER ON TIMER OFF CLOCK
SWING
SWING
MUTE
ON
OFF
ON
OFF
8
8 HEAT
1
4
2
3

SWING
5
Control de la dirección del flujo de air
El flujo de aire vertical (flujo de aire horizontal) se ajusta automáticamente a un
cierto ángulo según el modo de funcionamiento después de encender la unidad.
La dirección del flujo de aire también
puede ajustarse a sus necesidades
si presiona el botón "SWING" del
control remoto.
Modo de
funcionamiento Dirección del flujo
de aire
COOLING, DRY
*HEATING,
FAN ONLY
horizontal
descendente
Control del flujo de aire vertical (con el control remoto)
Utilizar el control remoto para establecer varios ángulos de flujo o un ángulo
específico, como lo desee.
Flujo de aire balanceado
Presionar el botón " SWING" una vez, la rejilla de ajuste vertical se moverá hacia
arriba y abajo automáticamente.
Dirección de flujo de aire deseada
No girar las rejillas de ajuste vertical, de lo contrario, puede funcionar mal. Si eso sucede, primero se
debe apagar la unidad y cortar el suministro de energía. Luego, reanudar el suministro de energía
nuevamente.
Para evitar que el agua condensada gotee, es mejor no dejar que la rejilla de ajuste vertical esté inclina
da hacia abajo por un largo tiempo en el modo COOLING o DRY.
Instrucciones de funcionamiento
4
*El modo Heating solo está disponible para los modelos de bomba de calor.
Control de la dirección del flujo de air
Control de flujo de aire horizontal (con el control remoto)
Utilizar el control remoto para establecer varios ángulos de flujo o un ángulo
específico, como lo desee.
Flujo de aire balanceado
Presionar el botón " SWING" una vez, la rejilla de ajuste horizontal se moverá
hacia la izquierda y derecha automáticamente.
Dirección de flujo de aire deseada
Presionar el botón " SWING" otra vez cuando las rejillas se mueven a un ángulo
deseado.
NOTA: Si la unidad no posee la función de cuatro direcciones para el flujo de aire, puede
ajustar el flujo de aire horizontal usted mismo con la mano.QRYiOLGRSDUDDOJXQRVPRGHORV
Presionar el botón " SWING" una vez, la rejilla de ajuste vertical se moverá hacia
arriba y abajo automáticamente.
Presionar el botón " SWING" otra vez cuando las rejillas se mueven a un ángulo
deseado.
ON/OFF
MODE FAN
SLEEP SUPER
SMART IFEEL DIMMER
TIMER ON TIMER OFF CLOCK
SWING
SWING
MUTE
ON
OFF
ON
OFF
8
8 HEAT

Temperatura interna
EL botón SMART no funciona en el modo SUPER.
Temperatura meta
70°F ( 21ºC) o menor 72 )°F(22℃
79°F(26℃)
Por encima de 79°F ( 26ºC )
70°F °F(21℃~23℃)-73
73 -79°F °F(23℃~26℃)
Ud. se siente
¿Qué puede hacer en modo SMART?
Botón Procedimiento de ajuste
Modo de funcionamiento
HEATING
FAN ONLY
DRY
La temperatura de la habitación
disminuye 2ºF (2ºC) después
de funcionar por 3 minutos
COOLING
Presionar el botón SMART, la unidad ingresa al modo Smart (operación Fuzzy Logic) independientemente si la unidad
este encendida o apagada. En este modo, la temperatura y la velocidad del ventilador están automáticamente
establecidas según la temperatura actual de la habitación.
Incómodo porque el
volumen del flujo de
aire es inadecuado.
Incómodo porque la
dirección del flujo es
inadecuada.
La velocidad del ventilador interno se alterna
entre $XWR Higher, High, Medium, low y Lower cada
vez que se presiona el botón.
Presionar una vez, la rejilla de ajuste vertical
oscila para cambiar la dirección del flujo.
Presionar otra vez, el movimiento para.
Para el flujo de aire horizontal, ver la página
anterior para más detalles.
El modo de funcionamiento y la temperatura se determinan
por la temperatura del interior.
Nota: La temperatura, el flujo de aire y la dirección se controlan automáticamente en el modo SMART.
Sin embargo, para el inversor puede elegir desde -7 a 7 si aún no se siente cómodo
Instrucciones de funcionamiento
5
Modo SMART
Modelos de bomba de calor
Modelo Cooling Only
Botón CLOCK
Y puede ajustar el tiempo real al presionar el botón CLOCK, luego los botones y para
obtener el tiempo correcto. Presionar el botón CLOCK otra vez para establecer el tiempo real.
Temperatura interna Temperatura meta
73°F ( 23ºC) o menor
79°F(26℃)
Por encima de 79°F ( 26ºC )
73°F °F(23℃~26℃)-79
Modo de funcionamiento
FAN ONLY
DRY La temperatura de la habitación
disminuye 2ºF (2ºC) después
de funcionar por 3 minutos
COOLING
FAN
SWING
SWING
Presionar el botón MODE para cancelar el modo SMART.
ON/OFF
MODE FAN
SLEEP SUPER
SMART IFEEL DIMMER
TIMER ON TIMER OFF CLOCK
SWING
SWING
MUTE
ON
OFF
ON
OFF
8
8 HEAT

6
Modo Timer
Presionar el botón o una vez para incrementar o disminuir el tiempo de a 1 minuto.
Presionar el botón TIMER ON otra vez. Escuchará un "bip" y el indicador desaparecerá. Se canceló el
modo TIMER ON.
Nota: Si no establece el tiempo en 10 segundos después de presionar el botón TIMER ON, el control
remoto saldrá del modo TIMER ON automáticamente.
Nota: Es similar al ajuste de TIMER OFF. Puede apagar el electrodoméstico automáticamente
a la hora deseada
Luego de establecer el temporizador, se mostrará por 5 segundos, el reloj se mostrará en la
pantalla del LCD del control remoto.
Instrucciones de funcionamiento
Es conveniente encender el temporizador con los botones TIMER ONcuando sale en la mañana para lograr una
temperatura confortable en la habitación para cuando vuelva al hogar. También puede establecer el temporizador a
la noche para disfrutar del descanso.
¿Cómo establecer TIMER ON?
El botón TIMER ON se puede utilizar para establecer el temporizador y cambiar en el electrodoméstico
el tiempo deseado.
Presionar el botón TIMER ON y cuando "ON 12:00" parpadee en la pantalla de LCD, luego presionar los
botones o para seleccionar el tiempo que desea para que el electrodoméstico se encienda.
¿Cómo cancelar TIMER ON?
Aumentar
Disminuir
i)
Cuando la hora deseada se muestre en el LCD, presionar el botón TIMER ON para confirmarla.
ii)
iii)
ON
Presionar el botón o una vez para incrementar o disminuir el tiempo de a 10 minuto.
Presionar el botón o por un largo tiempo para aumentar o disminuir el tiempo de a 1 hora
Sonará un "bip".
"ON" dejará de parpadear.
El indicador TIMER se encenderá en la unidad interna.HQFLHQGHQRYiOLGRSDUDDOJXQRVPRGHORV

7
Instrucciones de funcionamiento
Modo SUPER
Modo SUPER
Modo 8º HEATING
El modo 8º HEATING se encenderá cuando se presione el botón 8º HEAT en modo Heating.
I
si presiona cualquier botón, excepto TIMER ON, TIMER OFF, CLOCK, SWING e IFEEL puede
salir del modo 8º HEATING. Luego, la pantalla desaparecerá y el modo 8º HEATING se
cancelará.
8°El botón 8º HEAT se utiliza para establecer el modo 8º Heating
En el modo 8º HEATING, la velocidad del ventilador se establece a "AUTO" automáticamente.
Modo 8º HEATING
8
8
Nota:
El modo 8º HEATING se puede establecer sólo cuando el aire acondicionado
funciona en el modo HEATING.
En el modo 8º HEATING, la temperatura predeterminada es 8ºC.
(OPRGR683(5VHXWLOL]DSDUDLQLFLDURGHWHQHUHOFDOHQWDPLHQWRRHQIULDPLHQWRUiSLGR
(QPRGR683(5HOLQGLFDGRUVXSHUVHPRVWUDUiHQHO/&'
(l enfriamiento rápido funciona a gran velocidad del ventilador, cambia la temperatura
Dutomáticamente a 61ºF (16ºC); el calentamiento rápido funciona a la velocidad del
Yentilador en auto, cambia la temperatura automáticamente a 86ºF (30ºC).
(l modo SUPER se puede establecer cuando el electrodoméstico está en funcionamiento o
Hnergizado.
(QPRGR683(5VHSXHGHHVWDEOHFHUODWHPSHUDWXUDODGLUHFFLyQGHOIOXMRGHODLUH\HOUHORM
6LTXLHUHVDOLUGHOPRGR683(5SUHVLRQHHOERWyQ683(502'()$1212))R6/((3
\ODSDQWDOODYROYHUiDOPRGRRULJLQDO
Nota:
(OERWyQ60$57QRHVWiGLVSRQLEOHHQHOPRGR683(5
(OHOHFWURGRPpVWLFRFRQWLQXDUiIXQFLRQDQGRHQPRGR683(5VLQRVHSUHVLRQDQORVERWRQHV
PHQFLRQDGRVDUULED
(OPRGR+HDWLQJ12HVWiGLVSRQLEOHSDUDDLUHVDFRQGLFLRQDGRVGHVyORIUtR
(QORVSURGXFWRVGHSULPHUDJHQHUDFLyQQRSXHGHHVWDEOHFHUODWHPSHUDWXUDHQPRGR683(5SHURSXHGH
SUHVLRQDUHOERWyQ7(03(5$785(6(77,1*SDUDVDOLUGHOPRGR683(5
Table of contents
Languages:
Other EQK Remote Control manuals


