erc The-One Late Model User manual
Assembly Instructions
for
ERC The-One Late Model or
MWM
W E L C O M E T O E V O L U T I O N R A C I N G C O N C E P T S
Website: https://evolutionracingconcepts.com/

2
Overview
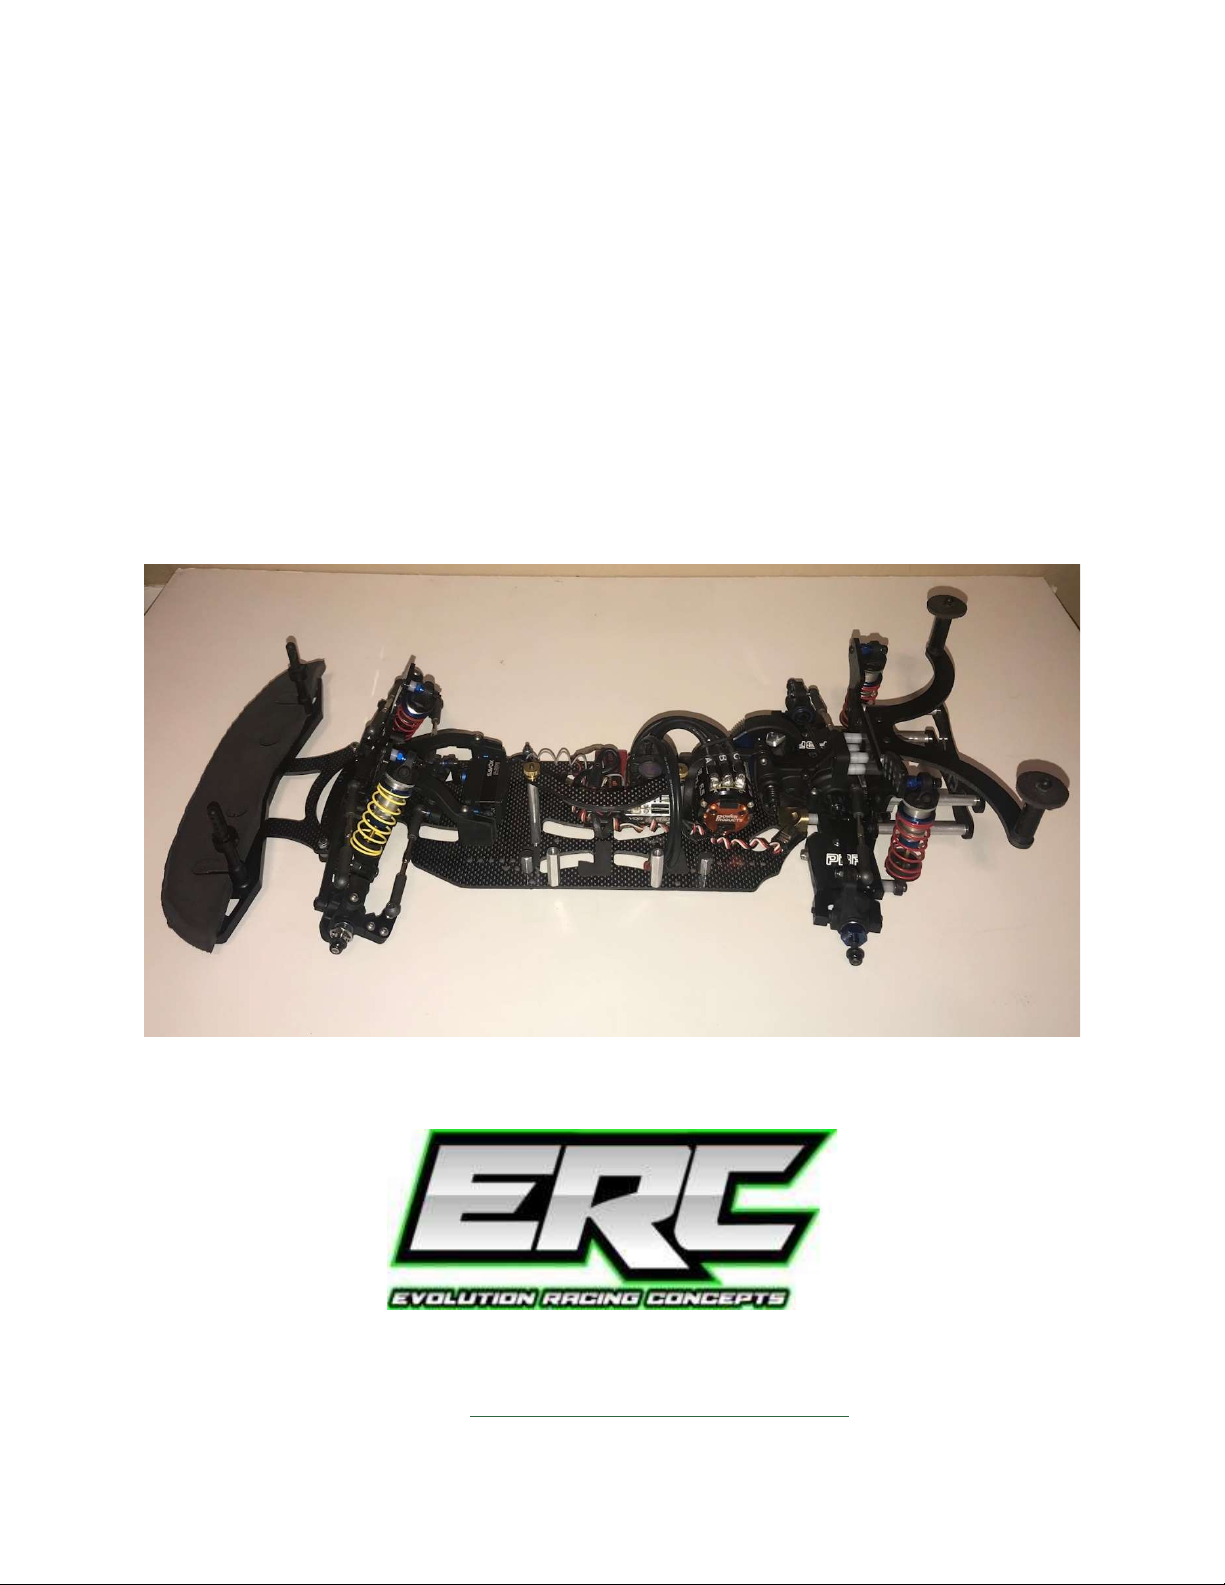
Evolution Racing Concepts (ERC) has created a new Carbon Late Model or MWM chassis oval
conversion race car that is based off of a Team Associated B6.1 or B6.1D off-road buggy. The
following is a quick assembly instruction manual for you new ERC Late Model or MWM car named
The-One.
You will need to purchase the ERC The-One Chassis kit and you will need a Team Associated B6.1 or
B6.1D donor car.
You will also need a set of Plan B adjustable rear arms. If you plan to run Late Model then you will
need a Custom Works front bumper and foam. If you plan to run MWM then you will need the
modified front bumper that should come with body of choice.
https://www.pbr-rc.com/product-page/b5m-b6-adjustable-arms
http://www.customworksrc.com/cgi-bin/commerce.cgi?preadd=action&key=3015
http://www.customworksrc.com/cgi-bin/commerce.cgi?preadd=action&key=3014
Disclaimer: The standard setup notes listed below are suggestions only and of these build
instructions can be modified to meet your racing style.

3
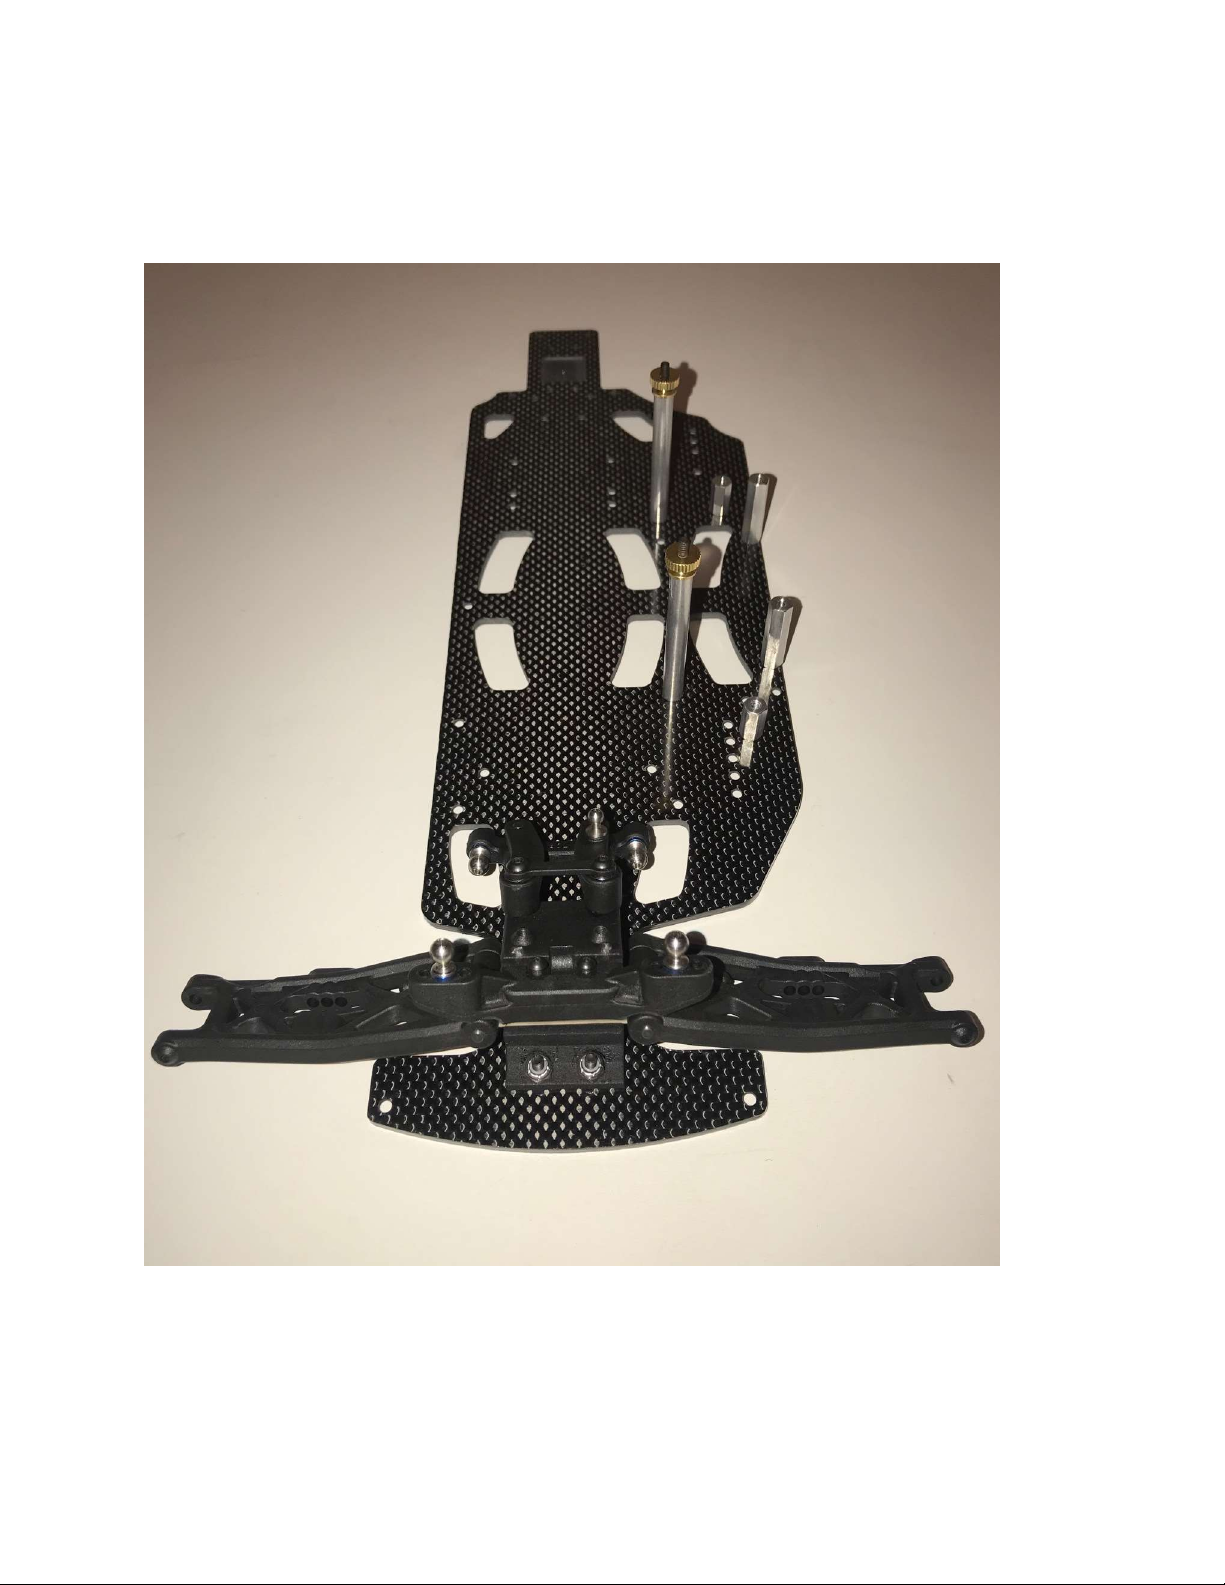
Step One
First assemble all of the standoffs onto the chassis, if not already done. Standoffs shown in the
pictures are standard setup positioning, but can be adjusted to your liking by using the extra battery
positioning holes already cut for you. Move the front and back battery standoffs to the back
position shown by the yellow arrows in picture below. This will allow for a 40 to 60 percent front to
rear weight distribution using a shorty battery pack.
Note: You will have to adjust your electronics to achieve a true 40/60 ratio as well.

4
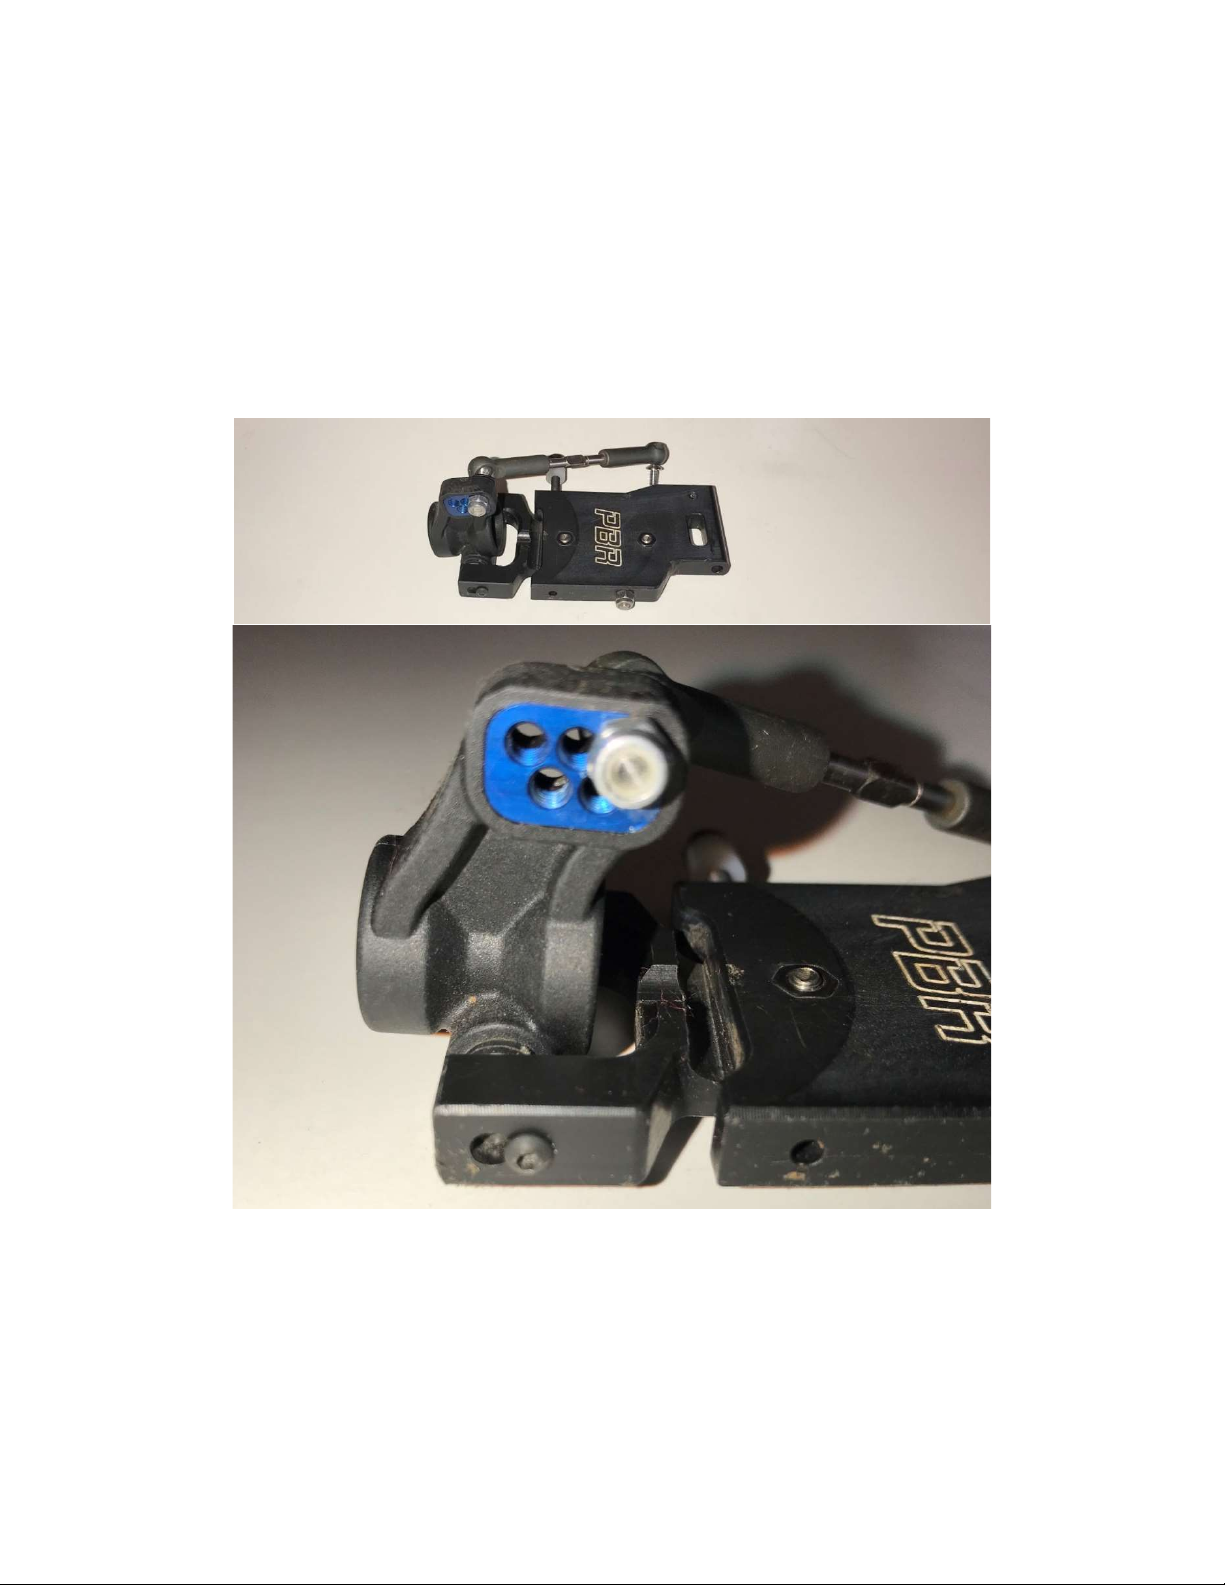
Step Two
Now follow your Team Associated instruction manual on building your front steering rack and front
ball stud mount according to the book along with front arms and bulkhead.
Next you will need the following ERC parts along with the newly built AE steering rack.

5
Using 2 – 3x18mm and 2 – 3x16mm flat head screws, attach the ERC Bulkhead and plate to the AE
bulkhead and ball stud mount making sure the 30-degree bulkhead option is chosen for the standard
setup. Make sure you get these tight without stripping. Then attach front gull wing arms, hinge pins
and hinge pin brace before attaching to ERC CF Chassis.
Next attach the bulkhead to the new carbon fiber chassis with the three screws and nuts provided by
ERC.
NOTE: Picture does not show arms attached but before you attach bulkhead assembly to chassis you
may need to grind off some of the underneath side of the ball stud mount to make the arms move
freely and install the arms before attaching to chassis.
6
After attaching gull wing arms, hinge pins, and hinge pin brace to bulkhead, attach the whole
assembly to the CF chassis as shown below.

7
Step Three
Follow your Team Associated instruction manual on installing your servo and side rails with the
following modifications.
Cut side rails down using a Dremel and cutting wheel on the silver lines as shown. Right side rail
shown in picture below only. Three cuts per side.

8
When done modifying the side rails, pictured below is what should be left. Dispose of the remaining
side rails. They will not be needed.
Now assemble servo and side rail parts to the ERC chassis as shown in the AE instruction manual.

9
Step Four
Follow your Team Associated instruction manual on installing front top plate, front hubs, and camber
links. Then attach the ERC carbon fiber front shock tower to ball stud mount.
Standard setup note: Use middle hole on ball stud mount and 1 mm spacer under ball stud. Also, on
the front hub assembly, install 1 mm caster hat bushing on top and 2 mm bushing on bottom.
10
Step Five
Follow your Team Associated instruction manual to assemble your transmission, CVAs, rear hubs, and
castor links. Use the Plan B adjustable rear arms and ERC provided spacers to build rear suspension.
Standard setup note: While building your transmission use the diff height insert in the #2 position
and in the hub use the 0/3 tab down insert. Also build your rear hubs using rear hub link insert in the
up position and attaching your camber link to the A position.

11
Use the zero arm mount inserts in both the C and D plates. Use 2 ERC provided spacers in front of
the Plan B arms on the rear hinge pins to assemble the rear arms, rear hubs, and axles to the chassis.
Install rear CF ERC shock tower to the newly built AE Transmission using the four screws and white
spacers provided in ERC kit. You will need to use one large spacer and one medium spacer on each
of the four screws to space the shock tower away from the transmission.

12
Install transmission with waterfall to ERC Carbon Fiber chassis.
Standard setup note: Use inner most ball stud mounting position with NO spacers on inner rear ball
stud mount. Install electronic and motor
Step Six.1
Build AE shocks according to instruction manual and install. Install electronics and tires of your
choice and install the Custom Works cage and body to complete installation.
Standard setup note: Build front shocks with 35wt Associated shock oil and 1.6 pistons with Custom
Works Big Bore Yellow 5lb springs. Mount them in the second from bottom row on the inter most
hole on the tower and on the arm the middle of the three mounting holes. Build the rear shocks with
35wt Associated shock oil and 1.8 pistons and 7.5 mm limiters inside the shocks. Use 6 mm shock
spring spacers on the outside with a Custom Works Big Bore Red 6lb spring on the left side and a
Custom Works Big Bore Green 7lb spring on the right side. Mount the shock on the second to the
top row and outer most hole on shock tower and the outer most hole on the adjustable Plan B rear
arm. You will need to add spacers to the bottom mounting screw of the rear shocks in order to get
the shocks to mount straight up and down.
Mount your body of choice, tires and wheels and enjoy the racing your new ERC The-One Late Model
or MWM.

13
Enjoy your New The-One Late Model or MWM!

14
Website: https://evolutionracingconcepts.com/
Copyright © Evolution Racing Concepts – All Rights Reserved.
This manual suits for next models
1


