manuals.online logo
Brands
  1. Home
  2. •
  3. Brands
  4. •
  5. Mattel
  6. •
  7. Motorized Toy Car
  8. •
  9. Mattel Barbie L4527 User manual

Mattel Barbie L4527 User manual

Product requires 4 “C” size batteries for the vehicle and one
9-volt (6LR61) battery for the transmitter. Batteries not included.
Contents: Colours and decorations may vary from those shown.
Please remove everything from the package and compare to the
contents shown here. If any items are missing, please contact
your local Mattel office. Keep these instructions for future
reference as they contain important information.
El vehículo funciona con 4 pilas C (LR14) x 1,5V y el transmisor
funciona con 1 pila de 9V (6LR61) x 1,5V (no incluidas). Pilas no
incluidas. Contenido: Los colores y decoración pueden variar de
los mostrados. Sacar todo del empaque y comparar las piezas al
contenido mostrado aquí. Si falta alguna pieza, contactarse con la
oficina Mattel más próxima a su localidad. Guardar estas
instrucciones para futura referencia, ya que contienen
información de importancia acerca de este producto.
INSTRUCTIONS
INSTRUCCIONES
®
®
L4527-0821G1
ADVERTENCIA:
ADVERTENCIA:
PUEDE CAUSAR ASFIXIA.
!
CHOKING HAZARD
CHOKING HAZARD
–
Small parts.
WARNING
WARNING
:
Not for children under 3 years.
90 DAY LIMITED WARRANTY
Mattel, Inc. warrants to the original consumer purchaser that this product will be free of defects in material or
workmanship for 90 days (unless specified in alternate warranties) from the date of purchase. If defective, return
the product along with proof of the date of purchase, postage prepaid, to Consumer Relations, 636 Girard
Avenue, East Aurora, New York 14052 for replacement or refund at our option. This warranty does not cover
damage resulting from unauthorized modification, accident, misuse or abuse. In no event shall we be responsible
for incidental, consequential, or contingent damages (except in those states that do not allow this exclusion or
limitation). Valid only in U.S.A. This warranty gives you specific legal rights and you may also have other rights
which vary from state to state. Some states do not allow the exclusion of incidental or consequential damages, so
the above exclusions or limitations may not apply to you.
Send only the product to the address above. Send all correspondence to Consumer Relations, Mattel, Inc., 333
ContinentalBlvd., El Segundo, California 90245-5012 U.S.A. Or you may phone us toll-free at 1-800-524-8697,
Monday – Friday, 8:00 a.m. – 6:00 p.m. Eastern Time. Outside U.S.A., see telephone directory for Mattel listing.
No recomendable para menores de 3 años.
Contiene piezas pequeñas que podrían provocar
asfixia en caso de ser ingeridas por el niño/a.
©2007 Mattel, Inc. All Rights Reserved. Tous droits réservés.
Doll cannot stand alone.
La muñeca no puede tenerse en pie por sí sola.
B. Transmitter
Unscrew the battery cover with the Phillips head
screwdriver (not included).
Install a 9-volt (6LR61) or equivalent alkaline
battery (not included) as shown.
A. Vehicle
Unscrew the battery cover with the Phillips
head screwdriver (not included).
NOTE: Replace with alkaline batteries for
longest life and best performance. Remem-
ber to take out all batteries from vehicle
and transmitter if vehicle will not be used
for a long period of time.
Install 4 "C" (LR14) or equivalent alkaline
batteries (not included) as shown.
Use flat head screwdriver (not included) to
adjust the direction alignment button on
bottom of car if it does not travel forward in
a straight line.
IMPORTANT NOTE: Turn off the power
button when toy is not in use. This will
prevent the batteries from draining.
A. Vehículo
Desatornillar la tapa del compartimiento
de pilas con un destornillador de estrella
(no incluido).
NOTA: Sustituir las pilas gastadas por pilas
alcalinas para una mayor duración y mejor
rendimiento. Sacar todas las pilas del
vehículo y transmisor si el vehículo no va a
ser usado por un largo periodo de tiempo.
Introducir 4 pilas "C" (LR14) x 1,5V o
equivalentes (no incluidas) tal como se
muestra.
Usar un destornillador de cabeza plana (no
incluido) para ajustar el botón de alineación
de dirección en la parte de abajo del auto,
en caso de que no avance en línea recta.
NOTA IMPORTANTE:
Si el juguete no está en
uso, poner el botón de encendido en apagado.
Esto evitará que se gasten las pilas.
DIRECTION ALIGNMENT BUTTON
BOTÓN DE ALINEACIÓN DE DIRECCIÓN
ADVERTENCIA:
PUEDE CAUSAR ASFIXIA.
CHOKING HAZARD
WARNING
B. Transmisor
Desatornillar la tapa del compartimiento de la pila
con un destornillador de estrella (no incluido).
Instalar una pila alcalina de 9V (6LR61) x 1,5V
o equivalente (no incluida) tal como se muestra.
ON-OFF SWITCH.
INTERRUPTOR DE
ENCENDIDO/APAGADO.
Protect the environment by not disposing of this product with household waste
(2002/96/EC). Check your local authority for recycling advice and facilities.
No tirar este producto en la basura doméstica (2002/96/EC). Para más información
sobre la eliminación correcta de residuos de equipos eléctricos y electrónicos,
póngase en contacto con la Junta de Residuos o el Ayuntamiento de su localidad.
FORWARD
APAGADO
TURN IN REVERSE
VIRAR EN REVERSA
C. To Use
1. Switch the ON/OFF Button to turn the car “ON”.
2. Press and hold Right Button.
3. Press and hold Left Button.
NOTE: Remember to set the power switch on
vehicle to “OFF” position when not in use.
C. Para usar
el producto
1. Poner el interruptor de ENCENDIDO/APAGADO
del auto en ENCENDIDO.
2. Mantener presionado el botón derecho.
3. Mantener presionado el botón izquierdo.
NOTA: Cuando el auto no esté en uso, poner el
interruptor de encendido en
2
3
ADVERTENCIA:
PUEDE CAUSAR ASFIXIA.
CHOKING HAZARD
WARNING
Driving Tips:
1. The toy can have a better performance on vinyl floor. Thick carpets are not recommended
since carpet does not provide suitable traction and lint from carpet may damage vehicle.
2. Operating multiple vehicles with the same frequency in close proximity will cause
interference and poor performance.
3. Works best away from high voltage power lines, large buildings and walls.
4. Hold the transmitter antenna up for best performance.
5. When the product does not respond, slows down, or loses range, replace the batteries.
6. Replace with fresh battery(ies) before operation.
7. This product is not recommended for use on loose dirt or wet surfaces.
8. Do not immerse in water.
9. If transmitter is accidentally dropped in the water, remove battery(ies) and allow
transmitter to air dry.
10. Play Safely! - Do not drive vehicle in the street!
11. CAUTION: To prevent entanglement, keep hair away from wheels.
Consejos para manejar:
1. El juguete funciona mejor sobre pisos de vinilo. No se recomienda jugar sobre alfombra
gruesa, ya que esta no proporciona buena tracción y la pelusa puede dañar el vehículo.
2. Usar varios vehículos con la misma frecuencia en proximidad, causará interferencia
y mal rendimiento.
3. Funciona mejor lejos de cables eléctricos de alto voltaje, edificios grandes y paredes.
4. Para un mejor rendimiento, apuntar la antena del transmisor hacia arriba.
5. Cuando el producto deje de responder, pierda intensidad o alcance, es la hora de
sustituir las pilas.
6. Sustituir las pilas por pilas nuevas antes de usar el producto.
7. No se recomienda usar este producto sobre tierra suelta o superficies mojadas.
8. No sumergir.
9. Si el transmisor se cae accidentalmente en agua, sacar las pilas y dejar que
el transmisor se seque al aire.
10. ¡Jugar con precaución! - No usar el vehículo en la calle.
11. PRECAUCIÓN: para evitar lesiones, mantener el cabello alejado de las llantas.
Battery Safety Information
In exceptional circumstances batteries may leak fluids that can cause a chemical burn injury
or ruin your product. To avoid battery leakage;
• Non-rechargeable batteries are not to be recharged.
• Rechargeable batteries are to be removed from the product before being charged
(if designed to be removable).
• Rechargeable batteries are only to be charged under adult supervision
(if designed to be removable).
• Do not mix alkaline, standard (carbon-zinc), or rechargeable (nickel-cadmium) batteries.
• Do not mix old and new batteries.
• Only batteries of the same or equivalent type as recommended are to be used.
• Batteries are to be inserted with the correct polarity.
• Exhausted batteries are to be removed from the product.
• The supply terminals are not to be short-circuited.
• Dispose of battery(ies) safely.
Información de seguridad acerca de las pilas
En circunstancias excepcionales, las pilas pueden derramar líquido que puede causar
quemaduras o dañar el producto. Para evitar derrames:
• No cargar pilas no recargables.
• Sacar las pilas recargables antes de cargarlas (si están diseñadas para esto).
• La carga de las pilas recargables sólo debe realizarse con la supervisión de un adulto.
• No mezclar pilas alcalinas, estándar (carbono-cinc) o recargables (níquel-cadmio).
• No mezclar pilas nuevas con gastadas.
• Usar solo el tipo de pilas recomendadas (o su equivalente).
• Cerciorarse de que la polaridad de las pilas sea la correcta.
• Sacar las pilas gastadas del producto.
• No provocar un cortocircuito con las terminales.
• Disponer de las pilas gastadas de manera segura.
Troubleshooting Tips
Problem
• No Power
•Car goes slowly
•Car runs erratically or does not respond
to signals from the transmitter
• Poor steering control
• Head light becomes dim or goes out
Cause
• Batteries installed incorrectly
• Dead batteries
• ON / OFF button not turned on
• Dirty battery contacts
•Car batteries weak
•Interference
• Weak signal
• Car batteries weak
• Transmitter battery weak
• Car batteries weak
Solution
• Remove the car batteries and replace in correct orientation as shown inside the battery compartment.
• Check to be sure transmitter battery contacts are fully snapped.
• Replace car batteries with four new "C" or equivalent alkaline batteries and / or the transmitter battery with a new
9-volt or equivalent battery.
• Switch the ON / OFF button.
• Clean battery terminals.
• Replace car batteries with four new "C" or equivalent alkaline batteries.
• Change your location.
• Replace car batteries with four new "C" or equivalent alkaline batteries and / or the transmitter battery with a new
9-volt or equivalent battery.
• Point the transmitter antenna upward.
• Move the transmitter closer to the car.
• Replace car batteries with four new "C" or equivalent alkaline batteries and / or the transmitter battery with a new
9-volt or equivalent battery.
• Replace car batteries with four new "C" or equivalent alkaline batteries.
• Replace transmitter battery with a new 9-volt or equivalent battery.
• Replace car batteries with four new "C" or equivalent alkaline batteries.
POSIBLES PROBLEMAS DE FUNCIONAMIENTO
Problema
• No hay suministro de alimentación
•El auto avanza muy lento
•El auto no funciona correctamente o no
responde a las señales del transmisor
• Control de viraje deficiente
• La luz se atenúa o no prende
Causa
• Las pilas no están bien colocadas
• Pilas gastadas
•
El botón de encendido está en APAGADO
• Contactos de pila sucios
• Pilas del auto gastadas
•Interferencia
• Señal débil
• Pilas del auto gastadas
• Pila del transmisor gastada
• Pilas del auto gastadas
Solución
• Sacar las pilas del auto e introducirlas en la orientación correcta, tal como se muestra dentro del compartimiento.
• Asegurarse de que los contactos de la pila del transmisor hagan contacto con las terminales.
• Sustituir las pilas del auto por 4 nuevas pilas alcalinas "C" (LR14) x 1,5V o equivalentes y sustituir la pila del
transmisor por 1 nueva pila de 9V o equivalente.
• Cambiar de posición el botón de encendido/apagado.
• Limpiar las terminales de las pilas.
• Sustituir las pilas del auto por 4 nuevas pilas alcalinas "C" (LR14) x 1,5V o equivalentes.
• Cambiar de ubicación.
• Sustituir las pilas del auto por 4 nuevas pilas alcalinas "C" (LR14) x 1,5V o equivalentes y sustituir la pila del
transmisor por 1 nueva pila de 9V o equivalente.
• Apuntar hacia arriba la antena del transmisor.
• Acercar el transmisor al auto.
• Sustituir las pilas del auto por 4 nuevas pilas alcalinas "C" (LR14) x 1,5V o equivalentes y sustituir la pila del
transmisor por 1 nueva pila de 9V o equivalente.
• Sustituir las pilas del auto por 4 nuevas pilas alcalinas "C" (LR14) x 1,5V o equivalentes.
• Sustituir la pila del transmisor por 1 nueva pila de 9V o equivalente.
• Sustituir las pilas del auto por 4 nuevas pilas alcalinas "C" (LR14) x 1,5V o equivalentes.
ADVERTENCIA:
PUEDE CAUSAR ASFIXIA.
CHOKING HAZARD
WARNING
Conforms to the safety requirements of ASTM F963.
COMPLIANCE WITH FCC REGULATIONS (VALID IN U.S. ONLY - VALABLE AUX É.-U. SEULEMENT)
This device complies with part 15 of the FCC Rules. Operation is subject to the following
two conditions: (1) This device may not cause harmful interference, and (2) this device
must accept any interference received, including interference that may cause
undesired operation.
This equipment has been tested and found to comply with the limits for a Class B digital
device, pursuant to part 15 of the FCC rules. These limits are designed to provide
reasonable protection against harmful interference in a residential installation. This
equipment generates, uses and can radiate radio frequency energy and, if not installed
and used in accordance with the instructions, may cause harmful interference to radio
communications. However, there is no guarantee that interference will not occur in
a particular installation. If this equipment does cause harmful interference to radio or
television reception, which can be determined by turning the equipment off and on,
the user is encouraged to try to correct the interference by one or more of the
following measures:
• Reorient or relocate the receiving antenna.
• Increase the separation between the equipment and receiver.
• Connect the equipment into an outlet on a circuit different from that to which the
receiver is connected.
• Consult the dealer or an experienced radio/TV technician for help.
CUMPLE CON TODAS LAS NORMAS DE SEGURIDAD VIGENTES.
CUMPLIMIENTO CON EL REGLAMENTO FCC (SOLO VÁLIDO EN LOS EE.UU.)
Este dispositivo cumple con la Parte 15 del reglamento FCC. El uso está sujeto a las siguientes dos
condiciones: (1) este dispositivo no debe causar interferencia dañina y (2) este dispositivo debe aceptar
cualquier interferencia recibida, incluyendo interferencia que puede resultar en el uso indeseado
del dispositivo.
Este equipo fue probado y cumple con los límites de un dispositivo digital de Clase B, según está
establecido en la Parte 15 del reglamento FCC. Estos límites están diseñados para proporcionar una
protección razonable contra interferencia dañina en una instalación residencial. Este equipo genera,
utiliza y puede radiar energía de radiofrecuencia, y si no se instala y utiliza según lo estipulado en las
instrucciones, puede causar interferencia dañina a radiocomunicaciones. Sin embargo, no hay ninguna
garantía de que no haya interferencia en una instalación particular. Si este equipo llega a causar
interferencia dañina a la recepción de radio o televisión, lo cual puede ser verificado encendiendo
y apagando el equipo, se recomienda tomar una de las siguientes medidas para corregir el problema:
• Cambiar la orientación o localización de la antena receptora.
• Aumentar la distancia entre el equipo y el receptor.
• Conectar el equipo en un tomacorriente en un circuito diferente al del receptor.
• Ponerse en contacto con el distribuidor o con un técnico de radio/TV.
NOTE: Changes or modifications not expressively approved by the manufacturer
responsible for compliance could void the user’s authority to operate the equipment.
NOTA: Los cambios o modificaciones no expresamente autorizados por el fabricante responsable
del cumplimiento de las normas puede cancelar la autoridad del usuario de usar el equipo.
Mattel Canada Inc., Mississauga, Ontario L5R 3W2. You may call us free at / Composez sans frais le 1-800-524-8697. Mattel U.K. Ltd., Vanwall Business
Park, Maidenhead SL6 4UB. Helpline 01628500303 Mattel Australia Pty., Ltd., Richmond, Victoria. 3121.Consumer Advisory Service - 1300 135 312. Mattel
East Asia Ltd., Room 1106, South Tower, World Finance Centre, Harbour City, Tsimshatsui, HK, China. Diimport & Diedarkan Oleh: Mattel SEA Ptd
Ltd.(993532-P) Lot 13.5, 13th Floor, Menara Lien Hoe, Persiaran Tropicana Golf Country Resort, 47410 PJ. Tel:03-78803817, Fax:03-78803867. Mattel, Inc.,
333 Continental Blvd., El Segundo, CA 90245 U.S.A. Consumer Relations 1 (800) 524-8697.Importado y distribuido por Mattel de México, S.A. de C.V.R.F.C, Insurgentes
Sur # 3579, Torre 3, Oficina 601, Col. Tlalpan, Delegación Tlalpan, C.P. 14020, México, D.F. MME-920701-NB3. 59-05-51-00. Ext. 5206 ó - 01-800-463 59-89 Mattel
Chile, S.A., Avenida Américo Vespucio 501-B, Quilicura, Santiago. Mattel de Venezuela, C.A. RIF J301596439, Ave. Mara, C.C. Macaracuay Plaza, Torre B, Piso 8, Colinas
de la California, Caracas 1071. Mattel Argentina S.A., Curupaytí 1186, (1607) - Villa Adelina, Buenos Aires. Mattel Colombia, S.A., calle 123#7-07 P.5, Bogotá.
Need Assistance? In the US and Canada, service.mattel.com
or 1-800-524-8697, M-F 9AM – 7PM or Sat. 11AM - 5PM ET.
Besoin d’aide? Au Canada et aux États-Unis, visitez le site service.mattel.com
ou composez le 1 800 524-8697, du lundi au vendredi, de 9 h à 19 h, HNE.
¿Necesita ayuda? En los EE.UU. y Canadá, service.mattel.com
o bien 1-800-524-8697, L-V 9 a.m. – 7 p.m., huso horario del Este.
En México: 59-05-51-00. Ext. 5206 ó 01 800 463 59 89, L-V 8 a.m. - 4 p.m.
? SERVICE.MATTEL.COM
Other Mattel Motorized Toy Car manuals

Mattel HotWheels RC HLT19 User manual

Mattel

Mattel HotWheels RC HLT19 User manual

Mattel Hot Wheels Cybertruck User manual

Mattel

Mattel Hot Wheels Cybertruck User manual

Mattel THE TORMENTOR User manual

Mattel

Mattel THE TORMENTOR User manual

Mattel HotWheels RC Cybertruck User manual

Mattel

Mattel HotWheels RC Cybertruck User manual

Mattel Disney PIXAR THE WORLD OF Cars M6466 User manual

Mattel

Mattel Disney PIXAR THE WORLD OF Cars M6466 User manual

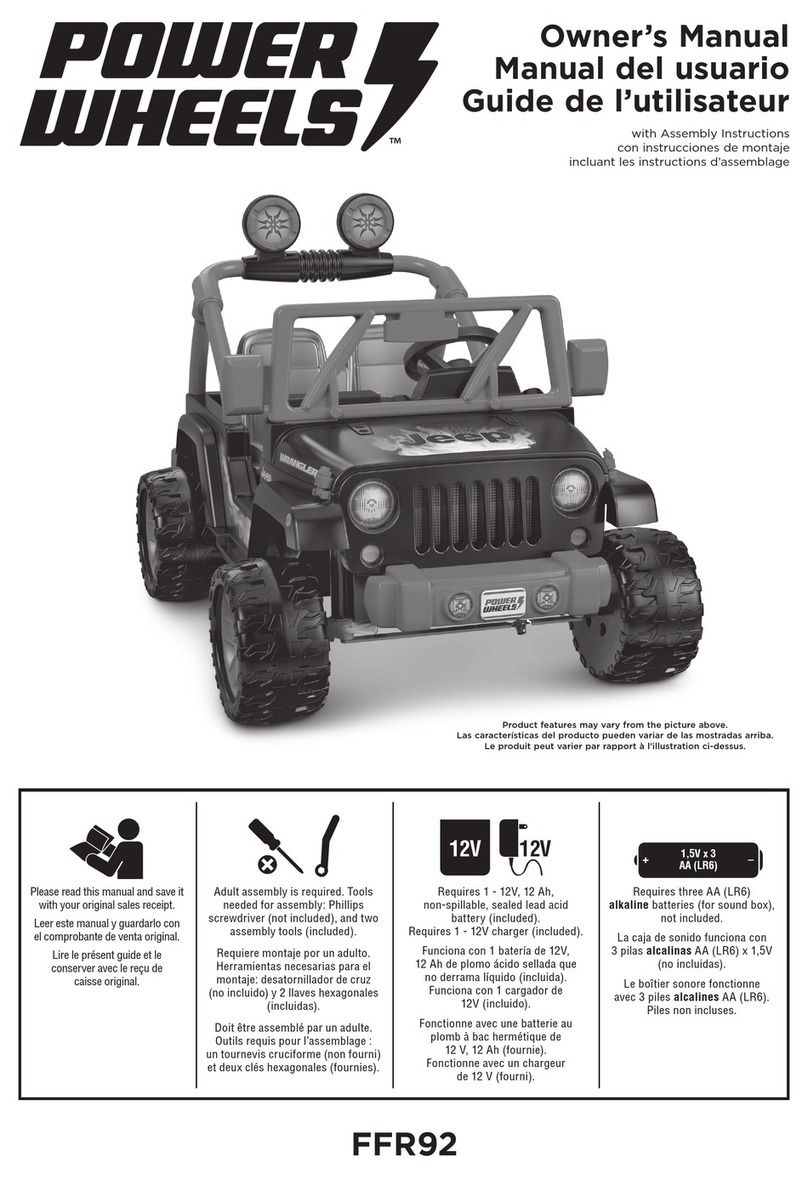
Mattel POWER WHEELS FLP00 User manual

Mattel

Mattel POWER WHEELS FLP00 User manual

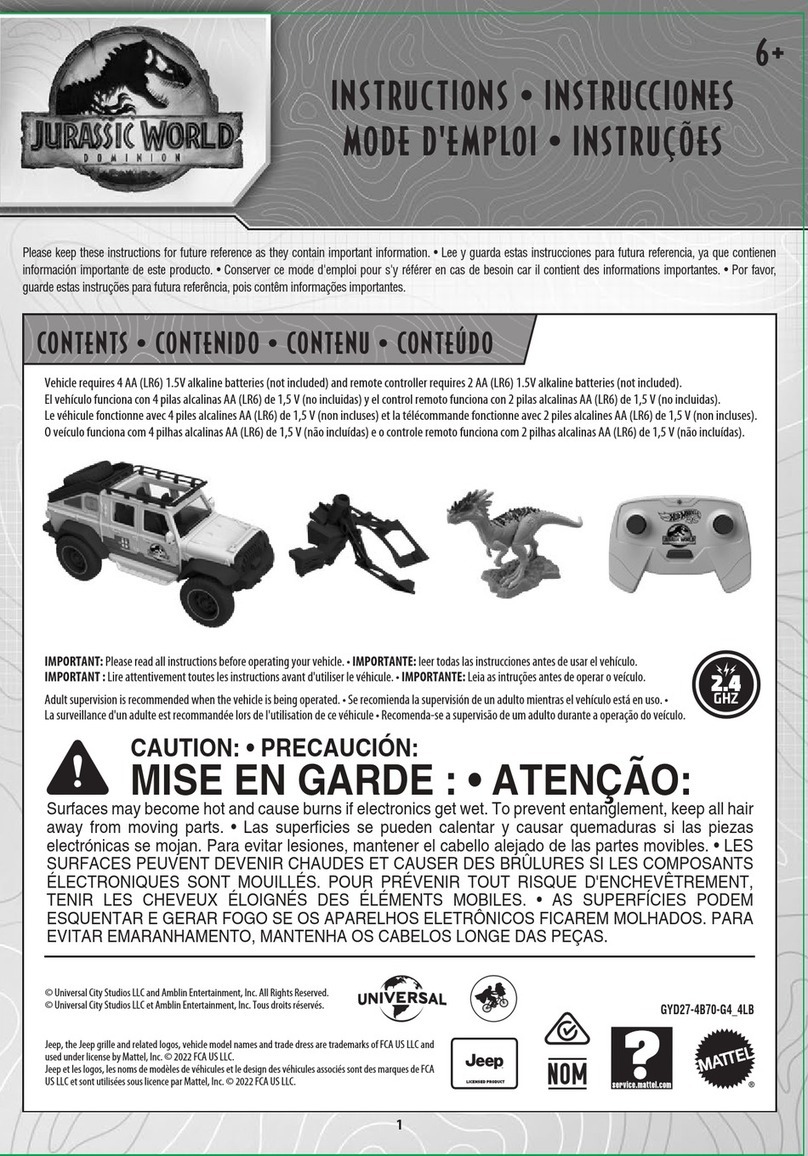
Mattel JURASSIC WORLD DOMINION GYD27-4L User manual

Mattel

Mattel JURASSIC WORLD DOMINION GYD27-4L User manual

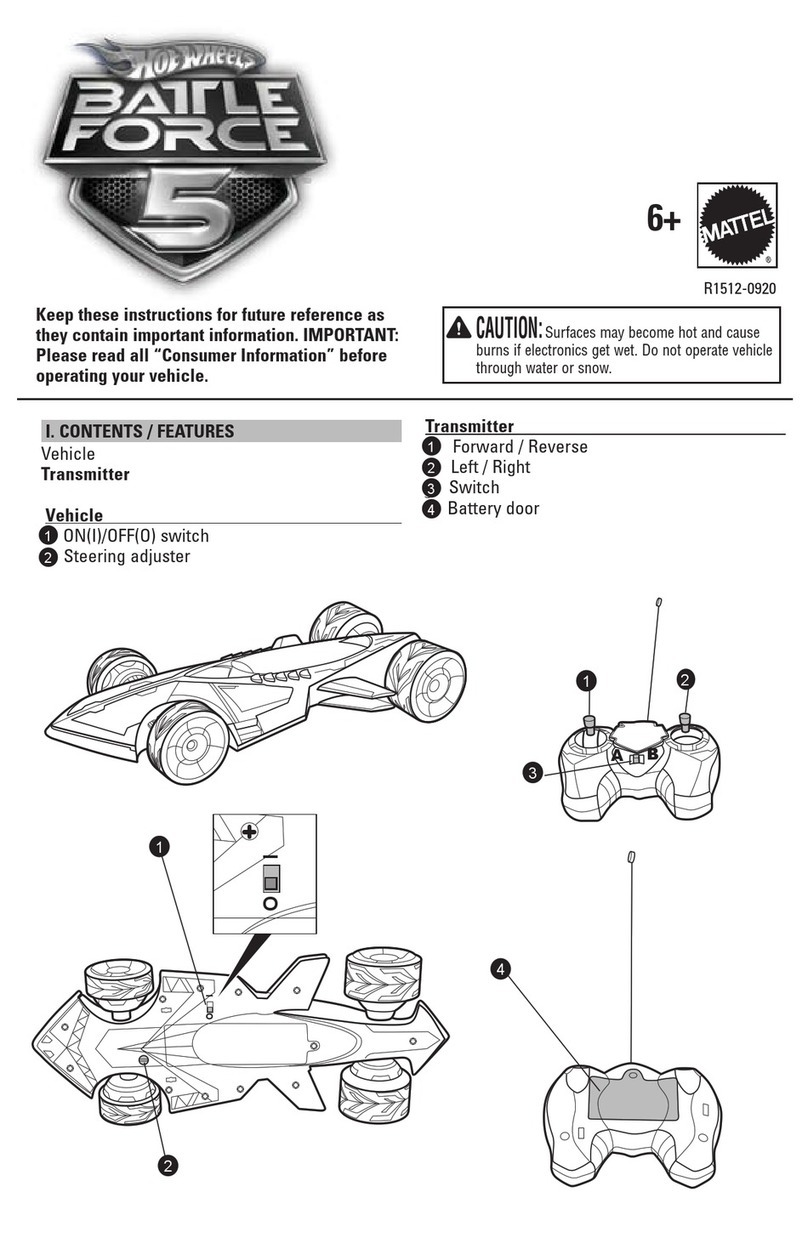
Mattel Hot Wheels BATTLE FORCE 5 User manual

Mattel

Mattel Hot Wheels BATTLE FORCE 5 User manual

Mattel HOT WHEELS K7671 User manual

Mattel

Mattel HOT WHEELS K7671 User manual

Mattel Tyco Turbo Pro Wheelie Cycle User manual

Mattel

Mattel Tyco Turbo Pro Wheelie Cycle User manual

Mattel HotWheels ROAD WARS LIBERTY BASE User manual

Mattel

Mattel HotWheels ROAD WARS LIBERTY BASE User manual

Mattel Hot Wheels DAREDEVIL DERBY User manual

Mattel

Mattel Hot Wheels DAREDEVIL DERBY User manual

Mattel IMAGINEXT DC SUPER FRIENDS BAT-TECH... User manual

Mattel

Mattel IMAGINEXT DC SUPER FRIENDS BAT-TECH... User manual

Mattel Hot Wheels Track Builder Trick Brick User manual

Mattel

Mattel Hot Wheels Track Builder Trick Brick User manual

Mattel Disney PIXAR CARS 3 User manual

Mattel

Mattel Disney PIXAR CARS 3 User manual

Mattel HOT WHEELS TRACK BUILDER UNLIMITED User manual

Mattel

Mattel HOT WHEELS TRACK BUILDER UNLIMITED User manual

Mattel DC BATMAN FVY25 User manual

Mattel

Mattel DC BATMAN FVY25 User manual

Mattel Hot Wheels RC W6458-0920 User manual

Mattel

Mattel Hot Wheels RC W6458-0920 User manual

Mattel Disney PIXAR Cars TYCO T0243 User manual

Mattel

Mattel Disney PIXAR Cars TYCO T0243 User manual

Mattel Hot Wheels RC HGV90R User manual

Mattel

Mattel Hot Wheels RC HGV90R User manual

Mattel Disney PIXAR THE WORLD OF Cars M6773 User manual

Mattel

Mattel Disney PIXAR THE WORLD OF Cars M6773 User manual

Mattel WWE T4831-0920 User manual

Mattel

Mattel WWE T4831-0920 User manual

Mattel Hot Wheels GWB72 User manual

Mattel

Mattel Hot Wheels GWB72 User manual

Mattel FCP39 Manual

Mattel

Mattel FCP39 Manual

Popular Motorized Toy Car manuals by other brands

ECX Torment ECX03008AU instruction manual

ECX

ECX Torment ECX03008AU instruction manual

Team Losi LOSB0012LE Getting started

Team Losi

Team Losi LOSB0012LE Getting started

Carrera RC 370160132 Assembly and operating instructions

Carrera RC

Carrera RC 370160132 Assembly and operating instructions

Kidzone 360 Rotation Bumper Car owner's manual

Kidzone

Kidzone 360 Rotation Bumper Car owner's manual

REVELL Corvette C5-R Compuware manual

REVELL

REVELL Corvette C5-R Compuware manual

Kyosho Scorpion B-XXL Maintenance manual

Kyosho

Kyosho Scorpion B-XXL Maintenance manual

Jamara Fiat 500 Instruction

Jamara

Jamara Fiat 500 Instruction

HPI Racing Savage SS instruction manual

HPI Racing

HPI Racing Savage SS instruction manual

HPI Racing E Firestorm IOT instruction manual

HPI Racing

HPI Racing E Firestorm IOT instruction manual

Carson 500907425 manual

Carson

Carson 500907425 manual

HPI Racing Baja 5B RTR instruction manual

HPI Racing

HPI Racing Baja 5B RTR instruction manual

Power Wheels GTJ57 owner's manual

Power Wheels

Power Wheels GTJ57 owner's manual

Radio Shack Dodge Toyota Tundra Truck manual

Radio Shack

Radio Shack Dodge Toyota Tundra Truck manual

Tamiya Avante manual

Tamiya

Tamiya Avante manual

Kyosho INFERNO MP-7.5 Yuichi KANAI EDITION 2 instruction manual

Kyosho

Kyosho INFERNO MP-7.5 Yuichi KANAI EDITION 2 instruction manual

Little Tikes RC WHEELZ Bumper Cars manual

Little Tikes

Little Tikes RC WHEELZ Bumper Cars manual

GM-Racing Punisher Rock Crawler instruction manual

GM-Racing

GM-Racing Punisher Rock Crawler instruction manual

Rollplay W348AC-P-F Owner's manual and assembly instructions

Rollplay

Rollplay W348AC-P-F Owner's manual and assembly instructions

manuals.online logo
manuals.online logoBrands
  • About & Mission
  • Contact us
  • Privacy Policy
  • Terms and Conditions

Copyright 2025 Manuals.Online. All Rights Reserved.