ERHS DC-2 User manual

1. Configuration Menu
The configuration menu allows you to set certain operating parameters.
Press power button to turn thermostat off, hold menu button for
5 seconds to enter the configuration menu. The display will show the first
item in the configuration menu.
Press button to shift to the next item.
Use or to change the parameter. Press power button to exit
configuration menu. Press power button again to turn thermostat on.
The thermostat will exit the configuration menu if no action is taken
within 8 seconds,.
Restore factory default setting: In the configuration menu, push menu
button for 5 seconds. isplay will show “ EF” blinking 3 times and
returns to Menu parameter 1.
BEFORE USING YOUR THERMOSTAT FOR THE FIRST TIME, check that the
correct sensor has been selected . For ceiling heating application, always select
Internal air sensor . (see Item 6)
This configuration menu chart summarizes the parameters available:
Item isplayed
(factory default)
Press
▲or▼to
change
Parameter escriptions
1 -6.0 --- +6.0
Select temperature display adjustment
higher or lower – this recalibrates the
thermostat
2
20℃—70℃
℃— ℃
(WiFi stat)
Select maximum room temperature
3 5℃—20℃ Select minimum room temperature
4
20℃—70℃
℃— ℃
(WiFi stat)
Select maximum floor temperature
5 ( ℃) ℃— ℃ Select minimum floor temperature
6 ( ) / /
:Air sensor control with floor limit
: Internal air sensor engaged – room
temperature mode
:External floor sensor engaged – floor
temperature mode
7 ( ) / /
1.Backlight is off
2. Press any button for 30 seconds
backlighting
3.Backlight permanently on
8 ( ) /:7 day / 6 period programmable mode
:Non programmable (manual mode)
9 ( ) / Intelligent recovery function off
Intelligent recovery function on
10 ( ) / : Anti-freezing function on
: Anti-freezing function off
11
( )
( )
(with WIFI)
/ /
: load requirement 12-16Amp
: load requirement 8-11Amp
: load requirement 0-7Amp
12 ( ) /:Select when 100K Sensor is installed
:Select when 10K Sensor is installed
-1-

1. Set current day and time
C-2.
1. Turn on the thermostat, Press to enter the time setting.
2. Press to scroll between Minutes, Hours, ay.
3. Press or hold either or until you reach the correct setting.
4. Press to exit.
After 5 seconds of inactivity, the thermostat will exit the setting menu.
C-2WiFi
1. Turn on the thermostat , press to enter the time setting.
2. Press to scroll between Year, Month, ay, Hour & Minute.
3. Press or hold either or to change the setting.
4. Press to exit.
After 5 seconds of inactivity, the thermostat will exit the setting menu.
3. Manual over-ride
When the thermostat is operating in programming mode, to temporarily increase or decrease the
temperature, press or until the desired temperature is displayed. The icon will appear on
the screen, the heating icon may also be displayed. This temperature will be maintained until the
next heating period (1 – 6, see program setting).
To cancel before the next heating period, press the power button twice.
4. Full Manual mode
Following instructions to enter the configuration menu, scroll to item 8, select & exit.
Now use the up & down arrows to set the desired temperature. The thermostat will turn the
heating on and off to maintain this temperature.
Please note, changing the temperature setting will not immediately change the room or floor
temperature, this could take anything from 1 hour to 4 hours to take effect, depending on
the specific installation and individual circumstances.
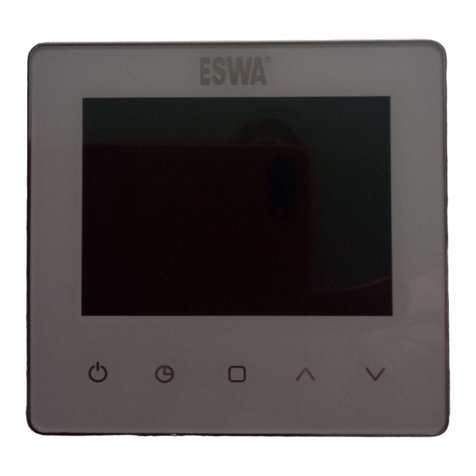
KEYBOAR & ISPLAY ESCRIPTION
(1) Power/OK button : Press to turn the thermostat on/off. And to exit configuration menu
(2) Time button: When thermostat is on, press time button once to set the time
(3) Menu button: When Thermostat is off Hold for 5 seconds to enter configuration menu.
(4) Raise temperature setting
(5) Lower temperature setting
(6) ays of the week
(7) Current Temperature Reading of sensor ie room or floor temperature
(8) Shows current sensor setting: air, floor or air with floor limit
(9) Shows current programming period ie morning 1 and 2, afternoon 3 and 4 or evening 5 and 6
(10) Shows WIFI in remote mode *WiFi model only
(11) Shows WIFI in hot mode *WiFi model only
(12) configuration menu icon
(13) Shows when manual over-ride is engaged
(14) Shows when thermostat is in program menu mode
(15) Shows that the heating is on
(16) Shows when thermostat is in antifreeze mode
-2-

HOW TO INSTALL THE THERMOSTAT:
Read all of the information in this manual before installin this thermostat
Remove front face by inserting a flat screwdriver into the slot as shown and gently turning.
Attach base to the back box using mounting screws. Replace thermostat face by gently
pushing it back into place until it clicks.
Connect according to this wiring diagram:
5. Program setting
Your thermostat has been pre-set in the factory with the following time & temperature
settings:
Morning
period 1
Morning
period 2 Afternoon
period 3
Afternoon
period 4
Evening
period 5
Evening
period 6
Time 6:00 8:00 12:00 14:00 18:00 22:00
Temp 21℃ 16.5℃ 21℃ 16.5℃ 21℃ 16.5℃
Personal settings
Time
Temp
To change these settings:
1. Turn thermostat on and press for 5 seconds.
2. The screen flashes to show current selection in each category. Press once to switch
between day, time and temperature. Use or to change the day, time and temperature.
Each day must be set individually.
3. Scrolling through from the beginning, by pressing once each time, you will have Monday:
then period 1 time: then period 1 temperature: then period 2 time: then period 2
temperature, etc. After period 6 temperature, it will move to Tuesday.
3. When the day is flashing, you can us the and buttons to switch between days of the
week. Each day starts at period 1 and moves through to period 6.
4. Press to save and exit.
6. Frost protection mode (configuration menu item 10)
When anti-freezing function is set to , the thermostat will maintain a temperature of 5 ℃
-3-

7. WiFi models only:
Download the app from the pp Store or Google Play Store: Smart-E thermostat
Select AP mode by pressing the power button for 5 seconds. The icon will appear on the screen.
Register an account and wait for an email from scinan service cent. This may take 4 hours. Click on
the link to verify your email address. Open the App on your phone and log-in.
Click on the + symbol top right. Click on 'Find device' and select the thermostat from the list. Enter the
network and password information in the configuration and click 'CONFIG'
To rename the thermostat (bedroom, living room, etc) press and hold on the name for 3 seconds.
There is no limit to the number of thermostats you can connect to the app.
Switch to remote mode by pressing the power button for 5 seconds. The symbol will appear on the
screen. The thermostat can be used in either AP or remote mode, it cannot support both at the same
time.
TROUBLESHOOTING:
isplay Error condition Result Action
Err.1 Internal sensor short
circuit Shuts down all heating output. Sensor is damaged –
replace thermostat
Err.2 Internal sensor open
circuit Shuts down all heating output
Check configuration
setting (item 6) is set
to
Err.3 External sensor short
circuit Shuts down all heating output Sensor is damaged –
replace sensor
Err.4 External sensor open
circuit Shuts down all heating output. Check configuration
setting is set to
User error and deliberate or accidental damage are not covered by 12 month manufacturers' warranty.
Supplied by ERHS Ltd, 70 Woolmer Way, Bordon, GU35 9QF
Tel: 01420476049 www.erhs.uk [email protected]
DC-2 thermostat – User instructions
Floor heating thermostat compatible with 10K or 100K floor sensor /
Room thermostat with built-in air sensor
16 Amp Digital programmable thermostat compatible with
Eswa floor an ceiling heating
FEATURES
3.1 inch large screen display
Permanent user setting retention during power loss
Programming Periods: 7 individual day programming with 6 periods per day
Remote control by mobile phone (WiFi version only)
TECHNICAL SPECIFICATION:
Power source ……………………… 100-240VAC 50/60Hz
Maximum load electric current…………………………16A/250VAC
Room temperature setting range……5℃ to35℃
Floor temperature setting range…… 5℃ to 70℃
Accuracy……………………………… 0.1℃
Working environment temperature………………………………0℃ to 50℃
The storage temperature: ………………………………-10℃ to 60℃
imensions…………………………….86mm X 86mm X13mm
IMPORTANT SAFETY INFORMATION:
Read all of the information in this manual before installing this thermostat.
Always turn off power at the main power source by removing the fuse or switching
circuit breaker to the off position before installing, removing, cleaning, or servicing this
thermostat.
All wiring must conform to wiring regulation BSEN 7671.
Use this thermostat only as described in this manual.
-4-
Other ERHS Thermostat manuals
Popular Thermostat manuals by other brands
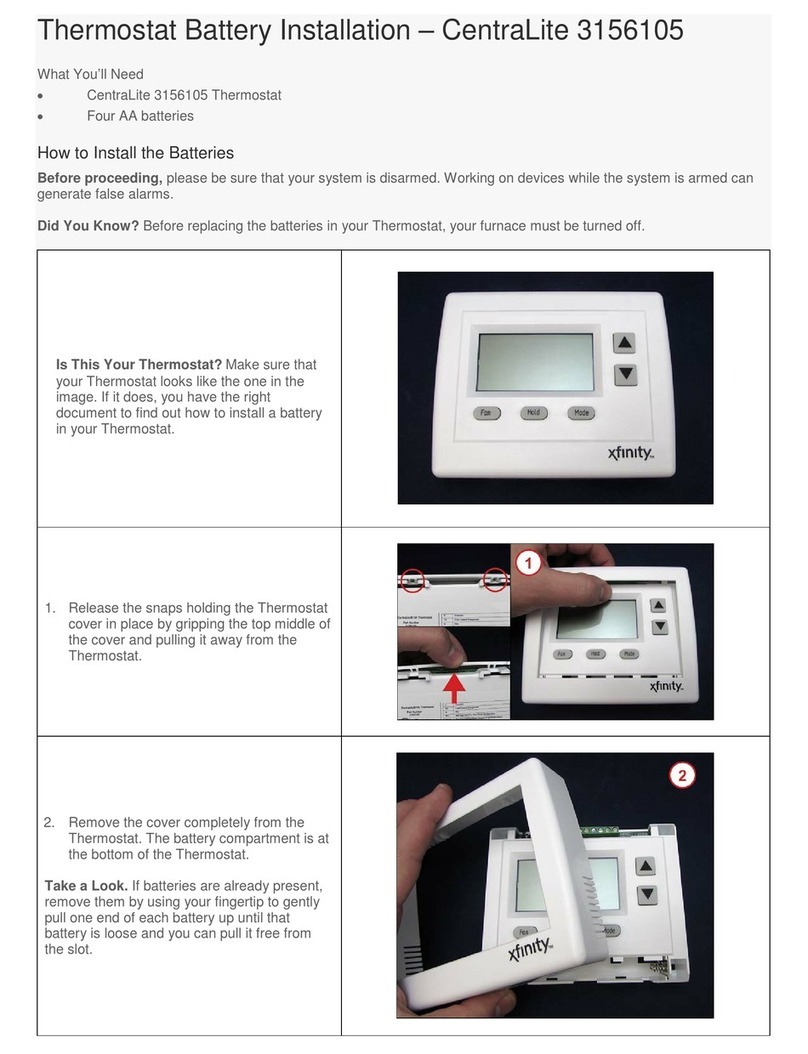
Comcast
Comcast CentraLite 3156105 Battery Installation
Honeywell
Honeywell RLV3120 owner's manual

Lux Products
Lux Products PSD010BFc Installation and operating instructions
SINRO
SINRO SRT025 Series quick start guide

Honeywell Home
Honeywell Home RCHT9610WFW2004 installation guide

Honeywell
Honeywell VisionPRO TH8000 Series operating manual

Honeywell
Honeywell EConnect TL9160AR operating manual
Robertshaw
Robertshaw DSL-520P Installation & operating instructions

AKO
AKO AKO-14712 instruction manual
Emerson
Emerson 1F75C-11NP Installation and operating instructions
ICM Controls
ICM Controls SC4812 operating instructions

britech
britech TH115-AF-GB-10 owner's guide
