05
•Do not store items of interest to children in cbinets
bove the pplince. Children climbing on the cooktop
could be seriously injured.
•Do not leve children lone or unttended in the re
where the pplince is in use.
•Children or person with disbility tht limits their
bility to use the pplince should hve responsible
nd competent person to instruct them in its use.
The instructor should be stised tht they cn use
the pplince without dnger to themselves or their
surroundings, before teching how to use the cooktop.
•Do not repir or replce ny prt of the pplince unless
speciclly recommended in the mnul. All other
servicing should be done by qulied technicin.
•Do not use stem clener to clen your cooktop.
•Do not plce or drop hevy objects on your cooktop.
•Do not stnd on your cooktop.
•Do not use pns with jgged edges or drg pns cross
the glss surfce s this cn scrtch the glss.
•Do not use scourers or ny other hrsh brsive clening
gents to clen your cooktop, s these cn scrtch the
cermic glss.
•If the supply cord is dmged, it must be replced by
the mnufcturer, its service gent or similrly qulied
persons in order to void hzrd.
•This pplince is intended for domestic household
environment only. Commercil use of ny kind is not nd
will not be covered under the mnufcturer’s wrrnty.
•WARNING: The pplince nd its ccessible prts
become hot during use.
•Tke cre to void touching heting elements.
•Children less thn 8 yers of ge shll be kept wy
unless continuously supervised.
•This pplince cn be used by children ged from
eight yers nd bove, s well s persons with reduced
physicl, sensory or mentl cpbilities, or those with
lck of experience nd knowledge if they hve been given
supervision or instruction concerning use of the pplince
in sfe wy nd understnd the hzrds involved.
•Children should never not ply with, inside or round the
pplince. Clening nd user mintennce should never
be undertken by children without supervision.
•WARNING: Unttended cooking on hob with ft or oil
cn be dngerous nd my result in re. NEVER try to
extinguish re with wter, but switch o the pplince
nd then cover me e.g. with lid or re blnket.
•WARNING: Dnger of re—do not store items on the
cooking surfces.
•WARNING: If the surfce is crcked, switch o the
pplince to void the possibility of electric shock, for
hob surfces of glss-cermic or similr mteril which
protect live prts.
•Do not use stem clener to clen the cooktop.
•The pplince is not intended to be operted by mens of
n externl timer or seprte remote-control system.
•CAUTION: The cooking process hs to be supervised.
Regrdless of whether cooking for long or short periods,
the cooking process must be supervised continuously.
•The bottom surfce nd the power cord of the hob should
not ccessible fter instlltion is complete.
•To rrnge n uthorised technicin plese contct our
friendly support tem t 1300 11 HELP (4357).
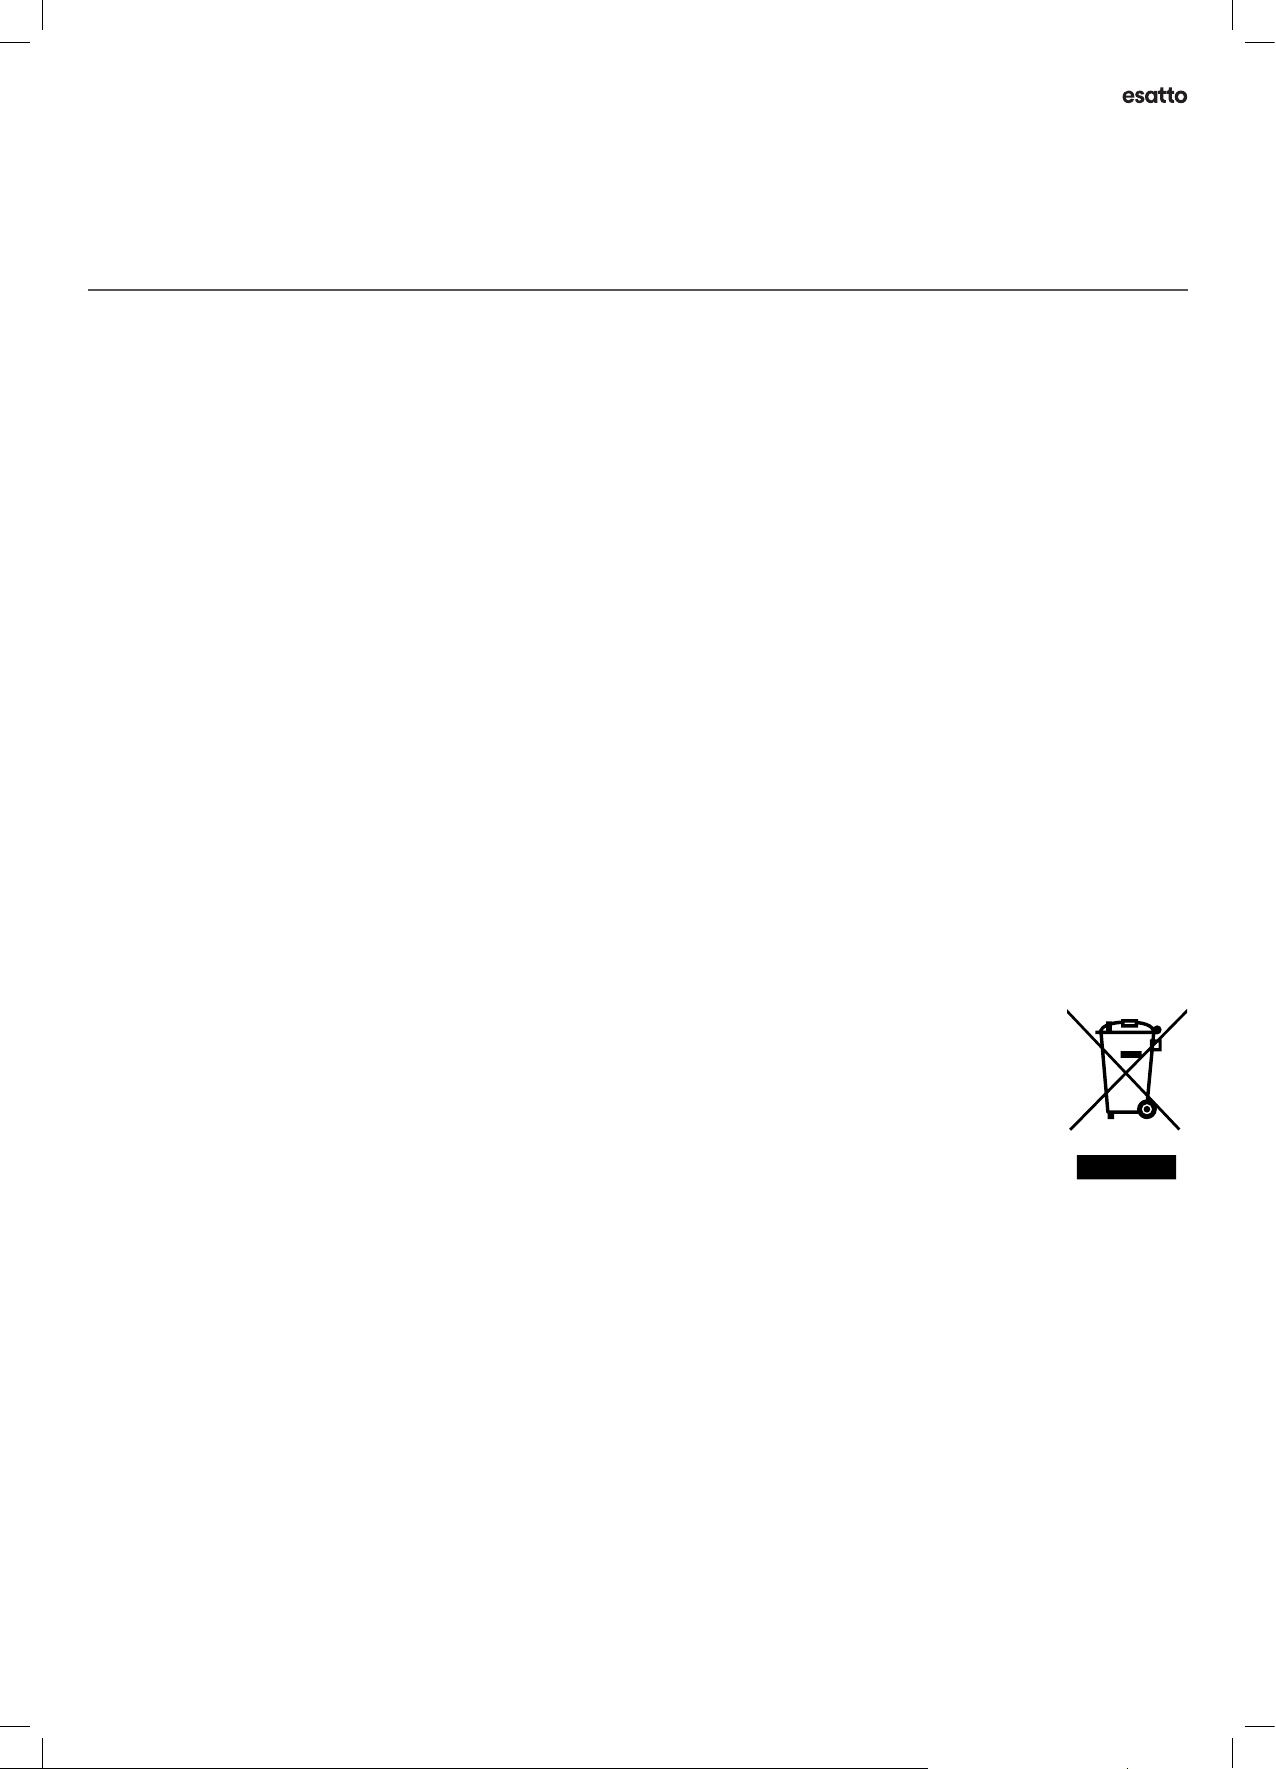
Disposl
•The pplince is lbeled in complince
with the Europen directive 2012/19/
EC for Wste Electricl Electronic
Equipment (WEEE). By ensuring tht
this pplince is disposed of correctly,
you will hve helped to prevent ny
possible dmge to the environment
nd to humn helth, which otherwise
my be cused if it were disposed of in
the wrong wy.
•The symbol on the product indictes tht it my not be
treted s norml household wste. It should be tken
to collection point for the recycling of electricl nd
electronic goods.
•This pplince requires specilist wste disposl. For
further informtion regrding the tretment, recover
nd recycling of this product plese contct your locl
council, your household wste disposl service, or the
shop where you purchsed it.
•For more detiled informtion bout tretment, recovery
nd recycling of this product, plese contct your locl
city oce, your household wste disposl service or the
shop where you purchsed the product.