ESI ES1247B User manual

ES1247B
1 Channel Multi-Purpose
Programmer
User Instructions

Thank you for choosing ESi Controls.
All our products are tested in the UK so we are
confident this product will reach you in perfect
condition and give you many years of service.
However, for additional peace of mind, we
recommend you register your product online at
www.esicontrols.co.uk/warranty for your
extended warranty.
2

3
User Instructions
What is a Channel Programmer?
An explanation for householders 6
An introduction to the 1 Channel Programmer 6
Quick Operating Guide 8
Programming the Unit
The Factory-set Programme 10
Setting the Programmer Option (5/2, 7 Day, 24hr) 11
Setting the Programme 11
Setting the Operation (ON/OFF/AUTO/ALL DAY) 12
Operating the Unit
Temporary Overrides 13
The Advance Function 13
The +HR Boost Function 14
Holiday Mode 14
Basic Settings
Setting the Time & Date 15
Setting the Backlight 15
Resetting the Unit 16
Power Interruption 16
Contents

4

5
User Instructions

6
An explanation for householders
Programmers allow you to set ‘On’ and ‘Off’ time periods.
Some models switch the Central Heating and domestic Hot
Water on and off at the same time, while others allow the
domestic Hot Water and Central Heating to come on and go
off at different times. Set the ‘On’ and ‘Off’ time periods to
suit your own lifestyle.
On some programmers you must also set whether you want
the Central Heating and Hot Water to run continuously,
run under the chosen ‘On’ and ‘Off’ heating periods, or
be permanently off. The time on the programmer must
be correct. Some types have to be adjusted in Spring and
Autumn upon the changes between Winter and Summer time.
You may be able to temporarily adjust the heating
programme, for example, ‘Override’,‘Advance’ or ‘Boost’.
These are explained in the manufacturer’s instructions. The
Central Heating will not work if the room thermostat has
switched the Central Heating off. And, if you have a Hot
Water cylinder, the water heating will not work if the cylinder
thermostat detects that the Central Hot Water has reached
the correct temperature.
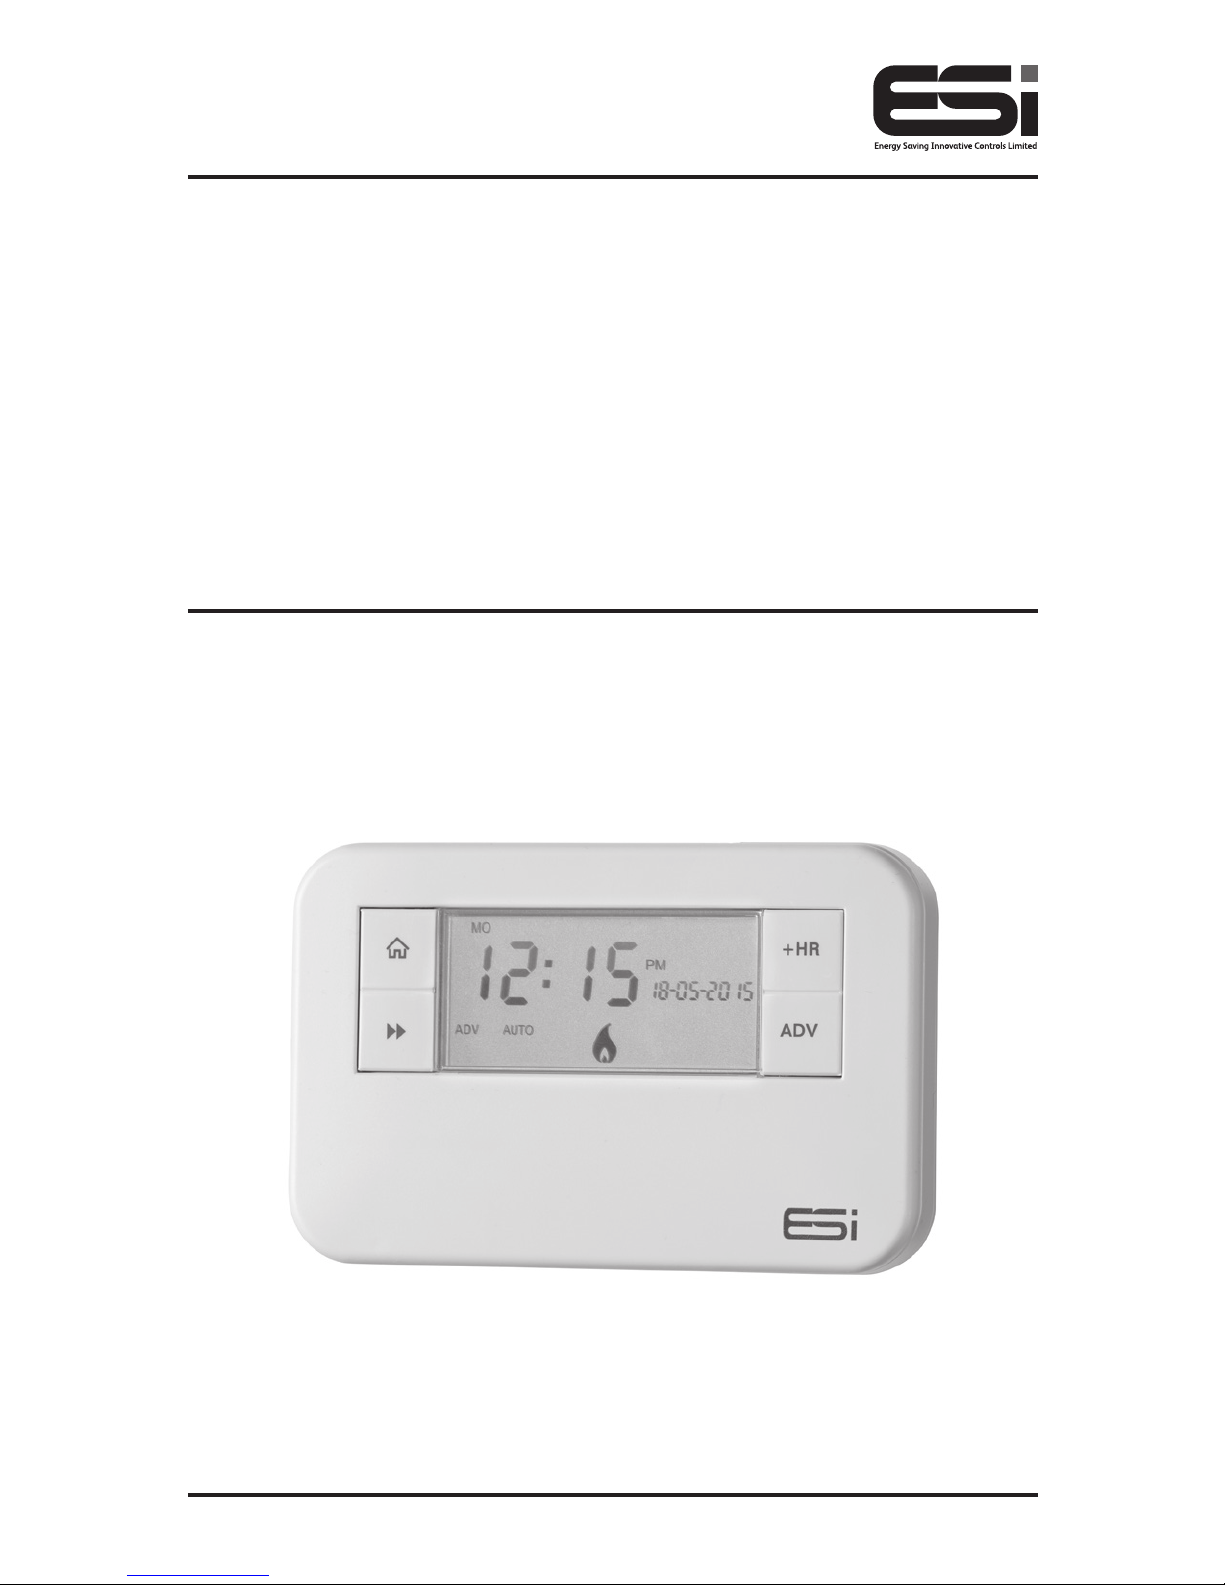
Introduction to the 1 Channel Programmer
This programmer can automatically switch your Central
Heating and Hot Water ON and OFF either 2 or 3 times a day,
at whatever times you choose. Timekeeping is maintained
through power interruptions by a replaceable internal battery
(by Qualified Installer/Electrician only) designed to last for
What is a Channel Programmer?

the lifetime of the programmer and the clock is automatically
put forward 1 hour at 1:00am on the last Sunday of March
and back 1 hour at 2:00am on the last Sunday of October.
The clock is factory pre-set to UK time and date, but you can
alter it if you want. During installation, the installer selects 24
hour, 5/2 day, or 7 day programming and either 2 or 3 on/
off periods per day, via the Technical Settings (see installation
instructions).
The large, easy to read display makes programming easy and
the unit is designed to eliminate the possibility of accidental
changes to your programme. Buttons normally visible, only
affect your set programme temporarily. All buttons which can
permanently change your programme are located behind the
flip over facia.
- The 24 hour programmer option runs the same
programme every day.
- The 5/2 Day programmer option allows different ON/OFF
times at weekends.
- The 7 Day programmer option allows different ON/OFF
times for each day of the week.
IMPORTANT: This programmer is not suitable for the
switching of devices greater than 6Amp rated. (e.g. Not
suitable for use as an immersion timer)
7

8
Quick operating guide
1Home (takes you back to home screen)
2Next (moves you to the next option within a function)
3Advance to the next programmed ON/OFF (ADV)
4Add up to 3 hours of extra Central Heating/Hot Water (+HR)
5Set Time and Date
6Set Programmer Option (24hr, 5/2, 7 Day) & Central
Heating/Hot Water
7Reset
8Set Operation Mode (ON/AUTO/ALL DAY/OFF)
9Runs the programme
10 +/– buttons for settings adjustment
11 Moves between days when programming Central Heating/
Hot Water (DAY)
12 Copy function (COPY)
13 Holiday Mode
1
2
5
6
7
8 9 10 11 12 13
3
4

9
14 Day of the week
15 Time Display
16 AM/PM
17 Date Display
18 Displays which ON/OFF period (1/2/3) is being set when
programming Central Heating/Hot Water
19 Displays whether setting the ON time or OFF time when
programming Central Heating/Hot Water (ON/OFF)
20 Advanced temporary override is active (ADV)
21 Operating Mode (ON/OFF/AUTO/ALL DAY)
22 Flame symbol shows that system is calling for heat
23 + 1hr / 2hr / 3hr temporary override is active
14 15 16 17 18
19
20 21 22 23

10
The Factory Pre-Set Programme
This Channel Programmer has been designed to be simple
to use, requiring minimal user intervention with a pre-
programmed heating profile.
The pre-set heating times and temperatures will suit most
people (see table below). To accept the factory pre-set
settings, move the slider to RUN which will revert the
programmer to Run Mode (the colon (:) in the LCD display
will begin to flash).
If the user changes from the factory-set programme and
wants to return to it, pressing the reset button with a non
metallic pointed tool will return the unit to the factory-set
programme.
N.B. Every time the reset is pressed, the time and date must
be set again (page 15).
Programming the unit
Event Std Time Econ
Time Std Time Econ
Time
Week Days
1st ON 06:30 00:00
Weekends
07:30 00:00
1st OFF 08:30 05:00 10:00 05:00
2nd ON 12:00 13:00 12:00 13:00
2nd OFF 12:00 16:00 12:00 16:00
3rd ON 17:00 20:00 17:00 20:00
3rd OFF 22:30 22:00 22:30 22:00
N.B. If 2PU or 2GR is selected, then events 2nd ON and 2nd OFF
are skipped

11
7 Day:
In 7 day setting, the pre-set settings are the same as 5/2 Day
programme (Mon to Fri and Sat/Sun).
24 Hr:
In 24hr setting, the pre-set settings are the same as Mon to
Fri of the 5/2 Day programme.
Setting the Programmer Option (5/2, 7 day, 24hr)
1. Switch the slider to HEATING. Press either the +/– button
to move between 7 day, 5/2 day or 24hr operation.
5/2 Day operation is shown by MO, TU, WE, TH, FR
flashing (5 Day) and then SA, SU flashing (2 Day)
7 Day operation is shown by just one day flashing
at a time
24 hr operation is shown by MO, TU, WE, TH, FR, SA,
SU flashing at the same time.
2. Wait 15 seconds to automatically confirm or press the
Home button. Move the slider to RUN to return to
Run Mode.
Settng the Central Heating/Hot Water Programme
1. Move the slider to HEATING. Choose between 5/2 day,
7 day or 24 hr programmer operation (see above steps
1-2).
2. Press the Next button. Press the Day button until the
desired day/block of days you want to programme is
flashing.
3. The display shows the 1st ON time. Press +/– to set the
time (10 minutes increments). Press the Next button.
4. The display shows the 1st OFF time. Press +/– to set the
time (10 minutes increments). Press the Next button.

12
5. The display will now show the 2nd ON time. Repeat
steps 3-4 until all remaining ON/OFF periods have
been set. On the last OFF period, press the Day button
until the next desired day/block of days you want to
programme is flashing.
6. Repeat steps 3-5 until all days/block of days have been
programmed.
7. Wait 15 seconds to automatically confirm or press the
Home button. Move the slider to RUN to return to
Run Mode.
N.B. The copy button can be used in the 7 day setting to copy
any chosen day to the next day (e.g Mon to Tues or Sat
to Sun). Simply change the program for that day, then
push copy repeatedly until all 7 days (if you so wished)
have been changed.
Setting the Operation
1. Switch the slider to PROG. Press either the +/– button
to move between ON/OFF/AUTO/ALL DAY.
ON: Central Heating and Hot Water is ON continuously
AUTO: Central Heating and Hot Water will be switched
ON and OFF in accordance with set programmes
ALL DAY: Central Heating and Hot Water will switch
ON at the first ON and switch OFF at last OFF
OFF: Central Heating and Hot Water will be
permanently OFF
2. Wait 15 seconds to automatically confirm or press the
Home button. Move the slider to RUN to return to
Run Mode.

13
Temporary Manual Overrides
The Advance Function
The ADVANCE function allows the user to move to the next
ON/OFF programme for a “one off” event, without having to
change the programme or use the ON or OFF buttons.
N.B. The ADVANCE function is only available when the
programme is in AUTO or ALL DAY operating modes and
the slider must be switched to RUN.
To Advance Central Heating/Hot Water
1. Press the ADV button. This will turn the Central Heating/
Hot Water ON if it is in an OFF period and OFF if it is
in an ON period. The word ADV will appear to the left
hand side of the LCD display.
2. It will stay in this state until either the ADV button is
pressed again, or until a programmed ON/OFF period
commences.
The +HR Boost Function
The +HR function allows the user to have up to 3 hours of
extra Central Heating or Hot Water, without having to change
the programme.
N.B. The +HR function is only available when the programme
is in AUTO, ALL DAY or OFF operating modes and the
slider must be switched to RUN. If the programmer is in
AUTO or ALL DAY mode when the +HR button is pressed
and the resulting time of the boost overlaps a START/ON
time, the boost will disengage.
Operating the unit

14
To +HR Boost Central Heating/Hot Water
1. Press the +HR button.
2. One press of the button will give one extra hour of
Central Heating/Hot Water; two presses of the button
will give two extra hours; three presses of the button will
give the maximum three extra hours. Pressing it again
will switch off the +HR function.
3. The +1HR, +2HR or +3HR status will appear on the right
hand side of the radiator symbol.
Holiday Mode
Holiday Mode saves energy by letting you reduce the
temperature for 1 to 99 days while you are away from home,
resuming normal operation on your return.
1. Press to enter Holiday Mode and the screen will
display d:1.
2. Press +/– buttons to select the number of days you would
like the holiday mode to run for (between 1-99 days).
3. Press the Home button to confirm. The system will
now turn OFF for the number of days chosen. The
number of days will alternate with the time symbol on
display and the number of days will count down.
4. Once the countdown has finished, the programmer will
return to normal operation. It may be advisable to set
the Holiday Mode 1 day less so the house is back up to
temperature for your return.
5. To cancel the Holiday Mode, press the button to
revert back to run mode.

15
Setting the Time and Date
The time and date are factory set and changes between
summer and winter time are handled automatically by the unit.
1. Switch the slider to TIME/DATE.
2. The hour symbols will flash, use the +/– buttons to adjust.
3. Press the Next button and the minute symbols will
flash, use the +/– buttons to adjust.
4. Press the Next button and the day date will flash,
use the +/– buttons to adjust the day.
5. Press the Next button and the month date will flash,
use the +/– buttons to adjust the month.
6. Press the Next button and the year date will flash,
use the +/– buttons to adjust the year.
7. Press the Next button or wait for 15 seconds to
automatically confirm and return to Run Mode.
Setting the Backlight
The backlight can either be set permanently ON or OFF.
The programmer backlight is pre-set to be permanently OFF.
When the backlight is permanently OFF, the backlight will turn
ON for 15 seconds when +or –button is pressed, then turn
OFF automatically.
To change seting to permanently ON, move the slider to
TIME/DATE. Press the Next button repeatedly until Lit
is displayed. Press +or –to turn backlight ON or OFF. Press
the Next button or wait for 15 seconds to automatically
confirm and return to Run Mode.
Basic settings

16
N.B. Do not use Advance or +HR Boost Button to activate the
backlight as it may engage the Advance or +HR facility
and turn on the boiler. Only use the Home button.
Resetting the Unit
Press the reset button with a non-metallic pointed tool to reset
the unit. This will restore the built in programme and also
reset the time to 12:00pm and the date to 01/01/2000. To
set the time and date, (please refer to page 15).
N.B. As a safety feature after resetting the unit will be in
OFF operating mode. Reselect your required operating
mode (page 11-12). Use of excessive force may result
in the reset button sticking behind the front cover of the
programmer. If this happens the unit will “freeze” and
the button can only be released by a qualified installer.
Power Interuption
In the event of a mains supply failure the screen will go
blank but the back-up battery ensures that the programmer
continues to keep the time and retain your stored programme.
When power is restored, switch the slider to RUN to return to
Run mode.

17

18

19
WARNING: Interference with sealed parts renders the
guarantee void.
In the interests of continuous product improvement we reserve
the right to alter designs, specifications and materials without
prior notice and cannot accept liability for errors.
We are continuously developing our products to
bring you the very latest in energy saving technology
and simplicity. However, should you have any questions
setting up your controls please email us at
sales@esicontrols.co.uk or for technical queries call
us on our dedicated technical helpline 07539 117468.

Version 6.10.2
© ESi Controls Limited 2017
Other manuals for ES1247B
1
Table of contents
Other ESI Motherboard manuals