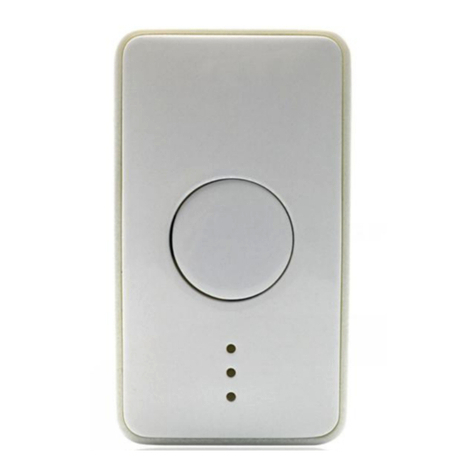
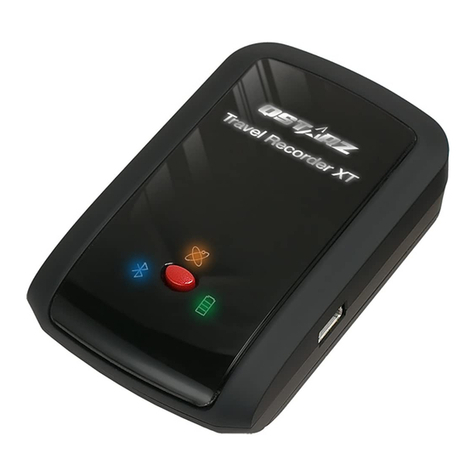
eSky wireless ES820 User manual

Catalogue
Version history..................................................................................................................................3
1. Structure Introduction ..............................................................................................................5
2. Preparation....................................................................................................................................6
3. Quick Using Steps..........................................................................................................................7
3.1 Power on ES82X ..................................................................................................................8
3.1.1 Insert SIM Card.................................................................................................................8
3.2 Switch on ES820 ..................................................................................................................8
3.3 Set APN, Report Server IP (SMS) .........................................................................................9
3.4 Set APN (SMS) ...................................................................................................................10
3.5 Set other commands by SMS ............................................................................................11
3.6 Set APN, Report Server IP (AT) ..........................................................................................11
3.7 Set APN (AT) ......................................................................................................................12
3.8.Normal Function Test (AT).................................................................................................13
4. Supplement .................................................................................................................................13
4.1 LED Indication....................................................................................................................13

Version history
Version
Data
Note
V1.0
2020.11.23
First version
FCC Statement
This equipment has been tested and found to comply with the limits for a Class B digital
device, pursuant to part 15 of the FCC Rules. These limits are designed to provide
reasonable protection against harmful interference in a residential installation. This
equipment generates, uses and can radiate radio frequency energy and, if not installed and
used in accordance with the instructions, may cause harmful interference to radio
communications. However, there is no guarantee that interference will not occur in a
particular installation. If this equipment does cause harmful interference to radio or
television reception, which can be determined by turning the equipment off and on, the user
is encouraged to try to correct the interference by one or more of the following measures:
—Reorient or relocate the receiving antenna.
—Increase the separation between the equipment and receiver.
—Connect the equipment into an outlet on a circuit different from that to which the receiver
is connected.
—Consult the dealer or an experienced radio/TV technician for help.
FCC Radiation Exposure Statement
This device complies with FCC radiation exposure limits set forth for an uncontrolled
environment and it also complies with Part 15 of the FCC RF Rules. This equipment must
not be co-located or operating in conjunction with any other antenna or transmitter. End-
users and installers must be provide with antenna installation instructions and consider
removing the no-collocation statement.
This device complies with Part 15 of the FCC Rules. Operation is subject to the following
two conditions:
(1) this device may not cause harmful interference, and
(2) this device must accept any interference received, including interference that may cause
undesired operation.
Caution!
Any changes or modifications not expressly approved by the party responsible for compliance
could void the user's authority to operate the equipment
RF Exposure Information (SAR)
This device meets the government’s requirements for exposure to radio waves. This device is
designed and manufactured not to exceed the emission limits for exposure to radio frequency (RF)
energy set by the Federal Communications Commission of the U.S. Government.

The exposure standard employs a unit of measurement known as the Specific Absorption Rate, or
SAR. The SAR limit set by the FCC is 1.6 W/kg. Tests for SAR are conducted using standard operating
positions accepted by the FCC with the EUT transmitting at the specified power level in different
channels. The FCC has granted an Equipment Authorization for this device with all reported SAR
levels evaluated as in compliance with the FCC RF exposure guidelines. SAR information on this
device is on file with the FCC and can be found under the Display Grant section of
www.fcc.gov/oet/ea/fccid.
To ensure that RF exposure levels remain at or below the tested levels, use a beltclip, holster, or
similar accessory that have no metallic component in the assembly and must maintains a minimum
separation distance of 15mm between your body and the device.

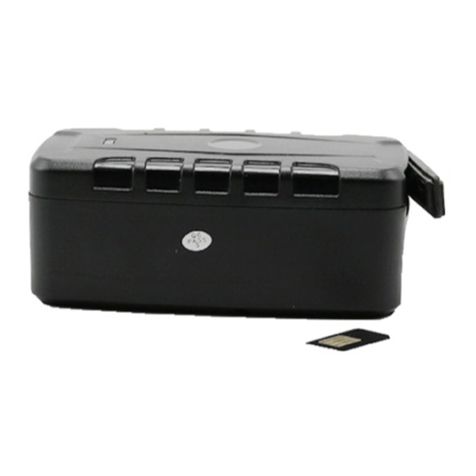
1. Structure Introduction
1. Positive
2. Negative
1.Screw holes
2.Charging

2. Preparation
Make sure the equipment below is all available.
Equipment Lists:
Equipment Name
Number
Note
ES820
1
Necessary
SIM Card
1
Necessary

3. Quick Using Steps
S: Success
F: Fail
…
S
Fcheck, re-do
Step 1
Power off ES820
Step 2
Install SIM card
SMS
Step 4 (SMS)
Set APN&IP
Step 5 (SMS)
Normal Function Test
Fcheck, re-do
S
Step 6
Test all the functions
Step 7 (AT)
Set APN,IP on
Fcheck, re-do
S
…
Step 8 (AT)
Normal Function Test
Fcheck, re-do
S
AT or SMS
AT
Step 3
Switch on
F check, re-do

3.1 Power on ES82X
3.1.1 Insert SIM Card
First you should prepare the Micro SIM Card, like below:
Note:
SIM Hot-Plug is forbidden for this device.
After inserted the SIM Card,you will hear”ka”,it means the SIM Card is useful.
When you insert the SIM card, before power on.
Please see the below:
3.2 Switch on ES820
When finishing installation, switch on the device, it will start works.
Note: The device can be charging by USB cable.
Then, please check LEDs status.
When ES820 is powered on, the two LEDs –Yellow and green LEDs will light for 2 seconds; then,
only green LED will blink; yellow LEDs will blink after 24 seconds. Wait for a while. If the device
connected the server, the yellow LEDs is hold on. If GPS is located, the green LEDs is hold on.
Otherwise the yellow and green LEDs will blink.
The meaning of each LED means, please refer to chapter 5.1.
If not, your situation is:
1) No LED lights
Please check the way you power on or the voltage that power supplies.
2) Only green LED lights
Please make sure that SIM card is inserted.
Please make sure that SIM card is available.
Please make sure that SIM card is not hot plug.

Note:
If you want to test all the commands via SMS, please refer to Step 3, Step 4 and Step 5.
Or if set command by USB (AT), please refer to step 7, step 8.
3.3 Set APN, Report Server IP (SMS)
The command to re-set server IP is “DATA”. The format of “DATA” is shown below.
Content
Explanation
Command Code
DATA
Separator
,
Parameter3
URL: PORT
End Sign
#
For example:
The reporting server is esky car online platform: www.eskylocate.com and the port is 1750.
So the content of SMS should be:
data,www.eskylocate.com:1750#
The command possible responses:
1) DATA=Success!
That means everything goes well.
2) DATA=Fail!
Make sure no parameters are missed.
3) No Response.
Make sure DATA spelling correct. No space in the beginning.
Make sure ending character’#’. No space in the end.
Make sure that SIM card has been plugged, or plugged in right way.
IP:Port

Make sure SIM supports SMS service. Try to use the SIM card send SMS by your mobile phone.
Make sure GSM coverage is good.
3.4 Set APN (SMS)
The command to re-set APN is “APN”. The format of “APN” is shown below.
Content
Explanation
Command Code
APN
Separator
,
Parameter3
apn
Separator
,
Username
username
Separator
,
Password
password
Separator
,
End Sign
#
For example:
The APN for China mobile is CMNET, and if the SIM Card has no password and username,
The command will be:
APN, CMNET#
If the SIM card has username and password, customer should add.
And the response result please refer to the DATA command.
After setting IP and port and APN command
Wait for 1 ~2 minutes, you will see that yellow LED is no longer blink. And if GPS has fixed, green
LED does not blink, either.
If not,
1) Yellow LED never stops blinking.
Make sure that the APN or IP and port are all right.
Make sure GSM coverage is good.
2) Green LED never stops blinking.
Make sure ES82x is in the open air
Make sure GPS signal coverage is good.

3.5 Set other commands by SMS
You can set others commands by SMS. Like this: version, mode, factoryreset ect. Please check the
ES82xProtocol.
3.6 Set APN, Report Server IP (AT)
Note: AT command is based on the command in <ES82x protocol>.
The command to re-set server IP is “DATA”. The format of “DATA” is shown below.
Content
Explanation
Command Code
DATA
Separator
,
Parameter3
URL: PORT
End Sign
#
For example:
The reporting server is esky car online platform: www.eskyloacte.com
So the AT command content should be:
Cmd:data, www.eskyloacte.com:1750#
Note: Do not forget the ENTER at the end of command.
The possible response:
①DATA=Success!
It means server IP have changed successfully.
②DATA=Fail!
AT command mark
Cmd:XXXXX
IP:Port

Try again
Please don’t set any command within 1 ~ 2 min after ES82X is powered on.
Mark sure DATA command spells correctly.
③ERROR
Make sure that AT command mark spells correctly.
④No response.
Type “enter” again.
Re-type DATA command again without pause
3.7 Set APN (AT)
Note: AT command is based on the command in <ES821 protocol>.
If you are not in China or America, APN is necessary to change.
The command to re-set APN is “APN”. The format of “APN” is shown below.
Content
Explanation
Command Code
APN
Separator
,
Parameter3
apn
Separator
,
Username
username
Separator
,
Password
password
Separator
,
End Sign
#
For example:
The APN for China mobile is CMNET, and if the SIM Card has no password and username,
The command will be:
Cmd:APN, CMNET#
If the SIM card has username and password, customer should add.
Note: Do not forget the ENTER at the end of command.

And the response result please refer to the DATA(AT) command.
3.8. Normal Function Test (AT)
Since AT command is based on commands in <ES82x Protocol>, so you can choose whatever
command you want to test by AT command. All you need to do is add AT command mark.
4. Supplement
4.1 LED Indication
Yellow LED indicates LTE Net status.
Green LED indicates GPS status.
Red LED indicates charging status.
LED Color
Resource
Off
Flash
Steady
Red
Charging
Consuming Battery
--
Battery Charging
Yellow
LTE Net
No connection
Acquiring
Acquired
Green
GPS
No lock
Acquiring
Acquired
Table of contents
Other eSky wireless GPS manuals


