manuals.online logo
Brands
  1. Home
  2. •
  3. Brands
  4. •
  5. Essentials
  6. •
  7. Outdoor Light
  8. •
  9. Essentials Decca 1979X Manual

Essentials Decca 1979X Manual

Please note: terminal block not included. Installation may require advice from a qualified person. Having correctly
identified the wiring from your existing light fitting, connect to the approved outdoor rated terminal block in the
following way:
Instruction leaflet
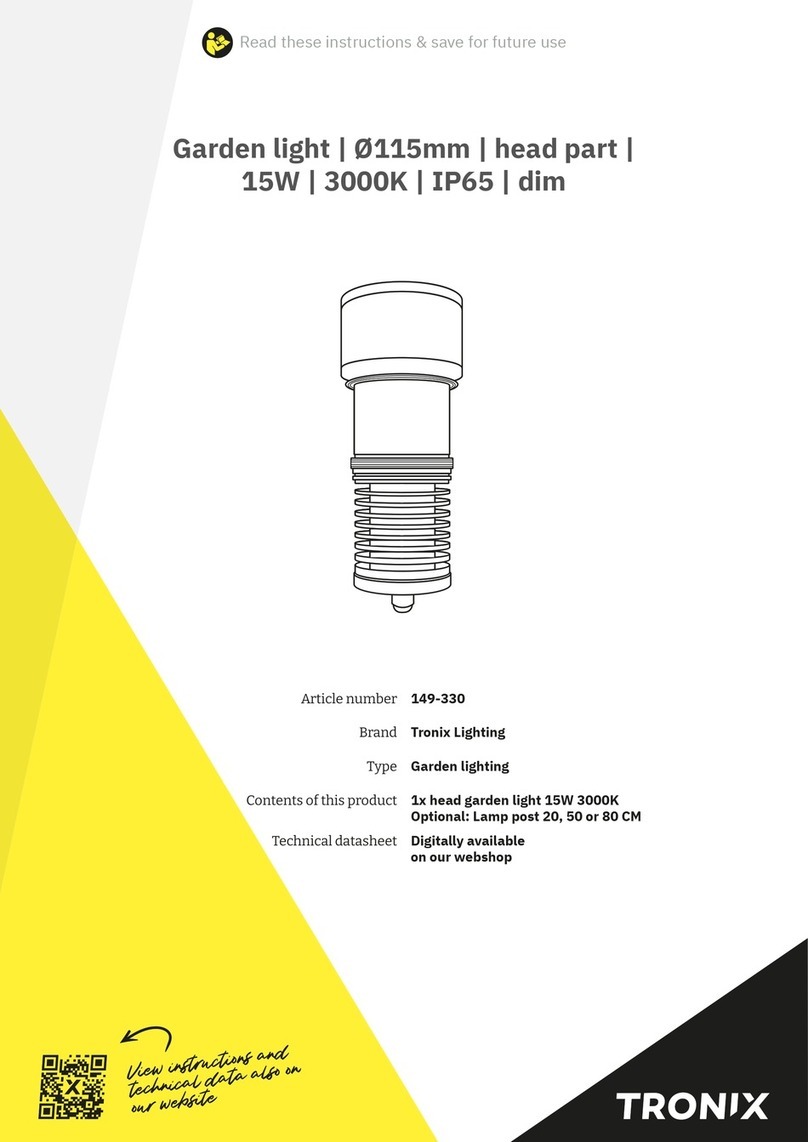
Decca Spike Kit
1979X
• Werecommendcleaningwithasoftdrycloth.
• Donotusesolventsorabrasivecleanersasthese
could damage the finish.
Care & Cleaning
Wasteelectricalproductsshouldnotbedisposedofwithhouseholdwaste.Pleaserecyclewherefacilities
exist. Check with your Local Authority or retailer for recycling advice.
Recycling advice
• LiveVoltagesmaybepresentinthedriverevenwhen
turned off or when completely disconnected.
• Foryoursafety,alwaysswitchoffthesupplybefore
maintaining the system.
• Thissystemcontainsnon-replaceablepartsand
cannot be serviced. If damage occurs the part should
be scrapped.
Safety information
Plug Fitting
1.Theappliancemustbeconnectedtoa240voltsAC
supply.
2.Theappliancecanbefittedtoarewireable3pinplug
fittedwitha3ampfuse.Shouldthefuserequire
replacement, it must be replaced with a fuse rated at
3ampandapprovedtoBS1362.
3.Ifthemainsplugisunsuitableforthesocketoutlet
or is removed for any other reason, then the cut off
plug should be disposed of safely to prevent the
hazard of electric shock.
4.Thereisadangerofelectricshockifthecutoffplug
isinsertedintoany13ampsocketoutlet.
10/01/2018
Wiring to approved outdoor terminal block
Thankyouforpurchasingthislightfitting.Pleasereadtheinstructionscarefullybeforeusetoensuresafeand
satisfactory operation of this product. Please retain these instructions for future reference.
Warning
The power supply is Double Insulated and does not
require connection to an Earth circuit.
The LED units are Safety Extra Low Voltage and
must not be earthed.
Please read these instructions carefully before
commencing any work.
Thisunitmustbefittedbyacompetentandqualified
electrician.
InstallinaccordancewithIEEWiringregulationsand
currentBuildingRegulations.
ThissystemoperatesatSafetyExtraLowVoltage
(12V),viaanLEDdriver.Neverconnectthelight
fittings directly to the mains without using the supplied
LEDdriver.
Themainsplugmustbesituatedindoors(e.g.house,
garage,shed)inordertoprotectitfromtheelements.
DonotexceedtheLEDdriverload.LEDdriversmay
require a minimum load to operate.
Always disconnect the plug from the mains when
installing or maintaining this system.
Thissystemcontainsnon-replaceablepartsand
cannot be serviced. If damage occurs the part should
be scrapped.
Thisproductcannotbedimmed.
ThisproductisratedatIP44withIP20indoorplug.
Wasteelectricalproductsshouldnotbedisposedof
with household waste. Please recycle where facilities
exist. Check with your local authority or retailer for
recycling advice.
Specification
TheKitcontains:
•1x12VIP67LEDdriverwith3.2mcableandindoorIP20BSplug
•1x5mextensioncable
•10xIP44LEDspikelightfittingseachwith1.5mofcable.
•1xEndCap
•10xSurfacemountablefixingbrackets
•1xFixingKit
Layout
•Decideonthepositionoftheluminaire.Depending
on the location, an approved outdoor rated plug and
socket may be required. Alternatively an approved
outdoor rated external terminal block may be used.
• Avoidlocatinganycablesinpositionsthatwould
cause a trip hazard. Position cables away from areas
where they may be at risk from being cut, trapped or
damaged.
•Cablesthataretobeinwallsandconcealed
underground must be protected using suitable
conduit or plastic trunking.
• ThedriverisratedatIP67andcanbepositioned
outdoors.
• EachconnectorisratedatIP44andcanbe
positioned outdoors.
• ThelightunitsareratedatIP44.
• Maximumdistancebetweenspikelightsis1500mm.
• Amaximumof20spikelightscanbeconnected
together.
• Ensuretheconnectorsareaccessibleforfuture
maintenance.
•Ensurethatthegroundissuitableforpushingthe
spikesinto,andcansupporttheluminaires.Donot
install in very wet or boggy areas.
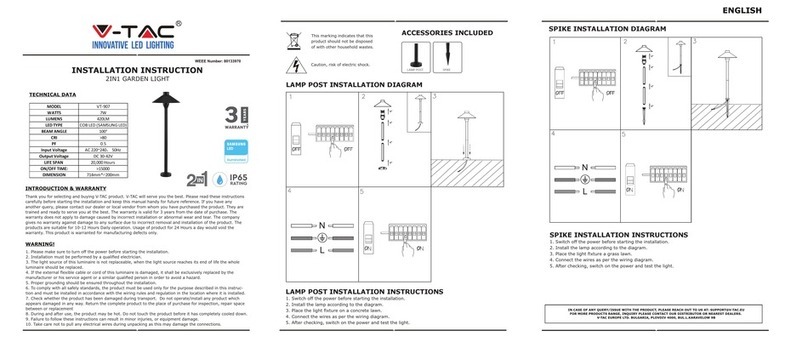
1)Donotplug-inatthisstage.
2)Afterdecidingthelayoutofthelightfittings,ensurethecablesarelongenoughto
connecttothedesiredpositions.EachheadlinkstothenextviatheIP44screwfit
connector.
3)SeeFig.1.Pushthestemintothelightfittingheadandthenpushthestemintothe
spike. Push the assembled products into the ground.
4)Connecteachspikelighttothenextinseriesbyscrewingtheconnectorstogether.See
layout diagram below.
5)Usethesuppliedblankingplugtocoverlastsocketwhichisnotbeingused,toprevent
water ingress.
6)Connectthe5mextensioncableintothefirstsocket.
7)Ensureallconnectionsaretight.Plugintothemainssocketandswitchon
Installation - Spike light
1)Donotplug-inatthisstage.
2)See.Fig.2.Usingthesuppliedsurfacemount
bracket as a template, mark and drill the fixing hole.
Takecarenottodamageanyconcealedwiringand
pipes.Fixthemountingbrackettothewallusingthe
supplied screw and wall plug.
3)Gentlypushthelightfittingheadintothemounting
bracket and secure in position.
6)Connectthe5mextensioncableintothefirstsocket.
7)Ensureallconnectionsaretight.Plugintothemains
socket and switch on.
Installation - Surface mounting
Layout Diagram
Fig. 1
Fig. 2
I

This manual suits for next models

1

Other Essentials Outdoor Light manuals

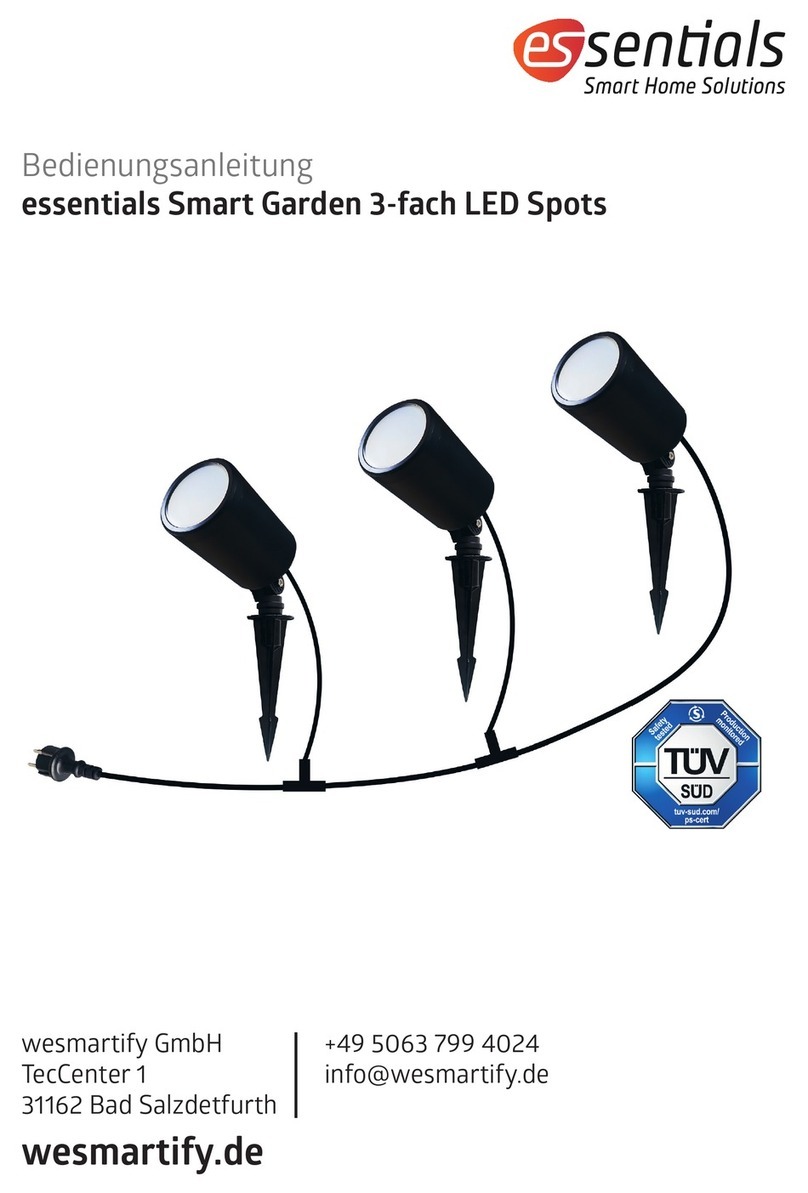
Essentials Smart Garden triple LED Spots User manual

Essentials

Essentials Smart Garden triple LED Spots User manual

Essentials 5543J User manual

Essentials

Essentials 5543J User manual

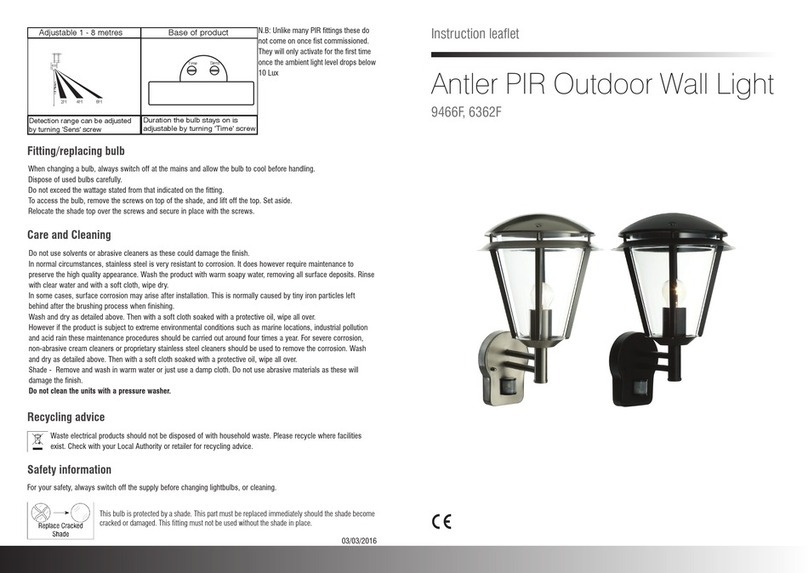
Essentials ANTLER Manual

Essentials

Essentials ANTLER Manual

Popular Outdoor Light manuals by other brands

Endon Dean 82013 instruction manual

Endon

Endon Dean 82013 instruction manual

Hubbell Kim Lighting Wall Forms WF30H Series installation instructions

Hubbell

Hubbell Kim Lighting Wall Forms WF30H Series installation instructions

LIGMAN MN-91262 installation manual

LIGMAN

LIGMAN MN-91262 installation manual

Kogan NBBR3HOSMSL user guide

Kogan

Kogan NBBR3HOSMSL user guide

Beurer TL 90 Instructions for use

Beurer

Beurer TL 90 Instructions for use

Vaxcel T0366 Assembly and installation instructions

Vaxcel

Vaxcel T0366 Assembly and installation instructions

Cree OSQ HO Series installation instructions

Cree

Cree OSQ HO Series installation instructions

AquaScape 84057 installation instructions

AquaScape

AquaScape 84057 installation instructions

LIGMAN LBX 3 installation manual

LIGMAN

LIGMAN LBX 3 installation manual

Philips ecoMOODS 16917/47/16 manual

Philips

Philips ecoMOODS 16917/47/16 manual

Allen + Roth LB2901 manual

Allen + Roth

Allen + Roth LB2901 manual

LUG ARTERA LED installation instructions

LUG

LUG ARTERA LED installation instructions

Onninen Onnpark Town instruction manual

Onninen

Onninen Onnpark Town instruction manual

Ledino Charlottenburg series instruction manual

Ledino

Ledino Charlottenburg series instruction manual

LIGMAN LH-10665 installation manual

LIGMAN

LIGMAN LH-10665 installation manual

Sulion DARY 200764 manual

Sulion

Sulion DARY 200764 manual

RAB Design WL-LED26 installation instructions

RAB Design

RAB Design WL-LED26 installation instructions

Integral LED PathLux ILGDA003 installation instructions

Integral LED

Integral LED PathLux ILGDA003 installation instructions

manuals.online logo
manuals.online logoBrands
  • About & Mission
  • Contact us
  • Privacy Policy
  • Terms and Conditions

Copyright 2025 Manuals.Online. All Rights Reserved.