Euhomy IM-11D User manual

Email:support@euhomy.com Facebook:@Euhomy.Official
Ice Maker
SKU:IM-11D
Instruction Manual


Congratulations
Dear Customer:
Welcome to the Euhomy family. Thank you for purchasing one of our products.
Our goal is to provide you with superior service. If there is anything missing from or wrong with
your order, or if you have any questions about using our ice maker, PLEASE contact us.
Email: [email protected]
Facebook: @Euhomy.Official
The Euhomy team is available 24/7 to address your questions, comments, and concerns. Your
satisfaction is our ultimate goal. We want to make everything right so you'll share your positive
experience with other shoppers on Amazon.
Our mission:
* To be the most trusted appliance brand.
* To create practical, compact appliances that better your life.
Be sure to register at
www.euhomy.com/register
for updates, warranty, and other relevant information.


1. How often do I need to clean my ice maker?
It depends on your usage habits. If you use the ice maker often, it is recommended that you clean it
at least once a week. Failure to clean the machine will cause scale accumulation, which will
eventually block the pump and cause the product to stop working.
2. How should I clean the machine?
It is recommended to use lemon water or a solution of low-acid vinegar and water for cleaning.
Drain the machine immediately after cleaning and then rinse it with pure water.
It is recommended to drain the water tank at least once every three days. This keeps the hardness
of the water low, ensures that impurities can be discharged, and prevents scale buildup in the
water tank.
3. Why are my ice cubes cloudy?
It means that your water quality is turbid. It is recommended to use only drinking water and distilled
water. If your water quality problem is serious, it is recommended that you install a water filtration
system on your faucet.
4. Can I put milk and juice into the water tank to make ice cubes?
Using liquids other than water to make ice cubes is not recommended. Our research has found that
the particles in milk and beverages can easily block the pump and reduce the life of the pump. Also,
the protein in milk is prone to calcification, which chemically reacts with the PU water pipe inside
the machine and easily breaks it, making the product unable to continue working.
5. Why do my ice cubes melt easily?
Because the ice maker is not a refrigerator, it does not have a heat-control function. High ambient
temperatures in summer will accelerate the melting of ice cubes. You can close the lid of the
machine to maintain the internal temperature. Some users put electric fans by the machine to blow
away hot air, which you can also try. However, if you are not going to use the ice cubes for a long
time, we recommend removing them from the ice basket and storing them in your freezer.
6. Why do my ice cubes stick together?
Either the room temperature or the water temperature is too low. You can add water to increase the
temperature of the water in the tank. If this does not work, then the evaporator may have sagged
and become deformed. It is recommended that you push up the cubes with your hand.
7. Why do the ice cubes I made smell of plastic?
The ice cubes themselves have no taste. If they smell of plastic, first try to clean the inside of the
machine with lemon water. Then run a few ice-making cycles and discard the ice cubes made.
Finally, rinse the machine with distilled water.
8. Why does my machine make noise when it is running?
The machine will make a faint sound when it is running. Closing the lid can reduce the noise. If the
water pump makes noise during use, it is recommended to turn off the machine first. Then turn on
the machine after cleaning the filter in the water tank to see whether the noise disappears.
Q&A

9. Why is water leaking from my machine?
It may be that the tube inside the machine fell off during transport. You can remove the back cover
of the machine and reconnect the tube yourself. If you do not know how to do this, please contact
the Euhomy team. We will refer you to a professional video to help you solve the problem.
1O. Why is there water flowing but not making ice?
If the ambient temperature and refrigeration pipe are OK, then the refrigerant in the machine has
leaked. Please send us a video or picture, and the Euhomy team will help you.
11. Why the ice making is not big?
When the ambient temperature or the initial water temperature is too high or the machine's
evaporator column deformation will lead to the production of ice is not large enough.It is
recommended to continue to wait for the machine to make a few more rounds of ice, or add the
water temperature of the tank is not too high, and then the deformed evaporator column will be
manually pulled down to restore its original state.
Q&A

Contents
Technical Parameters 10
Maintenance & Tips 08-09
01
Safety Precautions 02-04
Operation & Installation 05-07
12
Troubleshooting: [email protected]
Warranty 11

Safety Precautions
IMPORTANT NOTICES
When using an electrical appliance, basic safety precautions
should always be followed to reduce the risk of fire, electric
shock, and/or injury, including the following:
02
Read all instructions before using.
Remove all packing material and carefully check that your ice maker is in good condition and that
there is no damage to the ice maker or power cord and plug.
Before using the ice maker for the first time, please wait 2 hours after positioning it, and keep
the transparent lid open for at least 2 hours.
Pure water is not allowed to be used on this unit. It is recommended that you only use spring
water.
Ensure that the voltage is compliant with the voltage range stated on the rating label, and ensure
the earthing of the socket is in a good condition.
If the supply cord is damaged, it must be replaced by the manufacturer or its service agent or a
similarly qualified person in order to avoid a hazard.
Do not upend this product or put it at an incline of more than a 45℃angle.
To protect it against risk of electric shock, do not pour water on the cord, plug and ventilation, or
immerse the appliance in water or any other liquid.
Unplug the appliance after using or before cleaning.
Keep the appliance at least 8cm from other objects to ensure a proper heat releasing.
Do not use any accessories that are not recommended by the manufacturer.
This appliance can be used by children aged from 8 years and older and persons with reduced
physical, sensory or mental capabilities or lack of experience and knowledge if they have been
given supervision or instruction concerning the use of the appliance in a safe way and under-
stand the hazards involved. Children shall not play with the appliance. Cleaning and user
maintenance shall not be performed by children without supervision.
Do not use the appliance close to open flames, hot plates or stoves.
Do not switch on the power button on and off frequently (ensure an interval of at least 5min.) to
avoid damage to the compressor.
Do not use outdoors.
Never clean with scouring powders or hard implements.
Please keep the instruction manual.
Warning: Do not store explosive substances such as aerosol cans with a flammable propellant in
this appliance.
This appliance is intended to be used in households and similar applications such as:
– kitchen staff areas in shops, offices and other working environments;
– farmhouses and with clients in hotels, motels and other residential type environments;
– bed and breakfast type environments;
– catering and similar non-retail applications.

03
Safety Precautions
IMPORTANT NOTICES
This symbol indicates the refrigerant R600a, and the non-metallic
materials of the appliance are flammable. It’s a warning symbol.
Warning: Risk of fire / flammable materials.
Warning:
When positioning the appliance, ensure that the supply cord is not trapped or damaged.
Do not locate multiple portable socket-outlets or portable power supplies at the rear of the
appliance.
The refrigerant and insulation blowing gas is flammable. When disposing the appliance, do so
only at an authorized waste disposal centre. Do not expose to flames.
When positioning the appliance, ensure that the supply cord is not trapped or damaged.
Do not locate multiple portable socket-outlets or portable power supplies at the rear of the
appliance.
To avoid contamination of food, please respect the following instructions:
– Opening the door for long periods can cause a significant increase of the temperature in the
compartments of the appliance.
– Clean surfaces that can come in contact with food and accessible drainage systems regularly.
– Clean water tanks if they have not been used for 48h; flush the water system connected to a
water supply if water has not been drawn for 5 days.
– If the refrigerating appliance is left empty for long periods, switch off, defrost, clean, dry,
and leave the door open to prevent mold from developing within the appliance.)
During transportation, do not tilt the machine more than 45 degrees, and do not reverse the
machine. This may damage the compressor and the sealing system.
Remove all packing materials, and check the machine carefully and make sure that the machine,
power cord and plug are normal.
The machine should stand on a level surface. To ensure sufficient ventilation, the back of ice
maker should be at least 150 mm away from the wall, and it should not stand close to the
oven, radiator or other heat source.

04
Before using the machine for the first time, place the machine and keep the ice basket removed for
at least two hours.
Make sure that the home voltage is consistent with the voltage indicated by the machine.
Distilled water is not allowed. Only mineral water is recommended. The transparency of ice
making with pure water is higher than that with tap water.
Under various temperature conditions, the transparency of ice made with different water is not
the same. The transparency of ice is higher in higher temperature environment, and the transpar-
ency of ice will decrease with the increase of ice making time.
Regarding the information pertaining to the use of the appliance, please refer to the paragraphs
below.
Safety Precautions

05
1
2
3
4 5
6
7
8
9
1. Front housing
2. Ice collecting tray
3. Top lid
4. Control panel
5. Indicator lamp
6. Buttons
7. Rear housing
8. Air vent
9. Water tank
Operation & Installation

06
Operation & Installation
Plug in the power and the “L” indicator light flashes. Press the “POWER” button, the “L”
indicator light is always on, and the machine will start the deicing function first. It will then
automatically make the ice according to the selected mode, deicing after the completion of ice
making, and then enter the deicing function.
SELECT: Select the ice size mode, and the default mode is large ice making mode for each
startup. Select the mode: “S” for small ice selection, “L” for large ice selection and the corre-
sponding indicator light is on. The production time of small ice is longer than 8 minutes and that
of large ice is longer than 9 minutes.
ADD WATER: Water shortage alarm: when the light is red, it means there is a water shortage in
the water tank. You need to add water and press the “POWER” button to restart the machine.
ICE FULL: Ice full alarm. When the ice reaches the maximum amount of ice in the storage
container, the "ICE FULL" light flashes and the machine stops. At this time, the ice needs to be
poured out. When the ice position is lower than the full sensor position, the machine will restart
automatically.
CLEAN: Press the “POWER” button for 3 seconds, and the machine will enter the self-cleaning
mode. The water pump will pump water and the water box will pour water. After 5 cycles, the
machine will stop and enter standby mode.
POWER: ON-OFF switch
S: Small ice selection
ICE FULL: Ice full alarm
SELECT: Mode selection
L: Large ice selection
ADD WATER: Water shortage alarm
FEATURES
CONTROL PANEL OPERATION
Quick ice making
Two different sizes of ice cubes can be made
Prompt when the ice tray is full, and water is insufficient
Bullet ice
10 pcs of ice can be made in 8-9 minutes.

Operation & Installation
Step 1
CAUTION
Remove the ice collecting tray and add water to the water tank.
Note: There is a maximum scale (MAX) in the reservoir. The water should not exceed the MAX
position. If the water exceeds the maximum scale (MAX), you need to open the bottom drain
plug, release the excess water, and reinstall the water tank.
When the indoor temperature is lower than 20 degrees, please choose small ice. When the
indoor temperature is higher than 25 degrees, it is recommended to choose large ice.
When these three cycles are used for the first time, the ice produced will be small and irregular.
When the ice collecting tray is full, please take out the ice immediately. The ice will melt if you
wait too long.
Step 2
Plug in the power and press the “POWER” button to start the machine.
Step 3
Select the size of the ice you want. The default mode is large ice.
07
OPERATION INSTRUCTIONS

08
Maintenance & Tips
Clean the ice collecting tray and water tank frequently. When cleaning, unplug the unit and
remove the ice cubes. Use a diluted solution of water and vinegar to clean the inside and the
outside surface of the ice maker. Do not spray the ice maker with chemicals or diluted agents
such as acids, gasoline or oil. Rinse thoroughly before starting.
Keep ventilation openings in the appliance enclosure, or in the built-in structure, clear of
obstruction. Do not use mechanical devices or other means to accelerate the defrosting process,
other than those recommended by the manufacturer.
Restart the machine after being idle for a period of time. If the machine does not have enough
water to pump for air blockage, the water shortage indication icon is displayed. You need to
press the POWER button again to restart the ice maker.
To ensure the cleanness of ice, please change the water of the water reservoir at least once one
day. If it has not been used for a long time, please drain the water out and clean it up.
If the compressor does not work due to water shortage, if it is too full ice, or if there is a power
failure, etc., it will delay for 3 minutes to start up after being restarted.
Always use fresh water before starting ice production either at initial installation or after a long
shut-off period.
Please note, if a power failure occurs due to disconnection of the power cord, or if the power
button has been pushed off during an ice making cycle, small ice chips may form and get lodged
in the automatic shovel causing it to jam. If this occurs, the ice chips may be removed by
disconnecting the power cord and gently pushing the shovel to the rear of the cabinet and
removing the ice chips. Restart again.
Please check if the water reservoir is level when the ice shovel cannot remove the ice from the
ice basket. If not, please push the ice shovel gently, and then press the Power button to restart.
CLEANING AND USE GUIDANCE
TIPS

09
Maintenance & Tips
Warning:
CORRECT DISPOSAL of THIS PRODUCT
If the power cord is damaged, it must be replaced by the manufacturer, its service agent or a
similarly qualified person in order to avoid a hazard.
Fill with purified water only.
It is normal for the compressor and condenser surface to reach temperatures between 70°C and
90°C during operation and surrounding areas may be very hot.
Due to fast freezing, ice cubes may be opaque. This is air trapped in the water and will not affect
the quality or taste of ice.
This appliance is not intended for use by persons (including children) with reduced physical,
sensory or mental capabilities or lack of experience and knowledge unless they have been given
supervision or instructions concerning use of the appliance by a person responsible for their
safety.
Children should be supervised to ensure that they do not play with the appliance.
Do not immerse in water.
This marking indicates that this product should not be disposed with
other household waste throughout the EU. To prevent possible harm
to the environment or human health from uncontrolled waste
disposal, recycle it responsibly to promote the sustainable reuse of
material resources. To return your used device, please use the return
and collection systems or contact the retailer where the product was
purchased. They will take this product for environmentally safe
recycling.

10
SKU
110-120V
IM-11D
60Hz
150W
36Lbs/24H
1.8L/700g
2.3L
20.68Lbs
23.10Lbs
Large and Small
2.0A
Rated Voltage
Rated Frequency
Power Consumption
Daily Ice Output
Ice Storage Capacity
Water Reservoir Capacity
N.W
G.W
Ice Making Mode
120V/60Hz
R600a environmentally
Friendly Refrigerant
Compression-type
Refrigeration
Cooling Agent
13.54*11.65*14.64in
13.78*13.38*16.73in
Max Overall Dimensions
(L * W * H)
Packing Dimensions
(L * W * H)
Rated Current
Technical Parameters
R600a

11
Warranty
Euhomy offers a limited 1-year warranty ("warranty period") on all our products purchased
new and unused from Euhomy company, with an original proof of purchase and where a defect
has arisen, wholly or substantially, as a result of faulty manufacture, parts, or workmanship
during the warranty period. The warranty does not apply where damage is caused by other
factors, including without limitation:
(a) normal wear and tear;
(b) abuse, mishandling, accident, or failure to follow operating instructions;
(c) exposure to liquid or infiltration of foreign particles;
(d) servicing or modifications of the product other than by Euhomy;
(e) commercial or non-household use.
The Euhomy warranty covers all costs related to restoring the proven defective product
through repair or replacement of any defective part and necessary labor so that it conforms to
its original specifications. A replacement product may be provided instead of repairing a
defective product. Euhomy’s exclusive obligation under this warranty is limited to such repair
or replacement. A receipt indicating the purchase date is required for any claim, so please keep
all receipts in a safe place. Although greatly appreciated, the product registration is not
required to activate any warranty and product registration does not eliminate the need for the
original proof of purchase. The warranty becomes void if attempts at repair are made by
non-authorized third parties and/or if spare parts, other than those provided by Euhomy, are
used.
You may also arrange for service after the warranty expires at an additional cost. These are our
general terms for warranty service, but we always urge our customers to reach out to us with
any issue, regardless of warranty terms. If you have an issue with a Euhomy product, please

12
Troubleshooting: support@euhomy.com
PROBLEM POSSIBLE CAUSE SOLUTION
The compressor works
abnormally, making a
buzzing noise
The voltage is lower than
recommended
Stop the ice maker and do not
restart until the voltage is
normal
Water shortage
indicator light is on There is no water
The pump is full of air
Add to some water until it
reaches MAX position
Press the POWER button to
restart
The ice is too large and
pieces are sticking
together.
Wrong ice size selected
Ice of previous cycles left in
the water tray
Select small ice mode
Take out the ice under the
standby state
The ice making process
was correct, but no ice
came out?
The compressor has no
refrigerant
Compressor damaged
Fan motor damaged
All indicators flash at
the same time
The water box is blocked by
ice
The motor is stuck, or the
motor falls off, or the motor
is damaged
Micro switch damaged
Unplug the power and plug
in the power again, and
press the POWER button.
After 3 minutes, the machine will
will restart automatically
Please contact
The machine has been
working, but the water
has been warming
Solenoid faulty Replace the solenoid valve
When the ice is full,
the machine does not
display the ice full icon
Ice full sensor damaged
Replace the ice full sensor
Please contact
The ice is not clear at all
Please contact
Use purified water
Water supply pump does not
work
Tap water was used
Indicator lights on
display are not on Blown fuse / No power Replace fuse / Turn power on
Please contact


Email:support@euhomy.com Facebook:@Euhomy.Official
Table of contents
Other Euhomy Ice Maker manuals
Euhomy
Euhomy IM-F User manual

Euhomy
Euhomy IM-01D User manual
Euhomy
Euhomy IM-01A User manual
Euhomy
Euhomy IM-01 User manual

Euhomy
Euhomy IM-01 User manual

Euhomy
Euhomy IM-10S User manual

Euhomy
Euhomy IM-01 User manual

Euhomy
Euhomy IM-01C User manual
Euhomy
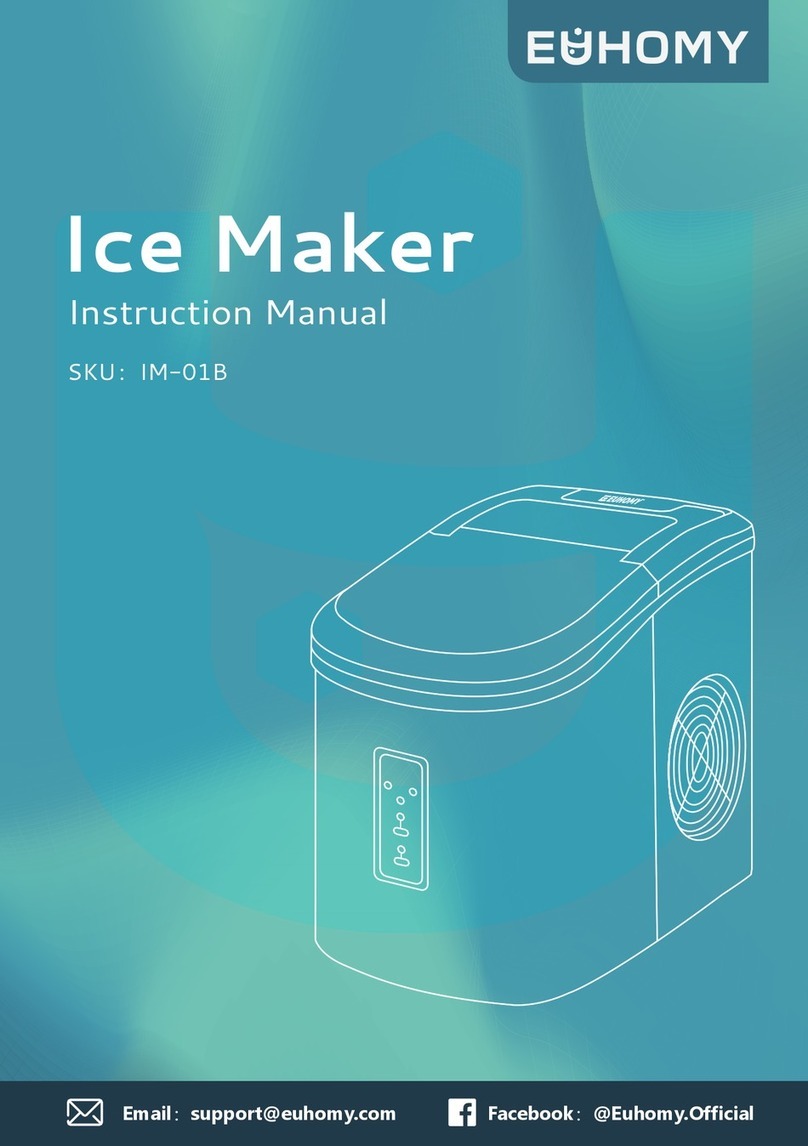
Euhomy IM-01B User manual

Euhomy
Euhomy IM-03S User manual
Euhomy
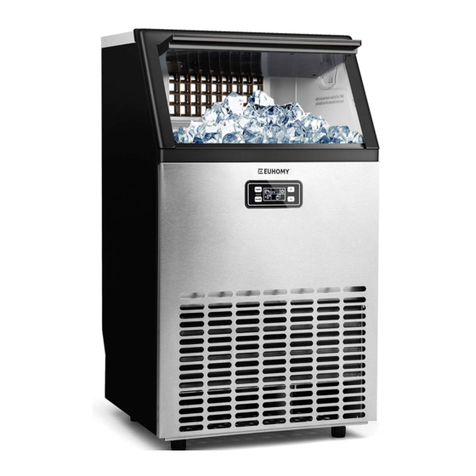
Euhomy IM-02 User manual

Euhomy
Euhomy IM-F User manual
Euhomy
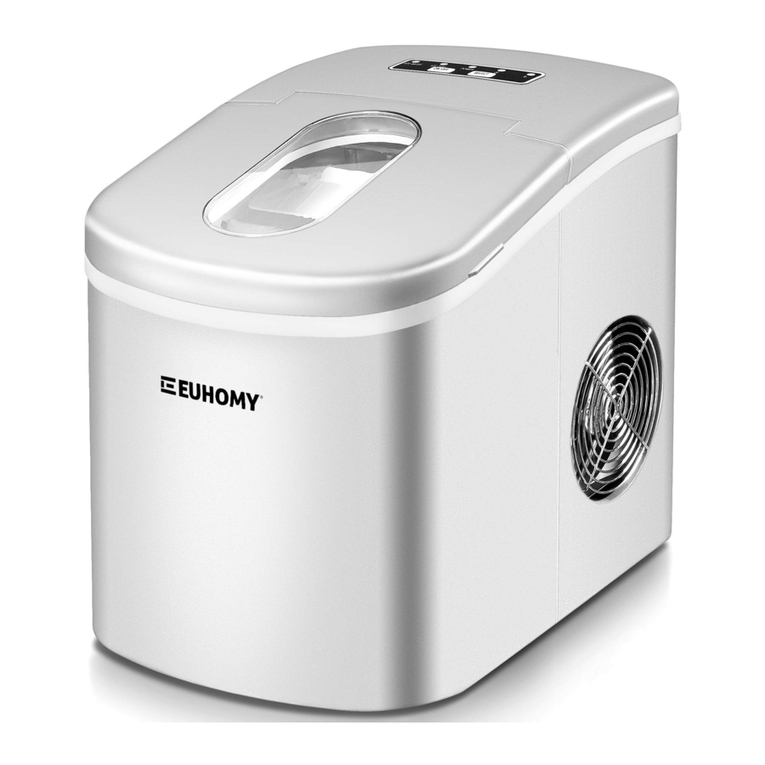
Euhomy IM-12AR User manual

Euhomy
Euhomy IM-02 User manual

Euhomy
Euhomy IM-06D User manual

Euhomy
Euhomy IM-F User manual

Euhomy
Euhomy IM-F User manual

Euhomy
Euhomy IM-03D User manual

Euhomy
Euhomy IM-02 User manual

Euhomy
Euhomy IM-01 User manual
