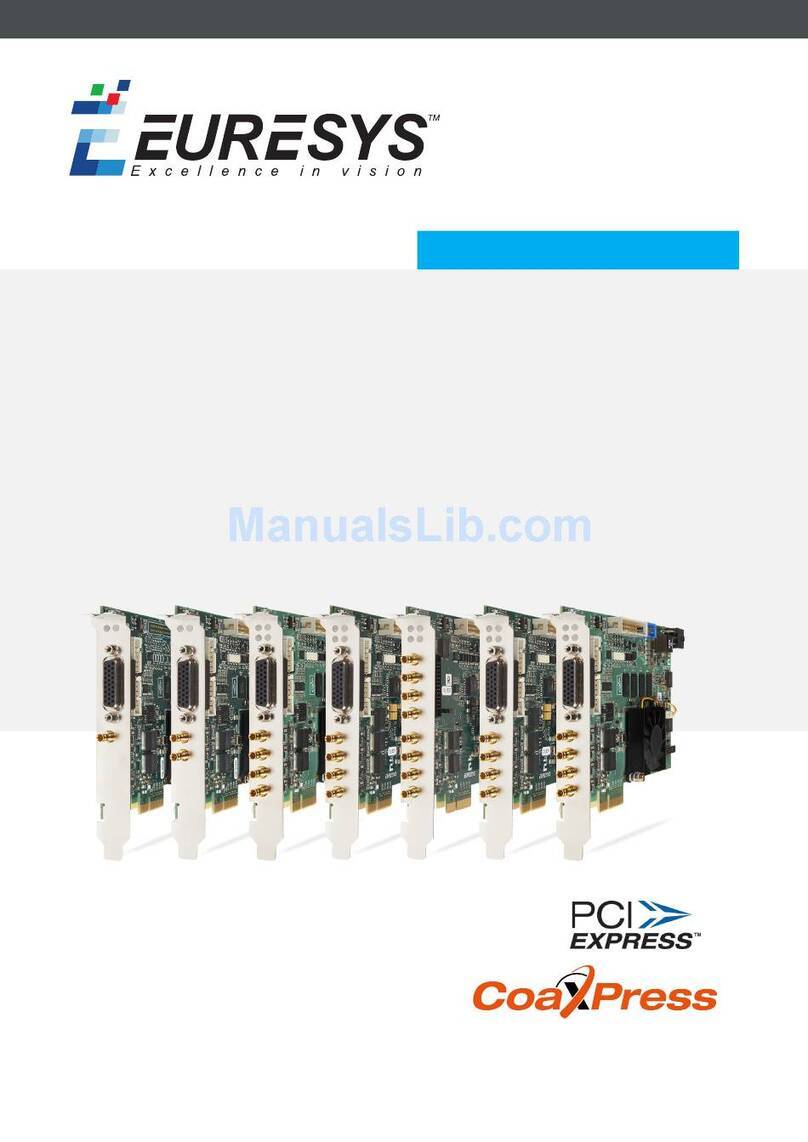
Euresys Coaxlink Mono User manual

Coaxlink
Coaxlink Installation Guide (PCIe bus type)
1630 Coaxlink Mono
1631 Coaxlink Duo
1632 Coaxlink Quad
1633 Coaxlink Quad G3
1633-LH Coaxlink Quad G3 LH
1635 Coaxlink Quad G3 DF
1637 Coaxlink Quad 3D-LLE
3602 Coaxlink Octo
3603 Coaxlink Quad CXP-12
3603-4 Coaxlink Quad CXP-12
3620 Coaxlink Quad CXP-12 JPEG
3620-4 Coaxlink Quad CXP-12 JPEG
3621-LH Coaxlink Mono CXP-12 LH
3622 Coaxlink Duo CXP-12
INSTALLATION GUIDE
© EURESYS s.a.2021 - Document D220ET-Coaxlink PCIe Installation Guide-eGrabber-16.0.2.2126 built on 2021-04-06

1. Declarations
Notice for Europe
This product is in conformity with the Council Directive 2014/30/EU
This equipment has been tested and found to comply with Class B EN55022/CISPR22 and Class B EN55024/CISPR24.
This product has been tested in a typical class B compliant host system. It is assumed that this product will also achieve
compliance in any class B compliant unit.
To meet EC requirements, shielded cables must be used to connect a peripheral to the card.
Notice for USA
Compliance Information Statement (Declaration of Conformity Procedure) DoC FCC Part 15
This equipment has been tested and found to comply with the limits for a Class B digital device, pursuant to Part 15 of the
FCC Rules.
These limits are designed to provide reasonable protection against harmful interference in a residential installation or
when the equipment is operated in a commercial environment.
This equipment generates, uses and can radiate radio frequency energy and, if not installed and used in accordance with
the instructions, may cause harmful interference to radio communications. However, there is no guarantee that
interference will not occur in a particular installation.
If this equipment does cause harmful interference to radio or television reception, which can be determined by turning the
equipment off and on, the user is encouraged to try to correct the interference by one or more of the following measures:
□Reorient or relocate the receiving antenna.
□Increase the separation between the equipment and receiver.
□Connect the equipment into an outlet on a circuit different from that to which the receiver is connected.
□Consult the dealer or an experienced radio/TV technician for help.
Notice for Korea
Registered products under the Clause 3, Article 58-2 of Radio Waves Act:
Registration Number Euresys Products
MSIP-REM-EUr-PC1631 1630 Coaxlink Mono, 1631 Coaxlink Duo
MSIP-REM-EUr-PC1632 1632 Coaxlink Quad, 1638 Coaxlink Quad CXP-3
MSIP-REM-EUr-PC1633 1633 Coaxlink Quad G3, 1633-LH Coaxlink Quad G3 LH, 1637 Coaxlink Quad 3D-LLE
R-R-EUr-PC1635 1635 Coaxlink Quad G3 DF
R-R-EUr-PC1636 1636 InterPC C2C-Link Adapter
R-R-EUr-PC3602 3602 Coaxlink Octo
R-R-EUr-PC3603 3603 Coaxlink Quad CXP-12, 3603-4 Coaxlink Quad CXP-12, 3620 Coaxlink Quad CXP-12
JPEG, 3620-4 Coaxlink Quad CXP-12 JPEG
R-R-EUr-PC3612 3610 HD26F I/O Extension Module TTL-RS422, 3612 HD26F I/O Extension Module TTL-
CMOS5V-RS422
R-R-EUr-PC3614 3614 HD26F I/O Extension Module - Standard I/O Set
R-R-EUr-PC3622 3621-LH Coaxlink Mono CXP-12 LH, 3622 Coaxlink Duo CXP-12
This product is in conformity with the European Union 2015/863 (ROHS3) Directive, that stands for "the
restriction of the use of certain hazardous substances in electrical and electronic equipment".
This product is in conformity with the European Union 1907/2006 (REACH) regulation.
According the European directive 2012/19/EU, the product must be disposed of separately from normal
household waste. It must be recycled according to the local regulations.

2. Precautions for Use of Board Products
Electrostatic Sensitive Device Boards may be damaged by electrostatic discharges. Follow the procedure hereby described
and apply any general procedure aimed at reducing the risk associated with electrostatic discharge. Damage caused by
improper handling is not covered by the manufacturer's warranty.
Electromagnetic Compatibility Euresys boards are compliant with electromagnetic compatibility regulatory requirements.
To ensure this compliance, the card bracket must be secured with the relevant screw in accordance with the procedure
described herein.
Risk of Electrical Shock Do not operate the computer with any enclosure cover removed. During the hardware installation,
ensure the AC power cord is unplugged before touching any internal part of the computer.
Risk of Burn Do not touch an operating board. Allow board to cool before handling.
Heating Device It is normal for a board to dissipate some heat during operation. All enclosure covers, including blank
brackets, must be fitted correctly to ensure that the fan cools the computer adequately.
Hot Plugging Forbidden Uncontrolled plugging and unplugging of equipment may damage a board. Always switch off the
computer and any relevant system device when connecting or disconnecting a cable at the frame grabber or auxiliary
board bracket. Failure to do so may damage the card and will void the warranty.
Poor Grounding Protection The computer and the camera can be located in distant areas with individual ground
connections. Poor ground interconnection, ground loop or ground fault may induce unwanted voltage between
equipment, causing excessive current in the interconnecting cables. This faulty situation can damage the frame grabber or
the camera electrical interface.The user must follow proper equipment grounding practices at all ends of the
interconnecting cables. In addition, the use of cable assemblies with overall shield solidly connected to the conductive
shell of all connectors is recommended. Besides the beneficial effect of cable shielding on electromagnetic compatibility,
the shield connection can increase the protection level against grounding problems by temporarily absorbing unwanted
fault current.
3. PCI Express Card Slot Requirements
For optimal data transfer performance:
□1630 Coaxlink Mono, 1631 Coaxlink Duo, 1632 Coaxlink Quad, 1637 Coaxlink Quad 3D-LLE and 1638
Coaxlink Quad CXP-3 must be plugged into a x4, x8 or x16 PCI Express Gen 2 or Gen 3 card connector providing
at least four active lanes.
□1633 Coaxlink Quad G3, 1633-LH Coaxlink Quad G3 LH and 1635 Coaxlink Quad G3 DF must be plugged into
a x4, x8 or x16 PCI Express Gen 3 card connector providing at least four active lanes.
□3621-LH Coaxlink Mono CXP-12 LH and 3622 Coaxlink Duo CXP-12 must be plugged into a x4, x8 or x16 PCI
Express Gen 3 card connector providing at least four active lanes.
□3602 Coaxlink Octo, 3603 Coaxlink Quad CXP-12, 3603-4 Coaxlink Quad CXP-12, 3620 Coaxlink Quad CXP-
12 JPEG, 3620-4 Coaxlink Quad CXP-12 JPEG and 3625 Coaxlink QSFP+ must be plugged into a x8 or x16 PCI
Express Gen 3 card connector providing at least eight active lanes.
To guarantee reliable operation across the entire operating temperature range and longer lifetime, ensure an adequate
cooling of the card:
□The cooling is improved by a higher air flow circulating around the board. This air flow is increased, for example,
by using computer case fans.
□1633-LH Coaxlink Quad G3 LH and 3621-LH Coaxlink Mono CXP-12 LH require a minimum of 150 LFM (Linear
Feet per Minute) across the surface of the board.
□Avoid placing a card next to other heat dissipating boards.
4. PCI Express Card Installation Procedure
Switch off the computer and all connected peripherals (monitor, printer...).
1. Discharge any static electricity that could be accumulated by your body. You can achieve this by touching an
unpainted metal part of the enclosure of your computer with a bare hand. Make sure that the computer is linked to
the AC power outlet with proper earth connection.
2. Disconnect all cables from your computer, including AC power.
3. Open the computer enclosure, according to the manufacturer instructions, to gain access to the PCI Express slots.
Locate an available and adequate PCI Express slot.
4. Remove the blank bracket associated with this location. To achieve this, remove the securing screw and keep it aside
for later use in the procedure. Keep the blank bracket in a known place for possible re-use.
5. Unwrap the card packing, take the board and carefully hold it. Avoid any contact of the board with unnecessary
items, including your clothes.
6. Gently insert the card into the selected PCIe slot, taking care to push it down fully into the slot. If you experience
some resistance, remove the board and repeat the operation. You should attempt to make a perfect board-to-slot
mechanical alignment for best results. Ensure that the lower part of the bracket is inserted into the corresponding
enclosure fastening.
7. Secure the board with the saved screw.

8. Optional. When the camera(s) is (are) powered through the CoaXPress cable or when the +12 V power output is
required on any System I/O connector, connect a 12 V power source to the Auxiliary Power Input connector using a 6-
pin PEG cable.
9. Optional. Establish the connections with the Internal GPIO connector(s) as required by the application.
10. Optional. When synchronized acquisition is required for cameras attached to different cards, establish the card-to-
card link interconnections.
11. Close the computer enclosure according to the manufacturer instructions.
5. Low-Profile Bracket Installation
3621-LH Coaxlink Mono CXP-12 LH and 3622 Coaxlink Duo CXP-12 boards can also be installed in a low-profile
computer. Therefore:
1. Remove the original standard-profile bracket by unscrewing the screw locks
2. Install the low-profile bracket and secure it on the board with the screw locks
6. Software Setup
Prior to use the board, it is necessary to install the driver and update or install the firmware.
□The drivers for Coaxlink cards (eGrabber since version 12.8 or Coaxlink for previous versions) are available on the
download area of the Euresys website: https://www.euresys.com/Support/Download-area.
□Detailed instructions for driver installation and firmware update are available in the Getting Started > Software
Setup section of the HTML documentation of the selected driver.
Other manuals for Coaxlink Mono
1
This manual suits for next models
25
Other Euresys PCI Card manuals

Euresys
Euresys Picolo Series User manual
Euresys
Euresys EureCard PICOLO Tetra User manual

Euresys
Euresys 1840 Picolo HD One User manual
Euresys
Euresys Grablink Value User manual
Euresys
Euresys eGrabber 1630 Coaxlink Mono User manual
Euresys
Euresys Coaxlink Mono User manual
Euresys
Euresys 1630 Coaxlink Mono User manual
Popular PCI Card manuals by other brands
Asus
Asus AAEON Myriad UP AI Core X Series Quick installation guide
Abocom
Abocom WMG2502 Specification sheet
Kontron
Kontron CP6011 quick reference
IBM
IBM RedBooks Broadcom 10Gb 2-Port and 4-Port Ethernet... At-a-glance guide
StarTech.com
StarTech.com PCI4S9503V Instruction guide

König
König CMP-NWCARD22 manual
