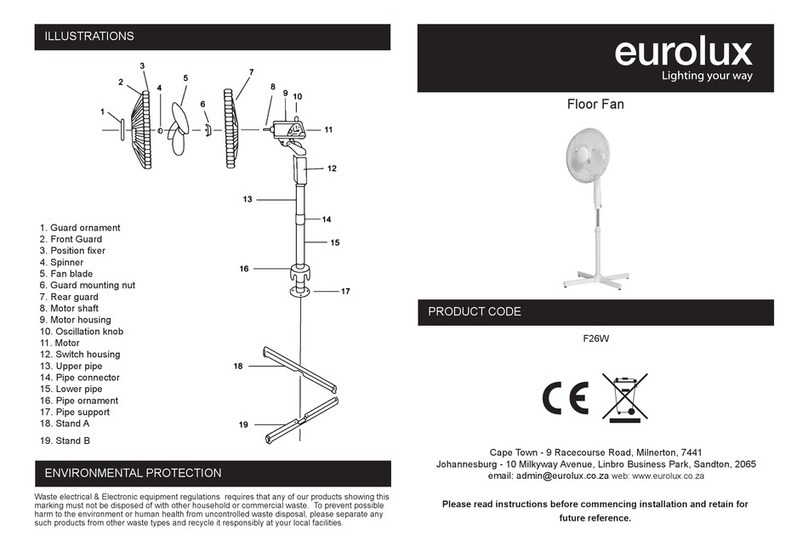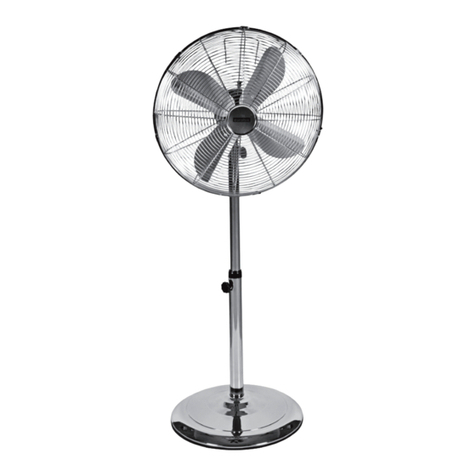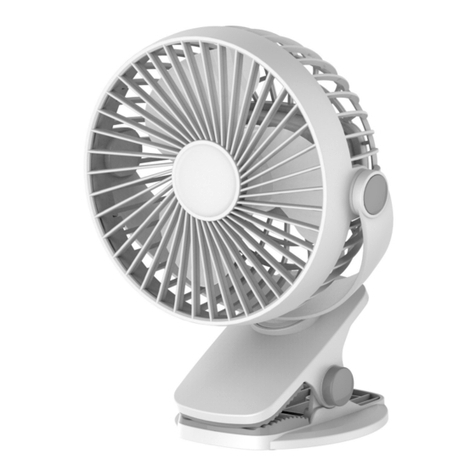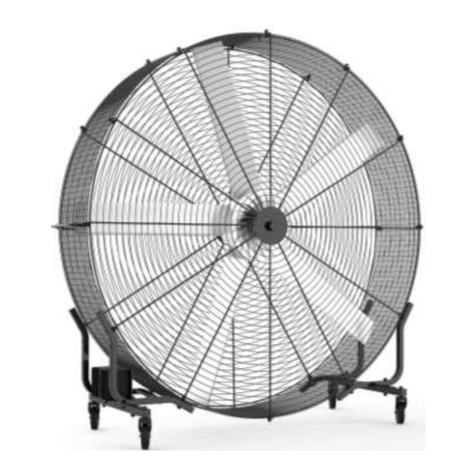
F23 / F28 / F34 - attachments:
If the external exible cable or cord of this fan is damaged, it should be exclusively replaced by the
manufacturer or his service agent or a similar qualied person in order to avoid a hazard.To ensure
that you get maximum longevity and maximum use out of your fan, please observe the following
safety instructions.
Electrical products can cause death, injury, or damage to property. Installation of the luminaire
must be carried out by a qualied electrician, in accordance with SANS 10142. On completion
of installation, ensure that the Certicate of Compliance is updated.
• Before connecting this fan, ensure that voltage indicated on the rating label corresponds with
the mains voltage in your home.
• When cleaning, ensure that the power is turned off.
• This fan is checked in full for conformity to the quality standards and safety requirements.
• The manufacturer / supplier is not responsible for any damage of properties and persons,
caused by the incorrect use or installation of the fan.
• Should you be unsure of how to install this fan correctly, please consult a professional
electrician or your supplier for assistance.
• Ensure all items/ components, threads and screws are tightly secured.
IMPORTANT:
• Tampering with this fan, I.E. Using silicon sealers or incorrect cabling, will invalidate your
warranty. If one is not supplied within the carton, DO NOT use a solid speed control.
• Each blade set supplied is weighted and a complete set. If installing more than one fan,
DO NOT mix or add blades as this can cause your fan to wobble.
• Please check whether the connection of the power cord is safe and reliable before installation.
• Always ensure that the mains supply voltage is correct.
• Do not use the fan outdoors, in wet conditions or areas of high humidity.
• Do not insert objects or ngers through the bars of the grill.
• This appliance is not intended for use by young children or inrm persons unless they have been
adequately supervised by a responsible person.
• Always unplug the fan when cleaning or moving from one location to another
• Always ensure that the fan is on an even, stable surface.
•This appliance is not intended for use by persons (including children) with reduced physical,
IMPORTANT SAFEGUARDS
Installation:
Ensure that power is turned off before assembly or installation.
Unpack the fan on a stable surface, and check that you have all the required parts.
Follow the numbered steps on reverse to assemble your fan.
Ensure all threads, bolts and screws are tight.
Installing the Wall Fan Base:
The bent part of the fan can be installed up or down-facing. In both cases, the longer of the two
locking bolts must be used at the small hole on the end of the bent part in order to avoid fan falling
off.
Before changing any modes on the fan, please turn power off. Should you use the oscellaion func-
tion, ensure that the fan is not blocked.
Oscillating:
Angle of oscillation can be adjusted from 0°-90°.
Note that when the adjusting screw is moved to the direct axle, the fan will not oscillate.
The further the adjusting screw is to the direct axle, the larger the oscillation angle will be.
Loosen the adjusting screw and turn it to the desired position.
450mm Fans can also be controlled by the wing pole on the back of the motor. When the pole is
up, the fan will oscellate. When it is down, it will remain stationary.
Wind Direction:
Loosen the direction-changing bolts and adjust the fan head to desired position. Re-tighten once
complete. It is not necessary to move the base of the fan.
Upward and Downward Adjustment:
Hold the head of the fan, loosen the connecting bolt and topping bolt, adjust the fan to satisfactory
position and tighten the two bolts.
Adjusting Speed:
Turn the switch on the back of the fan head to control the fan speed.
0 - Off
1-3 Speed Settings.
INSTALLATION:
OPERATION:
CLEANING
• Before cleaning always ensure the power supply is turned off and that the fan has been
unplugged.
• Do not immerse the fan in water.
• No abrasive products, solvents, detergent may be used to clean this fan.
• Ensure that the fan does not come in contact with corrosive chemicals, etc.
Once the fan has operated for over 2000hours (or at least once a year), the grease in the
gearbox and bearings should be changed.
• Fitting material: Pressed steel.
• Motor Speed:
F23: 230W ~ 1400RPM
F28: 230W ~ 1400RPM
F34: 130W ~ 1400RPM
• Voltage: 220 - 240V~ 50/60Hz.
• Input power: 500mm: 130W 750mm: 280W
• Protection against electric shock: Class 1. Requires earth connection.
• IP Rating: 20.Protected against solid foreign objects of 12.5mm Ø and greater,not protected
against water.Not for outdoor use or in wet conditions and areas of high humidity.
• Dimensions:
F23: (H) 2020mm X (W) 710mm X (D) 580mm.
F28: (H) 1150mm X (W) 710mm X (D) 480mm.
F34: (H) 800mm X (W) 570mm X (D) 570mm.
• Features: Rotating / lockable, 3 speeds, adjustable height and tilt.
F23: 3.8m cable and plug top.
F28: 1.7m cable and plug top.
F34: 2.3m cable and plug top.
SPECIFICATIONS sensory or mental capabilities, or lack of experience and knowledge, unless they have been
given supervision or instruction concerning use of the appliance by a person responsible for
their safety.
• Children should be supervised to ensure that they do not play with the appliance.
