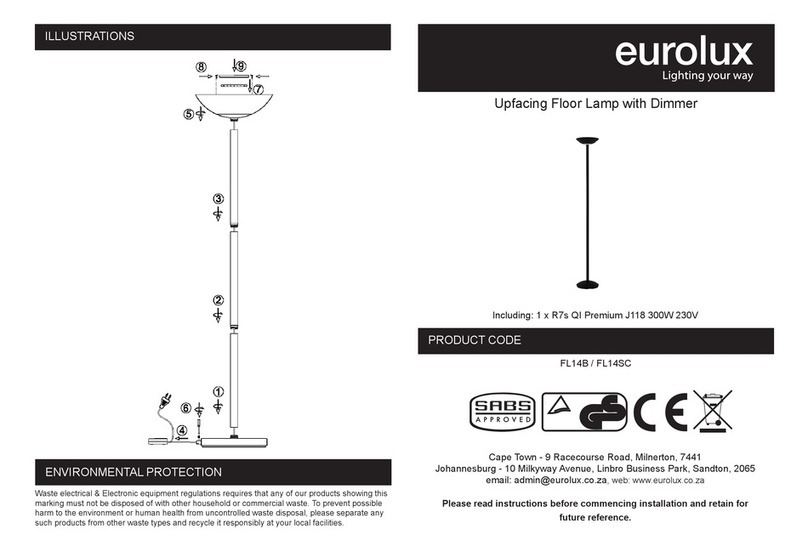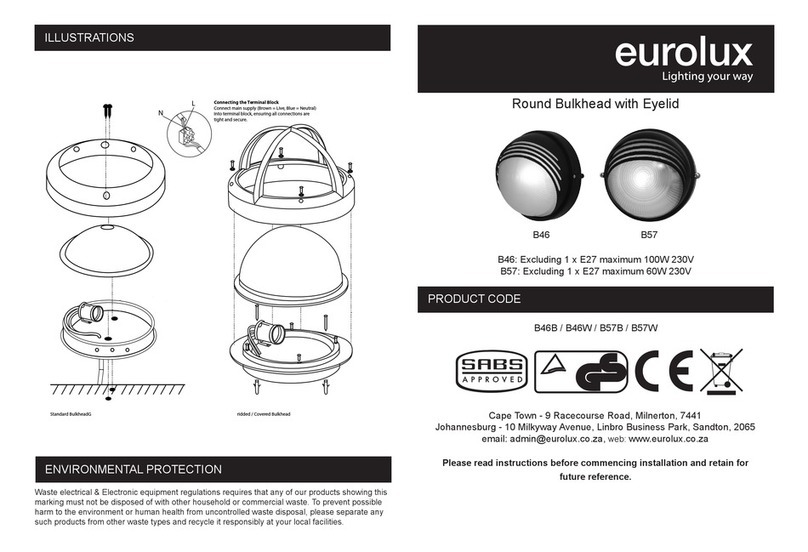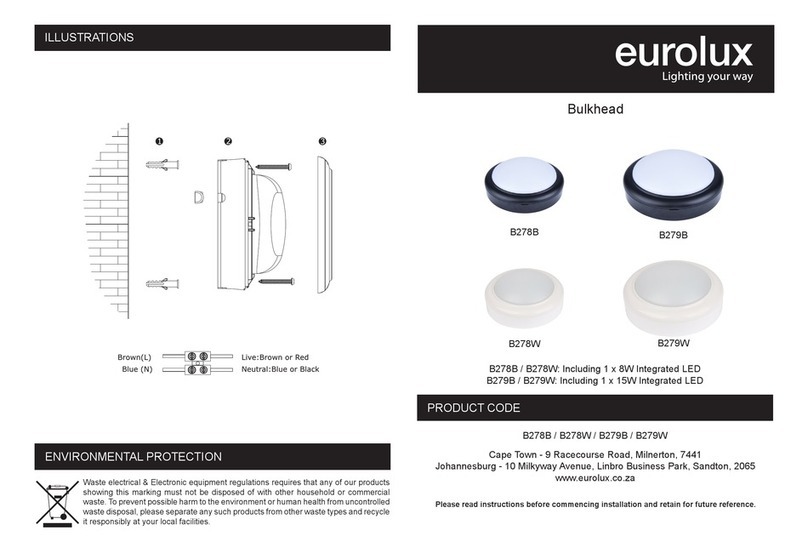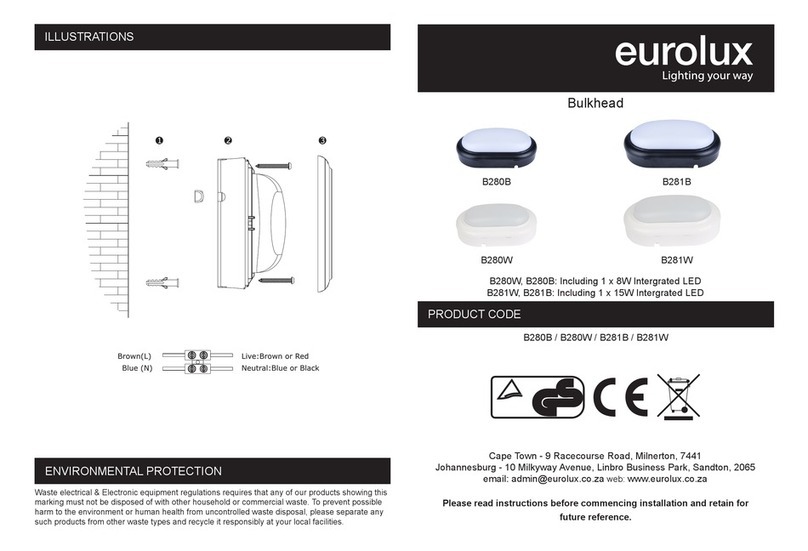
•Fitting: Die cast aluminium.
•Lamptype:
FS8: Included 1 x R7s QI maximum 150W 230V
FS9: Included 1 x R7s QI maximum 500W 230V
•Voltage:220V - 240V ~ 50Hz
•Protectedagainstelectricshock:Class 1. Requires earth connection
•IPRating: 44. Protected against solid foreign objects of 1.0mm Ø and greater. Protected against
splashing water.
•MaximumAmbienttemperaturerange: 20ºC - 40ºC
• Commercial / domestic use
•Suitable for outdoor use when used correctly
•Detectionangle: 180º
•Detectionrange:12m
•TimeDelay: Adjustable from 9 seconds to 10 minutes
•Dimensions:
FS8: (H)200mm x (W)135mm x (D)195mm
FS9: (H)250mm x (W)185mm x (D)225mm
1.InstallingtheFloodlight:
1. Ensure the mounting surface is sturdy.
2.Mountingposition:Ideally,theoodlightshouldbexedwiththewallbracket(Fig.1.).
3.Markthepositionsforthexingbracket.Drillandplugthemountingsurfacewhere
marked.Securethexingbrackettothewallwithsuitablescrews(notincluded)(Fig.2.).
4. Unscrew the junction box cover and remove the diffuser and rubber seal.
5. Put your mains cable (H05RN-F3G 1.0mm², not included) into the junction box through
the plastic stud and rubber gasket. Ensure the plastic stud is tightly secured.
6. Connect the mains wires (Fig. 3.).
7. Replace the junction cover. Take care not to loosen the rubber gasket on the cover.
8. Undo screw(s) on the front glass cover and hinge. Insert the bulb into the sprint loaded holders.
Do not touch the bulb with bare hands. Close the glass cover and secure the
screws. Ensure that all seals and grommets are secure (Fig. 4.).
9.Mounttheunittothewallxingbracketbyreplacingthetwobolts.
10.Adjusttheoodlighttothedesiredpositionandsecurethelasttwobolts.
2:OperatingInstructionsforMotionSensor:
Please see Fig. 5. for the PIR (Passive Infrared sensor) detection area.To select the scanning
eldofthePIR,adjusttheswiveljointasshowninFig.6.
You can set the duration of light activation from 10 seconds to 4 minutes by adjusting the TIME
control. Fig. 6. You can set the LUX level (brightness from daylight to night) by adjusting the
LUX control. Fig. 6. The sun and moon symbols on the LUX control indicate whether the PIR
sensor will work during daylight or night hours.
1. Loosen the cope stud (Fig. 6.) before rotating the PIR sensor.
2.AdjustthedetectionareabyrotatingthePIRsensorandoodlighttothedesiredposition.
3. Adjust the duration of light activation by turning the TIME control from (-) to (+) (Fig. 6.).
4. Select your desired LUX level by setting the control to either day-time (sun symbol) or
night-time (moon symbol) detection.
5. The SENSE control increases (+) or decreases (-) sensitivity of the PIR sensor.
3.Walk-test: This test will allow you to ensure that the sensors are in working condition, and will
determine your detection area.Place the LUX control to the day-time (sun symbol) position and
the TIME control to minimum (-) during the walk-test.Once the PIR sensor receives a valid
triggersignal(suchasthemovementofaperson)withinitsdetectionarea,theoodlightwillbe
turned on for the pre-set period of time.
FS8/FS9-attachments:
Iftheexternalexiblecableorcordofthisluminaireisdamaged,itshouldbeexclusivelyreplaced
bythemanufacturerorhisserviceagentorasimilarqualiedpersoninordertoavoidahazard.To
ensure that you get maximum longevity and maximum use out of your luminaire, please observe
the following safety instructions.
Electrical products can cause death, injury, or damage to property. Installation of the luminaire
mustbecarriedoutbyaqualiedelectrician,inaccordancewithSANS10142.Oncompletion
ofinstallation,ensurethattheCerticateofComplianceisupdated.
•Beforeconnectingthisluminaire,ensurethatvoltageindicatedontheratinglabelcorresponds
with the mains voltage in your home.
•Whenchangingthelamp,ensurethatthepoweristurnedoff.
•Thisluminaireischeckedinfullforconformitytothequalitystandardsandsafetyrequirements.
•Themanufacturer/supplierisnotresponsibleforanydamageofpropertiesandpersons,
caused by the incorrect use or installation of the luminaire.
•Shouldyoubeunsureofhowtoinstallthisluminairecorrectly,pleaseconsultaprofessional
electrician or your supplier for assistance.
•Ensureallitems/components,threadsandscrewsaretightlysecured.
IMPORTANT:
•Tamperingwiththisluminaire,I.E.Usingsiliconsealersorincorrectcabling,willinvalidate
your warranty.
•Whentheprotectionglassisdamaged,itshouldbereplacedimmediately.
•Pleasecheckwhethertheconnectionofthepowercordissafeandreliablebeforeinstallation.
•Alwaysensurethatthemainssupplyvoltageiscorrect.
•Alwaysreplacethelampwithoneofanidenticalrating.
•Ensurethatyoudonotplacetheluminairenearanycombustiblematerialsand/orsurfaces.
•Chokinghazard:Maycontainsmallparts.Keepawayfromchildren.
•Donotinsertyourngersoranypartofyourbodyintotheelectricalcontactandsocketsofthis
SPECIFICATIONS
IMPORTANT SAFEGUARDS
INSTALLING YOUR FLOODLIGHT
product whilst it is connected to the electricity supply.
•Itemmayvaryslightlyfromthepictureonthecarton.
IMPORTANT: This product has been designed and manufactured to automatically
controlanoutdooroodlight’sactivationondetectionofahumanpresence.
Thisoodlightisnotintendedforanyotherpurpose.
Never attempt to remove the lens cover, as this will damage the PIR
sensor and render all warranties invalid.
CLEANING
• Beforecleaningalwaysensurethepowersupplyisturnedoff.
• Donotimmersetheluminaireinwater.
• Noabrasiveproducts,solvents,detergentmaybeusedtocleanthisluminaire.
• Ensurethatthettingdoesnotcomeincontactwithcorrosivechemicals,etc.
• Coastalareasensurethattheluminaireiscleanedfortnightly.


