manuals.online logo
Brands
  1. Home
  2. •
  3. Brands
  4. •
  5. EUROPRO
  6. •
  7. Vacuum Cleaner
  8. •
  9. EUROPRO SHARK TRAILBLAZER EP825 User manual

EUROPRO SHARK TRAILBLAZER EP825 User manual

Upright Vacuum
Item # XSG825
for Model EP825
Upright Vacuum
Item # XSG825
for Model EP825
10 Paper Bags – 2 Belts – 1 Bulb 10 Paper Bags – 2 Belts – 1 Bulb
Warning: To reduce the risk of electric shock, the power cord
must be disconnected before changing the bag or
performing maintenance/trouble shooting checks.
Warning: To reduce the risk of electric shock, the power cord
must be disconnected before changing the bag or
performing maintenance/trouble shooting checks.
Changing the Dust Bag:
A) Unplug power cord from wall outlet.
B) Remove the front panel of the unit.
C) Remove the old dust bag by holding the cardboard tab and pull
towards you. Remove carefully to avoid dust/dirt spilling from dust
bag.
D) Take a new dust bag and while holding the cardboard tab push the bag
over the opening of the dirt discharge tube until it is seated against the
rear of the enclosure.
E) Make sure that the entire bag is inside the housing, before replacing
the front panel. Always check the pre-motor and post motor filters
every time you change the dust bag.
F) Once the new dust bag is in place, replace the front panel by aligning
the bottom locking tabs with the slots in the body, close cover slowly
allowing the front panel to snap in place. The latch will self lock.
NEVER REUSE PAPER BAGS NEVER REUSE PAPER BAGS
For information or assistance, call 1-866-98SHARK (1-866-987-4275)
USA: EURO-PRO Operating LLC Canada: EURO-PRO Operating LLC
21 Lawrence Paquette Industrial Drive 4400 Bois Franc
Champlain, NY 12919 St. Laurent, QC H4S 1A7
or visit our website: www.sharkvac.com
For information or assistance, call 1-866-98SHARK (1-866-987-4275)
USA: EURO-PRO Operating LLC Canada: EURO-PRO Operating LLC
21 Lawrence Paquette Industrial Drive 4400 Bois Franc
Champlain, NY 12919 St. Laurent, QC H4S 1A7
or visit our website: www.sharkvac.com
Rev.12/03
Printed in China
Rev.12/03
Printed in China
Warning: Always disconnect from power source when servicing or
cleaning the unit. Failure to do so could result in electrical
shock or personal injury from cleaner suddenly starting.
Warning: Always disconnect from power source when servicing or
cleaning the unit. Failure to do so could result in electrical
shock or personal injury from cleaner suddenly starting.
Changing the Head Light Bulb:
Changing the Power Nozzle
Belt:
A) Occasionally the power nozzle
drive belt will require changing,
the frequency will depend upon
the amount of use your vacuum
sees.
B) Turn unit “Off” and unplug from
wall outlet.
C) Use a Phillips screwdriver and
remove the two screws from the
back of the motorized power
head cover. (Fig. 1)
D) Remove the two screws from
the bottom of the motorized
power head. (Fig. 2)
E) If the belt has broken, remove
any loose pieces before replacing.
F) Grasp the beater bar at either
end and lift straight up.
G) Place one end of new belt over
motor shaft and the other on
the round pulley end of the
beater bar. (Fig. 3)
H) Align the rubber supports at the
ends of the beater bar, with the
slots in the motorized power
head. Push into place. Ensure
that the cut-outs on the rubber
supports face upwards.
I) Replace the two screws from
the bottom of the motorized
power head and then replace
the cover. Then replace the two
screws from the back side of the
motorized power head.
A) Turn unit “Off” and unplug from
wall outlet.
B) Insert the edge of a flat edge
screw driver into the locking tab
on the headlight lens and pull the
handle of the screw driver
towards you. Do NOT push with
the blade of the screw driver
against the lens because it might
cause it to break.
C) Remove the lens. (Fig. 4)
D) Remove the light bulbs by pulling
them out carefully.
E) Push the new light bulbs in and
replace the lens cover.
F) Make sure that it snaps in place.
Note: Always replace the light bulb with
the same or smaller wattage size (12V
4W) to prevent damage to the
surrounding parts.
Note: Always replace the light bulb with
the same or smaller wattage size (12V
4W) to prevent damage to the
surrounding parts.
Lens locking tab
Fig. 4
Lens locking tab
Fig. 4
Fig. 1 Fig. 2
Fig. 1 Fig. 2
Fig. 3
Fig. 3

Other EUROPRO Vacuum Cleaner manuals

EUROPRO Shark V900TB User manual

EUROPRO

EUROPRO Shark V900TB User manual

EUROPRO Shark EP600C User manual

EUROPRO

EUROPRO Shark EP600C User manual

EUROPRO EP604H User manual

EUROPRO

EUROPRO EP604H User manual

EUROPRO MINI SHARK EP031 User manual

EUROPRO

EUROPRO MINI SHARK EP031 User manual

EUROPRO Portable Wonder EP055 Quick reference guide

EUROPRO

EUROPRO Portable Wonder EP055 Quick reference guide

EUROPRO OM077 Quick reference guide

EUROPRO

EUROPRO OM077 Quick reference guide

EUROPRO V750MC User manual

EUROPRO

EUROPRO V750MC User manual

EUROPRO SHARK CW240 User manual

EUROPRO

EUROPRO SHARK CW240 User manual

EUROPRO TRUE HEPA SHARK PLUS EP238 Quick reference guide

EUROPRO

EUROPRO TRUE HEPA SHARK PLUS EP238 Quick reference guide

EUROPRO EP750 Quick reference guide

EUROPRO

EUROPRO EP750 Quick reference guide

EUROPRO THE  SHARK PLUS EP3005 Quick reference guide

EUROPRO

EUROPRO THE SHARK PLUS EP3005 Quick reference guide

EUROPRO TAPCLEAN HEPA EP035H3 User manual

EUROPRO

EUROPRO TAPCLEAN HEPA EP035H3 User manual

EUROPRO PN-U553 User manual

EUROPRO

EUROPRO PN-U553 User manual

EUROPRO Shark Roadster EP722 User manual

EUROPRO

EUROPRO Shark Roadster EP722 User manual

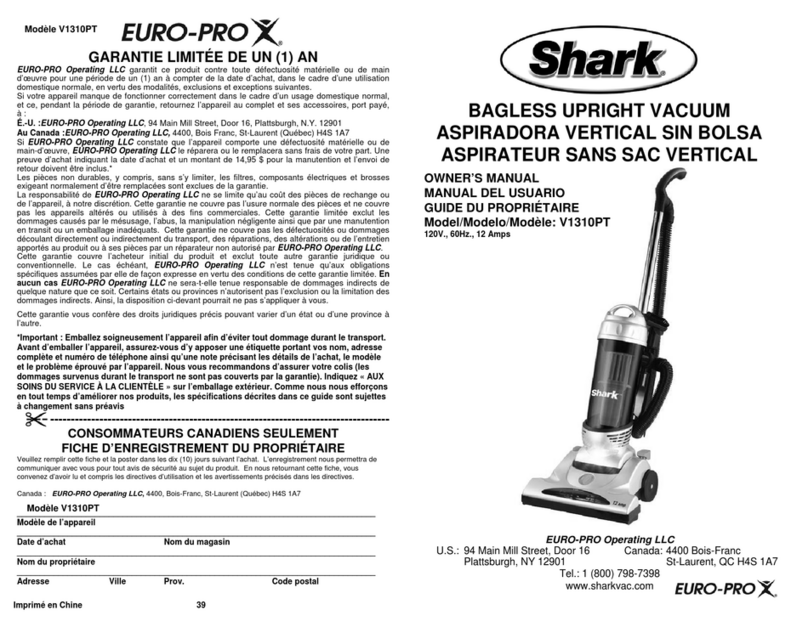
EUROPRO SHARK V1310PT User manual

EUROPRO

EUROPRO SHARK V1310PT User manual

EUROPRO V1055H User manual

EUROPRO

EUROPRO V1055H User manual

EUROPRO Infinity NV22-FS User manual

EUROPRO

EUROPRO Infinity NV22-FS User manual

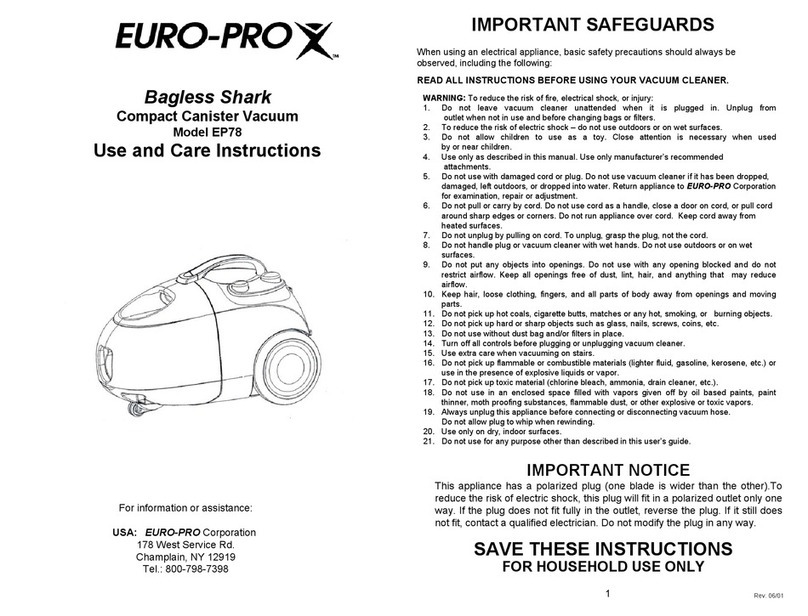
EUROPRO BAGLESS SHARK EP78 Quick reference guide

EUROPRO

EUROPRO BAGLESS SHARK EP78 Quick reference guide

EUROPRO EP603H User manual

EUROPRO

EUROPRO EP603H User manual

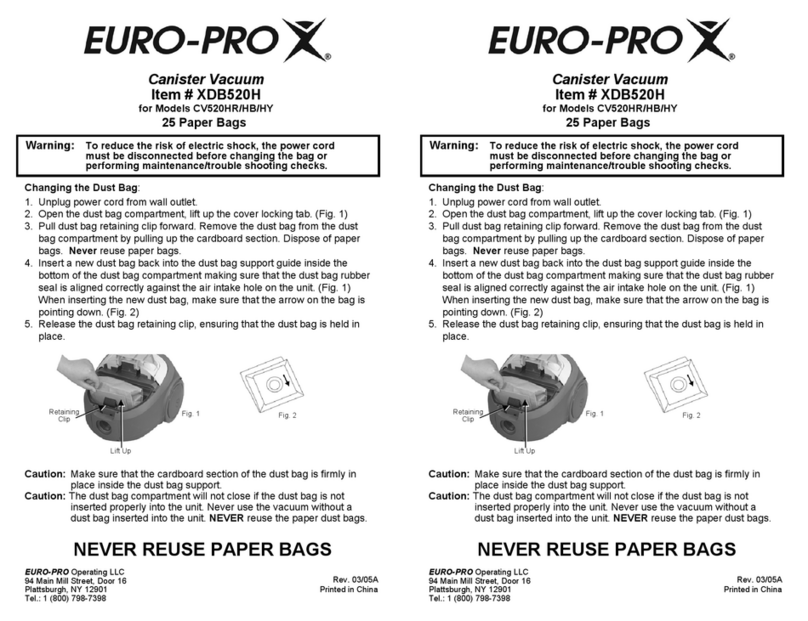
EUROPRO XDB520H User manual

EUROPRO

EUROPRO XDB520H User manual

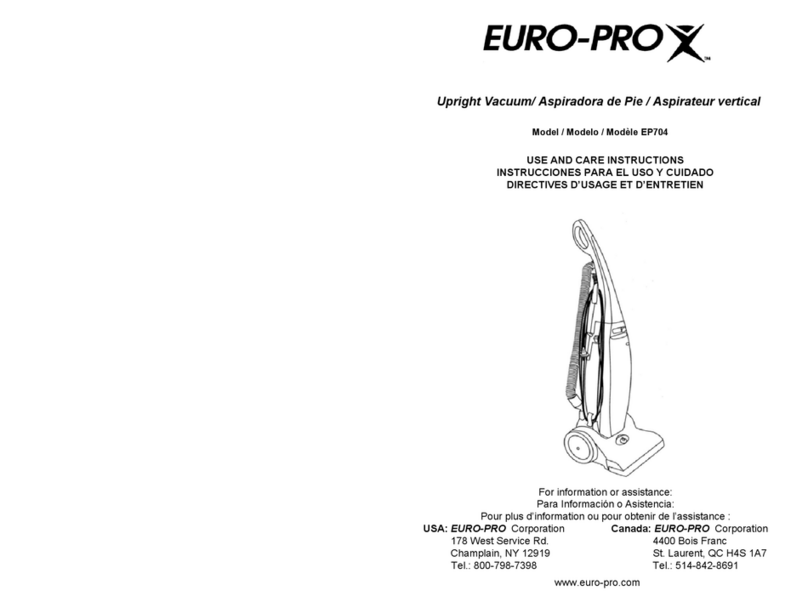
EUROPRO EP704 Quick reference guide

EUROPRO

EUROPRO EP704 Quick reference guide

EUROPRO Shark Roadster EP732 User manual

EUROPRO

EUROPRO Shark Roadster EP732 User manual

EUROPRO SHARK SV745 Quick reference guide

EUROPRO

EUROPRO SHARK SV745 Quick reference guide

EUROPRO SHARK STICK BROOM EP601X2 Configuration guide

EUROPRO

EUROPRO SHARK STICK BROOM EP601X2 Configuration guide

Popular Vacuum Cleaner manuals by other brands

Panasonic MCV5237 - UPRIGHT VACUUM-QKDR operating instructions

Panasonic

Panasonic MCV5237 - UPRIGHT VACUUM-QKDR operating instructions

Annovi Reverberi HOT 1515N Use and maintenance handbook

Annovi Reverberi

Annovi Reverberi HOT 1515N Use and maintenance handbook

Bosch BKS71HYG INFORMATION FOR USE

Bosch

Bosch BKS71HYG INFORMATION FOR USE

LG VK79103HR owner's manual

LG

LG VK79103HR owner's manual

Siemens Z 6.0 instruction manual

Siemens

Siemens Z 6.0 instruction manual

PUPPYOO R35 manual

PUPPYOO

PUPPYOO R35 manual

Arnica HydraRain Pro manual

Arnica

Arnica HydraRain Pro manual

Nilfisk-Advance GR 8000 user manual

Nilfisk-Advance

Nilfisk-Advance GR 8000 user manual

Samsung SR8730 user manual

Samsung

Samsung SR8730 user manual

Felisatti AS20/1200 operating instructions

Felisatti

Felisatti AS20/1200 operating instructions

Progress PC 7160 Instruction booklet

Progress

Progress PC 7160 Instruction booklet

Electrolux UltraEnergica Classic Instruction book

Electrolux

Electrolux UltraEnergica Classic Instruction book

Shop-Vac 970C user manual

Shop-Vac

Shop-Vac 970C user manual

MPM MOD-35 user manual

MPM

MPM MOD-35 user manual

cecotec CONGA ROCKSTAR MICRO ESSENTIAL instruction manual

cecotec

cecotec CONGA ROCKSTAR MICRO ESSENTIAL instruction manual

LG VK7120LHAMY owner's manual

LG

LG VK7120LHAMY owner's manual

Rowenta Air Force manual

Rowenta

Rowenta Air Force manual

Ultenic U10 PRO user manual

Ultenic

Ultenic U10 PRO user manual

manuals.online logo
manuals.online logoBrands
  • About & Mission
  • Contact us
  • Privacy Policy
  • Terms and Conditions

Copyright 2025 Manuals.Online. All Rights Reserved.