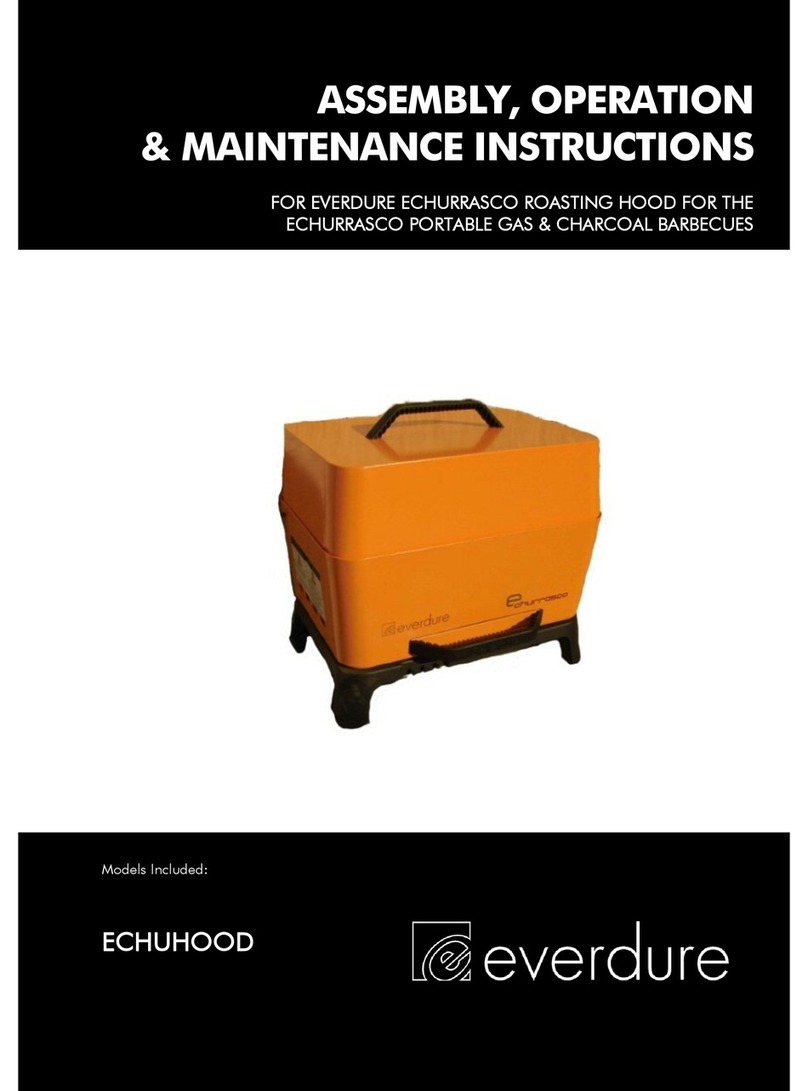
5cms deep. Place a suitably sized rack into the roasting tin. Place the item to be cooked centrally onto the
rack, so that any surplus fat and grease will drip into the water. The water will also keep the food moist
during the cooking process. After the 10 minute pre heat time is complete, open the roasting hood and place
the roasting tin centrally onto the grill plate. Close the roasting hood. The whole cooking process is
controlled using the left and right hand burners to give an ideal cooking temperature. Naturally the degree
of heat required will very much depend on the weather conditions at the time of cooking.
A guide for roasting beef is to allow 30 to 50 minutes cooking time per kilogram for rare and well done
respectively. It is recommended that for evenness, the item being cooked is turned over at approximately half
way through the cooking time. Ensure that the centre burners remain Off, leaving only the two outside
burners on Hi. This is most important as severe overheating and spoilt food will result if the two central
burners are left on Hi. This is a general guide for roasting only – please check www.everdure.com for any
updated cooking guides.
AFTER COOKING
1. When finished, make sure burner control knobs are turned OFF.
2. TURN OFF THE GAS SUPPLY AT THE CYLINDER.
3. After cooking and whilst the barbecue is still warm, remove scraps from the grill with a scraper.
4. Excess fat and meat scraps can be scraped off the vapouriser by removing the grill to gain access.
WARNING: Some surfaces may still be hot – please use protective gloves.
5. Clean the fat tray and replace the aluminium foil after or before each use of the appliance.
6. Once the barbecue is cool close the roasting hood and wipe off any fat splatter from the trolley with a
clean rag.
CLEANING & STORAGE
CLEANING
Before cleaning, ensure the appliance has cooled and is safe to touch. Painted surfaces can be cleaned
using a mild household detergent or cleaner and a clean cloth (do not use scourers or harsh detergents). It
is advisable to test cleaners on a small section of the appliance first. The brass burner and spill bowl of the
wok burner can be cleaned by removing the trivet. NEVER use paint thinners or similar solvents for cleaning
and NEVER pour cold water over hot surfaces. Over time, stainless steel will be affected by “tea staining” or
“bronzing” (brown discoloration of stainless steel). This can be reduced by washing the surface with mild
detergent and warm water, followed by rinsing with clean cold water. Dry the surface afterwards.
For vitreous enamel and stainless steel cooking surfaces only: Starting from cold, pre-heat the cooking
surfaces for 5 minutes (do not overheat, as this can make them difficult to clean). During this 5 minutes,
carefully remove any excess oil with paper towels or a cotton rag. After the 5 minutes warm up, turn off the
burners, and carefully clean with soapy water and a mild scourer, rinsing the scourer occasionally. Finish
by cleaning with a damp paper towel or damp cotton cloth.
WARNING! The surfaces of the plates will be hot. Please ensure protective gloves are worn.
STORAGE
When the appliance is not in use, the cylinder valve must be turned OFF, the appliance and the cylinder
together must be stored outdoors in a well ventilated area. However it is permissible to store the appliance
(but not the cylinder) indoors. Ensure a small amount of fat or oil is on the barbecue plates to prevent rust.
WARNING: STORE CYLINDER IN A WELL VENTILATED AREA OUT OF REACH OF CHILDREN
When the gas cylinder is disconnected, replace the plug or cap on the valve outlet.
For extended storage it is suggested that the primary air port of the burners be covered against the
penetration of insects or vermin. Spiders and small insects can spin webs or nest in the burner rails/tubes,
which could lead to obstruction in the gas and air flow, resulting in a fire in an around the burner
rails/tubes. This type of fire is called a flash-back and can cause serious damage to your barbecue and
create an unsafe operating condition.
STYLE, GRILLED TO PERFECTION
8
