Everglow HK Series Instruction Manual

FOR YOUR SAFETY
The installation of this gas lamp
must conform with all local codes
or, in the absence of local codes,
with the latest edition of the Na-
tional Fuel Gas Code ANS Z21.42-
1993
FOR YOUR SAFETY
Do not place combustible materials
near this appliance.
Do not store or use gasoline or other
flammable vapors and liquids in the
vicinity of this or any other appliance.
FOR YOUR SAFETY
If You Smell Gas
1. Shut off gas to appliance.
2. Extinguish any open flame.
3. If odor continues, immediately
call your gas supplier
GAS LAMPS, PARTS, INSTALLATION AND
MAINTENANCE
MODELS: HK, GG AND HJ SERIES
SPECIAL NOTE
Lamps are set for 7" Water Column pressure on natural gas and 11" W.C. pressure for LP gas.
THESE INSTRUCTIONS SHOULD BE LEFT WITH THE CONSUMER.
KEEP THES INSTRUCTIONS FOR FUTURE REFERENCE.
LAMP CAGE AND BASE ARE NOT
AVAILABLE SEPARATELY
1
2
3
4
5
6
7
8
DMI
13
14
15
11
Complete lamp kit includes; orfice,
valve, mixer tube with adjustable
air shutter, burner head, ceramic
tips and two mantles. Specify LP
Or Nat. Gas
IMPORTANT
When ordering parts specify
lamp model, (aluminum or
brass), type of gas (LP or Natu-
MODEL
HK
NOTE: In Canada, the installation shall be in accordance with: the current edition of CAN/CGA-B149.1 Natural
gas installation code or CAN/CGA-B149.2 Propane gas installation code, and all local codes where applicable.
All lamps are available with inverted and upright burner. Replacement parts may be obtained through an authorized MHP dealer,
please visit www.mhpgrills.com for a dealer near you or call 888.647.4745.
9A
10
12
9
2A
HK GG HJ
1 LBF LBF LBF Ball Finial
2 HKA2 GGA2 HJA2 Lamp Cap
3 Washer
4 1-3/4 1-3/4 1-3/4 Screw for Cap and Ball 10-24
5 DIB DIB DIB Burner Head
6 BT1 BT1 BT1 Ceramic Burner Tip
7 MTL2 MTL2 MTL2 Soft Mantle– No2 Ring Size
8 ALS ALS ALS Aluminum Lamp Tube
9 ORF ORF ORF Lamp Valve Orifice (Specify LP
or Nat)
10 GLV GLV GLV Lamp Valve
13 CHM CHM CHM Glass Chimney
11 GLS GLS GLS Lamp Glass (4 Needed)
12 DMI DMI DMI Complete Burner Kit
14 MTL3 MTL3 MTL3 Upright Mantle
15 UBA UBA UBA Upright Burner Assembly
2A LSU LSU LSU Stainless Steel Top Screen,
4⅜" dia.
9A LSL LSL LSL Stainless Steel Lower Screen,
3⅝" x 4⅝"
POST AND TUBING INF
Proper post and tubing selection is essential. Your local
gas company or an authorized MHP Dealer can supply
these parts. 1/4"soft copper tubing that has been internally
tinned is recommended. 1/4" flare nuts should be used on
both ends.
NOTE: The lamp is for outdoor installation only and
must be installed at least 12" in any direction from any
combustible materials.
18"
COPPER
TUBE
INLET
POST INSTALLATION
1. Dig a hole in the ground approximately 12" wide
by 24" deep.
2. Set the bottom of the post in the center of the
hole. Brace the post in a plumb position and
pour concrete around the post to just below the
gas line access hole.
INSTALL LAMP ON POST
1. If not already furnished, place tubing in post.
Tubing should have at least two coils at the top
of the post.
2. Connect gas supply line to tubing at the base of
the post and tighten flare nuts clockwise. No
sealants are necessary.
LIGHTING IN
Turn gas supply off and wait for
Broken mantel
IMPORTANT: Gas mantles are very delicate and should not
be handled roughly.
A. Remove new mantle from the container without touching
the cloth portion. Hang the mantle on the burner tip,
rotating it to fit into the slots on the burner tip.
B. Nothing should touch the cloth portion, so when lighting,
do not touch the match to the mantle itself. (Pull down only
on a soft mantle to shape it.
STEP 1
Remove the glass by lifting
from the bottom with fore-
finger, pulling out slightly,
and lowering.
NOTE: Proper combustion
is essential. Do not ob-
struct air inlet or outlet
vents.
STEP 2
WITH GAS TURNED OFF,
Hold a lighted match up to
but not touching the man-
tle. This will burn off the
protective coating (and it
will flash slightly). Do not
touch the mantle with the
match.
STEP 3
After the mantles have
stopped burning, us
screwdriver to slowly turn
the gas ON and hold an-
other match up to
touching, the mantle
light them. When li
the gas on full.
150 South Ram
PH: 888.647.4745 • 847.
FAX: 800.637.2918 • 84
www.mhpgrills.com
MAINTENANCE INSTRUCTIONS
1. Monthly visually inspect the lamps burner flame characteristics. The flame should be contai
and not extend above the ceramic mantle ring (Fig. 2). If flame exte
local gas company or authorized MHP dealer.
2. Proper combustion is essential. Do not obstruct air inlet or outlet
3. Always keep the appliance area clear and free of combustible
4. Turn gas OFF and let lamp cool before performing any maintenan
soapy water or glass cleaner. Lamp may be repainted with a good q
wool or sandpaper.
CERM
BURN
VENT
TU

FOR YOUR SAFETY
The installation of this gas lamp
must conform with all local codes
or, in the absence of local codes,
with the latest edition of the Na-
tional Fuel Gas Code ANS Z21.42-
1993
line or other
other appliance.
MAINTENANCE
" W.C. pressure for LP gas.
EFT WITH THE CONSUMER.
FOR FUTURE REFERENCE.
the current edition of CAN/CGA-B149.1 Natural
n code, and all local codes where applicable.
y be obtained through an authorized MHP dealer,
5.
HK GG HJ
1 LBF LBF LBF Ball Finial
2 HKA2 GGA2 HJA2 Lamp Cap
3 Washer
4 1-3/4 1-3/4 1-3/4 Screw for Cap and Ball 10-24
5 DIB DIB DIB Burner Head
6 BT1 BT1 BT1 Ceramic Burner Tip
7 MTL2 MTL2 MTL2 Soft Mantle– No2 Ring Size
8 ALS ALS ALS Aluminum Lamp Tube
9 ORF ORF ORF Lamp Valve Orifice (Specify LP
or Nat)
10 GLV GLV GLV Lamp Valve
13 CHM CHM CHM Glass Chimney
11 GLS GLS GLS Lamp Glass (4 Needed)
12 DMI DMI DMI Complete Burner Kit
14 MTL3 MTL3 MTL3 Upright Mantle
15 UBA UBA UBA Upright Burner Assembly
2A LSU LSU LSU Stainless Steel Top Screen,
4⅜" dia.
9A LSL LSL LSL Stainless Steel Lower Screen,
3⅝" x 4⅝"
POST AND TUBING INFORMATION
Proper post and tubing selection is essential. Your local
gas company or an authorized MHP Dealer can supply
these parts. 1/4" soft copper tubing that has been internally
tinned is recommended. 1/4" flare nuts should be used on
both ends.
NOTE: The lamp is for outdoor installation only and
must be installed at least 12" in any direction from any
combustible materials.
LADDER
REST
COPPER
INTERNALS
1/4" Tubing
with
Flare Ends
HOLE 24"
DEEP
12" DIA.
16"
CONCRETE
18"
COPPER
TUBE
INLET
3. Perform any remaining assembly to the lamp but
do not install glass.
•Remove contents from burner kit box.
•Install finial to rain cap.
•Attach valve to gas supply tubing and tighten
flare nuts clockwise. Be sure the fittings are tight.
4. Slowly lower the lamp onto the post, guiding the
valve up through the center hole in the bottom of
the lamp. Take care not to bend or crimp the
tubing.
5. Align slot in the top of the post with the access
hole in the collar. Align valve stem with the access
hole and tighten the lock screw in the collar of the
lamp to secure the lamp to the pos.
6. Thread the burner tube onto the valve. Keep the
valve from turning by inserting a screwdriver
through the access hole.
7. Be certain the lamp valve is in the off position
turning on the gas supply.
8. Leaving lamp valve in off position, turn on main
gas supply and check all connections for leaks
using a soapy solution. Tighten any leaky joints
and recheck for leaks.
POST INSTALLATION
1. Dig a hole in the ground approximately 12" wide
by 24" deep.
2. Set the bottom of the post in the center of the
hole. Brace the post in a plumb position and
pour concrete around the post to just below the
gas line access hole.
INSTALL LAMP ON POST
1. If not already furnished, place tubing in post.
Tubing should have at least two coils at the top
of the post.
2. Connect gas supply line to tubing at the base of
the post and tighten flare nuts clockwise. No
sealants are necessary.
LIGHTING INSTRUCTIONS INVERTED BURNER
- CAUTION -
Turn gas supply off and wait for lamp to cool before starting any repairs. Remove and clean glass when necessary. Replace
Broken mantels. Refer to steps 1-6 of instructions.
BURNER
HEAD
IMPORTANT: Gas mantles are very delicate and should not
be handled roughly.
A. Remove new mantle from the container without touching
the cloth portion. Hang the mantle on the burner tip,
rotating it to fit into the slots on the burner tip.
B. Nothing should touch the cloth portion, so when lighting,
do not touch the match to the mantle itself. (Pull down only
on a soft mantle to shape it.
If a mantle should become damaged, additional mantles may
be obtained through your local gas company, gas appliance
dealer or hardware store. Always replace both mantles at the
same time. Mantles are Modern Home Products Part No.
MTL-2, No. 2 ring size. These are soft mantles requiring
shaping.
Refer to steps 1-6 for proper lighting procedure.
To clean the glass panels of your lamp, turn the gas off with
a screwdriver through the access hole in the lower collar of
the lamp head.
STEP 1
Remove the glass by lifting
from the bottom with fore-
finger, pulling out slightly,
and lowering.
NOTE: Proper combustion
is essential. Do not ob-
struct air inlet or outlet
vents.
STEP 2
WITH GAS TURNED OFF,
Hold a lighted match up to
but not touching the man-
tle. This will burn off the
protective coating (and it
will flash slightly). Do not
touch the mantle with the
match.
STEP 3
After the mantles have
stopped burning, use a
screwdriver to slowly turn
the gas ON and hold an-
other match up to, but not
touching, the mantles to
light them. When lit, turn
the gas on full.
STEP 4
Your MHP lamp is factory
set to burn at its most
efficient point. However,
this adjustment may be
changed during shipment.
To adjust this, raise or
lower the air shutter until
the mantles are burning
their brightest.
STEP 6
Replace the glass by fitting
the top edge into the frame
top, holding the glass
against the tabs inside the
frame. Allow the glass to
slide into frame bottom.
STEP 5
If flame extends above
the ceramic mantle ring,
turn off lamp valve and
contact your local gas
company or authorized
MHP dealer.
NOTE: Proper combus-
tion is essential. Do not
obstruct air inlet or
outlet vents.
Fig. 1 Fig. 2
150 South Ram Road • Antioch, Illinois 60002
PH: 888.647.4745 • 847.395.6556
FAX: 800.637.2918 • 847.395.9121
Email: [email protected]
www.mhpgrills.com
FOR REPLACEMENT PARTS VISIT, WWW.MHPONLINESTORE.COM
1. Monthly visually inspect the lamps burner flame characteristics. The flame should be contained inside the mantle sack, (FIG. 1)
and not extend above the ceramic mantle ring (Fig. 2). If flame extends above the mantle ring, turn lamp OFF and contact your
local gas company or authorized MHP dealer.
2. Proper combustion is essential. Do not obstruct air inlet or outlet vents.
3. Always keep the appliance area clear and free of combustible material, gasoline and other flammable liquids.
4. Turn gas OFF and let lamp cool before performing any maintenance. Periodically remove glass panels and clean with hot
soapy water or glass cleaner. Lamp may be repainted with a good quality heat resistant paint after roughing surface with steel
wool or sandpaper.
MANTLES
HANG ON
TIPS
CERMAMIC
BURNER
VENTURI
TUBE
AIRFLOW
ADJUSTMENT
RING
IMPORTANT
Shutter opening
should be approx.
1/16"
0419
This manual suits for next models
2
Popular Outdoor Light manuals by other brands
Suneco
Suneco ECO5326LD Series manual
Osram
Osram SYLVANIA Series Installation and operation manual
Quoizel
Quoizel WKF8411EK Assembly instruction sheet
Addington Park
Addington Park 30812091 quick guide
Elgo
Elgo ASTAR ECO Installation and operating manual
Kenroy Home
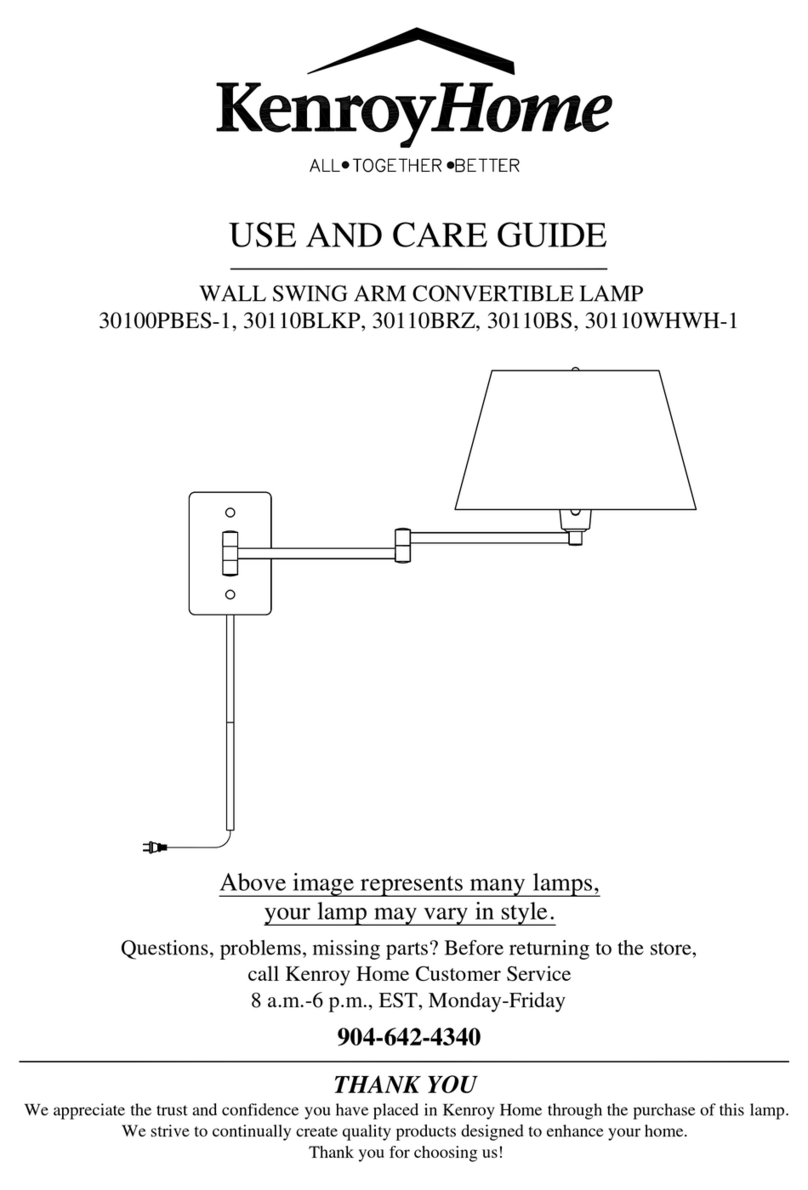
Kenroy Home Simplicity 30110WHWH-1 Use and care guide
