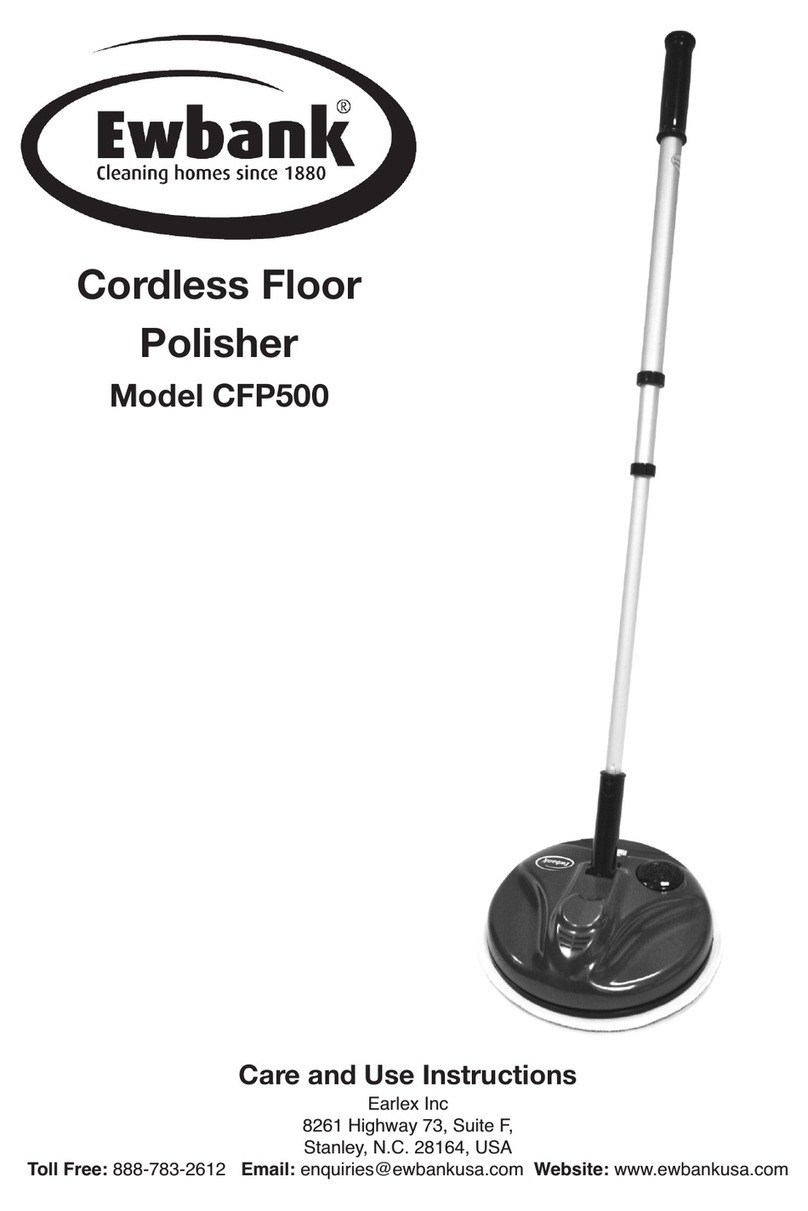
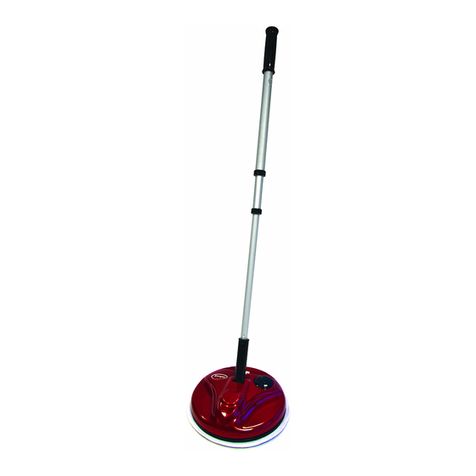
Ewbank FP80 Guide

CORDLESS
FLOOR-WASHER/POLISHER
Lithium-ion battery: 14.4V 2200 mAh
Model FP80
Care & Use Instructions
Ewbank LLC,
, USA
Tel: 855-439-2265
www.ewbankus.com

2 3
Pack contents
/12
ae of coponents and strctre
te installation ethods
The instructions for appliances incorporating
batteries that are intended to be replaced b
theuser shall include the following
the tpe reference of the batter
the orientation of the batter with regard to
polarit
the method of replacing batteries
details regarding safe disposal of used batteries
warning against using nonrechargeable batteries
how to deal with leaing batteries.
The instructions for appliances incorporating a
batter that contains materials that are
haardous
to the enironment shall gie details on how to
remoe the batter and shall state that
the batter must be remoed from the appliance
before it is scrapped.
the appliance must be disconnected from the
suppl mains when remoing the batter.
the batter is to be disposed of safel.
ROTATION SWITCH
HANDLE
SPRAYER SWITCH
CONNECTABLE HANDLE
HANDLE PIN CONNECTOR
FILLING CAP
SPRAYER OUTLET CLEANING PADS
CLEANING PADS FUNNEL CHARGER MEASURING CUP
POWER ON/OFF
MAIN BODY

4 5
Safety Instructions - CAUTION
DO NOT:
• Modify the unit in any way. It is dangerous voids the
warranty.
• Handle the unit with wet hands.
WARNING!
1. Follow the assembly process in this manual. The manual
will give the important instructions about the assembly
and safety.
2. After unpacking, make sure that the product is intact
with no visible signs of damage caused by transport,
should you have any doubts, do not use the product and
call our Quality department. All packing materials (plastic
wrapping, cardboard box, etc.) are potentially dangerous
and must be kept out of children’s reach.
3. This product is only designed for domestic applications,
any other usage is unsuitable and will not be covered by
warranty.
4. Before charging the product for the rst time, check that
the rating plate specications on the adaptor correspond
to your electrical power supply.
5. The product must only be used with the charging adaptor
supplied with the product or a replacement purchased
from Ewbank or one of our distributors.
6. Never use the charging station with multiple plug or
extended power cord. The charging plug needs to t
directly into the socket.
7. Don’t plug the equipment into other devices such as
timer, remote controlled device or similar equipment.
8. Please do not leave the product when it is powered on.
9. After charging has nished, and you are removing from
the wall socket, pull out by the plug of adaptor only, do
not pull by the power cord or charging station.
10. Before cleaning and maintaining the product, please
remove the power cord from the outlet and switch off the
machine.
11. If the product stops working or there is an abnormal
sound, please switch the power off and contact our
Service Department.
12. Never try to replace the power cord. If the cord or plug
is damaged or needs to be replaced then please contact
our Service Department.
13. NEVER use with ammable or combustible liquids such
as gasoline, other volatile substances or burning embers.
14. NEVER use in the presence of explosive liquids, vapors or
explosive dust such as coal or grain.
15. This product can only be used by children aged from 14
years and above. Persons with reduced physical, sensory
or mental capabilities or lack of experience and
knowledge must have been given supervision or
instruction concerning use of the product in a safe way
and understand the hazards involved. Children must not
play with the product.
Safety Instructions - CAUTION

6 7
Assembling ready for use
/12
. lease tae the handle and the maor bod
from the pacing bo.
. lide the bottom end of Telescopic pipe onto the
polisher head until pipe button clics into place.
hen fiing well ou will hear clicing sound
fter connecting please pull tightl to ensure
hether the installation is good.
. pen the batter coer in the bac part of handle,
put in . batter,close the batter coer。
onnect handle with telescopic pipe nsert handle
into pipe until pipe button clics into place.
hen fiing well ou will hear clicing sound
fter connecting please pull tightl to ensure
hether the installation is good.
pplication nstrction
.hen cleaningplease absorb the
ater completel and then twist
all water out.
.i the cloth pads on rotating plates.
1. Identify the components required.
Take the main body and the two part
handle out of the box.
2. Attach telescopic part of handle.
Slide the bottom end of telescopic
handle onto the main body until it clicks
into place. After connecting, please pull
tightly to ensure the handle is securely
locked in place.
3. Install batteries and t top part of
handle.
Open the battery cover in the back part
of handle and insert the two AAA, 1.5v
batterys. Replace the battery cover.
Connect the handle to the telescopic
handle,until it clicks into place. After
connecting, please pull tightly to ensure
the handle is securely locked in place.
16. Never use on a wet oor, do not allow to get wet in the
rain. Otherwise the motor will be at high risk of being
burnt out.
17. The product should be kept far away from heat sources
(such as central heating radiators, ovens, etc.) to avoid
damage to the product.
18. Before using the product, please remove any large or
sharp matter on the oor to avoid damaging the plastic
parts, lter and motor.
22. In order to protect the battery, the unit cannot be
switched on while it is being charged, the unit will not
operate.
23. If you are replacing the batteries, the old batteries must
be correctly recycled.
24. Please use the product according to these instructions
and use only Ewbank accessories.
25. The battery is Lithium-Ion, rechargeable. Each of the
6 cells is 3.7V these are packaged into a single unit. The
maximum power capacity is 2200mAh.
26. For initial charging, insert the power cord into the wall
socket and the other end insert into the main body or
the charging station, the indicator light will icker until
the battery is full, then indicator light will stop ickering
and remain lit. It should take 8 hours for this process on
the rst charge.
Safety Instructions - CAUTION

8 9
How to operate
1. Make sure the
pads are clean.
Twist and wring
out any excess
water.
2. Fix the pads to
the rotating base.
3. Ensure the
pads are located
centrally on each
base. Press pads
rmly onto the
rotating bases.
4. Fill the spray
container with
water.
5. Clear the
oor of debris
and foreign
objects. We
suggested a
quick vacuum
before cleaning.
6. Step on the
switch to power
the rotating
bases in the
head unit.
7. Press the
power button
on the handle
to power the
sprayer. Ensure
you have tted
batteries.
8. When
required, press
the spray button
on the handle.
11 /12
Correct installation of cloth pads
The cloth pads and the rotating plate should be pasted well.
The center of pads and rotating plate should match well.
Washing attentions of cleaning pads
Always ensure the pads are located centrally on each rotating base.
11 /12
Correct installation of cloth pads
The cloth pads and the rotating plate should be pasted well.
The center of pads and rotating plate should match well.
Washing attentions of cleaning pads
11 /12
Correct installation of cloth pads
The cloth pads and the rotating plate should be pasted well.
The center of pads and rotating plate should match well.
Washing attentions of cleaning pads
11 /12
Correct installation of cloth pads
The cloth pads and the rotating plate should be pasted well.
The center of pads and rotating plate should match well.
Washing attentions of cleaning pads
11 /12
Correct installation of cloth pads
The cloth pads and the rotating plate should be pasted well.
The center of pads and rotating plate should match well.
Washing attentions of cleaning pads
11 /12
Correct installation of cloth pads
The cloth pads and the rotating plate should be pasted well.
The center of pads and rotating plate should match well.
Washing attentions of cleaning pads
11 /12
Correct installation of cloth pads
The cloth pads and the rotating plate should be pasted well.
The center of pads and rotating plate should match well.
Washing attentions of cleaning pads
When machine washing
apply a little detergent to
each pad directly.
Remove all debris from the
pads to avoid damage to the
oor when cleaning.
When hand washing, use
two pads to scrub them
clean.
Wash separately from other
items..
Twist and wring out any
excess water.
Never use bleach or fabric
softener on the pads.
Caring for your cleaning pads - washing

10 11
Caring for your cleaning pads - washing
- Please ensure whether the product
has been sufciently charged.
- Please ensure the batteries in the
handle have been installed correctly
and they haven’t discharged.
- Please ensure the normal running
time of 20 minutes hasn’t been
exceeded.
Please ensure the pads are not full of soaked
up water.
Please ensure that the pads have been
installed centrally on the rotating heads.
- The unit will emit a the light “buzzing”
sound. This is normal.
- Other noising could be caused by foreign
objects attached to the cleaning pads.
The Floor Polisher/washer won’t
start?
Excessive water is left on the
oor.
Excessive vibrations in the head
of the unit.
There is an unusual noise when
cleaning.
Problem Possible fault/solution

12
Te c h n i c a l D a t a
INFORMATION ON THE DISPOSAL OF WASTE ELECTRICAL AND ELECTRONIC
EQUIPMENT KNOWN AS WEEE
Ewbank LLC,
SA T
el: 855-439-2265
www.ewbankus.com
Made in China
EB0992 01/18
Your attention is brought to new directives applicable to the disposal
of this electrical equipment where, in accordance with legislation, this
product must not be disposed of in your normal household waste.
Instead it is your responsibility to dispose of this type of waste by
handing it over to special designated collection points for recovery and
recycling.This product is marked with a ‘Wheelie bin’ symbol with a
cross on it to remind you of this action. The objective of this directive
is to help conserve resources and ensure that it is recycled in a manner
that protects human health and the environment. For more information
about where you can drop off your waste please contact your local
authority, take back facilities are free of charge.
Your G uara ntee
This product is guaranteed for a period of 12 months.This does not cover normal wear
and tear, abuse or replacement of parts other than specied. While every possible care
is taken by Ewbank Products Ltd. to ensure that our products leave the factory in good
working order, Ewbank Products Ltd. cannot under any circumstances accept liability
for problems or damage caused by their subsequent use. It is the responsibility of
the user to ensure the surfaces to be treated or cleaned are suitable for vacuuming.
This guarantee does not affect your statutory rights. This guarantee excludes the use
for rental or commercial. In the event of a fault occurring please contact our helpline
before returning the unit to our Service Department at the address below together
with a copy of your purchase receipt.
Table of contents
Other Ewbank Sander manuals
Popular Sander manuals by other brands
Schuller Ehklar
Schuller Ehklar EASYSAND DUO600 user manual

KNECHT
KNECHT B 500 operating instructions

GÜDE
GÜDE GBTS 1100 Translation of the original instructions
Porter-Cable
Porter-Cable 330 SPEED-BLOC instruction manual

Superabrasive
Superabrasive LAVINA 20N-S-OE user manual

Makita
Makita BO4510H instruction manual

