X-Cite®mini+: Quick Start Guide SIDE 1
Warning –Refer to Safety Precautions Booklet 035-00636R for all safety precautions prior to use.
User Guide 035-00587R download: https://www.excelitas.com/product/x-cite-mini-compact-led-illumination-system
Applies to X-Cite mini Series models: XTMS, XTML, XT120Lm
SETUP
Unpack
1. Carefully unpack the unit and accessories from shipping carton.
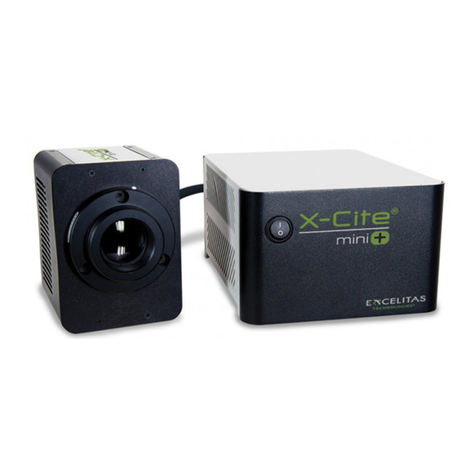
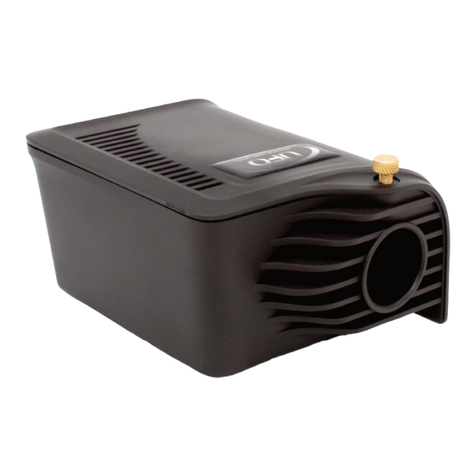
2. When removing the LED Head and miniCUBE from the carton, ensure that
both components are supported and there is always some slack in the
cable. Do not use the cable as a “handle”.
Install the Microscope Flange
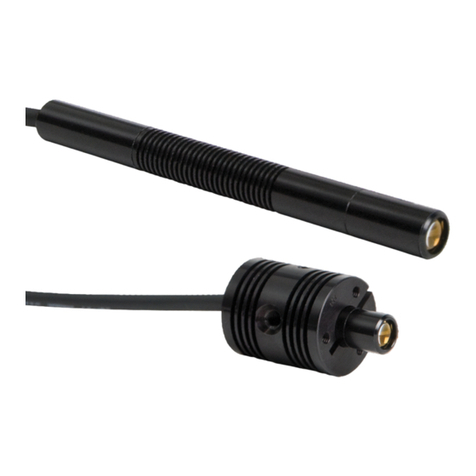
1. Remove protective cap from LED Head.
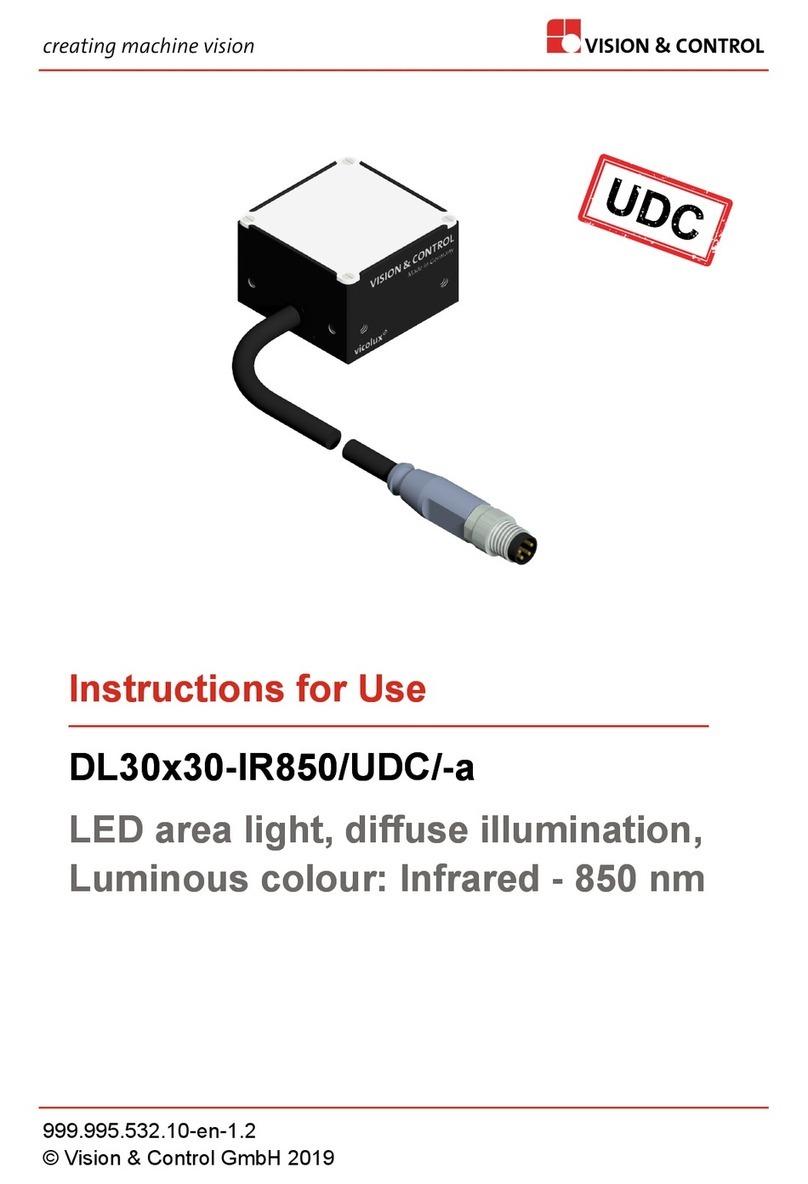
2. Align the mounting holes and dowel pins on the Microscope Flange and the
LED Head. Do not touch the lens in the Microscope Flange.
3. Attach the Microscope Flange using the Hex Tool and three (3) fasteners
provided.
Install on Microscope
1. Position the equipment. Do not kink or bend cable. Ensure adequate
clearance for ventilation around miniCUBE.
2. Connect LED Head to microscope light train. Verify that the LED Head is
oriented with the arrow label (rear side of the LED Head) is pointing up.
3. Connect speedDIAL cable to “remote” port on miniCUBE.
4. Connect AC power to properly grounded outlet.
MANUAL OPERATION
1. Flip rocker switch to turn unit on.
2. When display shows “x%”, it is ready to use.
3. Click speedDIAL to illuminate a specimen.
4. Turn speedDIAL to adjust intensity.
REGULATORY (refer to user guide for complete details)
Product Safety and Electromagnetic Compatibility
The X-Cite mini+ has been tested and found to comply with product safety and
electromagnetic compatibility requirements. For a complete list of tests and for
certification details, please contact your X-Cite representative or visit :
https://www.excelitas.com/product/x-cite-mini-compact-led-illumination-system
CE Marking
Council Directive 2014/35/EU Low Voltage Directive
Council Directive 2014/30/EU EMC Directive
Council Directive 2012/19/EU WEEE Directive
Council Directive 2011/65/EU RoHS
BASIC TROUBLESHOOTING (refer to user guide for complete details)
