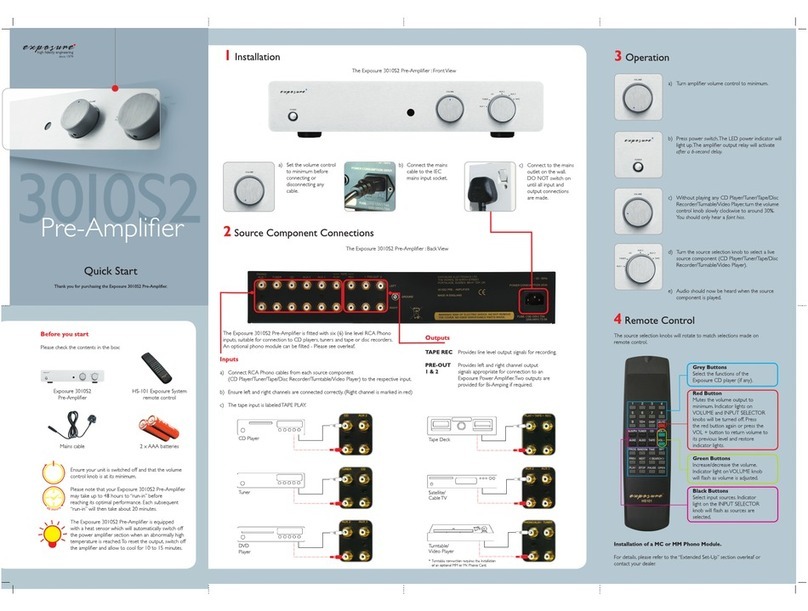
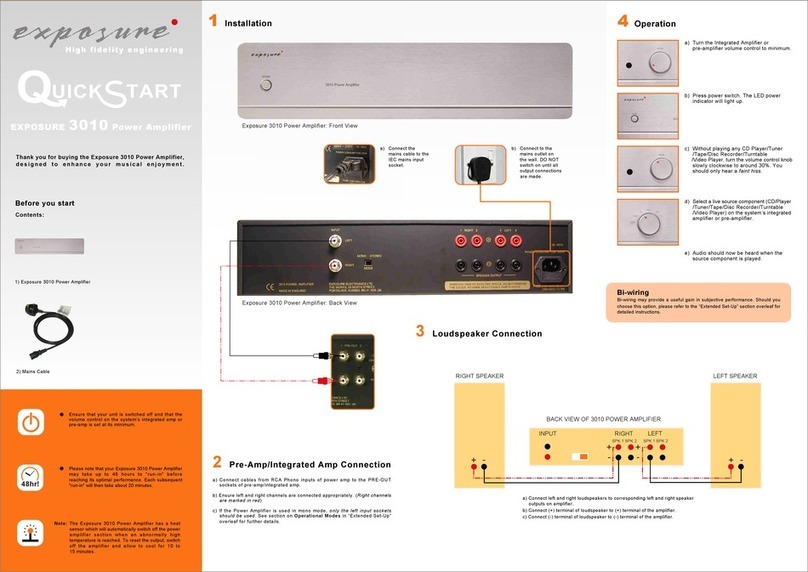
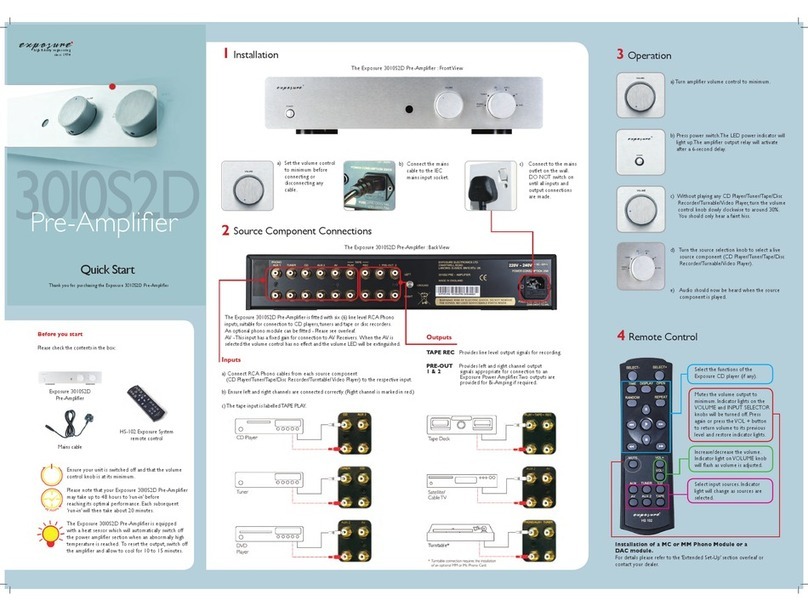
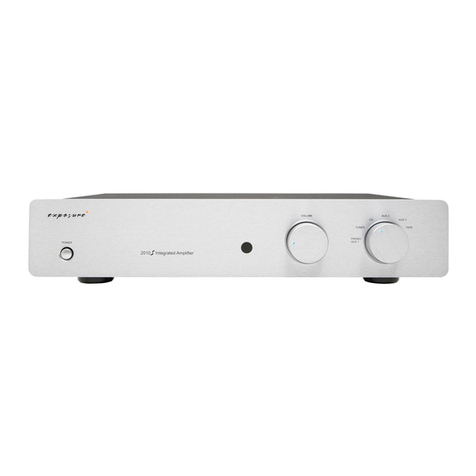
Exposure Pre-Amplifier XXIII: Extended Set-up
Installation of a MC or MM Phono Module
This is best carried out by your dealer. However, if you wish to attempt installation yourself:
Slide the cover back about 2 cm
until it is free to move upwards
to reveal the main circuit board.
4
2
Remove the mains lead from the
wall and the IEC socket.
Safety
Incorrect installation or inappropriate use of the Exposure
Pre- Amplifier XXIII may result in injury due to electric shock.
•Ensure that the voltage rating on the rear panel of this
unit matches that of your local mains supply. *
•Ensure that the mains cable and plug supplied with this
unit is also correct. (Contact your dealer immediately if
this is not the case)
•This unit is protected by a mains fuse, which is
accessible as part of the IEC socket on the rear panel.
•Fuse replacement specifications:
220/240V units T3.15A fuse
110/120V units T6.3A fuse
The Exposure Pre-Amplifier XXIII MUST be earthed.
•Protect unit against all forms of liquid. Never expose unit
to dripping or splashing, or place objects filled with
water, such as vases, on the unit.
•Unplug unit from mains when not in use for prolonged
periods.
•Do not open this unit – there are NO user serviceable
parts inside (except to install or change a phono card).
•Reduce the volume control to minimum before turning
this unit on or off.
•Ensure that this unit is switched off when connecting or
disconnecting speaker and interconnect cables.
*Contact Exposure Electronics for advice on moving your
equipment to another country or territory.
Caution
For a long and trouble-free life of your Exposure
Pre- Amplifier XXIII, please ensure the following:
•Do not remove the cover of the pre-amplifier or
dismantle the case (except to install or change a phono
module).
•Protect unit against all forms of liquid. Never expose unit
to dripping or splashing, or place objects filled with
water, such as vases, on the unit.
•Do not operate the pre-amplifier in damp environment or
allow liquids to enter the unit.
•Do not attempt to bypass the mains fuse or replace the
fuse with one of a different specification.
•Do not place the pre-amplifier in a position which
restricts cooling airflow around its case.
•Do not use abrasive or solvent-based cleaning fluids on
the pre-amplifier’s case.
Failure to observe these precautionary measures may void
your warranty.
Technical Specifications
Exposure Warranty Policy
Gain (@ 1KHz): + 18dB
Sensitivity: 250mV
Maximum Output: >12.5V RMS
Frequency Response: 3dB @ 2Hz and 64KHz,
ref 1 KHz
Total Harmonic Distortion: <0.01%, @ 1.6V RMS output,
1 KHz
Signal to Noise Ratio: >96dB, A weighted,
ref 1.6V RMS output, 1 KHz
Channel Separation: >60dB, 20Hz – 20KHz
(typically >85dB @ 1 KHz)
Mains Supply: 110/120V or 220/240V,
50/60Hz (factory set)
Power Consumption: <25VA
Dimensions (H x W x D): 90mm x 440 mm x 300 mm
Nett Weight (unpacked): 8 Kg
Gross Weight (Packed): 10 Kg
1. The Exposure warranty entitles you to FREE repair of this
unit for the first three (3) years from the date of purchase.
2. This warranty is valid only if the unit is purchased from
an authorised Exposure dealer, registered with the
authorised agent in your country of residence and issued
with a recognised warranty card.
3. The agent accepts no responsibility for defects arising
from accident, misuse, abuse, wear and tear, neglect or
through unauthorised adjustment and/or repair or
replacement of any components, nor will they accept
responsibility for damage or loss occurring during transit to
or from the person making a claim under the warranty.
4. The Exposure warranty covers:
• Parts and labour costs for three (3) years from the date
of purchase. Please retain your original receipt as proof of
purchase and purchase date. The guarantee is extended
only to the original purchaser and is not transferable.
When making claims under this warranty:
1. The equipment should be suitably packed and returned
to the dealer from whom it was purchased, or directly to
the local distributor, together with proof of purchase or a
copy of the dated sales receipt.
2. If necessary the unit should be sent carriage pre-paid by
a reputable carrier – NOT by post.
3. No responsibility is accepted for the unit whilst in transit
to the dealer or agent, and customers are advised to insure
the unit against loss or damage whilst in transit.
4. The warranty card MUST be produced when making
claims against this guarantee.
5. Any tampering or alteration made to the warranty card
or to the serial number on the equipment will invalidate the
warranty.
6. The dealer or the agent shall notify the customer when
the repairs have been completed. The customer must claim
the goods within fourteen days from the date of notice,
failing which, the Company reserves the right to impose
storage charges.
7. The Company reserves the right to dispose of the
equipment after 90 days from the date of notice in a
manner that it sees fit and without compensation to the
customer.
Switch off the unit.
Off
1
3
Remove the four cover screws.
Replace the cover and screws.
87
Fit the three M3 x 6mm bolts
that are supplied with the phono
module.
Observe the position of the
plug on the phono module and
carefully plug it in, ensuring
that all of the pins are inserted
correctly into their connectors.
65
Remove the small jumper board
that is fitted on the right hand
side at the back.
