Ezy Gym FIT 150 User manual

1
EzyGym Fit150 ELECTRONIC TREADMILL
INSTRUCTION MANUAL
Phone: 0448 399 496
0448 EZY GYM
Email: [email protected]

2
CONTENT
1. Safety regulations
2. Technical standard
3. Electronic display console
4. Main parts of the treadmill
5. Assembly steps
6. Adjusting & Testing
7. Operation instructions
8. Point of attention
9. Drawing of system connection
10. Maintenance
11. Some problem & Settlement

3
1. Safety regulations:
Attention: Read this manual carefully before using the machine.
• The treadmill should be placed indoors, keeping it free from moisture and splashes of water. Don’t put
anything onto the treadmill.
• Make sure that four feet of the treadmill support the ground steadily. If necessary, pad the machine
with pieces of carpet or rubber.
• Voltage should be within a range of 220V(±10%) volts. Otherwise it may put the machine into
disorder.
• The plug must be well ground-connected, and the power lines can endure electric currents more than
12 amperes.
• Choose suitable sportswear and sports shoes for exercise, and barefoot walking on the treadmill is
forbidden.
• Only a single user is allowed at the same time. The person whose weight is more than 150kg can’t
use the ordinary type of the treadmill.
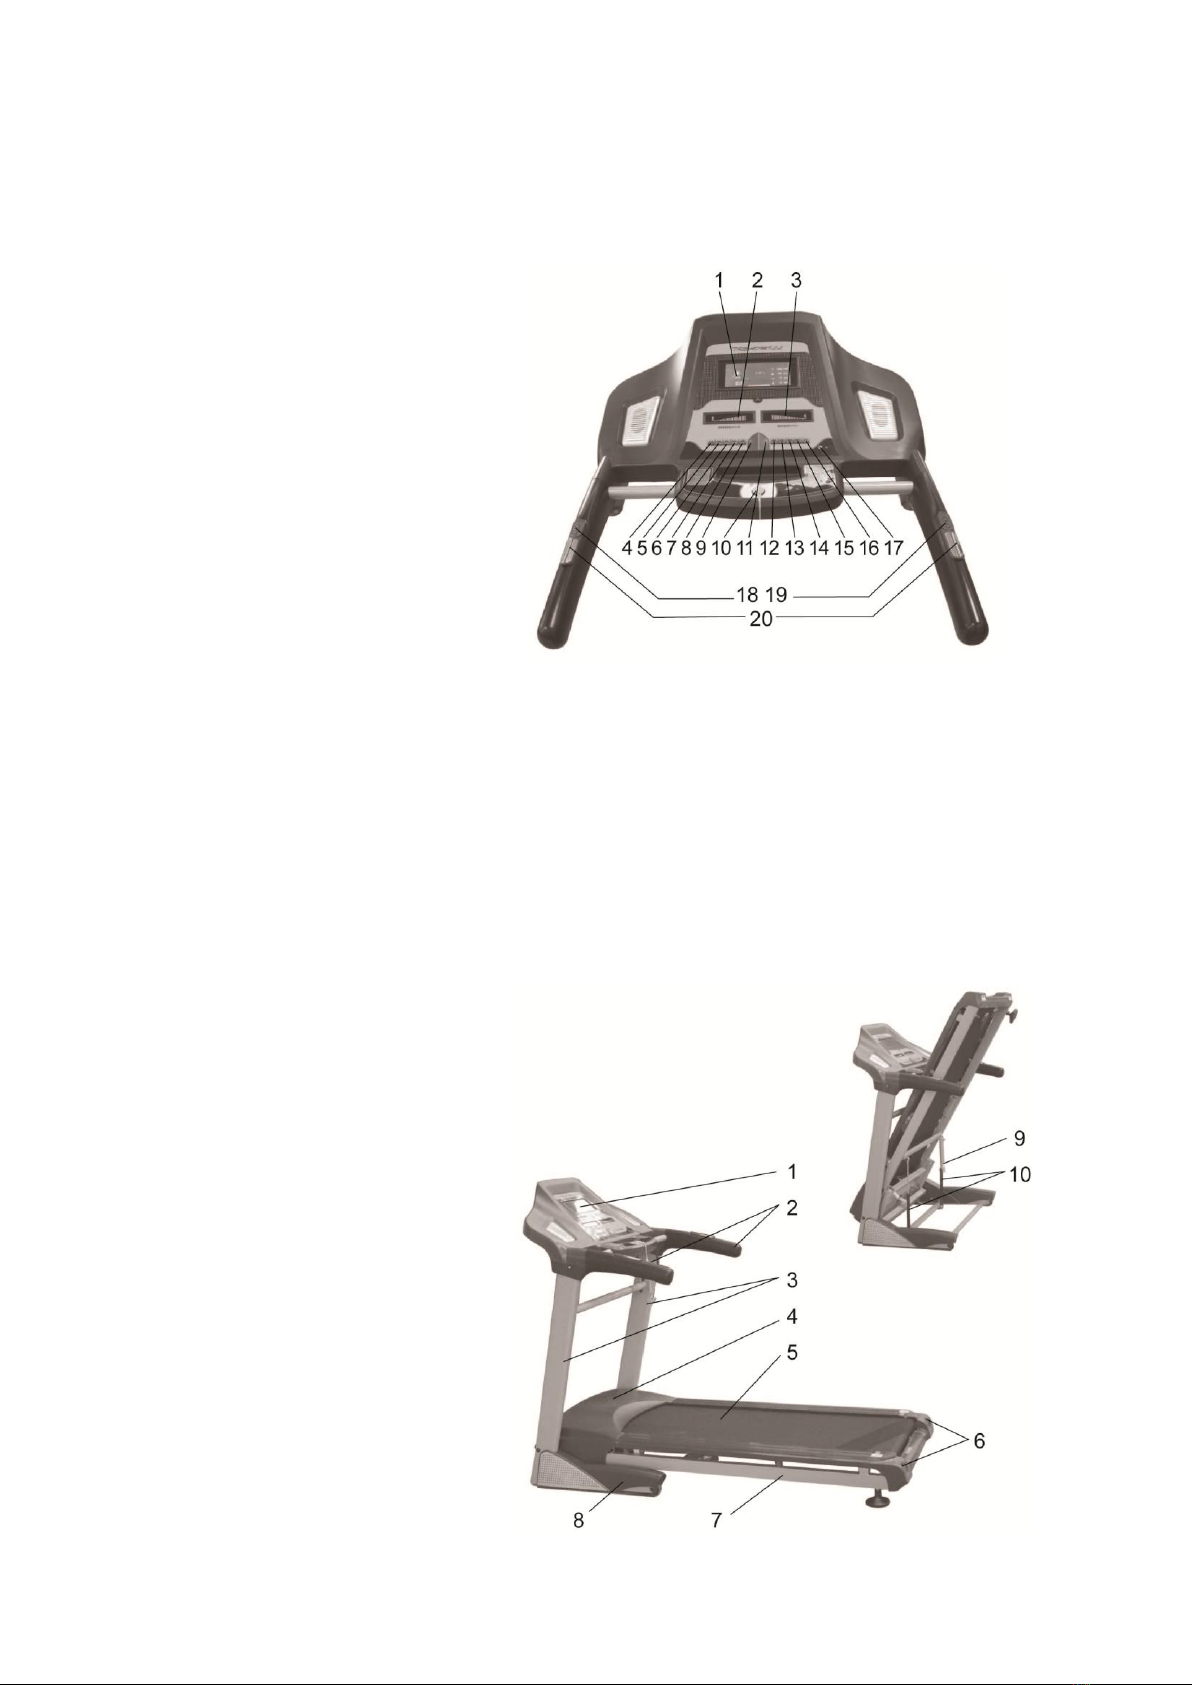
• Stand on the plastic pad beside the running belt with hands holding the handlebars, then start the
machine, and begin exercise if the treadmill can work normally. Start the treadmill while standing on
the belt is forbidden.
• A person suffering from heart disease should not use the treadmill alone.
• Adjust the running speed according to individual body state. A weak person should follow the doctor’s
advice concerning exercise.
• Pull the plug off from a working treadmill to avoid accidents.
• Keep the children, handicapped, and pet away from the running treadmill, avoid danger.
• Don’t make the treadmill overwork for a long time. Otherwise, it may damage the motor or controller,
and speed up the aging of bearings, running belt and running platform.
• Keep the edges away during the operation of the treadmill, not less than 100cm of both sides and
200cm rear positions. (See attached picture)
• Keep proper air humidity indoors in winter to avoid static electricity, which may influence the working
of the electronic meter or damage it.
2. Technical standard
• Input voltage: 220V±10%(50Hz or 60Hz)
• Environment temperature for working: 0-40℃
• Continuous power: 2.5HP
• Electric current is less than 8A.
• Speed: 1.0-18.0 kilometers/hour (±5%)
• Time limits: 0:00-99.59 (minute:second)
• Distance: 0.00-99.9 kilometers.
• Incline range: 0-18%
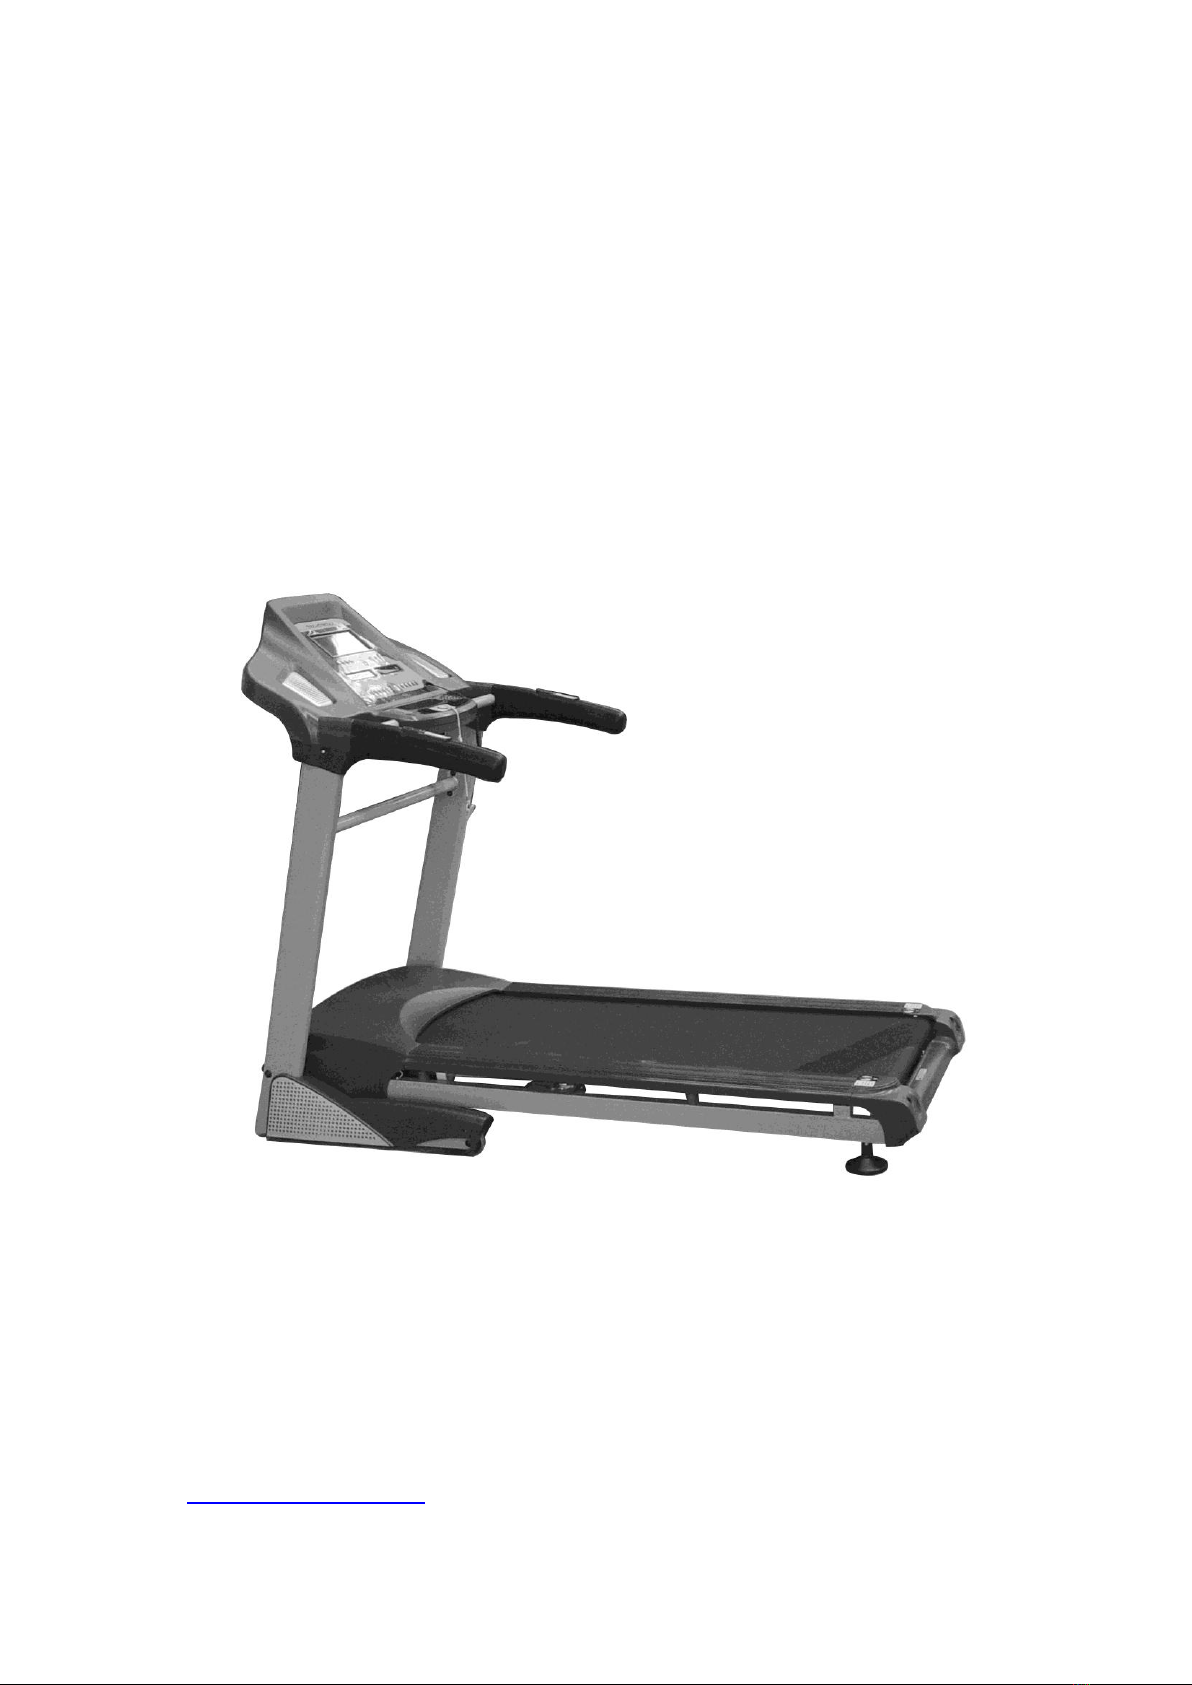
• Valid area for running belt: 1390×510 mm.
• Occupied area: 1870×865 mm

4
3. Electronic meter
1. LCD Display
2. Slide touch key for incline
3. Slide touch key for speed
4. Up
5. Down
6. Volume +
7. Volume -
8. AMP on/off
9. Stop
10. Safety key
11. Start
12. Ensure
13. Program
14. Mode
15. Slow
16. Fast
17. Mp3 interface
18. Speed handle switch
19. Incline handle switch
20. Handle pulse
4. Main parts of the treadmill
1. Electronic display console
2. Left and right handle
3. Left and right pillar
4. Motor cover
5. Running belt
6. Adjusting screw for running belt
7. Frame
8. Bottom frame
9. Pedal switch
10. Cylinder

5
5. Assembling
6. Adjusting & testing
Warning: Wrong connecting of the machine with the ground is dangerous of tip-and-run,
adjusting before connecting to the power, should be check voltage, ground-connect is in
good condition.
1. After assembling, put the safety key to the position of the electronic meter.
2. Before turning on the power, must check: proper voltage; the plug is well ground-connected, the
running belt moved smoothly and no noise.
3. Press the button “Start” the treadmill begins to run with a low speed (1.0km/h), observe the machine
works normally or not.
4. Press the button “Fast、Slow” Key to see if the speed adjustment is workable.
5. Press the button “Stop”Key again, and the treadmill will be stopped.
3. Fix the display console: Put the
console cover to the pillar at first,
then connect the signal line. Fix the
console to the pillar with bolt M8
and waving washer.
1. Assemble left and right pillar:
Make the pillar to the right positon,
and fix it with bolt M8 and waving
washer.
2. Assemble bottom frame cover:
Put the cover to the bottom frame,
and fix it with M4 bolt.
4. Fix the console cover: Fix the
cover to the pillar with bolt M4.
6. Do not remove this screw Before
the treadmill is fully assembled.
5. install the support tube: Install the
support tube to the two upright
columns and fix it with M8 bolts.

6
7. Operation instructions:
Warning: Read all instructions before using this treadmill.
Never stand on the belt when turning on the power.
Adjust the speed slowly when exercising to avoid sudden change of speed.
When running, make sure the plastic clip is fastened on your clothing.
In order to avoid creepage, pls keep the surface of the display without moisture.
After adjusting and testing, the treadmill can be used normally:
1. Insert the plug in the Jack ( AC 220v )
2. Put the safety key on the console display. Press “START” Key, the running belt can be moved on
slowly. The speed range is about 1.0-1.2Km/h. It will show the running belt’s instantaneous velocity.
3. Press the "Fast, Slow" key or handle switch“Speed +/-”to adjust operating speed. The max speed is
about 18.00Km/h. Press the "Up, Down" key or handle switch“Incline +/-”to adjust the operating
incline. The max incline is about 18%.
4. Use speed slides touch key and incline slide touch key to control the operating speed and incline.
5. Operation statistics setting instruction manual:
In STANDBY mode, press MODE key, the console display will display and twinkle the statistic of time,
distance, and calorie. Push FAST and SLOW key to choose the operating statistics. And put
ENSURE to confirm it, then press START to begin it. You can select a suitable statistics of operating
based on your individual status.
6. Operation manual for 9 settled program:
In STANDBY mode, press PROG key, 9 programs will display as P01-09 on the speed window, and it
will show the program graphs. Then push the “START” key to start the program as the display. 16
minutes for every program, time will count down till the end. Then continue to choose PROG for
program selection. P1-P9 Program Graphs
Time sect
Mode
Setting time/16 time sect=runtime for the time sect
1
2
3
4
5
6
7
8
9
10
11
12
13
14
15
16
P1
speed
1
2
3
4
5
5
6
6
6
6
5
5
4
3
2
1
incline
1
1
2
2
2
3
3
2
2
1
2
2
2
1
1
3
P2
speed
1
3
5
7
5
3
3
2
2
3
3
5
7
5
3
1
incline
2
3
3
2
2
3
3
3
2
2
2
2
4
4
4
6
P3
speed
1
3
5
6
8
6
6
5
5
4
4
3
3
2
2
1
incline
2
3
3
2
4
6
2
2
5
3
2
4
2
2
2
2
P4
speed
1
2
2
3
3
4
4
5
5
6
6
7
8
5
3
1
incline
3
3
3
4
4
5
5
5
4
4
4
4
5
5
3
3
P5
speed
2
3
5
7
5
3
5
6
6
5
3
5
7
5
3
2
incline
3
5
5
5
4
4
4
3
3
3
3
4
4
4
3
2
P6
speed
2
7
6
5
4
3
5
4
4
5
3
4
5
6
7
2
incline
4
5
5
5
6
6
6
7
8
9
9
9
10
10
10
12
P7
speed
2
7
8
4
3
5
4
3
2
1
7
8
6
4
3
1
incline
5
5
5
6
6
6
4
4
6
6
5
5
8
8
9
9
P8
speed
1
6
4
8
5
7
2
2
5
6
2
4
8
2
3
2
incline
1
2
3
2
3
5
5
1
1
2
3
5
7
3
3
5

7
P9
speed
2
3
4
5
4
6
5
4
4
5
6
4
5
4
3
2
incline
2
4
3
2
6
6
2
2
6
4
2
4
4
2
2
2
7. Handle pulse testing: Knead your hands before exercising, close upon the sensor of the pulse then
the console display will display the pulse statistics.
8. Connecting the MP3 to the MP3 jack on the display panel. Press the AMP button, and start the MP3.
You can adjust the volume by the "Volume+/-".
9. Foldable of the treadmill: Pick up the main body of the treadmill till the locking of the foldable pedal
then loose your hands.
10. Outspread of the treadmill: Hold the main body of the treadmill,
step on the foldable pedal then laid down the main body
(see the picture).
11. Pick up the safety key with the user during the operating, take off the key when you feel not well,
then the machine will stop immediately.
12. When the manual stop the machine after operating, the treadmill will stop slow and smooth. User can
have a good feeling from high speed to low speed naturally when stop operating.
Attention: Keep the children away from the foldable machine to avoid any danger.
8. Point of attention
1. When using the treadmill for the first time, please begin with a slow speed, and raise the speed
gradually.
2. The paces should be suited to the speed of the belt. Treading the machine deliberately is forbidden.
3. Don’t use the safety key as a top button. Otherwise the treadmill may be damaged. Only in case of
emergency can safety key be used.
4. The running speed and exercise time depend on the state of the individual body.
5. Children, pregnant, older is careful to use it. Don’t use it within one hour after dinner.
6. Drunken using prohibited.
9. Drawing for system connection

8
10. Maintenance
Warning: Before cleaning, please must be cut off the power and unplug the power cord.
1. Clearance:
The treadmill should keep clean; turn off the power first before cleaning. Wipe away the dust on the
belt, running board, and side footboard because the frictional force will be strengthened if the dust
goes into the belt, and the current will incline. If continuous running like this, the belt or running board
is liable to be damaged.
2. Lubrication:
The lubrication oil between the running belt and board will be exhausted after using a period of time. It
is advised to spread lubrication oil for another time after using a period of time. Generally speaking,
once per month lubricating in the gymnasium is need at least. But you can’t spread too much of
lubrication oil because the oil will splash down the motor or the source of power and that will influence
the life of the machine.
3. Judging the frictional force of the treadmill:
After using for quite a long time, the frictional force between the running belt and board will be
strengthened because of the dust and the decreased lubrication oil between the running belt and
board. And the strengthened frictional force will affect the motor and source of power.
Judging methods:
When the power is off, it is very difficult to step the running belt.
Press the safety key when the machine is running, the machine will stop immediately.
If frictional force is strengthened, the motor is liable to heat, and the fuse will be melted.
4. Running belt is off-center:
Running belt will be off-center after using a period of time, and this has maybe resulted from the
reasons that the power of both feet is not well distributed. For the above reasons, running without
standing on it some time, the treadmill will resume well automatically. If it cannot resume automatically,

9
you can adjust the screw with the attached spanner.
Adjusting measures:
If the running belt has shifted the right, you need to tight the screw on the right of the belt or loose the
screw on the left. If the belt is inclined to the right, do the contrary.
5. Slip running:
If the treadmill has this kind of problem, please adjust bolts according to clockwise. Two
sides’Djustment should be the same. (see drawing 3). And every time adjust half-round until the
running belts not slippery and deviation. And every time’s adjustment can’t exceed 2 to 3 round and
can’t make it too tight to avoid the damaging running belt.
11.Some problems & settlement
Problems
Possible Reason
Measures
Display E02:
Suddenly accelerate protection
The power tube of PCB is
damage.
Replacing PCB
Display E03: Speed invalidation
1. Speed signal didn’t connect to
the PCB.
2. PCB damage.
1. Check the sensor line.
2. Replacing PCB.
Display E04:
Errors in Incline Recognition.
1. Do the incline recognition in
the case of unconecting the
incline motor.
2. A faulty connection in the
incline motor.
3. Incline motor damage.
4. PCB damage.
1. Do the incline recognition
after connect the incline motor.
2. Recheck the connecting line
of the incline motor.
3. Replace the incline motor.
4. Replace the PCB driver.
Display E05:
overcurrent protection.
Motor overloading
1. Supply lubricating oil
2. Restart the treadmill. If the
problem still exists, replace
PCB.
Display E06: incline didn’t
return.
1. The last time has a power cut
when the incline motor on the
top point.
2. Incline motor damage.
1. Switch on power, put the
incline motor return before
start the machine.
2. Replace the incline motor.

10
3.PCB damage.
3. Replace PCB.
1. The display is in good
condition, but the machine does
not work.
2. The display is in gear, but
there is something wrong with
the belt.
The input voltage is too low, or
the carbon brush is seriously
worn.
1. Connect with the right voltage.
2. Replace the carbon brush.
The machine does not work
smoothly or the console display
is abnormal.
There is some dust on the
sensor.
Clear the sensor.
Other manuals for FIT 150
1
Table of contents
Other Ezy Gym Treadmill manuals
Popular Treadmill manuals by other brands

Spirit
Spirit 16007604850 owner's manual

Weslo
Weslo WLTL29606.1 user manual

ICON Health & Fitness
ICON Health & Fitness Proform 520 Schematic diagrams

NordicTrack
NordicTrack A2350 NTL07007.1 user manual

Keys Fitness
Keys Fitness HealthTrainer HT95T owner's manual

Weslo
Weslo Cadence 1020 Treadmill user manual