SECTION 1 - INSTALLATION
1.2 SITING
The appliance sho ld be installed on a firm level floor
in a well lit position. Sho ld the nit be req ired to be
positioned in close proximity to a wall, partition or
decorative finish, etc. the s rface m st be
constr cted of non-comb stible material.
Alternatively it may be clad in a s itable
non-comb stible ins lating material. Close attention
sho ld be paid to Fire Reg lations.
1.3 ELECTRICAL SUPPLY
The appliance is designed for se on AC s pplies
only and can be operated on either a 3 phase/4 wire
AC s pply or a single phase AC s pply by sing the
bridging links s pplied.
W rning
This appliance m st be earthed. (An earth terminal is
provided).
The connection to the mains electric s pply m st be
made thro gh a s itable isolating switch with a
contact separation of at least 3mm in all poles.
Wiring sho ld conform to I.E.E. reg lations and the
installation sho ld satisfy the local s pply a thority.
1.4 ELECTRICAL RATINGS
The electrical rating is as stated on nit data plate.
Note
The hotplates embody a temperat re limiting device.
This a tomatically c ts off part of the element circ it
sho ld the plate become overheated d e to being left
switched on witho t a pot on it.
SECTION 2 - ASSEMBLY
a) Place the appliance in position and caref lly level it
by t rning the feet adj sters. Holes are provided in
the feet to enable the appliance to be fixed to the
floor if this is considered necessary.
b) Open the door and remove all packing material etc.
c) Connect the nit to the electrical s pply (terminals
nderneath).
Note
If a single phase AC s pply is being sed, fit the
bridging links s pplied and connect to the mains
strictly in accordance with Fig re 1.
NL1L2L3
S pply Cables
NL1
d) Switch appliance on. Ens re that all controls,
elements and pilot lamps f nction correctly.
e) After completion of installation, demonstrate
method of operation to kitchen staff. Point o t
location of mains isolating switch to be sh t down
in event of an emergency or d ring cleaning.
SECTION 3 - SERVICING
BEFORE ATTEMPTING ANY SERVICING ISOLATE
THE APPLIANCE AT THE MAIN SWITCH AND
TAKE STEPS TO ENSURE IT IS NOT
INADVERTENTLY SWITCHED ON.
When ordering spares please q ote the model
n mber, serial n mber and voltage as stated on the
data plate, located below oven base plate.
3.1 CONTROL PANEL - TO REMOVE
Remove fixings in pper flange of panel (below front
of hob). Ease top of panel forward slightly and lift it p
to release panel.
3.2 THERMOSTAT - TO REMOVE
a) Remove control panel as detailed in Section 3.1.
b) Undo two n ts inside plated side trim ends.
c) P ll hotplate assembly forward to release front
fixing and swing it p, pivoting at the rear. Prop
plate p in raised position.
d) Open door and release thermostat phial from oven
roof clips.
e) Feed capillary t be p thro gh hole in oven roof
and thro gh hole in controls compartment.
f) Remove connections to thermostat then p ll off
knob.
Remove screws which sec re thermostat to control
panel. Remove thermostat.
When fitting a new thermostat, fit existing ins lating
sleeving over capillary t be.
Avoid kinking capillary t bing and ens re earth
connection is replaced.
UNLESS OTHERWISE STATED, PARTS WHICH HAVE BEEN PROTECTED BY THE MANUFACTURER
ARE NOT TO BE ADJUSTED BY THE INSTALLER
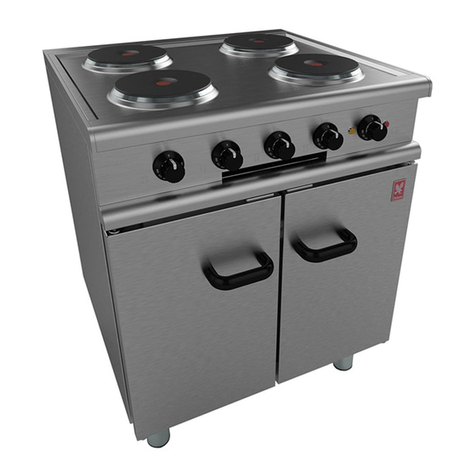
MODEL WIDTH
mm DEPTH
mm HEIGHT
mm WEIGHT
kg WEIGHT
lbs
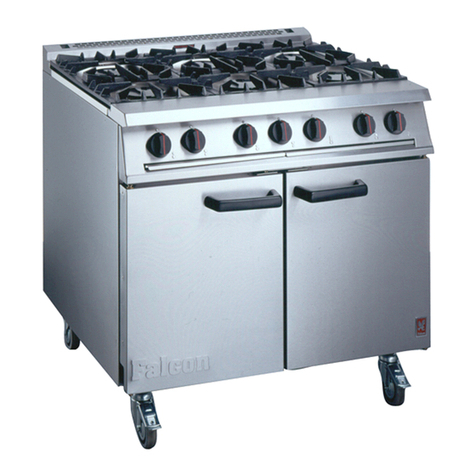
E350/30 700 650 870 91 201
1.1 MODEL NUMBER, NETT WEIGHTS
nd DIMENSIONS
