manuals.online logo
Brands
  1. Home
  2. •
  3. Brands
  4. •
  5. Fass
  6. •
  7. Water Pump
  8. •
  9. Fass TITANIUM SIGNATURE Series User manual

Fass TITANIUM SIGNATURE Series User manual

TS-F18-220G
(220GPH @ 65PSI)
TS-F18-240G
(240GPH @ 65PSI)
FASS DIESEL FUEL SYSTEMS® / ENGINEERED EXCELLENCE
Powerstroke 6.7L
*Bypassing the Factory Lift Pump*
Standard Pickup Truck
2017-2020
APPLICATION:
TITANIUM SIGNATURE SERIES
INSTALLATION MANUAL
ALL 1/2” FUEL PORTS
LIFETIME
WARRANTY
AVAILABLE
Note: Cab and Chassis
may require modifications
For more information,
contact Technical Support:
Diesel Performance Products, Inc.
162
34
State Hwy O.
Marthasville, MO 63357
636-433-5410
www.fassride.com
(866) 769.3747
Thank you for cho
osing FASS, from
Diesel Performance Products, Inc.
FASS specializes in building extremely high-quality fuel products. We have earned an
unsurpassed reputation for excellence in our industry by using only the highest-quality
American-made components. In order to support our American workers and our American
economy, more than 98+ percent of our products are manufactured completely in the United
States.
Of course, that dedication to excellence comes at a price, but it is important to remember
that price does not dictate quality-quality dictates price! We will never compromise by using
cheaper, foreign-made components, like so many of our competitors do.
Customer satisfaction is our top priority and we strive always to provide outstanding customer
service. Our Research and Development department, in conjunction with our Dealer Support
Department, continually searches for ways to improve quality, expand our product line, and
provide superb support. Our exclusive ViP Network ensures that customers receive the
proper products and support at the local level. The extended lifetime warranty is only
available on products purchased from the network. There is no warranty on products not
purchased outside the network.
IMPORTANT:
In order to qualify for the lifetime extended warranty, your product registration form and
proof of purchase from an authorized dealer must be submitted to FASS Fuel Systems
within 30 days of purchase. Failure to comply will void the warranty. We have the right to
deny any warranty believed to be false, altered or purchased through an unauthorized or
terminated dealer. Acurrent list of authorized dealers can be found on our website,
FASSRide.com.
The complete conditions of the Limitation of Warranty can be found in the back of this
manual, and FASSRide.com.
www.fassride.com
(866) 769.3747
WARNING!
This product has NO WARRANTY unless:
1. It has been purchased from an Authorized or VIP FASS Dealer -if in doubt
check http://fassride.com/locate.php. (If your purchase was made on
Amazon.com or Jet.com, the warranty is void. Return the FASS product to
the seller and get a refund).
2. It is registered within thirty (30) days of purchase. Other conditions may
apply, please see full warranty information.
ATTENTION!
Before you begin installation
Register for your Warranty ONLINE at https://
www.fassride.com/register-a-warranty/
No online access, call our TECH Support at
1-866-769-3747
NOTE:
Warranty is void if product was purchased below
FASS website advertised pricing.
Your name, address and daytime phone number
Model (TS-F18-220G OR TS-F18-240G)
Last 6 digits of vehicles’ VIN
Date of purchase
Nature of Your Concern
Serial number
2
1
3
4
5
6
For best results in accuracy and efficiency
(due to training, communication, and our
relationship with our dealer network), we
recommend a VIP FASS dealer for the
installation. They are prepared to install the
FASS fuel pumps with the most efficiency.
If a situation or problem arises during the
installation, the dealer is prepared to handle
it. Diesel Performance Products, Inc. is not
responsible for any installation mistakes.
If any installation procedure is uncertain, contact FASS technical support.
Call customer service at 636-433-5410,
or send us an e-mail: techsupport@FASSride.com
with the following information:
FOLLOW THESE STEPS
TO ENSURE A SIMPLE, CORRECT
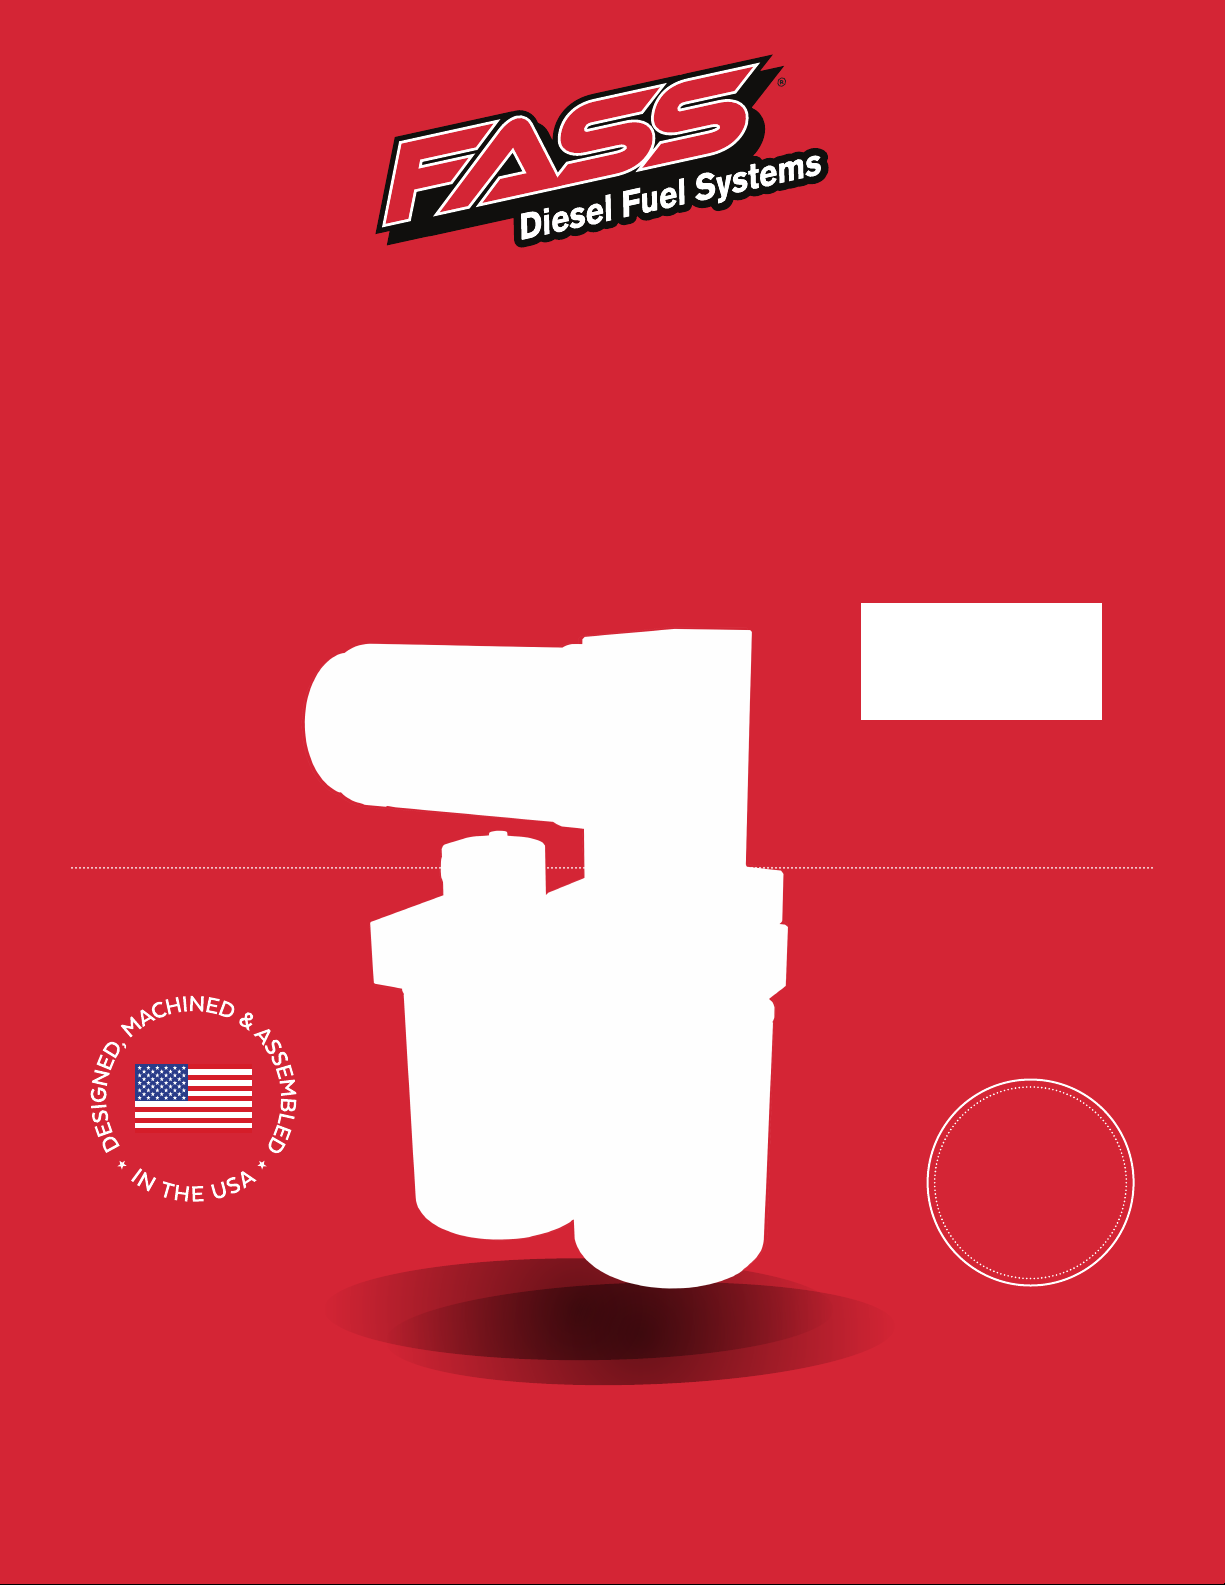
Serial # >
TITANIUM FUEL SYSTEM
INSTALLATION OF YOUR NEW
If you have any questions or concerns that
cannot be addressed with your dealer,
email or call FASS.
Be sure to identify the proper FASS System and fuel line
configuration. For help, our product finder can be found at
www.FASSride.com. Follow the instructions to see fuel line detail.
Pay close attention toALLWARNINGS
Read all instructions before starting
installation ofthisproduct.
Inventory the package components. Notify the
place of purchase immediately of any parts
missing or damaged.
The installation recommendations contained
within are guidelines. Use good judgment and
take into consideration your vehicle's accessories.
ATTENTION:
www.fassride.com
(866) 769.3747
www.fassride.com
(866) 769.3747
INSTALLATI
ON MANUAL
TS-F18-220G
OR
TS-F18-240G
(Installation Videos are available at www.fassride.com)
1. Read all instructions before starting installation of this product!
2. Installing the improper FASS Pump can cause severe engine damage.
3. Secure vehicle from ROLLING!
4. Cab and Chassis may require modifications
5. Consult vehicle’s manufacturers’ instructions concerning the electrical
system before attempting any electrical connections.
6. Flush and clean all brass fittings and fuel line from debris.
7. Keep debris from entering the internals of the system during installation.
Getting debris in the water separator nipple can lock up the motor. If the
motor does lock up from debris call FASS for technical assistance.
9. Wear safety glasses when operating power tools such as drills and
grinders or when using a punch or chisel.
10. Properly secure lines to prevent chaffing.
RECOMMENDED APPLICATION
TS-F18-220G: Powerstroke (6.7L) 2017-2020 with 700 - 900 horsepower
TS-F18-240G: Powerstroke (6.7L) 2017-2020 with 900 - 1,200 horsepower
www.fassride.com
(866) 769.3747
WARNING!
Always be sure to fill the fuel tank to full after a new
FASS installation. Failure to do so can result in excessive
sound output, or priming issues!
www.fassride.com
(866) 769.3747
TITANIUM
SIGNATURE SERIES
220 GPH OR 240 GPH
65 psi (Ap
proximately)
PUMP GUIDE:
1. "E" To Engine
2.
“R" Return to Tank
3. "H" Coolant Heater Ports
4. Serial Number
5. “T" Fuel Inlet
6. Electric Heater Ports
7. "G" Gauge Port
1.
2.
3.
Rear View
INSTALLATION
GUIDE:
Step 1.Install Electrical Harness
Step 2.Prep the FASS
Step 3. Mount the FASS
Step 4.Fuel Line Supply
Step 5. Review Installation
6. 5.
Front View
4. 7.
www.fassride.com
(866) 769.3747
TITANIUM
SIGNATURE SERIES
220 GPH OR 240 GPH
65 PSI
(Ap
proximately)
Note: Going over 100 PSI WILL void warranty.
NOTE: WARRANTY MAY BE VOID
IF SILICONE BAND IS REMOVED
FROM MOTOR!!
CONTENTS
NOTE: Owner’s Manual available for download on our website,
www.FASSride.com
www.fassride.com
(866) 769.3747
MP-9077 FL-1058x5' FL-1002x14' WH-1006-3
PFB-2002 PBR-2001
OB-1001
LR-1001
LRB-1001
FL-1008
RELAY COVER
MOUNTING
PACKAGE CONTENTS
www.fassride.com
(866) 769.3747
ADD-A-CIRCUIT
46177
PLB-1212
TWO (2) RING
TERMINAL
10-300 TWO (2)
PL-1058
OR-212
1/2"
WASHER
46116
TWO (2)HEX BOLT
1/2" -13x 1 - 1/4"
FOUR(4) HEX BOLT
3/8" -16x 1 1/2"
THREE(3)
HEX
BOLT
1/4"-20x
1 3/4"
FOUR(4) LOCKING
NUT 3/8"
THREE(3) WA-1001D FOUR(4) 3/8" WASHERS
A624C56-55-05
STF-1001
TWO (2)
72478
TWO (2)
QC-4600
10-305 10-302
TWO (2)
PL-2003
M14x28mm
NUT
M14x28mm
Washer
BHF-1005 BHN-1005
10-307
www.fassride.com
(866) 769.3747
MOUNTING
PACKAGE CONTENTS
RS-2002 RS-2001
FL-1007 5/8"
CABLE TIES FL-1006 5/16"
DIELECTRIC GREASE
OR-030
TWO (2)
OR-017
NOTE: THESE SPARE BASE O-RINGS ARE INCLUDED
WITH THE KIT IN THE EVENT OF A PINCHED O-RING
DURING ASSEMBLY
THREE (3) HC-1001
TWO (2)
SELF TAPPING SCREW
RS-2003
THREE (3) 1,200°F HEAT SHIELD
FL-1009 3/8"
WARNING:
www.fassride.com
(866) 769.3747
The supplied 1,200°F heat shielding must be installed where FASS fuel line routes above
the exhaust system. Failure to install heat shielding can result in a possible fire hazard!
NOTE: FASS Fuel System will be installed on
the passenger's side of this vehicle!
Install heat shielding where fuel lines route
above the exhaust system!
STEP 1:
INSTALL ELECTRICAL HARNESS
www.fassride.com
(866) 769.3747
The installation of the electrical harness is done first, allowing power to be applied to the
pump for lubrication purposes later in the installation.
NOTE: USE SUPPLIED DIELECTRIC GREASE
SPARINGLY ON ALL ELECTRICAL
CONNECTIONS! BE SURE TO GREASE RELAY
PIGTAIL!
STEP 1:
INSTALL ELECTRICAL HARNESS
www.fassride.com
(866) 769.3747
The installation of the electrical harness is done first, allowing power to be applied to the
pump for lubrication purposes later in the installation.
Install the Relay Cover onto the relay on the
FASS harness.
STEP 1:
INSTALL ELECTRICAL HARNESS
www.fassride.com
(866) 769.3747
The installation of the electrical harness is done first, allowing power to be applied to the
pump for lubrication purposes later in the installation.
NOTE: BE SURE TO INSTALL THE SUPPLIED
30 AMP FUSE INTO THE FASS WIRING
HARNESS!!
STEP 1:
INSTALL ELECTRICAL HARNESS
www.fassride.com
(866) 769.3747
The installation of the electrical harness is done first, allowing power to be applied to the
pump for lubrication purposes later in the installation.
B. Place wire from ADD-A-CIRCUIT 46177 and WH-1006-3 into butt connector.
Using crimping tool connect ADD-A-CIRCUIT 46177 and WH-1006-3 with butt
connector. Install 46116 to ADD-A-CIRCUIT 46117 top slot (near wire that feeds
additional circuit.
A.Crimp the ring terminals to the red and green wires of the WH-1006-3 Wire
Harness. Attach red wire to the positive terminal of the battery and the green wire to
the negative terminal. Use supplied dielectric grease on all electrical connections.
C.Secure relay and fuse in an upright position, as shown, to prevent moisture from entering. Be sure to
use supplied dielectric grease on relay pigtail.
www.fassride.com
(866) 769.3747
STEP 1:
INSTALL ELECTRICAL HARNESS
D.Route the single red wire of WH-1006-3 to the engine bay fuse panel. Remove a fuse (maximum
of 10A) that is “hot” when the key is on. Use a test probe to locate the “hot side” of the circuit in the
fuse block. Install the Add-A-Circuit into the open location. Install the pulled fuse into the open space
on the fuse tap.
E.Route WH-1006-3 wire harness along frame rail to mounting location of pump. Completion of
this step will be addressed in the mounting step.
NOTE: FUSE LOCATION MAY VARY FROM
PICTURE!!
STEP 2:
PREPARE SUCTION &
RETURN LINES
www.fassride.com
(866) 769.3747
Some of the photos are of a different application, procedures are the same.
NOTE: Before installing fittings make sure to inspect for burs or flare imperfections. When cutting fuel line make
sure to blow out line to keep debris from moving forward.
Helpful Hint: Directions for removing factory lines.
1. Pull up on the locking tab (either blue or yellow),
2. Push in slightly on the connector,
3. Press down on the release tab,
4. Pull the connector straight off.
A. Before tank is removed or moved, identify ALL areas of clearance between the tank
and the truck’s bed for the best location to install the BHF assembly. With proper
clearance, you want to install it as close to the Fuel sending unit as possible.
B. Remove the filler neck and overflow tubes from the truck by loosening the clamps at both ends.
www.fassride.com
(866) 769.3747
STEP 2:
PREPARE SUCTION &
RETURN LINES
C. Disconnect factory suction and return lines (refer to diagram at the beginning of step 2).
D. With the fuel tank empty of fuel, unbolt the tank straps and remove it from the vehicle.
E.
Remove and discard the fuel tank module shield, this will no longer be used.
Clean the fuel module area then remove the lock ring on the top of the fuel tank.
This is spring loaded,
so, holding it down while removing the ring will prevent the sending unit from popping up and
possibly causing damage.
F. Note the location of the tab and arrow. Re-install the sending unit in the same location to prevent the
fuel level arm from binding. Remove fuel tank module from fuel tank, be careful not to damage fuel level
float.
www.fassride.com
(866) 769.3747
STEP 2:
PREPARE SUCTION &
RETURN LINES
G. Carefully remove all sections of the OEM convoluted tubing from the fuel tank module using
a utility knife. Be sure not to damage the hose barb beneath the convoluted tubing. One of the
sections of tubing will have a metal clamp, this can be removed with a small pair of side-cutters.

This manual suits for next models

2

Other Fass Water Pump manuals

Fass TITANIUM SIGNATURE TS-F18-140G User manual

Fass

Fass TITANIUM SIGNATURE TS-F18-140G User manual

Fass PLATIUM Series User manual

Fass

Fass PLATIUM Series User manual

Fass TITANIUS Series User manual

Fass

Fass TITANIUS Series User manual

Fass FA D10 125G User manual

Fass

Fass FA D10 125G User manual

Fass TITANIUM SIGNATURE TS-F18-125G User manual

Fass

Fass TITANIUM SIGNATURE TS-F18-125G User manual

Fass Titanium Series User manual

Fass

Fass Titanium Series User manual

Fass FA F16 095G User manual

Fass

Fass FA F16 095G User manual

Popular Water Pump manuals by other brands

DAB CP Instruction for installation and maintenance

DAB

DAB CP Instruction for installation and maintenance

GORMAN-RUPP PUMPS PA Series Installation, operation, and maintenance manual with parts list

GORMAN-RUPP PUMPS

GORMAN-RUPP PUMPS PA Series Installation, operation, and maintenance manual with parts list

Groz OP-31 Series instruction manual

Groz

Groz OP-31 Series instruction manual

Teryair ADPB 25 PP Series Operation and maintenance guide

Teryair

Teryair ADPB 25 PP Series Operation and maintenance guide

MST ZW Operation

MST

MST ZW Operation

Watson Marlow Pumps 630 Series Installation, operating and maintenance manual

Watson Marlow Pumps

Watson Marlow Pumps 630 Series Installation, operating and maintenance manual

Leybold vacuum TRIVAC S 4 B operating instructions

Leybold vacuum

Leybold vacuum TRIVAC S 4 B operating instructions

Wilden P800 Engineering, operation & maintenance

Wilden

Wilden P800 Engineering, operation & maintenance

ProMinent Beta BT4b operating manual

ProMinent

ProMinent Beta BT4b operating manual

Circor ALLWEILER NI Series Original operating manual

Circor

Circor ALLWEILER NI Series Original operating manual

Hayward HCP3000 Series owner's manual

Hayward

Hayward HCP3000 Series owner's manual

Caffini Libellula 1/3" Series Use and maintenance instructions

Caffini

Caffini Libellula 1/3" Series Use and maintenance instructions

Quality SUPERFLO 2 manual

Quality

Quality SUPERFLO 2 manual

Binks MX6805PU-SMX instruction manual

Binks

Binks MX6805PU-SMX instruction manual

Denison Hydraulics Premier Series Service information

Denison Hydraulics

Denison Hydraulics Premier Series Service information

Clemco CAP-1 manual

Clemco

Clemco CAP-1 manual

Grundfos UPS 32-100 F 220 instructions

Grundfos

Grundfos UPS 32-100 F 220 instructions

Gardens Best Niro GB 1300 HWWS manual

Gardens Best

Gardens Best Niro GB 1300 HWWS manual

manuals.online logo
manuals.online logoBrands
  • About & Mission
  • Contact us
  • Privacy Policy
  • Terms and Conditions

Copyright 2025 Manuals.Online. All Rights Reserved.