USB Aegis – Series
`4
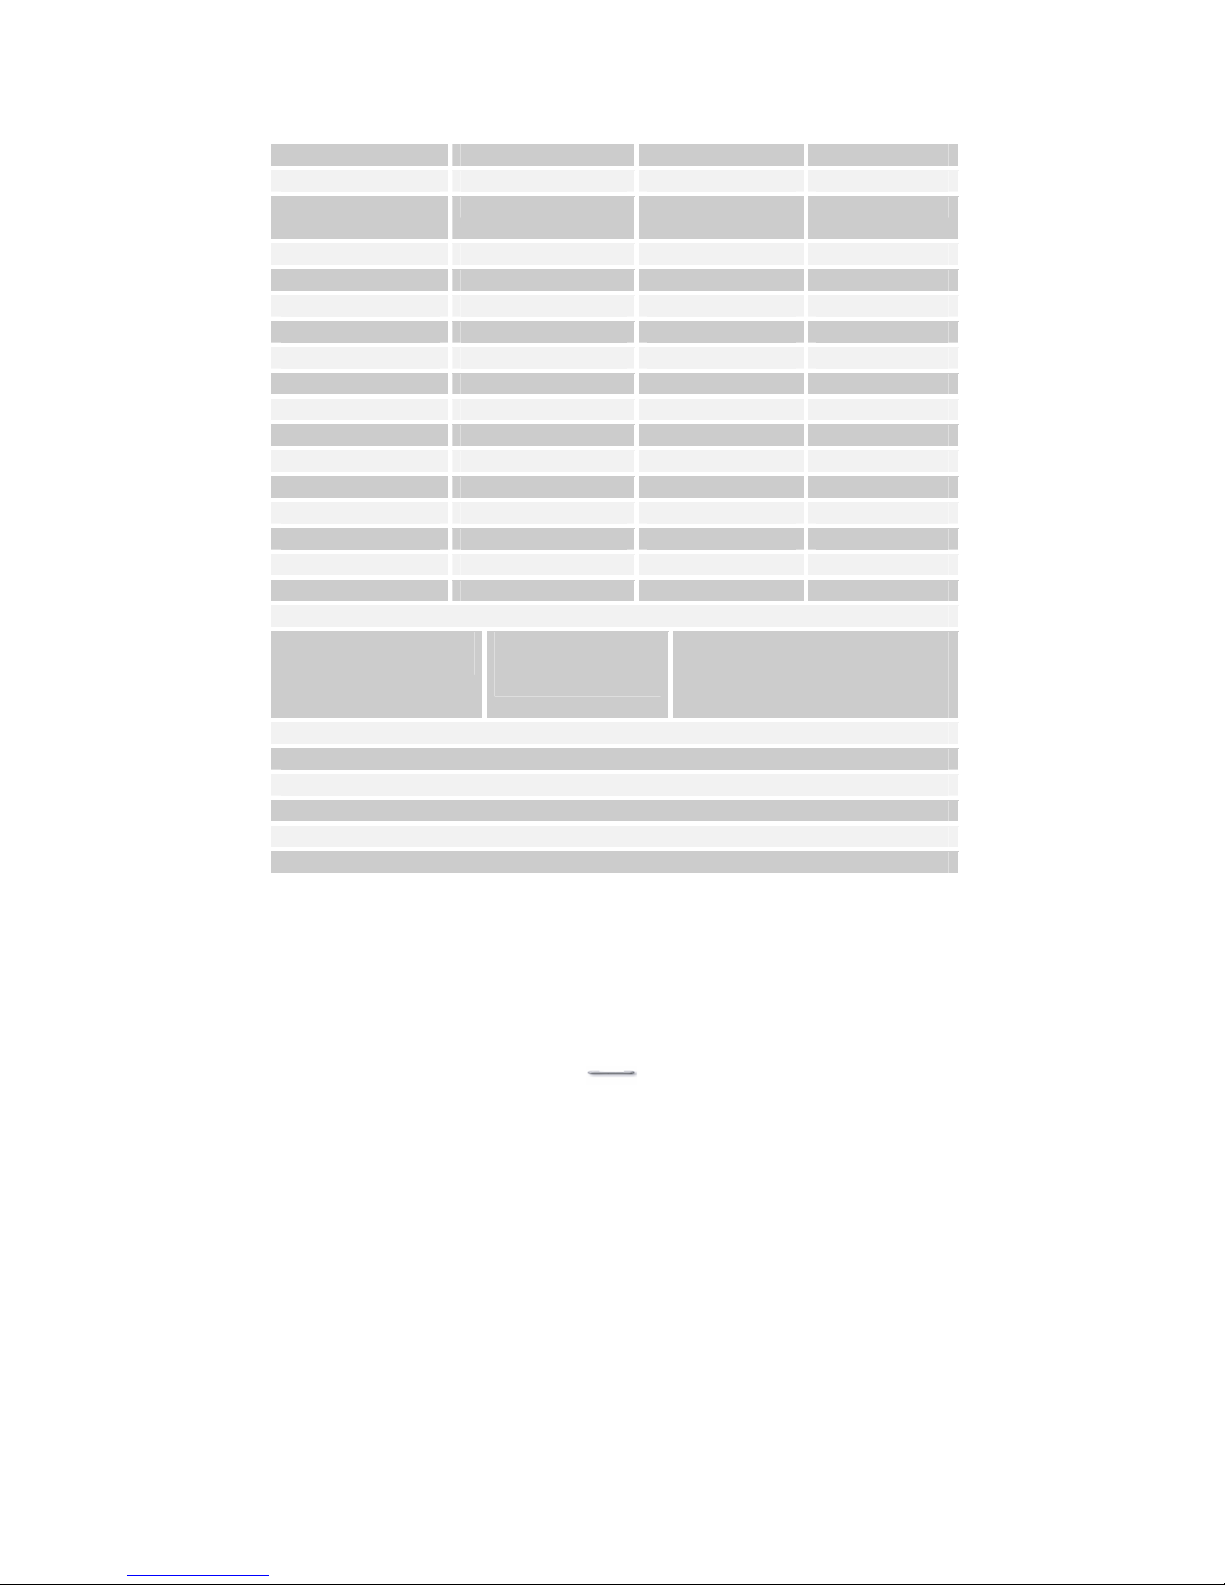
Specifications
Model U152TA U121TA U122TA
Display Panel
Type
TFT LCD TFT LCD TFT LCD
Display Area 15.00” 12.1” 12.1”
Display Resolution 1024 x 768 XGA 800X600 800X600
Colour Resolution 262,144 16.7M 16.7M
Pixel Pitch 0.297x 0.297 0.306X0.306 0.306X0.306
Brightness 350 nits (typ) 150 nits (typ) 300 nits (typ)
Contrast Radio 400:1 (typ) 150:1 (typ) 200:1 (typ)
Response time 16ms 40ms 20ms
Interfaces
cables & connectors
Standard VGA for
use with a Video
Graphic Adapter
Model specific options:-
PS/2 for MCR & 32 Keyboard,
RS232 for touch screen, DC
power.
Energy Saving Mode VESA DPMS compliant
Power Supply U152TA=12v @ 4A and U12xTA=12v @2A
Weight U152TA=6.4 kg and U12xTA= 5.5 Kg
Please note that the “x” denotes model specific options, e.g. U121TA standard
brightness and U122TA is high brightness.
The “T” means with Touch Screen, and the “A” stands for Analog.
For Model U12xTA, it is recommended to use 800X600 @ 60Hz for display
adapter settings. For Model U152TA, it is recommended to use 1024x768 @
60-75Hz for display adapter settings. Other resolutions would function, but
possibly at degraded display quality.