manuals.online logo
Brands
  1. Home
  2. •
  3. Brands
  4. •
  5. Grundig
  6. •
  7. Monitor
  8. •
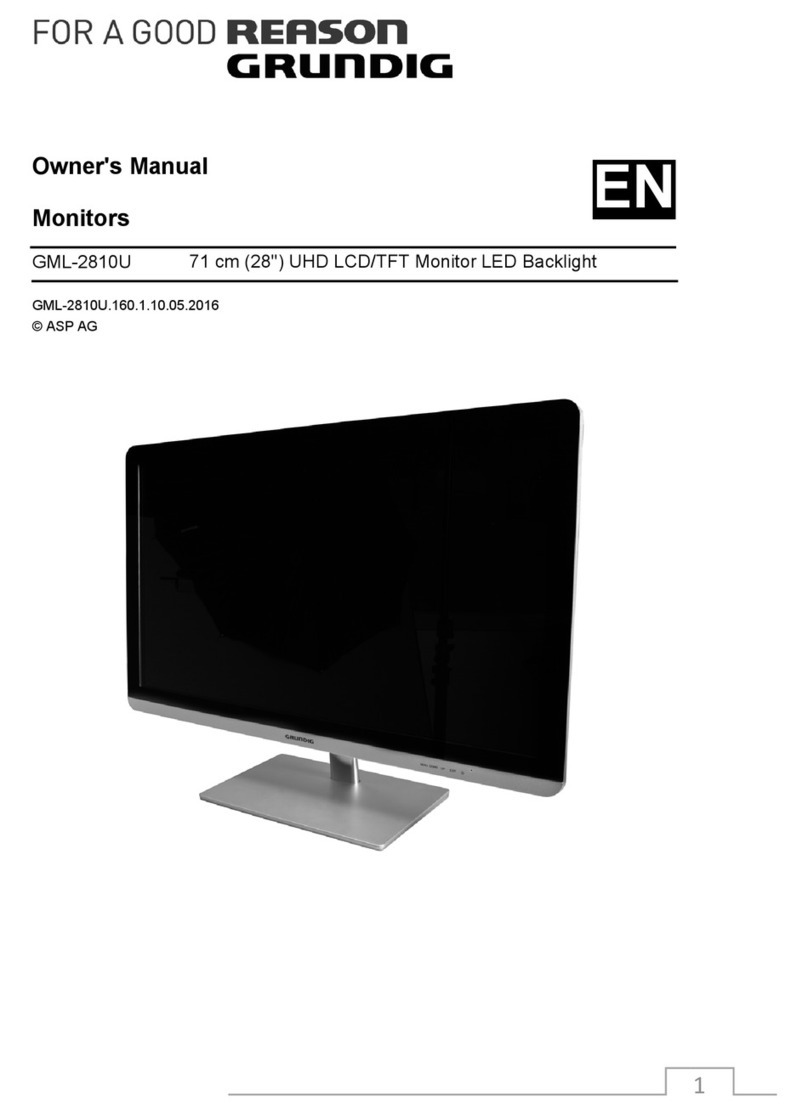
  9. Grundig GD-ML-DP2730HD User manual

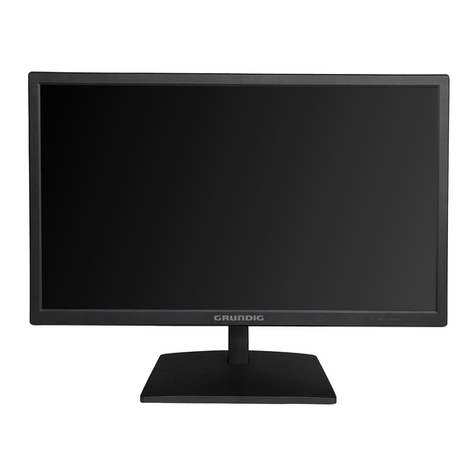
Grundig GD-ML-DP2730HD User manual

0
1
Quick Guide
About this guide
The guide includes instructions for using and managing the product.
Pictures, charts, images and all other information hereinafter are for
description and explanation only. The information contained in the
guide is subject to change, without notice, due to firmware updates or
other reasons.
Please find the latest version at WWW.GRUNDIG-SECURITY.COM
Limitation of Liability / Legal Disclaimer
Abetechs GmbH (Grundig Security) undertakes all reasonable efforts
to verify the integrity and correctness of the contents in this document,
but no formal guarantee shall be provided. Use of this document and
the subsequent results shall be entirely on the user’s own
responsibility. Abetechs GmbH (Grundig Security) reserves the right to
change the contents of this document without prior notice. Design and
specifications are subject to change without prior notice.
The product described herein, with its hardware, software and
documentation is provided “as is”, without any warranty, expressed or
implies, including without limitation, merchantability, satisfactory
quality, fitness for a particular purpose, and non-infringement of a
third party.
In no event will our company and its employees or agents be liable to
you for any special, consequential, incidental, or indirect damages,
including among others, damages for loss of business profits, business
interruption, or loss of data or documentation, in connection with the
QG-GD-ML-DP2230HD-2023-05-09-V5-EN ©ABETECHS GMBH, DÜSSELDORF, GERMANY
2
use of this product, even if our company has been advised of the
possibility of such damages.
Regarding to products with internet access, the use of the product
shall be wholly at your own risks. Our company shall not take any
responsibilities for abnormal operation, privacy leakage or other
damages resulting from cyber-attack, hacker attack, virus inspection,
or other internet security risks; however our company will provide
timely technical support if required. Surveillance laws vary by
jurisdiction before using this product in order to ensure that your use
conforms to the applicable law. Our company shall not be liable in the
event that this product is used with illegitimate purposes.
In the event of any conflicts between this manual and the applicable
law, the later prevails.
Trademark
Each of trademarks herein is registered. The name of this product and
other trademarks mentioned in this manual are the registered
trademark of their respective company.
Copyright of this document is reserved. This document shall not be
reproduced, distributed or changed, partially or wholly, without
formal authorization.
OPEN SOURCE SOFTWARE LICENSE INFORMATION
The software components provided with Grundig products may
contain copyrighted software that is licensed under various open
source software licenses. For detailed information about the
contained open source software packages, the used package versions,
3
license information and complete license terms, please refer to the
product detail pages on our website www.grundig-security.com. The
complete open source software license information is also included in
firmware files of affected products. Please also check your product’s
manuals for additional information.
You may obtain the complete corresponding open source part of a
specific product from us for a period of three years after our last
shipment of this product by sending an email to: info@grundig-
security.com.
Safety and Installation Instructions
Introduction
Please read these instructions carefully and keep them for future
reference. You must heed all the warnings and cautions as well as
follow all the safety and installation instructions.
The appearance of the products, functions and firmware or software
upgrade may differ from this manual.
GRUNDIG reserves the right to perform needed changes without prior
notice.
Safety Instructions
Make sure that you only use the power adapter that is specified in the
specifications sheet of the product. If you use any other adapter or
connect the power supply incorrectly, this may cause explosion, fire,
electric shocks or damage the product. Do not connect several devices
4
to one power adapter as this may cause an adapter overload and can
lead to over-heating and fire. Make sure that the plug of the power
adapter is firmly connected to the power socket.
Do not place containers with liquids on the product. Do not place
conducting items like tools, screws, coins or other metal items on the
product. These may fall from the product or can cause fire or electric
shocks or other physical injuries.
Do not push or insert any sharp items or any objects into the device as
this may cause damage to the product, fire, electric shocks and/or
physical injuries.
Do not block any ventilation openings, if there are any. Ensure that the
product is well ventilated to prevent any over-heating.
Do not subject the device to physical shock or drop the product.
If the product uses batteries, please use a battery type that is
recommended by the manufacturer. Improper use or replacement of
the battery may result in the hazard of explosion.
Do not use any accessories that are not recommended by GRUNDIG.
Do not modify the product in any way.
If the product starts to smell or smoke comes out of the device,
immediately stop using the product and disconnect it from the power
supply to prevent fire or electric shocks. Then contact your dealer or
the nearest service center.
If the product does not work correctly, contact your dealer or nearest
service center. Never open, disassemble or alter the product yourself.
GRUNDIG cannot accept any liability or responsibility for problems
caused by attempted and unauthorized repair and maintenance.
5
Installation Instructions
It is necessary to fix the device firmly if the product is installed on a
wall or ceiling. Do not install the product on surfaces or in places that
are vibrating. Do not install the product near radiation sources.
Do not install the product near heat sources, like radiators or other
equipment that produces some heat. If the product is not classified by
any IP class, do not install the product in very cold or hot temperatures
(please refer to the working temperature specified in the specification
sheet of the product), dusty, dirty or damp environment.
If the product is classified by any IP class, never touch the product
cover directly with your fingers, because the acidic sweat of the fingers
may damage the surface coating of the product cover. To clean the
inside and outside of the product cover, use a soft and dry cloth. In any
case, do not use alkaline detergents. The correct configuration of all
passwords and other security settings is the sole responsibility of the
installer and/or end-user (this applies especially to IP Cameras and
Recorders).
Special Installation Instructions for Monitors
Never touch the screen directly with your fingers. The acidic sweat of
the fingers may be difficult to remove and you may damage the
screen.
Do not touch the surface of the screen with sharp or abrasive items
(like pens or screwdrivers), as this could scratch the display.
The monitor is only for indoor use. Please do not install it in an
environment where it is exposed to oil, vapor, steam, moisture and
dust, but in a clean environment with low humidity.
6
Do not apply any pressure to the monitor screen as the screen may
break.
Do not install the monitor in a location that is exposed to direct
sunlight, dust, mechanical vibration or shock.
Always place the monitor on a flat surface.
Connect the power supply to the socket and plug the video cable or
VGA cable to the desired signal source.
Disconnect the power plug from the power outlet under following
conditions:
-If you will not use it for an indefinite period of time.
-When the power cord or plug is damaged or frayed.
-If the product has been dropped or the cabinet has been
damaged.
-If the product exhibits a distinct change in performance, this
indicates a need for service.
To clean the monitor's plastic case and display, a soft, lint-free cloth
can be used. Do not use any cleaning materials with abrasive surfaces
like scrub pads to clean your monitor.
To clean the display, a slightly damp cloth may be used to clean off
fingerprints or smudges. Please unplug the monitor first before
attempting cleaning with a damp cloth.
To clean the plastic case, a mild detergent may be used to clean the
surface. But please do not use too much detergent or water as this
could leak into the interior of the monitor. Please unplug the monitor
first before attempting cleaning with a detergent or water.
7
Do NOT use any liquid cleaners based on alcohol, methylated spirit or
ammonia or aerosol cleaners, as this may damage any coating present
on the glass surface of the monitor. Use only mild soap or detergent
with water or special cleaners for cleaning glass panels.
8
Content
1 Connections .................................................................................... 9
2 Installation .................................................................................... 10
3 Operating ...................................................................................... 11
9
1Connections
The overview of the connections is shown below.
Figure 1-1 Overview of the connections
10
2Installation
1. Take out the monitor and other accessories.
2. Align the groove between the column and the base.
3. Press the column into the chassis groove.
4. Complete the installation of column and base.
Figure 2.1 Base installation
5. Turn on the display with the back facing up on the platform.
6. Put the base into the bayonet and push it forward until it snaps
into the groove.
7. Installation is complete.
Figure 2.2 Install display
11
3Operating
Press the ON/OFF key to switch on the monitor.
Open the local menu by pressing the Menu key.
Select the functions with the B/C-keys.
After entering the menu select the corresponding function with the
B-/C-key and press the E-key to confirm your selection.
With the D-key you will go back in the menu.
Figure 3.1 Key functions
12

This manual suits for next models

2

Other Grundig Monitor manuals

Grundig GD-ML-BP2840UHD User manual

Grundig

Grundig GD-ML-BP2840UHD User manual
Grundig GML-2230M User manual

Grundig

Grundig GML-2230M User manual

Grundig GD-ML-BC2230HD User manual

Grundig

Grundig GD-ML-BC2230HD User manual

Grundig GML-2010E User manual

Grundig

Grundig GML-2010E User manual
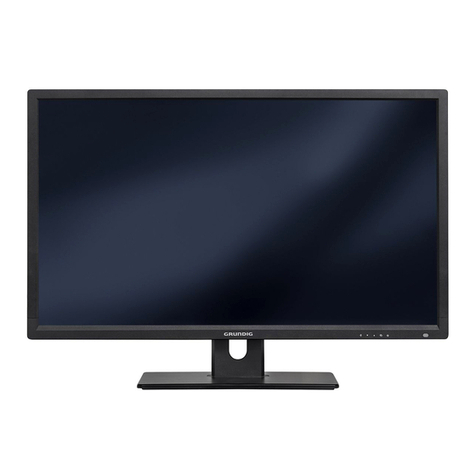
Grundig GML-2010E User manual

Grundig

Grundig GML-2010E User manual

Grundig GMT-1031P User manual

Grundig

Grundig GMT-1031P User manual

Grundig GML-1912M User manual

Grundig

Grundig GML-1912M User manual

Grundig GD-ML-CC2230HD User manual

Grundig

Grundig GD-ML-CC2230HD User manual

Grundig GD-ML-AC2230HD User manual

Grundig

Grundig GD-ML-AC2230HD User manual

Grundig GD-ML-BP5540UHD User manual

Grundig

Grundig GD-ML-BP5540UHD User manual

Grundig GD-ML-CC2430HD User manual

Grundig

Grundig GD-ML-CC2430HD User manual

Grundig GD-ML-AP2830UHD User manual

Grundig

Grundig GD-ML-AP2830UHD User manual

Grundig GD-ML-AP4360UHD User manual

Grundig

Grundig GD-ML-AP4360UHD User manual

Grundig GD-ML-BP4330HD User manual

Grundig

Grundig GD-ML-BP4330HD User manual

Grundig GE-7503 User manual

Grundig

Grundig GE-7503 User manual

Grundig GD-ML-AP3230HD User manual

Grundig

Grundig GD-ML-AP3230HD User manual

Grundig GML-2231M User manual

Grundig

Grundig GML-2231M User manual

Grundig gml-2810u User manual

Grundig

Grundig gml-2810u User manual

Grundig GD-ML-AP1031SD User manual

Grundig

Grundig GD-ML-AP1031SD User manual
Popular Monitor manuals by other brands

Aplex ADP-1122A user manual

Aplex

Aplex ADP-1122A user manual

Eizo FlexScan EV2457 user manual

Eizo

Eizo FlexScan EV2457 user manual

HP OMEN X 27 Maintenance and service guide

HP

HP OMEN X 27 Maintenance and service guide

AOC E2451FH user manual

AOC

AOC E2451FH user manual

Philips 223V5LSB user manual

Philips

Philips 223V5LSB user manual

Panasonic TH152UX1 - 152" PLASMA TV Service manual

Panasonic

Panasonic TH152UX1 - 152" PLASMA TV Service manual

Mermaid ventura 150 TFT x4 user manual

Mermaid

Mermaid ventura 150 TFT x4 user manual

Ampcontrol DIESELGUARD user manual

Ampcontrol

Ampcontrol DIESELGUARD user manual

Itek ITMF24T061FHD user manual

Itek

Itek ITMF24T061FHD user manual

JVC GD-V4210PZW-G Service manual

JVC

JVC GD-V4210PZW-G Service manual

SMART SBID-7075 Installation and maintenance guide

SMART

SMART SBID-7075 Installation and maintenance guide

Advan AMM215WTTP user guide

Advan

Advan AMM215WTTP user guide

Lenovo ThinkCentre TIO24Gen4Touch user guide

Lenovo

Lenovo ThinkCentre TIO24Gen4Touch user guide

HP 27SV user guide

HP

HP 27SV user guide

ViewSonic VX1962wm - 19" LCD Monitor Service manual

ViewSonic

ViewSonic VX1962wm - 19" LCD Monitor Service manual

NEC MD211G3 Installation & maintenance guide

NEC

NEC MD211G3 Installation & maintenance guide

Fujitsu Plasmavision PDS4208W-B user manual

Fujitsu

Fujitsu Plasmavision PDS4208W-B user manual

HP Z27n G2 Disassembly instructions

HP

HP Z27n G2 Disassembly instructions

manuals.online logo
manuals.online logoBrands
  • About & Mission
  • Contact us
  • Privacy Policy
  • Terms and Conditions

Copyright 2025 Manuals.Online. All Rights Reserved.