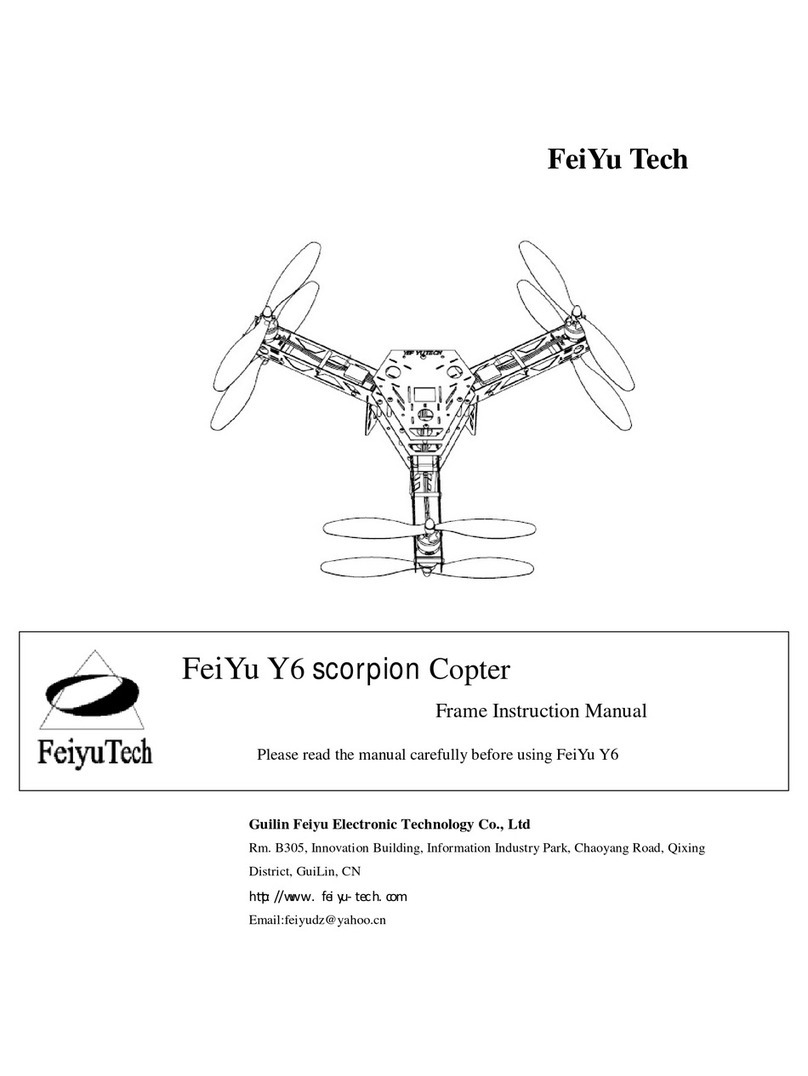
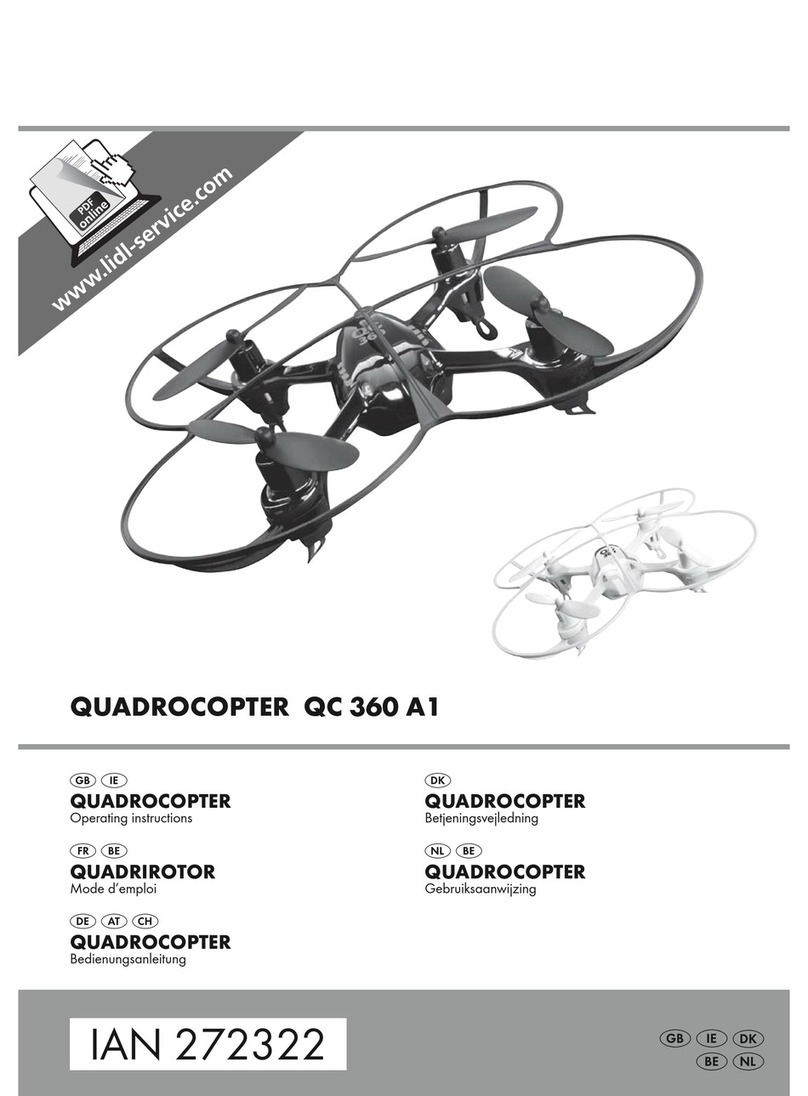
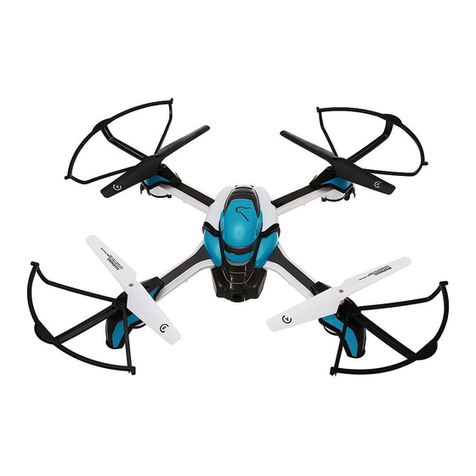
FeiYu Tech X4 User manual

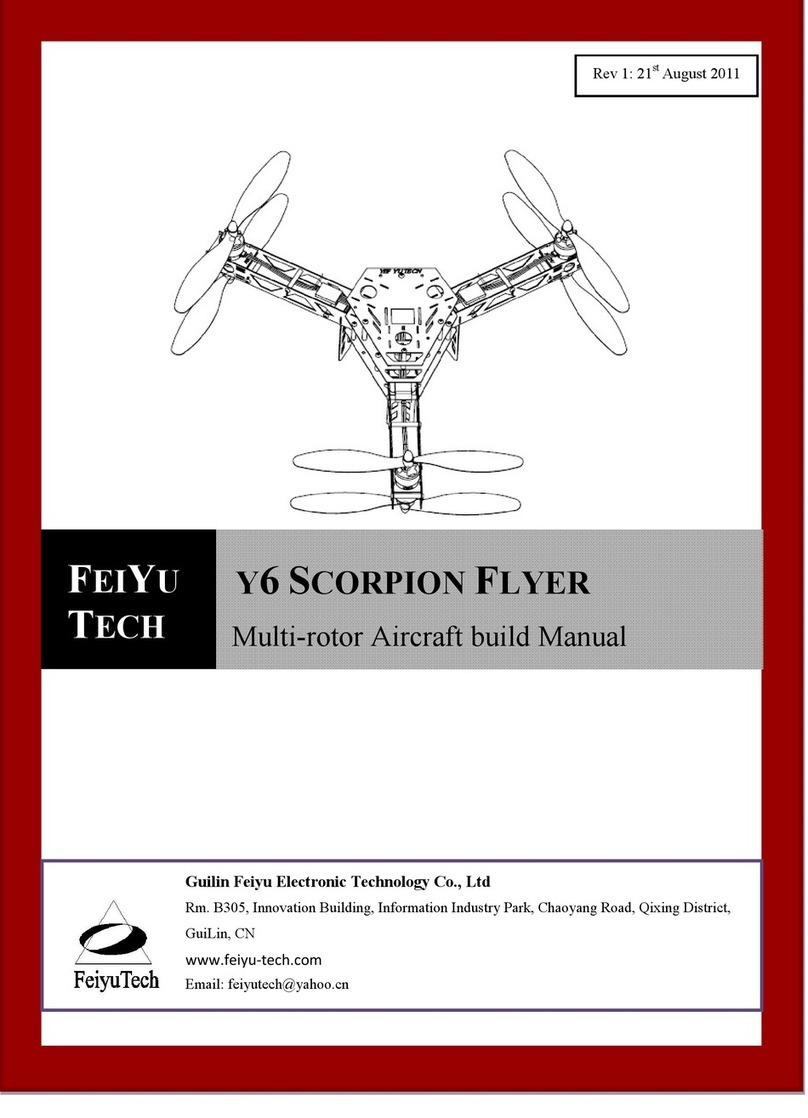
FEIYU
TECH X4 QUADCOPTER SYSTEM
Multi-rotor Aircraft build Manual
Guilin Feiyu Electronic Technolo y Co., Ltd
Rm. B305, Innovation Building, Information Industry Park, Chaoyang Road, Qixing Distri t,
GuiLin, CN
www.feiyu-tech.com
Email: feiyute h@yahoo. n
Rev 1: 24th July 2011

Guilin Feiyu Ele troni s Co., Ltd.
Page | 1
Aircraft Parameters
1. Dimensions
copter
2. Empty Weight: 580g (re eiver and battery not in luded)
3. Payload apa ity: 700g (battery, re eiver, et .)
4. Maximum Gross Take-Off Weight: 1280 grams. For safety reasons do not ex eed
this weight.
5. Airborne time (with 3S 2200mAh Lipo battery) : Approximately 10 minutes
6. Power requirement: 3S1P Lipo, 1500 to 5000mAh, Dis harge rate: 15C and above.
7. FY-ESC (in luded): 10A (a standard PWM ESC).
8. Suitable for FY90Q or FY91Q Flight Controllers.
9. Require at least a 5 hannel RC Re eiver.
Note: Please always consider safety first when usin this model aircraft. Take all
required pre autions to prevent a idental injury:
• Do Not Fly over people.
• Do Not use as a hase opter.
Installation Tools
1. Soldering Iron
2. Good solder with Rosen ore
3. 2.0 mm Allen wren h (provided)
4. 2.0 mm diameter s rewdriver
450mm 705mm
Motor to Motor
Diameter
Maximum Propeller
Diameter

Guilin Feiyu Ele troni s Co., Ltd.
Page | 2
Step 1: Frame Arm Assembly (4 set)
1. Unpa k the Arm pairs. Note the arms have different LED olours: Blue, Red or
Green.
2. Unpa k these parts to omplete 4 arm sets:
• M3 x 5mm button head s rews & M3 x 30mm pillars
• Four motor mount plates
• Four motors.
• Four landing gears.
Fi ure 1: Ensure the LED lights are fa ing outwards during installation:
The ompleted arm (assemble 4 sets):
M3×5mm So ket S rew
M3*5mm So ket S rew
Motor
Propeller
Leg
Right Arm
Left Arm
Soldering point
(Solder both ‘legs’)
Soldering point
(Solder both ‘legs’)
M3×30mm Pillar
Arm note: When assembled properly,
the “Feiyu Tech” words should be
fa ing upright and the welding points
lined up perfe tly.

Guilin Feiyu Ele troni s Co., Ltd.
Page | 3
Step 2: Fusela e And Installin The Arms By Solder
Fi ure 3: Solder (red arrows) the 4 arms on to the fuselage plate:
\
1. Note the fuselage plate has a side “A”
and “B”. Ensure side “A” is always
fa ing upwards.
2. In this step, use the fuselage with
ele troni s installed. Solder all 4 arms to
this plate (Figure 4).
3. Caution: Do not overheat the arm
onta t points, as the metal will deform
make it diffi ult for plate insertion.
4. Conne t 3S Lipo balan e plug to the
so ket at the bottom of the fuselage; the
LEDs will light up. You may also he k with a DC meter at the solder point; it should
indi ate approximately 2.3 Volts.
Change any two wire
connection to change
ESC
Fuselage with Ele troni s
M3×25mm
Pillar
Fi ure 4

Guilin Feiyu Ele troni s Co., Ltd.
Page | 4
Step 3: Install ESCs and Power Distributor
1. Take eight m3x25mm pillars and se ure them with the button head s rews . Make
sure that the ele troni s are fa ing up and the led plug is on the bottom. Take
another fuselage plate in one hand and with the other take a frame assembly, pla e
the assembly with the weld points pointing down and insert it in the slots provided
on the ele troni s fuselage.
2. Take four button head s rews and the fuselage plate and align the plate with the
holes for the pillars, making sure that the other die ut holes line up properly.
Lightly s rew the three button head s rews into the pillars, now take the remaining
Frames and pla e them in the slots provided.
3. On e all frames are inserted into the top and bottom Fuselage plates, tighten the
four button head s rews and insert the remaining four s rews and tighten them as
before.
4. Inspe t the Frames and make sure that the weld points are seated snugly in their
lo ations. If ne essary, loosen the s rew(s) to properly fit the pie es.
1. After soldering the 4 arms, install the 4 ESCs by onne ting the 3 output wires of
ESC to the 4 motors. At this jun ture, don’t worry about the motor rotation
dire tion.
2. Run both the ESC servo lead and the power supply to the middle fuselage. Conne t
the power input leads to the JST onne tors and exit the Deans Plug as shown
above.
3. You an now install the middle plate. Don’t forget to pull the 4 servo leads from the
ESCs out through the middle plate for later onne tion to the FY90Q or FY91Q.
4. After installing the middle plate, you an pro eed to install the flight ontroller (FC)
(FY90Q or FY91Q) via the damper mount / anti-vibration pads.
5. Install your RC Re eiver and omplete the onne tion with the FC as per the FC’s
manual.
M3×25mm Pillar
M3×30mm Pillar
M3×5mm So ket S rew
Power able through
Round hole
FRONT

Guilin Feiyu Ele troni s Co., Ltd.
Page | 5
Step 4 : Test The Motor Rotation
1. After installing the FC, a tivate the quad and arefully he k that the propeller
rotation is as shown above.
2. Lastly install the top fuselage plate to prote t the FC and RC Re eiver.
Step 5: Volta e Level Indication via Fusela e LED Flashin
1. When flying, the white LED on the middle fuselage will begin flashing to indi ate
the voltage of your flight battery, as follows:
Battery Volta e
>11.5V 11.1V~11.5V 10.8V~11.1V <10.8V
LED Flash SOLID Slow flash Medium flash Fast flash
Indication Enough power Voltage down Land now Emergen y
Landing
Front
1
2
3
4
QuadCopter Layout:
1 = ESC 1 CCW
2 = ESC 2 CW
3 = ESC 3 CCW
4 = ESC 4 CW
CW = lo k wise
CCW = ounter lo kwise
END of X4 MANUAL
Dated: 24th July 2011
Table of contents
Other FeiYu Tech Quadcopter manuals