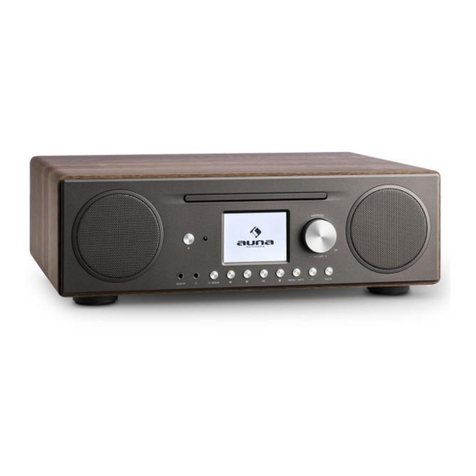
Ferguson i300 User manual

USER MANUAL

ABOUT THE INSTRUCTION MANUAL
Ferguson Sp. z o.o. has made every effort to provide the most current
information about its products. Ferguson Sp. z o.o. does not grant any
guarantee as to the contents of the present instruction manual and
disclaims any implied guarantees concerning market value or suitability
for specific purposes. The information contained herein is an
instruction intended to enable the correct usage and maintenance of
the device.
Ferguson Sp. z o.o. reserves itself the right to introduce amendments,
changes or translations of the instruction manual without prior
notification thereof. For this reason, we recommend you regularly visit
our website in order to obtain the latest information.
2

MARKINGS AND SIGNS APPLIED TO THE DEVICE
Risk of electric shock do not open. This notice
warns the user not to open the receiver housing. The
housing may be opened solely by authorized service
technicians.
When this crossed out wheeled bin symbol is
attached to a product it means that the product is
covered by the European Directive 2002/96/EC.
Please inform yourself about the local separate
collection system for electrical and electronic
products.
Please act according to your local rules and do not
dispose of your old products with your normal
household waste.
Correct disposal of your old product helps to prevent
potential negative consequences for the environment
and human health.
Your product contains batteries covered by the
European Directive 2006/66/EC, which cannot be
disposed with normal household waste. Please
inform yourself about the local rules on separate
collection of batteries because correct disposal helps
to prevent negative consequences for the
environmental and human health.
3

Your product is designed and manufactured with high
quality materials and components, which can be
recycled and reused.
CE logo.
The logo informs that the receiver conforms to the
terms and conditions of Directive 2004/108/EC
concerning observance by Member States of
provisions regulating electromagnetic compatibility,
and to the terms and conditions of Directives
2006/95/EC concerning observance by Member
States of provisions regulating low voltage electricity
and safety with relation to the handling and operation
of electrical equipment.
R&TTE Hereby Ferguson Sp. z o.o., declares that the device
is in compliance with the essential requirements and
other relevant provisions of Directive 1999/5/EC. You
can find the Declaration of Conformity on
www.deklaracje.ferguson.pl
This product has been designed, tested and
manufactured according the European R&TTE
directive 1999/5/EC.
Double insulation logo.
This logo informs that the devices an electrically safe
device, provided that it is used in accordance with the
4

recommendations set forward in the chapter
concerning safety.
When this logo is attached to a product, it means a
financial contribution has been paid to the associated
national recovery and recycling system.
Before Started
Network Req irement
Before using the device, the following requirements are needed:
A broadband connection in combination with a wireless access point,
router or similar network device.
The network device needs to support WiFi (802.11b/g/n) wireless
connection.
A PC or smart phone with a network ready.This network has to be the
same one as the device equipped with.
Safety Preca tions
Do not drop the device, and do not expose it to liquid,moisture or
humidity. These might lead to damage to the device.
If the device is moved from a cold envirement into a warmer one,do
let it adapt to the new temperature before operate the device.
Otherwise,it might lead to condenssation and cause malfunctions in
the device.
Do not us the device in the dust environment as dust can damage the
interior electronic components and lead to malfunctions in the device.
Preotect the device from strong vibrations and place it on stable
surface.
5

Do not attempt to disassembly the device.
The scoket outlet should be installed near the device and should be
easily accessible.
Never touch the power cord with wet hands.
Make sure the electrical voltage specified on the device and its power
plug is corresponding to the voltage of the power socket.
If the device is not using for a long period of time, disconnect it from
the power supply by unplugging the power cord.This is to avoid the risk
of fire.
Never use any harsh or strong solvents to clean the device since
these may damage the surface of the device. Dry, soft cloth is
appropriate, however, if the device is extremely dirty, it may be wiped
off with a slightly moist cloth. Make sure the device is dried off after
cleaning.
When you are necessary to ship the appropriate, store it in its original
package. Save the package for this purpose.
6

Appearance and Key Description
Front View
1. Power on/Standby button
2. Volume Knob
Rotary to adjust the volume level
Press this button to mute the sound
3. Remote Sensor
4. < / > Navigate + OK knob
Rotary to navigate cursor or skip to previous/next track
Press this button confirm selection
5. Preset 1, 2, 3, 4
6. Preset button
Short press to enter the radio station presets recalling mode.
Press and hold this button to enter the radio station storing mode.
7. Home Button
Press to return to the main menu
8. Play/Pause button
9. MODE button
Switch between audio sources
10. 2.4” TFT full color display
7

Back View
11. 3.5mm Earphone Jack
12. USB port for charging external device only (Output: 5V,1A)
13. 3.5mm Aux in Jack
14. AC Socket
15. Telescopic Antenna
8

Remote Control
1. Power on/Standby button
2. INFO button
3. Home Button
Press to return to the main menu.
4. Play/Pause button
5. Sleep button
6. button
Press to skip to previous track
7. < Left cursor button
8. OK button
9. Buton
Press to skip to next track
10. PRESET button
11. 0~9 call up favorites/memory;
Input letters and numbers
12. Mute button
13. PRESET button
14. MODE button
15. ALARM button
16. TIMER button
17. Increase volume button
18. ∧Up cursor button
19. > Right cursor button
20. ∨Down cursor button
21. Decrease volume button
22. EQ button
9

Insert/Replace Battery in Remote Control
Open the battery compartment on the underside of the remote.
Insert AAA/R03 1.5V type batteries. Pay attention to the correct
polarity (see bottom of battery compartment)!
Close the battery compartment.
If the remote is not in use for a lengthy period of time, please
remove the battery to prevent the battery acid from “leaking”.
WARNING:
Do not expose the batteries to intense heat, such as sunlight, fire or
similar. Danger of explosion!
Keep batteries out of the reach of children. They are not toys.
Do not force batteries open.
Avoid contact with metallic objects. (Rings, nails, screws etc.)
Danger of short circuits!
Short circuits may overheat or even ignite batteries, this may lead to
combustion.
If a battery leaks, do not rub the fluid into the eyes or the skin. If
acid comes into contact with the eyes, rinse with purified water and
seek medical advice if symptoms persist.
Ca tion:
Different battery types or new and used batteries may not be used
together.
Batteries must not be disposed of in the garbage. Please bring used
batteries to competent collection centers or back to the dealer.
10

Symbols on the display
Connection is being established, device functioning
No wireless connection
Wireless connection established
Search
VHF radio function selected
VHF radio reception: Mono
VHF radio reception: Stereo
AUX function selected
Speaker off
Alarm on
Internet radio station saved as favorite
FM radio station saved
11

1. Getting Started
The packaging box contains the following items:
1 x Internet Radio
1 x Remote Control
1 x AC Power Cord
1 x 3.5mm Aux in Cable
1 x User Manual
Get the network ready
For wireless LAN (WLAN) network connection:
Check if WLAN LINK/ACT light of the wired/wireless access point or
router is illuminated. Consult the user guide of that for any questions.
Note: WiFi allows data transfer over short distances within 20 meters
without the need of cabling between the devices. Any walls or ceilings
may reduce the strength of the WiFi connectivity.
Therefore try to locate the device and/or the access point within the
distance mentioned above, and avoid any obstacles between two
devices.
Plug the power cord into the AC socket.
When it is the first time running the device,the system will ask you to
set Lang age and Network Config rations.
12

Select “Yes” to establish connection to the network.
Select “Yes (WPS)” (only for WPS routers). Then press the WPS
button on your router.
Select “No” if you would prefer to listen to a terrestrial station or to
use the speaker with an external playback device.
If selected “Yes”, the display goes to scanning for Wireless Network
and shortly afterwards a list of avaiable wireless networks will appear.
13

The number of bars in the wireless symbol in front of the network name
(SSID) shows the relative signal strength of the network.
The key symbol indicated that the network is password protected.
If the device does not find any wireless networks, “No Wireless
Networks Found” appears on the display. Change your location, if
necessary, and check your WLAN router.
You can find the SSID of your Access Point in the configuration of the
Access Point (router).
Select your network and confirm with OK. If your WLAN is password
protected, you will be prompted to enter your password.
Enter the password using the number and letter buttons of the remote
14

control or enter it directly on the device.
Note the use of upper and lower case when entering the password.
You can use the reel to enter the password, rotary the reel to choose
the character and press OK (the reel button) to confirm it and go to the
next entry space, once the last character is inputted, double press OK
to confirm entire entry
With Remote Control
The cursor indicates the current entry space.
Press the corresponding number button repeatedly:
0 0 ?
1 1(space) @ ! # $ % & ( ) + . / : ; < = > ? [ \ ] ^ { | } ~
2 2 A B C a b c
3 3 D E F d e f
4 4 G H I g h i
5 5 J K L j k l
6 6 M N O m n o
7 7 P Q R S p q r s
8 8 T U V t u v
9 9 W X Y Z w x y z
Alternatively, you can enter the numbers and letter using only the
cursor buttons:
<: Go to previous entry space, entry can be overwritten
>: Go to next entry space, the last entry is saved
∧/∨:Select number / letter
OK: Double press to confirm entire entry
15

It may take a few seconds to establish the connection to the network.
Once the connection is established, the main menu appears with the
main menu items:
Internet Radio: Access to worldwide radio stations
Media Centre: Access to your UpnP devices via software with
straming capability.
FM: Access to FM radio
DAB: Access to DAB/DAB+ radio
Information Center: Access to weather, financial and system
information.
AUX: Access to all devices connected via the AUX IN socket.
Bluetooth: Access to all devices connected via bluetooth.
Configuration: Various system settings
Local Radio: Access to radio stations in a particular region(e.g.
onlyGerman Stations)
Press to enter standby mode. The time, date and any active alarm
times display on the screen.
16

If you have set up a network connection, and would like to use this
Internet radio again within the network, it will automatically establish
the connection. In case you desire to change the network, enter
config ration to setup the corresponding connection.
Use the Number keys to input numbers/letters.
Once you are on the letter you want, press > to the next entry.
If you input wrong code, press < to delete the previous entry and
retype the correct code.
When you are at the end the input, press OK to confirm.
AirM sic Control App
The device can be controlled with your smartphone via WiFi. It is
recommended to use the app of “AirMusic Control”. Additionally to
controlling the radio, the app is able to play the smartphone’s local
music files on the device.
The app itself is avaiable for Andriod and iOS. It can be downloaded
from here:
17

Main interface of the App “AirM sic Control”
Start the desired function by tapping on the appropriate symbol.
18

2. General overview of the men options
19

3. Main Men
In the main menu you can select the following modes, Local Radio, My
mediaU (if it is enabled, see 3.9.2), Internet Radio, Media Center, FM,
DAB/DAB+, Information Center, AUX, Bluetooth, and Configuration.
3.1 My mediaU
Display and playback your own mediaU station list on the mediaU
server. Set your account first.
When it is enabled, My mediaU will be shown on the main menu.
If various mediaU accounts exist in the device, select the default login
account in here.
20
Table of contents
Other Ferguson Radio manuals
Ferguson
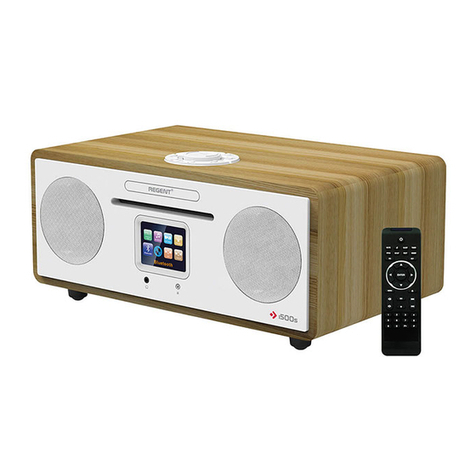
Ferguson REGENT i500s User manual
Ferguson
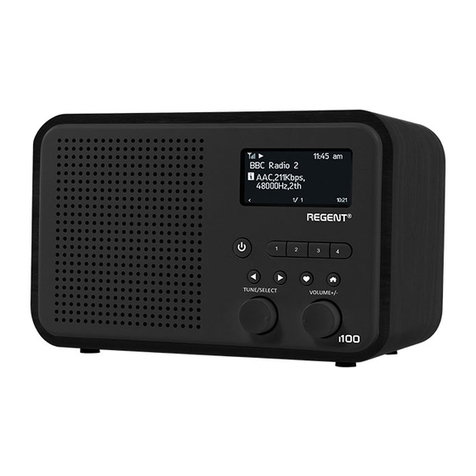
Ferguson Regent I100 User manual

Ferguson
Ferguson DAB+150 User manual
Ferguson
Ferguson DAB+100 User manual
Ferguson
Ferguson REGENT i350s User manual
Ferguson
Ferguson FRG-R121D User manual
Ferguson
Ferguson REGENT i350s+ User manual
Ferguson
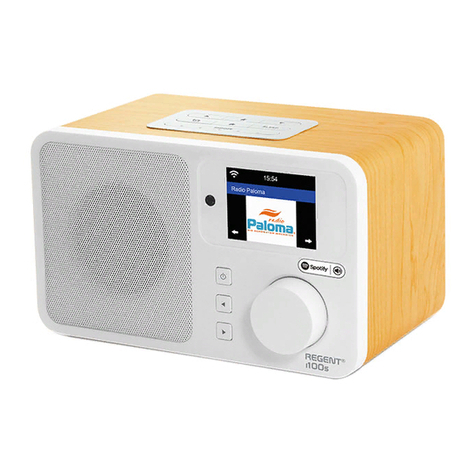
Ferguson Regent i100s User manual
