manuals.online logo
Brands
  1. Home
  2. •
  3. Brands
  4. •
  5. Ferris
  6. •
  7. Lawn Mower Accessories
  8. •
  9. Ferris 5600366 User manual

Ferris 5600366 User manual

Other Ferris Lawn Mower Accessories manuals

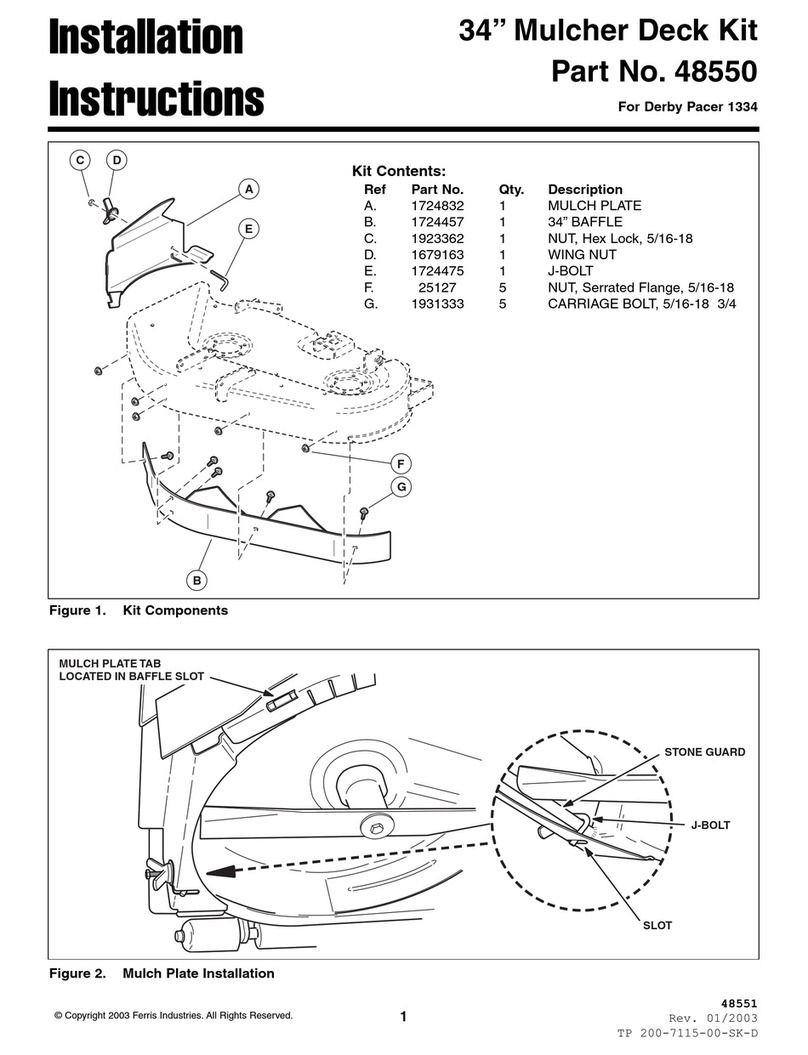
Ferris 48550 User manual

Ferris

Ferris 48550 User manual

Ferris 1846197 User manual

Ferris

Ferris 1846197 User manual

Ferris 5049751 User manual

Ferris

Ferris 5049751 User manual

Ferris 45494KIT User manual

Ferris

Ferris 45494KIT User manual

Ferris SNAPPER PRO IS500Z Manual

Ferris

Ferris SNAPPER PRO IS500Z Manual

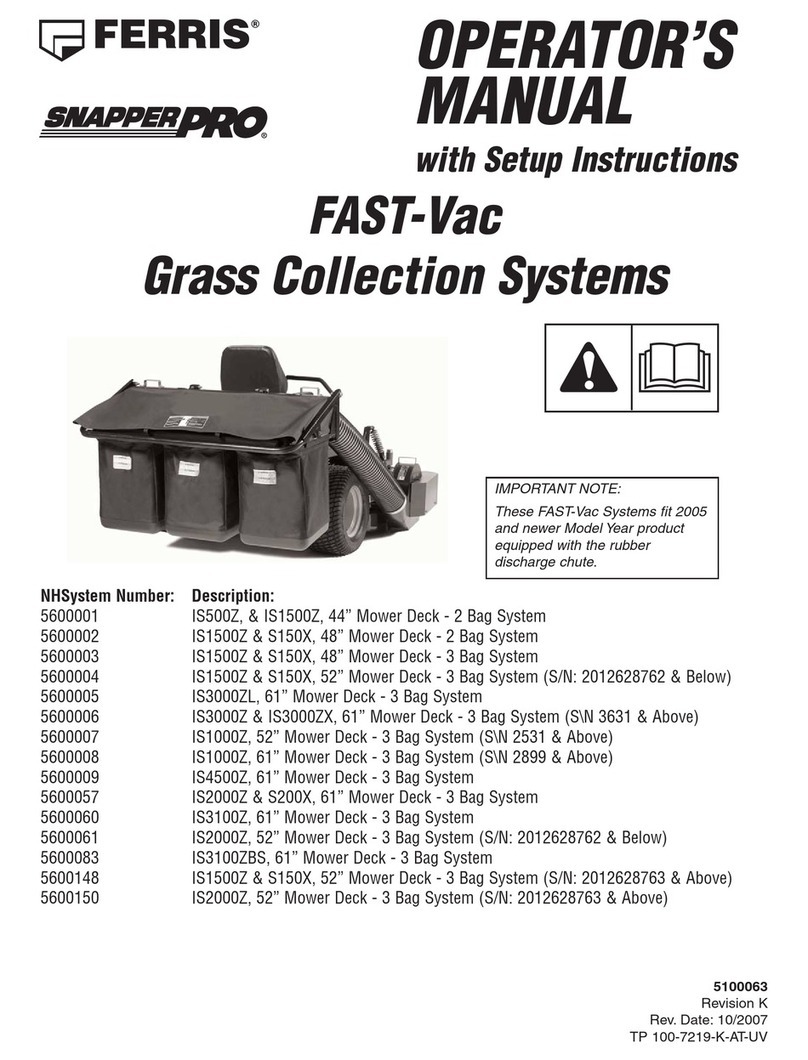
Ferris SNAPPER PRO FAST-Vac 61 User manual

Ferris

Ferris SNAPPER PRO FAST-Vac 61 User manual

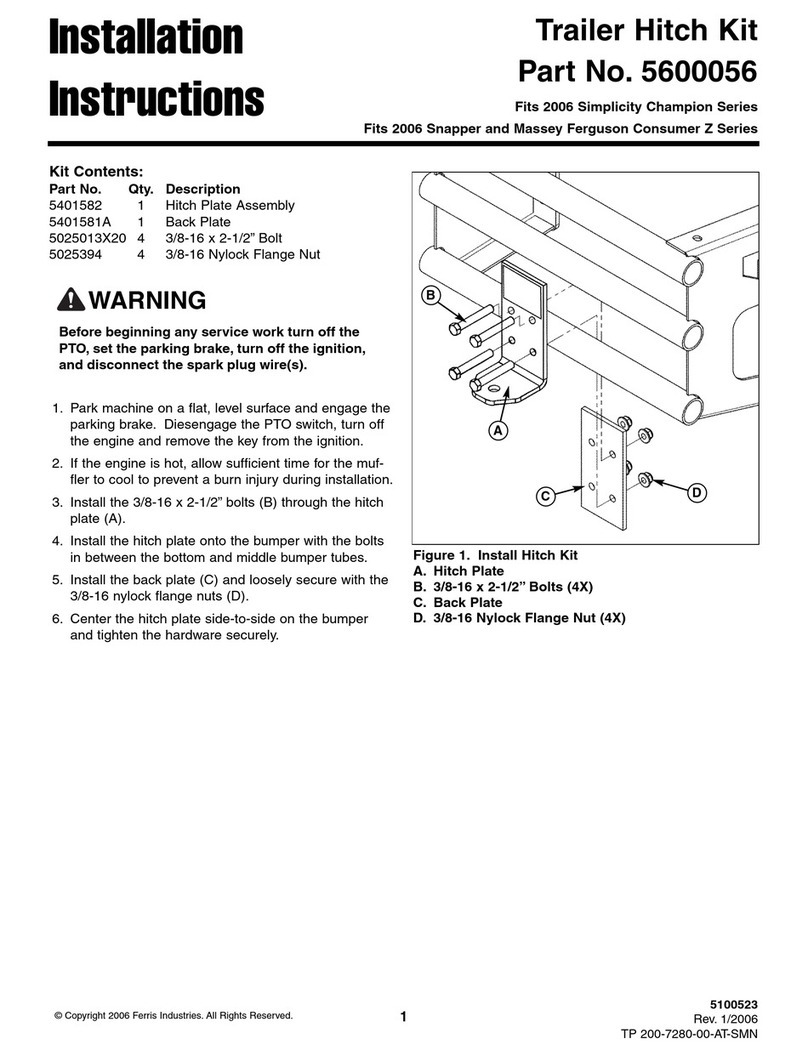
Ferris 5600056 User manual

Ferris

Ferris 5600056 User manual

Ferris IS1500Z Series Manual

Ferris

Ferris IS1500Z Series Manual

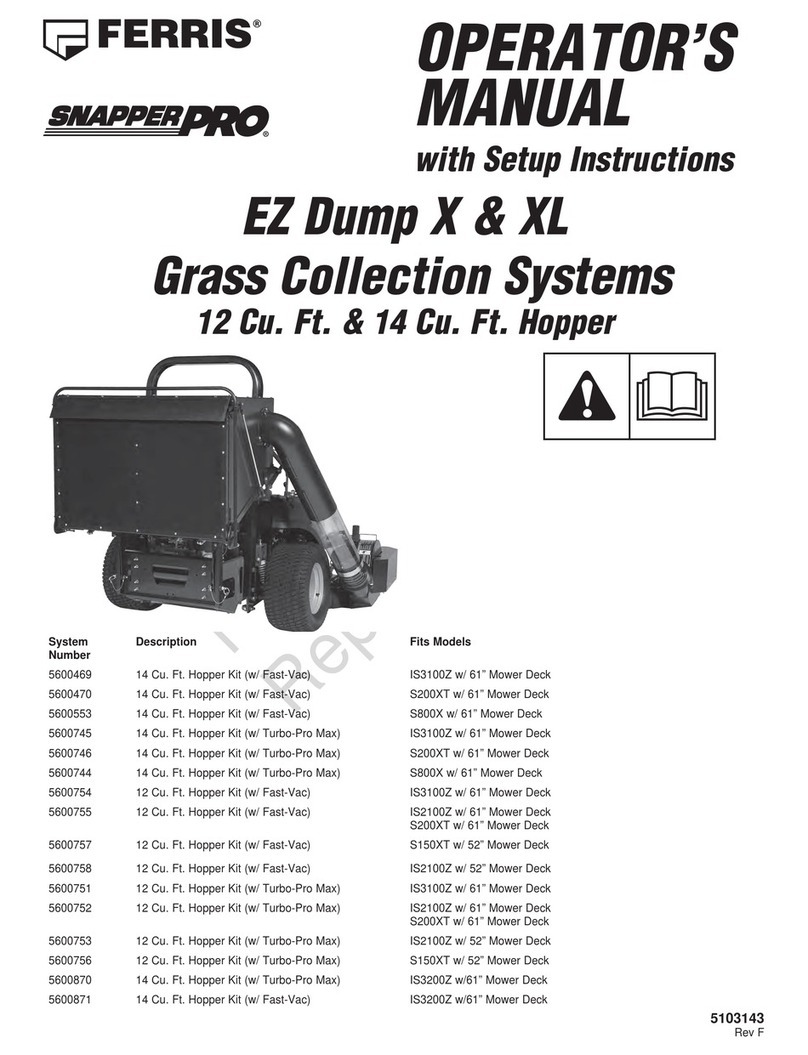
Ferris Snapper Pro EZ Dump X Manual

Ferris

Ferris Snapper Pro EZ Dump X Manual

Popular Lawn Mower Accessories manuals by other brands

Toro 147-1660 manual

Toro

Toro 147-1660 manual

Toro 03484 installation instructions

Toro

Toro 03484 installation instructions

Ariens 891008 Operator's manual

Ariens

Ariens 891008 Operator's manual

Rover 108 - 109 owner's manual

Rover

Rover 108 - 109 owner's manual

Toro 112-5803 installation instructions

Toro

Toro 112-5803 installation instructions

Snapper 1690047 Operator's manual

Snapper

Snapper 1690047 Operator's manual

RHINO 800 Operator's manual

RHINO

RHINO 800 Operator's manual

Exmark Quest 126-7506 Operator's manual

Exmark

Exmark Quest 126-7506 Operator's manual

Snapper 1685167 installation instructions

Snapper

Snapper 1685167 installation instructions

Cub Cadet 19B70029100 installation manual

Cub Cadet

Cub Cadet 19B70029100 installation manual

Stihl AMK 043.1 instruction manual

Stihl

Stihl AMK 043.1 instruction manual

MTD 753-0873 Service kit manual

MTD

MTD 753-0873 Service kit manual

Toro 30810 installation instructions

Toro

Toro 30810 installation instructions

Bush Hog RG60 Operator's manual

Bush Hog

Bush Hog RG60 Operator's manual

Scag Power Equipment GC-F4 Operator's manual

Scag Power Equipment

Scag Power Equipment GC-F4 Operator's manual

Land Pride RCF2760 Operator's manual

Land Pride

Land Pride RCF2760 Operator's manual

Peco SPARTAN RZ Series Operator's manual

Peco

Peco SPARTAN RZ Series Operator's manual

Peco 28621206 Operator's manual

Peco

Peco 28621206 Operator's manual

manuals.online logo
manuals.online logoBrands
  • About & Mission
  • Contact us
  • Privacy Policy
  • Terms and Conditions

Copyright 2025 Manuals.Online. All Rights Reserved.

1
Installation
Instructions
36” Evolution Mulch Kit
Part No. 5600366
For all Ferris 36” Evolution Mowers
Kit Contents
Part No. Qty. Description Part No. Qty. Description
5405908A 1 Plate, Block Off Plate, 36 5025011X6 5 Bolt, 5/16-18 X 3/4, GD5
5405914A 1 Weld, RH Baffle, 36” Mulch Kit 5025155 5 Washer, 5/16 SAE
5025392 6 Nut, 5/16-18 Hex Nylock Flange - GD2 YZ 5025145X6 1 Bolt, 5/16-18 X 3/4, Carriage
WARNING
Remove the ignition key prior to
performing maintenance on the unit.
Before beginning any service work turn off the
PTO, engage the parking brake, turn off the
ignition, remove the ignition key, and disconnect
the spark plug wire(s).
Figure 1. 2 x 4 Locations
Figure 2. Deck Lift & Hanger Chains
Figure 3. Deck Lift & Hanger Chains
Installing the Mulch Kit
Removal of the Deck
1. Park the unit on a smooth, level surface such as
a concrete floor. Disengage the PTO, engage the
parking brake, turn off the engine, and remove the
ignition key.
2. Place 2 x 4 blocks under the front and rear corners of
the mower deck. See Figure 1
3. Lower the mower deck until it comes to rest on the 2 x
4 blocks.
4. Remove the 3/8” hardware (A, Figure 2) securing the
deck hanger chains to the deck lift pivots. DO NOT
remove the chains from the mower deck.
5. Using a 1/2” breaker bar, place the square end in
the square hole located in the end of the idler arm
(A, Figures 3). Carefully rotate the breaker bar
counterclockwise, which will relieve the tension on the
belt exerted from the idler arm.
6. Slide the drive belt over the edge of the stationary idler
pulley (B). Carefully release the tension on the breaker
bar.
7. Remove the mower deck from under the machine.
Form No.: 5405924
Revision: IR
Rev. Date: 04/2011
Copyright © 2011 Briggs & Stratton Power Products Group LLC
Milwaukee, WI, USA. All rights reserved.
A
A
A
B
Not for
Reproduction
2
Installation Instructions 36” Evolution Mulch Kit
5405924
Figure 4. Block Off Plate Installation
Figure 5. Baffle Installation
Installing the Block Off Plate & Baffles
1. Temporarily remove the discharge chute and install
the blockoff plate (A, Figure 4) over the discharge
opening and clamp in place.
2. Using the pre-drilled holes in the block off plate as a
guide, drill four (3) 21/64” holes in the mower deck.
3. Secure the block off plate with three (3) 5/16 x 3/4”
bolts (B), 5/16” Washers (C) and 5/16” nuts (D).
4. Position the baffle (B, Figure 5) in place inside the
mower deck, align the baffle flush up against the block
off plate as shown in Figure 5 and clamp in place.
5. Using the pre-drilled holes in the baffle as a guide, drill
two (2) 21/64” holes through the mower deck.
6. Secure the baffle to the deck with two (2) 5/16 X 3/4”
bolts (C), 5/16” washers (D) and 5/16” nuts (E).
7. Install a 5/16” carriage bolt (F) and 5/16” nut (E) that
secures the baffle to block off plate.
8. Reinstall the mower deck under the machine and
connect the hanger chains on the deck lift pivots and
fasten securely with the 3/8” bolts previously removed.
See Figure 2
9. Reinstall the drive belt on the PTO pulley, the spindle
pulleys and idler pulleys. Make sure the V-side of the
belt runs in the pulley grooves. See Figure 3
D
CA
B
A
C
E
B
D
F
E
FLUSH
Not for
Reproduction