FIBARO Home Center 3 Lite User manual

v1.2
Instructions and warnings for installation and use
OPERATING
MANUAL EN

2
TABLE OF CONTENTS
1: Important safety information 9
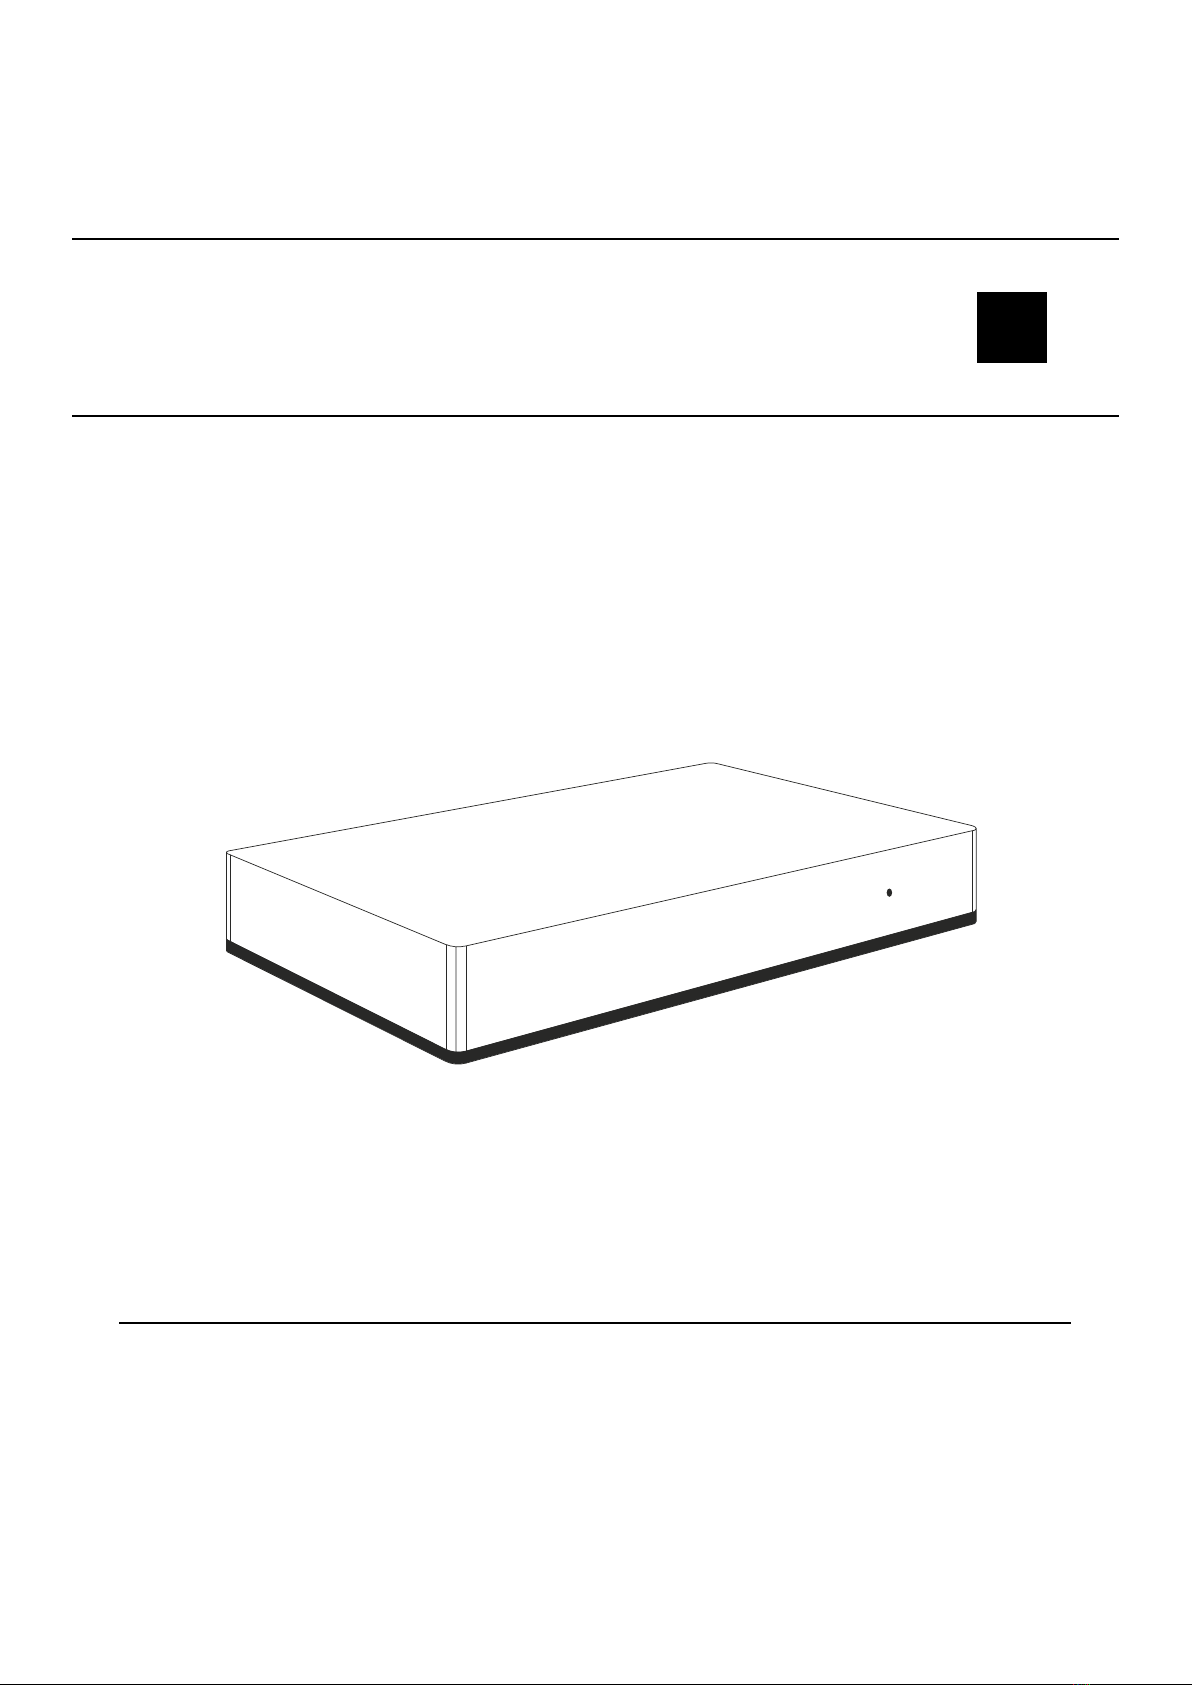
2: Description and features 10
3: Status indicator 11
4: Buttons 11
5: Installation and configuration 12
5.1: First Configuration 12
5.2: Alternative configuration 12
5.3: Adding controller to Remote Access 12
6: Adding Z-Wave™ devices 13
6.1: Adding using Inclusion Mode 13
6.2: Adding using SmartStart 13
7: Removing Z-Wave devices 14
7.1: Removing devices using Exclusion Mode 14
7.2: Removing Z-Wave devices (If added) 14
7.3: Force removing Z-Wave devices 14
8: Managing Provisioning List 15
8.1: Adding devices to Provisioning List 15
8.2: Editing devices in Provisioning List 15
8.3: Removing devices from Provisioning List 15
9: Managing devices 16
9.1: Controlling and checking state of devices 16
9.2: Configuring devices 16
9.3: Viewing events history 16
9.4: Performing actions on devices with specific command classes 17
10: Z-Wave Associations 20
10.1: Creating associations 20
10.2: Deleting associations 20
11: Rediscovering Z-Wave devices 21
12: Connecting with existing Z-Wave network 21
12.1: Adding/removing to/from existing Z-Wave network 21
12.2: Copying network information between controllers 21
12.3: DSK and PIN 22
13: Parameters 23

3
13.1: Setting parameters for the device 23
13.2: Copying parameters from other device 23
14: Linked devices 24
14.1: Thermostats (Humidifiers, Video Gates, Switches, Blinds and Sprin-
klers) 24
14.2: Cameras 25
14.3: Quick Apps 25
14.4: Notifications 27
15: Settings 27
15.1: Changing Name 27
15.2: Changing Room 27
15.3: Changing Category 28
15.4: Changing Icon 28
15.5: Adding an icon 28
15.6: Theoretical power consumption 29
16: Configuration 30
16.1: Network settings 30
16.2: Wi-Fi connection 30
16.3: Secure connection 31
17: Rooms and sections 32
17.1: Sections 32
17.2: Rooms 33
18: Users and access 34
18.1: User roles 34
18.2: Adding users 34
18.3: Giving permissions to user 34
18.4: Managing user’s mobile devices 34
18.5: Setting PIN for the user 35
18.6: Setting local password for the user 35
18.7: Transferring admin privileges 35
19: Remote access 36
19.1: Enabling remote access 36
19.2: Support Access 36
19.3: Enabling Support Access 36
20: Time and units 36
20.1: Settings 36

4
20.2: Location 37
20.3: Home location 37
20.4: Another location 37
21: Z-Wave 38
21.1: Settings 38
22: Automation 38
22.1: Scenes 38
22.2: Creating scenes 39
22.3: Editing scenes 39
22.4: Deleting scenes 39
22.5: Duplicating scene 39
22.6: Converting Block Scene to Lua Scene 40
22.7: Scenarios 40
22.8: Favourite roller shutter positions 40
22.9: Changing name 41
22.10: Disabling/enabling 41
22.11: Changing triggering mode (manual/auto) 41
22.12: Changing other settings 41
22.13: Running scenes 42
23: Variables 42
24: Climate schedules 42
24.1: Creating Thermostats 42
24.2: Adding zones 43
24.3: Zone modes 43
24.4: Configuring zone schedule 43
24.5: Editing zone name and devices 44
24.6: Garden care 44
24.7: Creating sprinklers 44
24.8: Editing sprinklers 45
24.9: Adding and configuring watering schedules 45
24.10: Adding watering sequences to a schedule 45
25: Profiles 45
25.1: Creating profiles 45
25.2: Configuring profiles 46
25.3: Editing profile name and icon 46
25.4: Deleting profiles 46

5
25.5: Actvating profiles manually 46
26: Alarms 47
27: Recovery Mode 48
27.1: Auto-repairing system 48
27.2: Switching between systems 49
27.3: Repairing system 49
27.4: Resetting network settings 49
27.5: Recovering system 49
28: Resetting to factory defaults 50
28.1: Resetting Z-Wave to factory defaults 50
29: Updating firmware 51
29.1: Updating firmware of gateway 51
29.2: Updating firmware of Z-Wave devices 51
30: System report 52
30.1: The report includes information about 52
30.2: To generate system report 52
31: Backups 53
31.1: Creating cloud backups 53
31.2: Creating local backups 53
31.3: Downloading local backup file 53
31.4: Restoring backups 54
31.5: Restoring backup from the list 54
31.6: Restoring local backup from file 54
32: Diagnostics 54
32.1: There are 4 tabs 54
33: Voice Assistants 55
33.1: Google Assistant 55
33.2: Amazon Alexa 56
34: Energy Panel 57
34.1: Panel configuration 57
34.2: Billing period 57
34.3: Tariff 57
34.4: Expenses 58
34.5: History 58
34.6: Meters configuration 58
34.7: General tab 59

7
ABOUT THE MANUAL
This manual describes the initial installation of
the smart home gateway.
Described are the most important functionalities
and capabilities.

8

9
Important safety InformatIon
1: IMPORTANT SAFETY INFORMATION
Read this manual carefully before
installing and operating the product.
!Warning!
• The manufacturer will not be held responsible for any loss or damage
resulting from not following the instructions. Store this manual in a
secure place for future reference.
• This product is not a toy. Keep away from children and animals.
• When wall-mounted, do not place the product higher than 2 meters
from the floor.
!Caution!
• Do not attempt to disassemble, repair or modify this product yourself.
Any repair should be performed only by an authorized service.
• This product is designed for indoor use only. Do not use outside!
• Do not expose this product to moisture, water, or other liquids. Never
place any water carrying vessels near the product.
• Do not use the product outside of the recommended temperature and
humidity ranges.
• Keep the product away from heat sources and do not place under
direct sunlight.
• Do not cover or place anything on the product.
• Do not connect cable longer than 3 meters to the USB port.
• Do not place the product in metal boxes or on metal surfaces for best
radio performance.

10
DescrIptIon anD features
2: DESCRIPTION AND FEATURES
Gateway is the core element of the smart home system.
It enables the integration of smart home devices into a single system
to provide convenient control and a powerful automation platform. The
gateway is now even more secure, reliable, and versatile.
Features:
• Provides a reliable foundation for smart home system,
• Capable of controlling compatible devices using the following radio
standards:
»Z-WaveTM (700 series),
»Wi-Fi – 2.4 GHz (802.11 b/g/n).
• Allows to add up to:
»40 Z-Wave devices (recommended),
»1 IP camera,
»40 scenes,
»10 Quick Apps,
»5 plugins.
• No Internet cable required, works on Wi-Fi,
• Modern interface designed for ease of use,
• Enhanced and convenient scene editor,
• Support for more advanced apps and drivers,
• May be used with all devices certified with the Z-Wave PlusTM
certificate and should be compatible with such devices produced by
other manufacturers.

11
status InDIcator
3: STATUS INDICATOR
• Pulsing blue – start-up
• Red – Wi-Fi in Access Point mode (ready to configure)
• Pulsing copper – disconnected from the Internet
• Green – connected to the Internet
• Pulsing red – start-up to Recovery mode
4: BUTTONS
RReboot
Hold for 5s–restart
DRecovery
Hold during start-up–put in Recovery mode
Hold for 10s, then click when the indicator is blinking–switch between
Dynamic and Static IP:
• yellow blinking: set IP to Dynamic
• green blinking: set IP to Static
Hold for 20s, then click when the indicator is blinking red–reset network
settings

12
InstallatIon anD confIguratIon
5: INSTALLATION AND CONFIGURATION
Note: The ID and Remote access details can be found on a label on the
bottom of the device.
5.1: FIRST CONFIGURATION
1. Plug the provided power adapter into an outlet and connect it to the
gateway.
2. The gateway will turn on, wait for the indicator to turn solid red.
3. Scan the QR code and download the app.
4. Launch the application and follow the displayed instructions.
5.2: ALTERNATIVE CONFIGURATION
1. Connect your computer to Wi-Fi network created by the gateway. You
will find Wi-Fi SSID (name) and password on the bottom of the device.
2. Go to authentication website.
3. Choose your language.
4. You are automatically logged in with your default credentials:
• Login: admin
• Password: admin
5. Configure the gateway by following steps in the Configuration
Interface.
Remember: connect the gateway to your home Wi-Fi network after
finishing the configuration.
5.3: ADDING CONTROLLER TO REMOTE ACCESS
1. Log in to your ID account.
2. Click More in the Remote Access section.
3. Click Add New Home Center.
4. Enter data of your gateway (serial number, MAC address).
5. Click Add Home Center.
6. Your Home will be now visible on the list.

13
aDDIng Z-Wave™ DevIces
6: ADDING Z-WAVE™ DEVICES
6.1: ADDING USING INCLUSION MODE
To add the device to the Z-Wave network manually:
1. Open the Configuration Interface.
2. Go to >Devices.
3. Click .
4. Select Z-Wave Device.
5. Optional - selectable options (Advanced):
• NWI - Network-Wide Inclusion – enabling allows for adding
devices outside the direct range of the gateway,
• Add in S0 Security mode if device supports it,
• Allow inclusion only in near proximity (less than 2 meters).
6. Click Start.
7. Follow adding procedure for the device you want to add (according to
its manual).
8. If you are adding in Security S2 Authenticated and the device is not on
the Provisioning List:
Input the PIN code (the underlined part of the DSK) and click Send.
9. The device will be added within few minutes.
6.2: ADDING USING SMARTSTART
ATTENTION! SmartStart is only available for Z-Wave 3.0 engine
gateways.
SmartStart enabled devices can be added into a Z-Wave network by
entering the Z-Wave DSK Code present on the product. The devices will
be automatically added to the Z-Wave network using secure connection
encrypted with Z-Wave S2 security framework.
In case you need full DSK code of the gateway you will find it on the label
under the device.
To add the device to the Z-Wave network using SmartStart:
1. Open the Configuration Interface.
2. Go to >Z-Wave >SmartStart.
3. Click Add DSK.
4. Enter the full DSK string code you have received with your device.
5. For advanced users: In Choose Security levels select which Security
keys will be granted to the joining node (available: S2 Unauthenticated,
S2 Authenticated, S2 Access Control, S0).

14
removIng Z-Wave DevIces
6. Leave the Only S2 classic inclusion unchecked.
7. Power the device and it will be added automatically within 10 minutes.
7: REMOVING Z-WAVE DEVICES
7.1: REMOVING DEVICES USING EXCLUSION MODE
To remove the device from the this or other Z-Wave network:
1. Open the Configuration Interface.
2. Go to >Devices.
3. Click .
4. Select Z-Wave Device.
5. Follow removing procedure on the device (according to its manual).
7.2: REMOVING Z-WAVE DEVICES (IF ADDED)
1. Open the Configuration interface.
2. Go to >Devices.
3. Click next to the device you want to remove from the system.
4. Set learning mode duration and click Continue.
5. Follow instructions of the device.
7.3: FORCE REMOVING Z-WAVE DEVICES
1. Open the Configuration interface.
2. Go to >Devices.
3. Click next to the device you want to remove from the system.
4. Set learning mode duration and click Continue.
5. Click which appeared in place of .
6. Confirm the action.
7. The gateway will try to communicate with the device. If the device
responds, the process will by canceled, otherwise it will be removed
from the system.v

15
managIng provIsIonIng lIst
8: MANAGING PROVISIONING LIST
The Provision List is used to add Z-Wave devices using SmartStart or
bootstrap classic S2 inclusion.
8.1: ADDING DEVICES TO PROVISIONING LIST
1. Open the Configuration Interface.
2. Go to >Z-Wave >SmartStart.
3. Click Add DSK.
4. Enter the full DSK string code you have received with your device.
5. For advanced users: In Choose Security levels select which Security
keys will be granted to the joining node (available: S2 Unauthenticated,
S2 Authenticated, S2 Access Control, S0).
6. If the device should not be automatically included when powered, but
only after the classic inclusion, check the Only S2 classic inclusion
setting.
7. Click Add.
8.2: EDITING DEVICES IN PROVISIONING LIST
1. Open the Configuration Interface.
2. Go to >Z-Wave >SmartStart.
3. Click next to the device you want to edit.
4. You can change the Security levels.
5. Save.
8.3: REMOVING DEVICES FROM PROVISIONING LIST
1. Open the Configuration Interface.
2. Go to >Z-Wave >SmartStart.
3. Click next to the device you want to remove.
4. Click Delete.
5. The device will be removed from the list, but if it was already added to
the Z-Wave network, you must perform standard removing procedure
or reset the device.

16
managIng DevIces
9: MANAGING DEVICES
9.1: CONTROLLING AND CHECKING STATE OF DEVICES
You can control the device and check its last known state using
Dashboard.
1. Open the Configuration Interface.
2. Go to .
3. You will see list of all devices and their status.
4. To fully control the device, hover over it and click .
5. The right sidebar will be expanded allowing you to fully control the
device.
9.2: CONFIGURING DEVICES
1. Open the Configuration Interface.
2. Go to >Devices.
3. You will see list of all devices with information about its ID, assigned
room, role, and battery level (if battery powered).
4. Click the device to expand it, you will see a few tabs:
• General – basic device information, like firmware version, Node ID,
Endpoint ID, type and all nodes of this device,
• Advanced – more advanced information, like Z-Wave type and
version, type and unit for meters,
• Device configuration – rediscovering device configuration,
• Associations – configuration of Z-Wave associations,
• Notifications – setting notifications for events on the device,
• Parameters – setting values of configuration parameters.
9.3: VIEWING EVENTS HISTORY
Using History panel you can check all events in the system, like: changes
in statuses of devices, activated scenes and notifications.
1. Open the Configuration Interface.
2. Go to .
3. You will see full history of your system.

17
managIng DevIces
9.4: PERFORMING ACTIONS ON DEVICES WITH
SPECIFIC COMMAND CLASSES
Basic
In the Dashboard , click on device tile, then on the displayed
sidebar you will see the last known state and you will be able to:
• Click ON – set 0xFF,
• Click OFF – set 0x00.
Binary Switch
In the Dashboard , click on device tile, then on the displayed
sidebar you will see the last known state and you will be able to:
• Click ON – set 0xFF,
• Click OFF – set 0x00.
Central scene
In the Device Settings ( >Devices), click the device to expand it
and go to Advanced tab. You will see the list of all Scene IDs and key
attributes with scenes that will be activated after receiving them:
• Click ADD ACTION – create new scene that will be activated when
received the specific Scene ID and key attribute.
Color Switch
In the Dashboard , click on device tile, then on the displayed
sidebar you will see the last known state and you will be able to:
• Click ON – turn ON the light,
• Click OFF – turn OFF the light,
• Change Brightness slider position – set new brightness,
• Click – start increasing brightness,
• Click – start decreasing brightness,
• Click – stop increasing/decreasing component.
For each color component:
• Change slider position – set new component value,
• Click – start enhancing component,
• Click – start fading component,
• Click – stop enhancing/fading component.
Door Lock
In the Dashboard , click on device tile, then on the displayed
sidebar you will see the last known state and you will be able to:
• Click Set Mode, then select mode – activate the selected mode.

18
managIng DevIces
In the Device Settings ( >Devices), click the device to expand it and
go to Advanced tab. In Door Lock Configuration section you will be
able change door lock configuration.
Meter
In the Device Settings ( >Devices), click the device to expand it and
go to Advanced tab. You will see the type, scales and rate type of the
meter.
• Click RESET in Meter reset section – reset the accumulated data.
Multilevel Sensor
In the Device Settings ( >Devices), click the device to expand it and
go to Advanced tab. You will see the type and scales of the sensor.
Multilevel Switch
In the Dashboard , click on device tile, then on the displayed
sidebar you will see the last known state and you will be able to:
• Click ON – set 0xFF,
• Click OFF – set 0x00,
• Change slider position – set new level,
• Click – start level change up,
• Click – start level change down,
• Click – stop level change.
Notification
In the History Panel , you will see all the received Notification Reports
with information about the type of the notification and event/state.
Sound Switch
In the Dashboard , click on device tile, then on the displayed
sidebar you will see the last known state (like currently played tone,
default tone) and you will be able to:
• Click ON – start playing the default tone,
• Click OFF – stop playing,
• Click Play tone, then select tone – start playing the selected tone,
• Click MUTE – mute the sound switch,
• Click UNMUTE – unmute the sound switch,
• Change Volume slider position – set new volume.
In the Device Settings ( >Devices), click the device to expand it and
go to Advanced tab. In Sound Configuration section you will be able
change default tone and volume.

19
managIng DevIces
Thermostat Mode
In the Dashboard , click on device tile, then on the displayed
sidebar you will see the last known state and you will be able to:
• Click Set Mode, then select mode – activate the selected mode.
Thermostat Setback
In the Dashboard , click on device tile, then on the displayed
sidebar you will see the last known state and you will be able to:
• Click ON – set Comfort Mode,
• Click OFF – set Energy Saving Mode.
Thermostat Setpoint
In the Dashboard , click on device tile, then on the displayed
sidebar you will see the last known state and you will be able to:
• Change value in temperature field – set new Setpoint value.
Battery
In the Device Settings ( >Devices), you will see battery icon with last
known battery level in the column Power next to the device with Battery
CC.
Association / Multi Channel Association
See “Z-Wave Associations” on page 20
Firmware Update
See “Updating firmware of Z-Wave devices” on page 51
Indicator
See “Identifying devices”
Other Commands Classes
Command Classes not mentioned above are controlled in the same
way as Basic Command Class. To learn if the device supports Basic
Command Class and how it maps values to other Command Classes,
refer to manual of the device.

20
Z-Wave assocIatIons
10: Z-WAVE ASSOCIATIONS
Associations allow devices to control other devices directly within
the Z-Wave network without the participation of the gateway. Devices
such can continue to work and operate selected devices even when
the gateway is damaged or turned off (in case of a fire, flood, or system
malfunction).
10.1: CREATING ASSOCIATIONS
1. Open the Configuration Interface.
2. Go to >Devices.
3. Click the device you want to associate to expand it.
4. Go to Associations tab.
5. Select the source EndPoint and Association Group (refer to manual of
the device for more information).
6. Select the target device you want to associate with.
7. Click to set the association.
8. If the device is battery powered, wake it up manually or wait for next
automatic wake up.
10.2: DELETING ASSOCIATIONS
1. Open the Configuration Interface.
2. Go to >Devices.
3. Click the device from which you want to delete the association.
4. Go to Associations tab.
5. Click next to the association you want to delete.
6. If the device is battery powered, wake it up manually or wait for next
automatic wake up.
Other manuals for Home Center 3 Lite
1
This manual suits for next models
1
Table of contents
Other FIBARO Control System manuals