manuals.online logo
Brands
  1. Home
  2. •
  3. Brands
  4. •
  5. Flomasta
  6. •
  7. Plumbing Product
  8. •
  9. Flomasta 5059340065113 User manual

Flomasta 5059340065113 User manual

V20320
5059340065113
ZHIE13008-02_196034_s4_s2_Flomasta Evacuation Kit with Anti Backflow (Drain out Kit) V2R.indd 1 16/03/2020 12:02
Product description 4
Safety 5
Assembly 6
Care and
maintenance 10
Contents
ZHIE13008-02_196034_s4_s2_Flomasta Evacuation Kit with Anti Backflow (Drain out Kit) V2R.indd 2 16/03/2020 12:02
[01] x1
[07] x1 [08] x1 [09] x1 [10] x1 [11] x1
[02] x2 [03] x1 [04] x1 [05] x1
[06] x1
x ?
WARNING! Please read all
safety warnings carefully
and be sure that they are
fully understood before
handling the product.
12
ZHIE13008-02_196034_s4_s2_Flomasta Evacuation Kit with Anti Backflow (Drain out Kit) V2R.indd 3 16/03/2020 12:02
4
Product description
plastic saddles
[01]
[02]
spacers
lock nut
[04]
[03]
elbow
valve nut
[05]
trap valve
3/4"spigot
[06]
5/8"spigot
[07]
[08] [10][09]
ZHIE13008-02_196034_s4_s2_Flomasta Evacuation Kit with Anti Backflow (Drain out Kit) V2R.indd 4 16/03/2020 12:02
5
Safety
Before you start
• Don’t rush, read the instructions first and
familiarise yourself with the sequence before
you begin.
• Make sure you have all of the parts listed. Check
all of the packaging as components may be
concealed; do not dispose of packaging until
you have located all of the parts.
• Failure to follow these instructions may result
in personal injury, damage to the product and
your property.
• For domestic use only.
Safety
• Do not overtighten nuts as this could cause
damage to the product over time.
• Using strong clamping force from tools can
also damage the product and finish. Please take
care if such tools are used.
• Do not use sealants or glue that is not already
supplied with the product when installing, as
damage may occur over time.
• Some parts could be hazardous to
small children.
• This product must be installed by a suitably
competent person.
IMPORTANT -
RETAIN THIS
INFORMATION
FOR FUTURE
REFERENCE:
READ CAREFULLY
ZHIE13008-02_196034_s4_s2_Flomasta Evacuation Kit with Anti Backflow (Drain out Kit) V2R.indd 5 16/03/2020 12:02
6
Assembly
[11] x1
Use spacers
for 32mm pipe
[11]
o-ring
Position the 2 plastic saddles [01] over 40mm waste pipe.
For 32mm pipe leave the 2 spacers [02] in place. Remove one spacer if saddle is
too tight. Ensure o-ring [11] is snug in its recess.
[01] x1 Unscrew the elbow (3) from
the kit assembly.
Remove the 4 fixing screws.
01
02
ZHIE13008-02_196034_s4_s2_Flomasta Evacuation Kit with Anti Backflow (Drain out Kit) V2R.indd 6 16/03/2020 12:02
7
Assembly
[08] x1
[09] x1
[09]
[08]
Screw the cutter into the fitted kit
until a hole is cut through the pipe.
Tighten the 4 screws evenly.
03
04
ZHIE13008-02_196034_s4_s2_Flomasta Evacuation Kit with Anti Backflow (Drain out Kit) V2R.indd 7 16/03/2020 12:02
8
Assembly
[05]
[05]
[04] [03]
[04]
[03] x1 [06] x1
[07] x1
[04] x1
[05] x1
Without elbow
Screw the elbow [03] back into the kit, then the trap valve [05]
and lastly the spigot [06] or [07].
Ensure o-ring is positioned under end of spigot inside valve seat.
The valve seat is secured by the valve nut [04]
Ensure arrow on trap valve is vertically downwards.
CAUTION: Lock nut [04] must be HAND tightened.
With elbow
[09]
[08]
[08] x1
[09] x1 Remove cutting tool.
05
06
ZHIE13008-02_196034_s4_s2_Flomasta Evacuation Kit with Anti Backflow (Drain out Kit) V2R.indd 8 16/03/2020 12:02
9
Assembly
[10]
[10] x1
Push drain hose onto spigot
and secure with clip [10].
Clean trap valve [05] periodically using
water and a cloth or sponge.
07
ZHIE13008-02_196034_s4_s2_Flomasta Evacuation Kit with Anti Backflow (Drain out Kit) V2R.indd 9 16/03/2020 12:02
10
Care and maintenance
• We do not recommend using harsh chemicals
to clean products as this could affect
its lifespan.
• If chemicals are used, ensure they are
thoroughly washed away with warm clean
water and no chemical residue remains in
contact with the product.
• The product and its components can be
removed for cleaning and unblocking if needed.
We do not recommend using mechanical
unblocking equipment.
ZHIE13008-02_196034_s4_s2_Flomasta Evacuation Kit with Anti Backflow (Drain out Kit) V2R.indd 10 16/03/2020 12:02
Addresses
UK Manufacturer:
Kingfisher International Products Limited,
3 Sheldon Square, London, W2 6PX,
United Kingdom
EU Manufacturer:
Kingfisher International Products B.V.
Rapenburgerstraat 175E
1011 VM Amsterdam
The Netherlands
www.kingfisher.com/products
Distributor:
B&Q Limited, Chandlers Ford, Hants, SO53 3LE,
United Kingdom
www.diy.com
Screwfix Direct Limited, Trade House,
Mead Avenue, Yeovil, BA22 8RT,
United Kingdom
www.screwfix.com
To view instruction manuals online,
visit www.kingfisher.com/products
ZHIE13008-02_196034_s4_s2_Flomasta Evacuation Kit with Anti Backflow (Drain out Kit) V2R.indd 11 16/03/2020 12:02

Other Flomasta Plumbing Product manuals
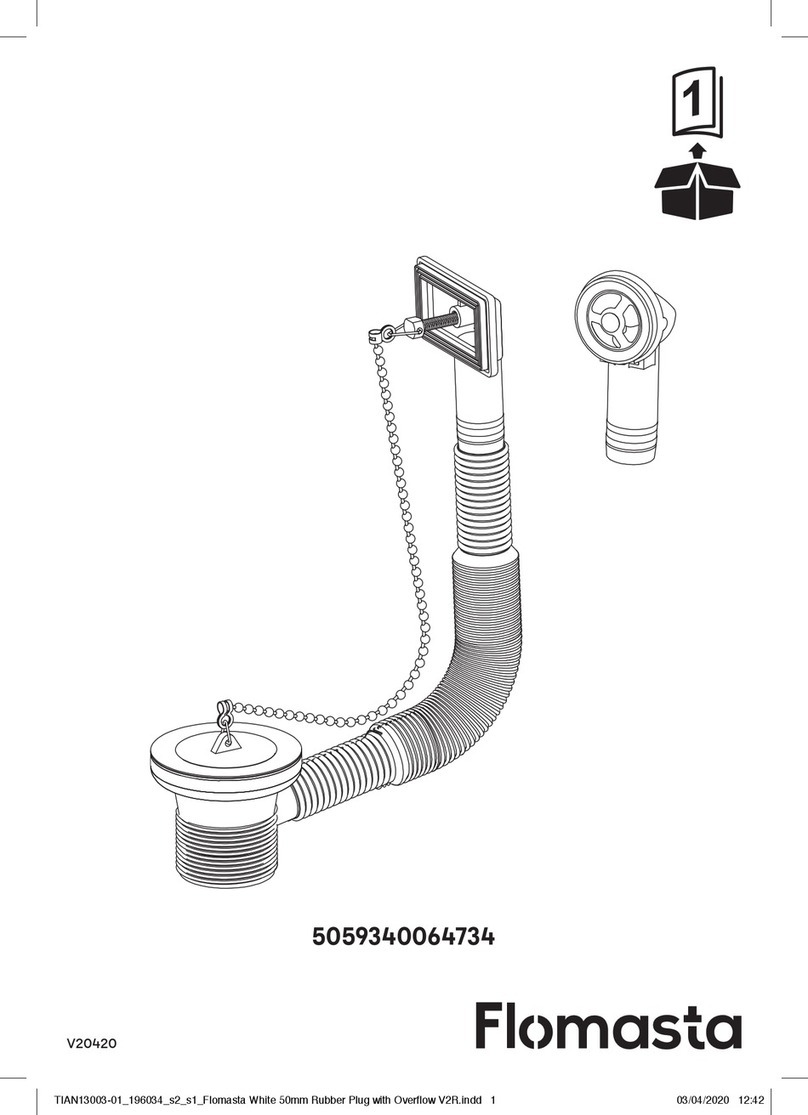
Flomasta 5059340065045 User manual

Flomasta

Flomasta 5059340065045 User manual

Flomasta 5059340065038 User manual

Flomasta

Flomasta 5059340065038 User manual

Flomasta 5059340064802 User manual

Flomasta

Flomasta 5059340064802 User manual

Flomasta 5059340065052 User manual

Flomasta

Flomasta 5059340065052 User manual

Flomasta 5059340064819 User manual

Flomasta

Flomasta 5059340064819 User manual

Flomasta 5059340065106 User manual

Flomasta

Flomasta 5059340065106 User manual

Flomasta 5059340064734 User manual

Flomasta

Flomasta 5059340064734 User manual
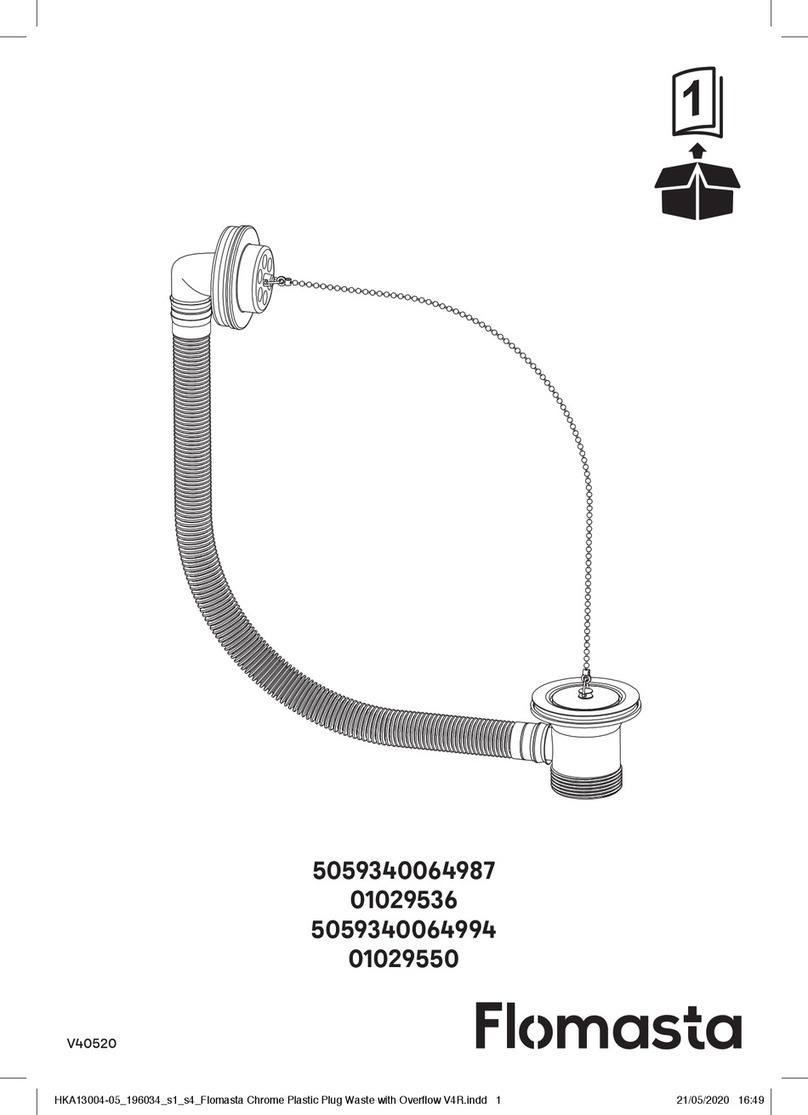
Flomasta 01029482 User manual

Flomasta

Flomasta 01029482 User manual

Flomasta 5059340064987 User manual

Flomasta

Flomasta 5059340064987 User manual
Popular Plumbing Product manuals by other brands

Glacier bay HD67392W-6027D Installation and care guide

Glacier bay

Glacier bay HD67392W-6027D Installation and care guide

Dixon Bayco VR6500 Installation & operating instructions

Dixon Bayco

Dixon Bayco VR6500 Installation & operating instructions

Lefroy Brooks X1-2040 Installation, operating,  & maintenance instructions

Lefroy Brooks

Lefroy Brooks X1-2040 Installation, operating, & maintenance instructions

Galvin Engineering Ezy-Drink Lead Safe 170.50.14.00 Product installation guide

Galvin Engineering

Galvin Engineering Ezy-Drink Lead Safe 170.50.14.00 Product installation guide

Kohler K-26228T installation instructions

Kohler

Kohler K-26228T installation instructions

Dyson AB09 installation guide

Dyson

Dyson AB09 installation guide

Bossini EXEDRA Z003201 Installation and maintenance instructions

Bossini

Bossini EXEDRA Z003201 Installation and maintenance instructions

DXV D35403.410 installation instructions

DXV

DXV D35403.410 installation instructions

Clou Flush 2 CL/03.03220 installation instructions

Clou

Clou Flush 2 CL/03.03220 installation instructions

Mira Eco Installation and user guide

Mira

Mira Eco Installation and user guide

Pfister Winfield RT6-5WF Quick installation guide

Pfister

Pfister Winfield RT6-5WF Quick installation guide

Triton T80Z SLIMLINE Installation and operating instructions

Triton

Triton T80Z SLIMLINE Installation and operating instructions

Brizo Quiessence 85521 installation instructions

Brizo

Brizo Quiessence 85521 installation instructions

TECE Lux Mini Technical guidelines

TECE

TECE Lux Mini Technical guidelines

Peerless Faucet P299675LF manual

Peerless Faucet

Peerless Faucet P299675LF manual

Delta 54613 Series Specification sheet

Delta

Delta 54613 Series Specification sheet

Grohe 26484000 manual

Grohe

Grohe 26484000 manual

Delta 590-PALGHDF manual

Delta

Delta 590-PALGHDF manual

manuals.online logo
manuals.online logoBrands
  • About & Mission
  • Contact us
  • Privacy Policy
  • Terms and Conditions

Copyright 2025 Manuals.Online. All Rights Reserved.