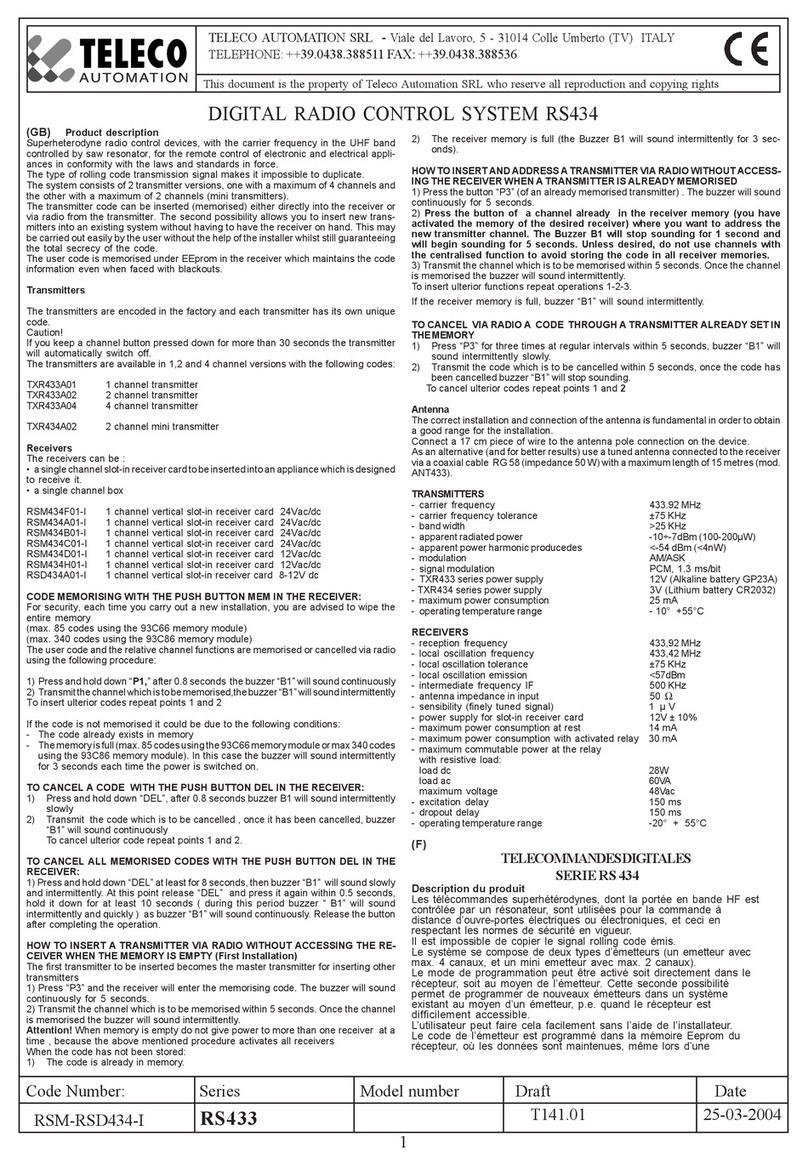
Fluid BID1000W User manual

BID1000W
fluid bidet seat
Remote Control Instructions

01
01
02
03
04
04
04
04
05
05
05
05
06
06
Thank you for choosing our product. Please read the instructions
carefully before installation and keep it available for future
maintenance or reference.
Table of Contents
Installation preparation
Remote control installation
Battery installation
Usage Instructions
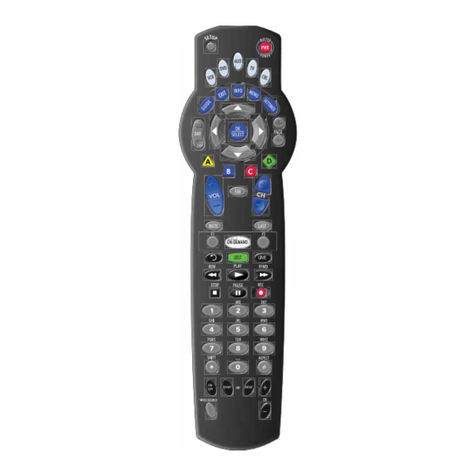
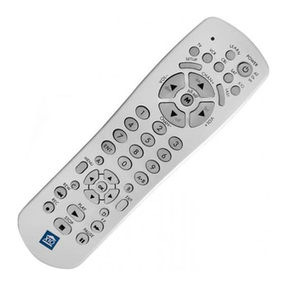
Remote control illustration
Rear/Front washing
Drying/Dryer temperature
Water volume adjustment
Nozzle position adjustment
Energy saving
Water temperature adjustment
Seat temperature adjustment
Night light
Auto deodorization
User code
Other operations

Remote Control Installation
Remote control holder installation 1:
1. Drill a 6 mm diameter hole in the wall to a depth of about 35 mm.
2. Remove the double-sided adhesive tape on the back of the holder.
3. Install an anchor into the hole, stick the holder to the wall and secure
with screws and then stick the patch with tape.
1. Clean and dry the pre-installation area of the holder.
2. Remove the double-sided adhesive tape on the back of the holder.
3. Stick the holder to the wall vertically and then stick the patch with tape.
1. Insert batteries into the remote control.
2. Put the remote control to the holder.
1. Please ensure the remote control is within reach when a person is on the seat.
2. Do not install and use the product in damp places such as a shower room.
3. Do not place the product in a place where it is easily exposed to water.
Remote control holder installation 2:
Battery installation:
Note:
Installation Preparation
Double-side tape
Double-side tape
patch
patch
Installation area
Battery cover

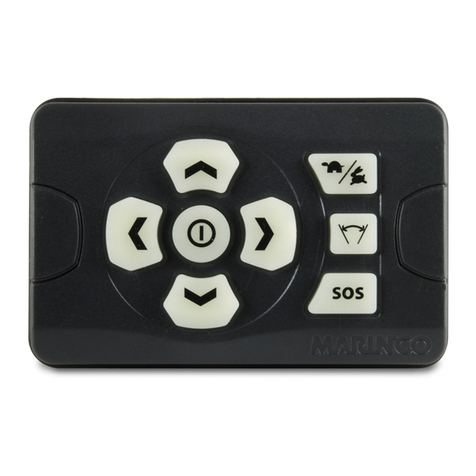
Nozzle moving forward
Nozzle moving backward
Drying/Dryer
temperature
Water reducing
Rear washing/
oscillating washing
Front washing/
oscillating washing
Water temperature
Night light
Water increasing
Indicator light
Seat temperature
Stop/Energy saving
Deodorizer
Installation Preparation
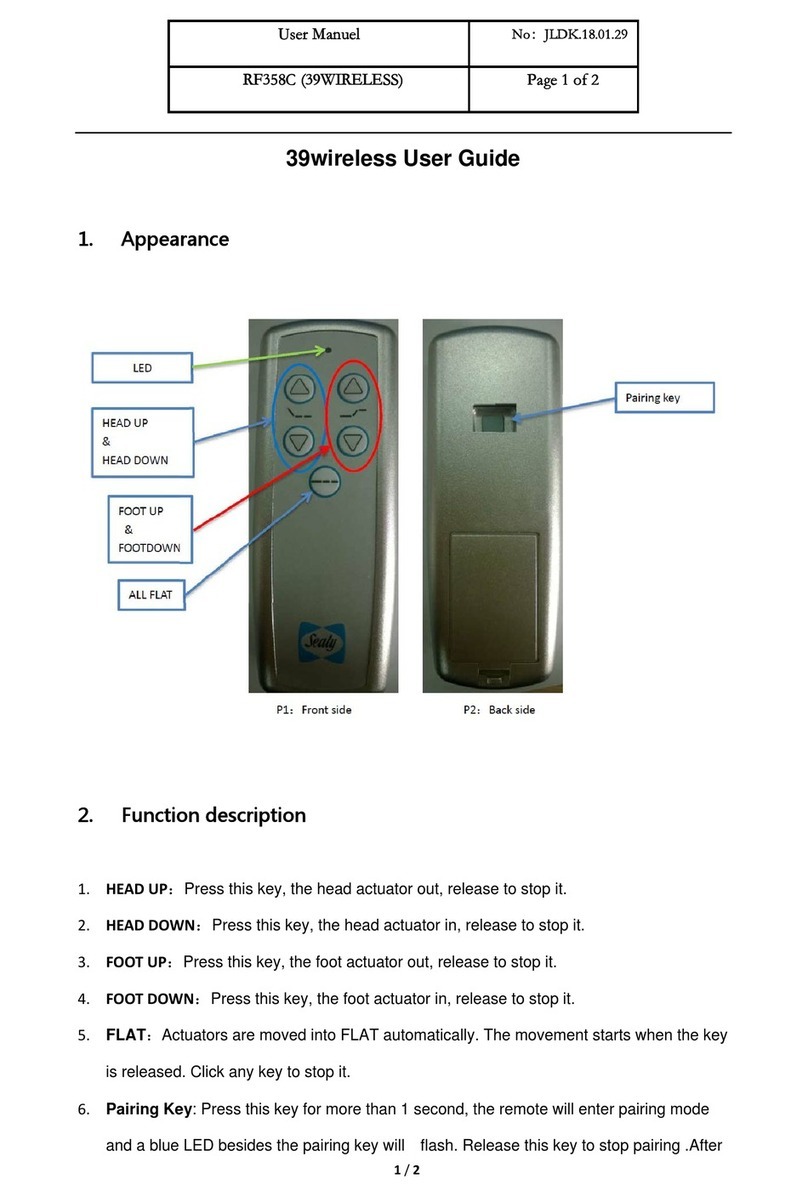
Remote Control Illustration

Notice:
· Only when the user is seated and the buzzer beeps can the functions of front/rear washing
and drying be activated.
· Please sit backward on the seat for correct washing position and to avoid splashing.
· The nozzle will continue to spray for 1-2 seconds after user stands up during washing, so please
press
the
“STOP” button before standing up.
Press the button to activate the rear controller. (Note that the indicator lights will show
the current water temperature level). Press the button again to shift to an oscillating
spray, (meaning that the nozzle will move forward and backward). The washing will stop
automatically after a full cycle, (approximately 2 minutes and 20 seconds). To stop
immediately, press the button.
Rear Controller
Front Controller
Front washing
Rear washing
Press the button to activate the front controller. (Note that the indicator lights will show
the current water temperature level). Press the button again to shift to an oscillating
spray, (meaning that the nozzle will move forward and backward). The washing will stop
automatically after a full cycle, (approximately 2 minutes and 20 seconds). To stop
immediately, press the button.
Operation Instructions

While either the front or rear washing is functioning, press the + or –buttons to adjust the nozzle
position. There are 5 levels of nozzle positioning.
Water Volume Adjustment
Press the + or – button during either front or rear washing to adjust the water volume level.
The indicator lights will display the current water volume level.
Nozzle Position Adjustment
Energy Saving
The energy saving mode will be suspended and the product will enter the functional mode
during use. The seat will start to heat immediately to the last temperature setting, and the
energy saving mode will be restored once the seat is no longer being used.
Dry / Dryer Temperature
2. Once the dryer has started, press the button to adjust the air
temperature between levels 0-5. The diagram below illustrates how the
indicator lights show the various dryer temperatures. When the indicator
light is off, the temperature is at level 0, (room temperature).
Room
Temperature
Level 1 Level 2 Level 3 Level 4 Level 5
1. Press the button to start the drying function. ( Note that the
indicator lights will show the current dryer temperature level). The dryer
will stop after one full dryer cycle, (about 2 minutes and 20 seconds), or
if the person stands up.
Drying
喷嘴
喷嘴
Nozzle
Long press button to enter energy saving mode, long press button again to exit
energy saving mode. Under energy saving mode, seat temperature is set to Level 1 for
energy saving.
Operation Instructions
Note:

Water Temperature Adjustment
Short press the button to adjust the water temperature between levels 0-5.
The diagram below illustrates how the indicator lights display the current water temperature
level. When the indicator light is off, the temperature is at level 0, (room temperature).
Seat Temperature Adjustment
Short press the button to adjust the seat temperature between levels 0-5.
The diagram below illustrates how the indicator lights display the current seat temperature
level. When the indicator light is off, the temperature is at level 0, (room temperature).
Night Light
Short Press the button to turn on/off the night light.
Intelligent Mode: Long press the button to enter into intelligent model. In this mode the
light will illuminate depending on the surrounding light. (The light will turn on in the dark, and off
in the light). To exit intelligent mode, short press the button. (The seat is factory set to
intelligent mode).
Deodorizer
Short press the button to turn on/off the auto deodorizer function.
If turned on, the deodorizer function will automatically start when the user is seated, and will
stop automatically after the user has stood up. When the dryer function is turned on, the
deodorizer function will automatically turn off.
Operation Instructions
Room
Temperature
Level 1 Level 2 Level 3 Level 4 Level 5
Room
Temperature
Level 1 Level 2 Level 3 Level 4 Level 5

Press and hold the button and the button together to turn on/off the quiet model. When quiet
mode is on the seat will not beep for each adjustment.
The seat will Beep once when the user presses one button, indicating that the main unit has received
the signal and is functioning normally. If the beeper doesn’t sound, the main unit has not received the
signal. Please adjust the remote control direction and press the button again.
In case of a power outage during nozzle spraying, the wand will remain extended until the power is
turned back on. In case of a long power outage, you may softly push the wand in manually. Make sure
to push the nozzle very gently to avoid damage to the wand.
Other Operations: Quiet Mode
Operation Instructions
Note:
Other manuals for BID1000W
2
Table of contents
