®Rainbow Pool Products
PO Box 2388, Mansfield Qld 4122
Telephone STD 61-7-3849 5385
Facsimile STD 61-7-3849 5384
Web: www.rainbowpoolproducts.com.au
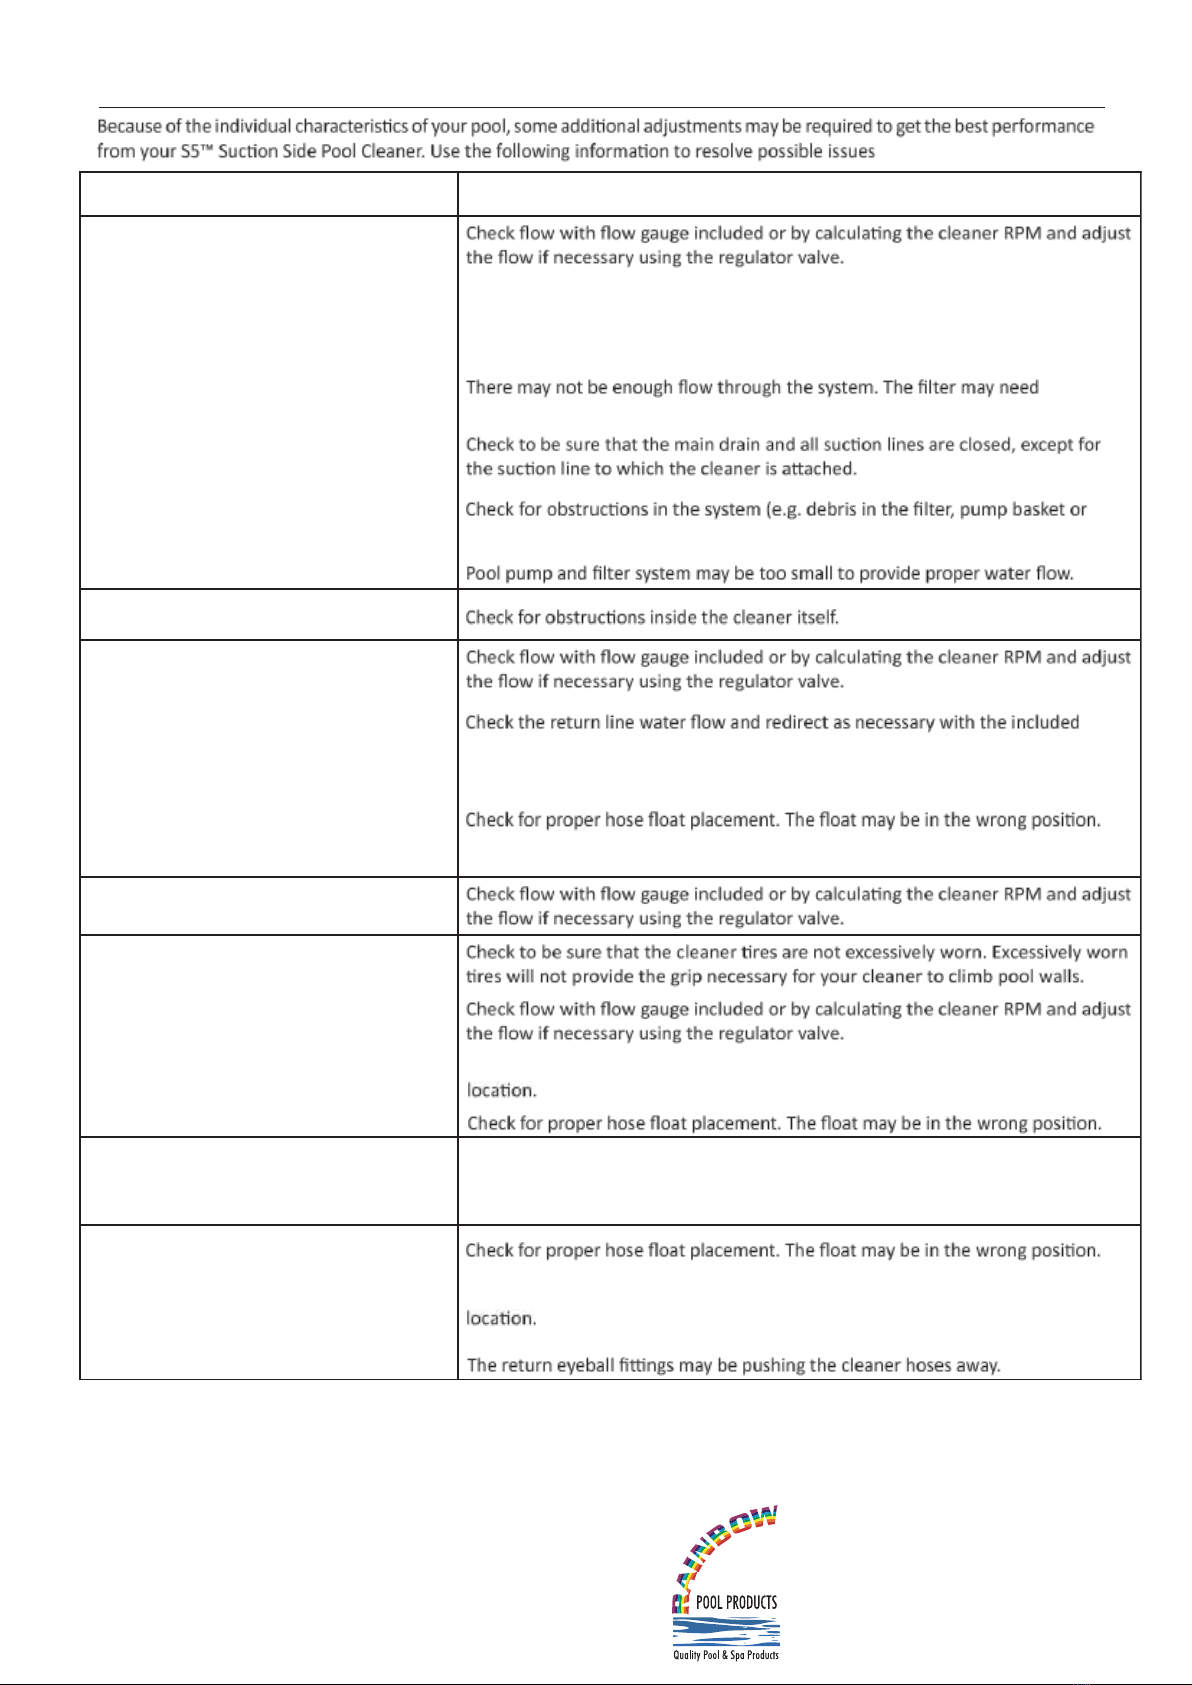
TROUBLESHOOTING
.
PROBLEM CORRECTIVE ACTION
Cleaner is not moving or is moving
too slowly.
Check for debris inside the cleaner itself.
Check to be sure the pump has primed. Check for leaks in the system that may
prevent proper priming.
backwashing.
pump impeller).
Consult your pool professional.
Cleaner’s right wheel will not turn when
rotated by hand.
Cleaner stays in one end of the pool.
eyeball diverter.
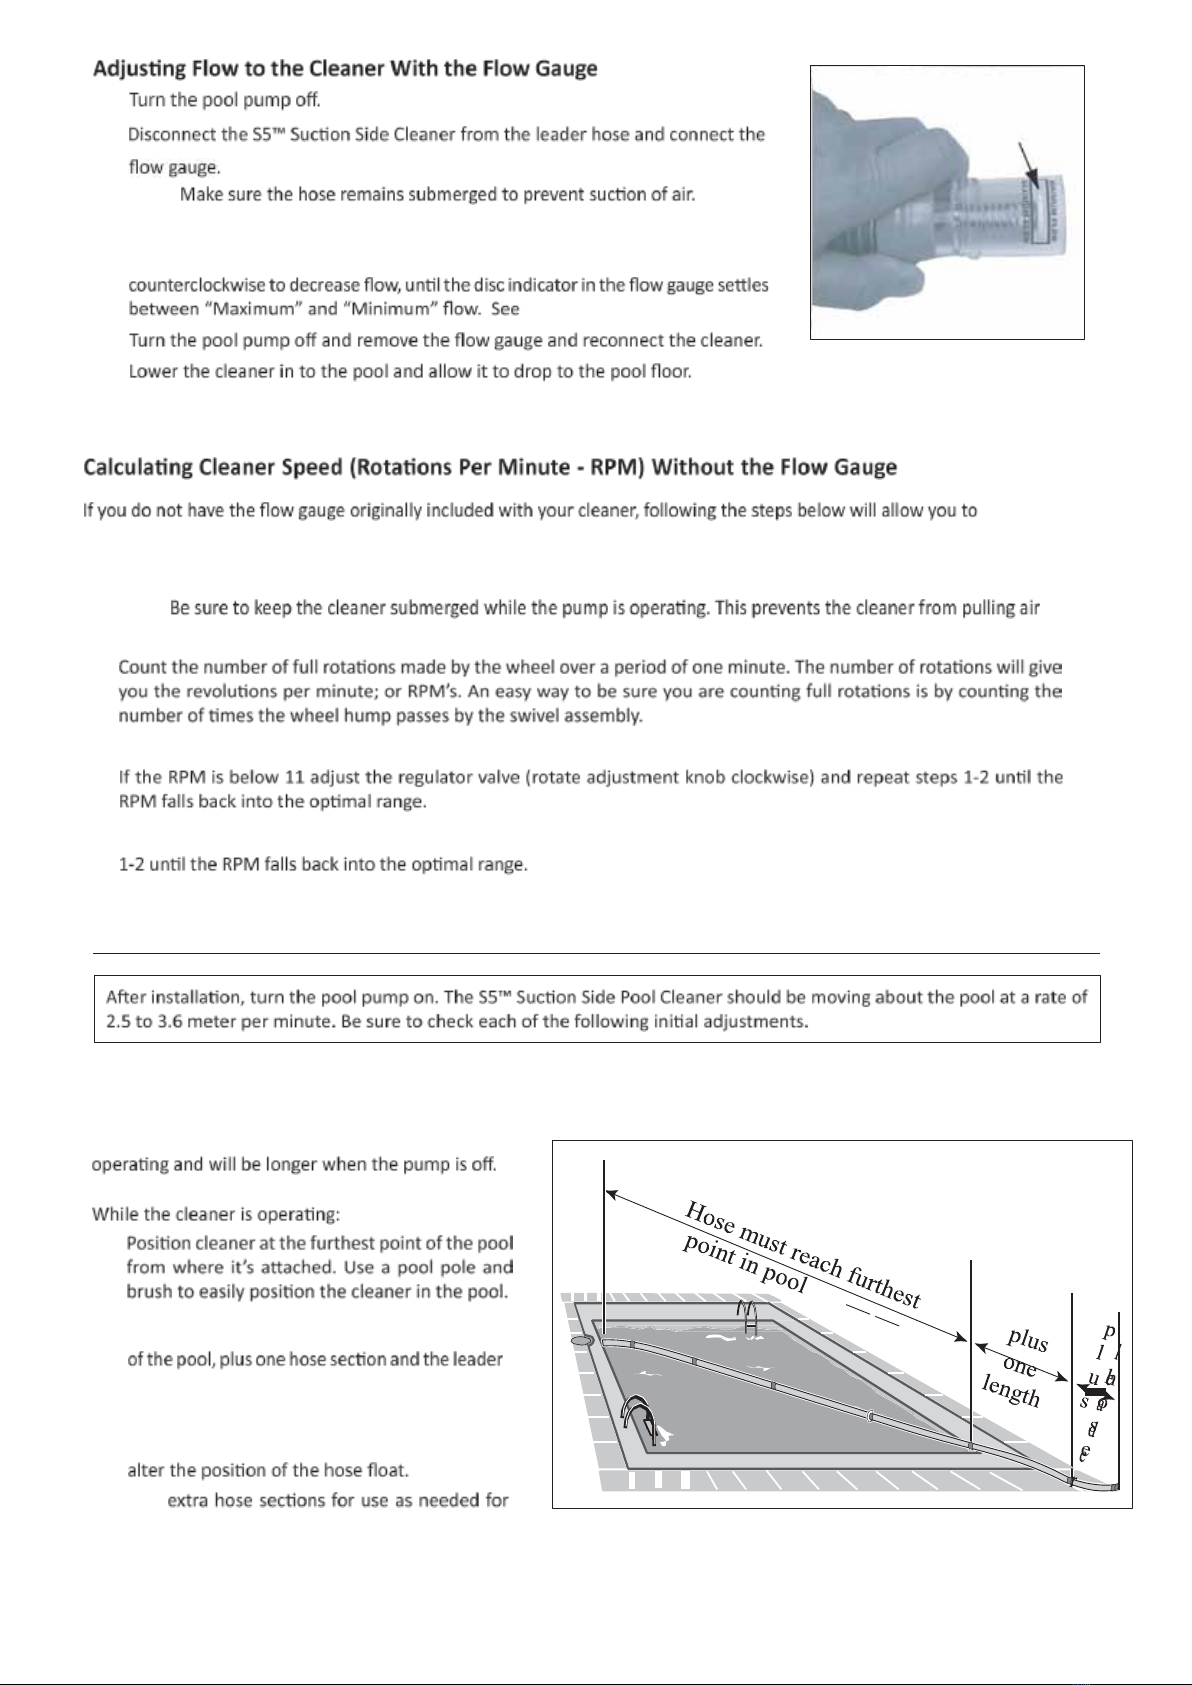
Check that hose is long enough to reach the furthest point in the pool.
Be sure that the swivel assembly (at top of cleaner) rotates smoothly. If not, the
swivel assembly may be dirty and require cleaning.
Cleaner climbs the wall too much or climbs
out of pool.
Cleaner won’t climb the pool walls.
Check to be sure that the leader hose has been installed and is in the correct
Cleaner stays on the main drain. Check to be sure that main drain is closed. May need assistance from a pool
professional.
Check to be sure a main drain grate is installed.
Cleaner falls on its side and takes too long to
recover.
Check to be sure that the leader hose has been installed and is in the correct
Check that the hose is long enough to reach the furthest point in the pool.
LIMITED WARRANTY : 2 YEARS
FURTHER DETAILS : www.astralpool.com.au