Flymaster Nav SD User manual

User manual
Document version:1.0
All rights reserved. Except as expressly provided herein, no part of this manual may be
reproduced, copied, transmitted, disseminated, downloaded or stored in any storage medium,
for any purpose without the express prior written consent of Flymaster Avionics Lda. herein
Flymaster Avionics.
Flymaster Avionics hereby grants permission to download a copy of this manual onto a hard
drive or other electronic storage medium to be viewed and to print a copy of this manual or of
any revision hereto, provided that such electronic or printed copy of this manual must contain the
complete text of this copyright notice and provided further that any unauthorised commercial
distribution of this manual or any revision hereto is strictly prohibited.
Information in this document is subject to change without notice. Flymaster Avionics re-
serves the right to change or improve its products and to make changes in the content without
obligation to notify any person or organisation of such changes or improvements. Visit the
Flymaster Avionics website (www.ymaster-avionics.com) for current updates and supplemental
information concerning the use and operation of this and other Flymaster Avionics products.
Warning
It is the sole responsibility of the pilot to operate the aircraft in a safe manner,
maintain full surveillance of all ying conditions at all times, and not become distracted by
the Flymaster NAV SD . Flymaster Avionics is not responsible for any damages resulting from
incorrect or no data provided by the Flymaster NAV SD . Flight safety is the sole responsibility
of the pilot.
It is unsafe to operate the Flymaster NAV SD while in the air. Failure by the pilot equipped
with a Flymaster NAV SD to pay full attention to the aircraft and ying conditions while ying
could result in accident with property damage and/or personal injury.

Contents
Page
1 Getting Started 4
1.1 Charging the Battery .................................. 4
1.2 NAV SD Keys ...................................... 4
1.3 Using keys Inside Menu ................................ 5
1.4 Switching NAV SD On and O ............................ 5
1.5 Resetting the NAV SD ................................ 6
1.6 Setting the Volume ................................... 6
1.7 Flight Start and Recording .............................. 6
2 Flight Mode 7
3 NAV SD Elements 8
3.1 Graphical Elements ................................... 8
3.1.1 Battery ..................................... 8
3.1.2 Sound ...................................... 8
3.1.3
GPS
....................................... 9
3.1.4 Vario ...................................... 9
3.1.5 Navigation Circle ................................ 11
3.1.6 Airspaces Map ................................. 13
3.1.7 Altitude graph ................................. 14
3.1.8 Wind Arrow .................................. 15
3.1.9 Map Page .................................... 15
3.2 Data eld Elements ................................... 17
4 Menu mode 21
4.1 Waypoints and Task .................................. 22
4.1.1 Waypoints Actions Menu ........................... 23
4.1.2 TaskList ..................................... 24
4.2 Task Delay ....................................... 27
4.3 TaskNavigator ..................................... 28
4.4 Critical Airspaces .................................... 28
4.5 Nearby Landings .................................... 29
4.6 Flight Log ........................................ 30
4.7 Pages .......................................... 32
4.8 Settings Menu ...................................... 34
4.8.1 Set Altimeter .................................. 34
4.8.2 Time ....................................... 35
4.8.3 Vario Acoustics ................................. 35
2

4.8.4 Alerts ...................................... 37
4.8.5 Advanced Features ............................... 38
4.8.6 Trace ...................................... 39
4.8.7 Screen ...................................... 41
4.8.8 Language/Units ................................ 43
4.8.9 Device Settings ................................. 43
4.8.10 RF Probes ................................... 43
4.8.11 Probe Alerts .................................. 44
4.8.12 Polar ....................................... 45
4.8.13 Data elds ................................... 46
4.8.14 FS Keys ..................................... 46
4.8.15 Navigation Settings .............................. 47
4.8.16 Airspace settings ................................ 47
4.8.17 GPS status ................................... 48
5 TaskDenition 50
5.1 Setting up the task ................................... 50
6 McCready Functions 53
7 Firmware 54
8 Interfacing with GPSDump 56
8.1 Conguring GPSDump ................................. 56
8.2 Uploading Waypoints .................................. 57
8.3 Downloading tracklogs ................................. 59
3
1 Getting Started
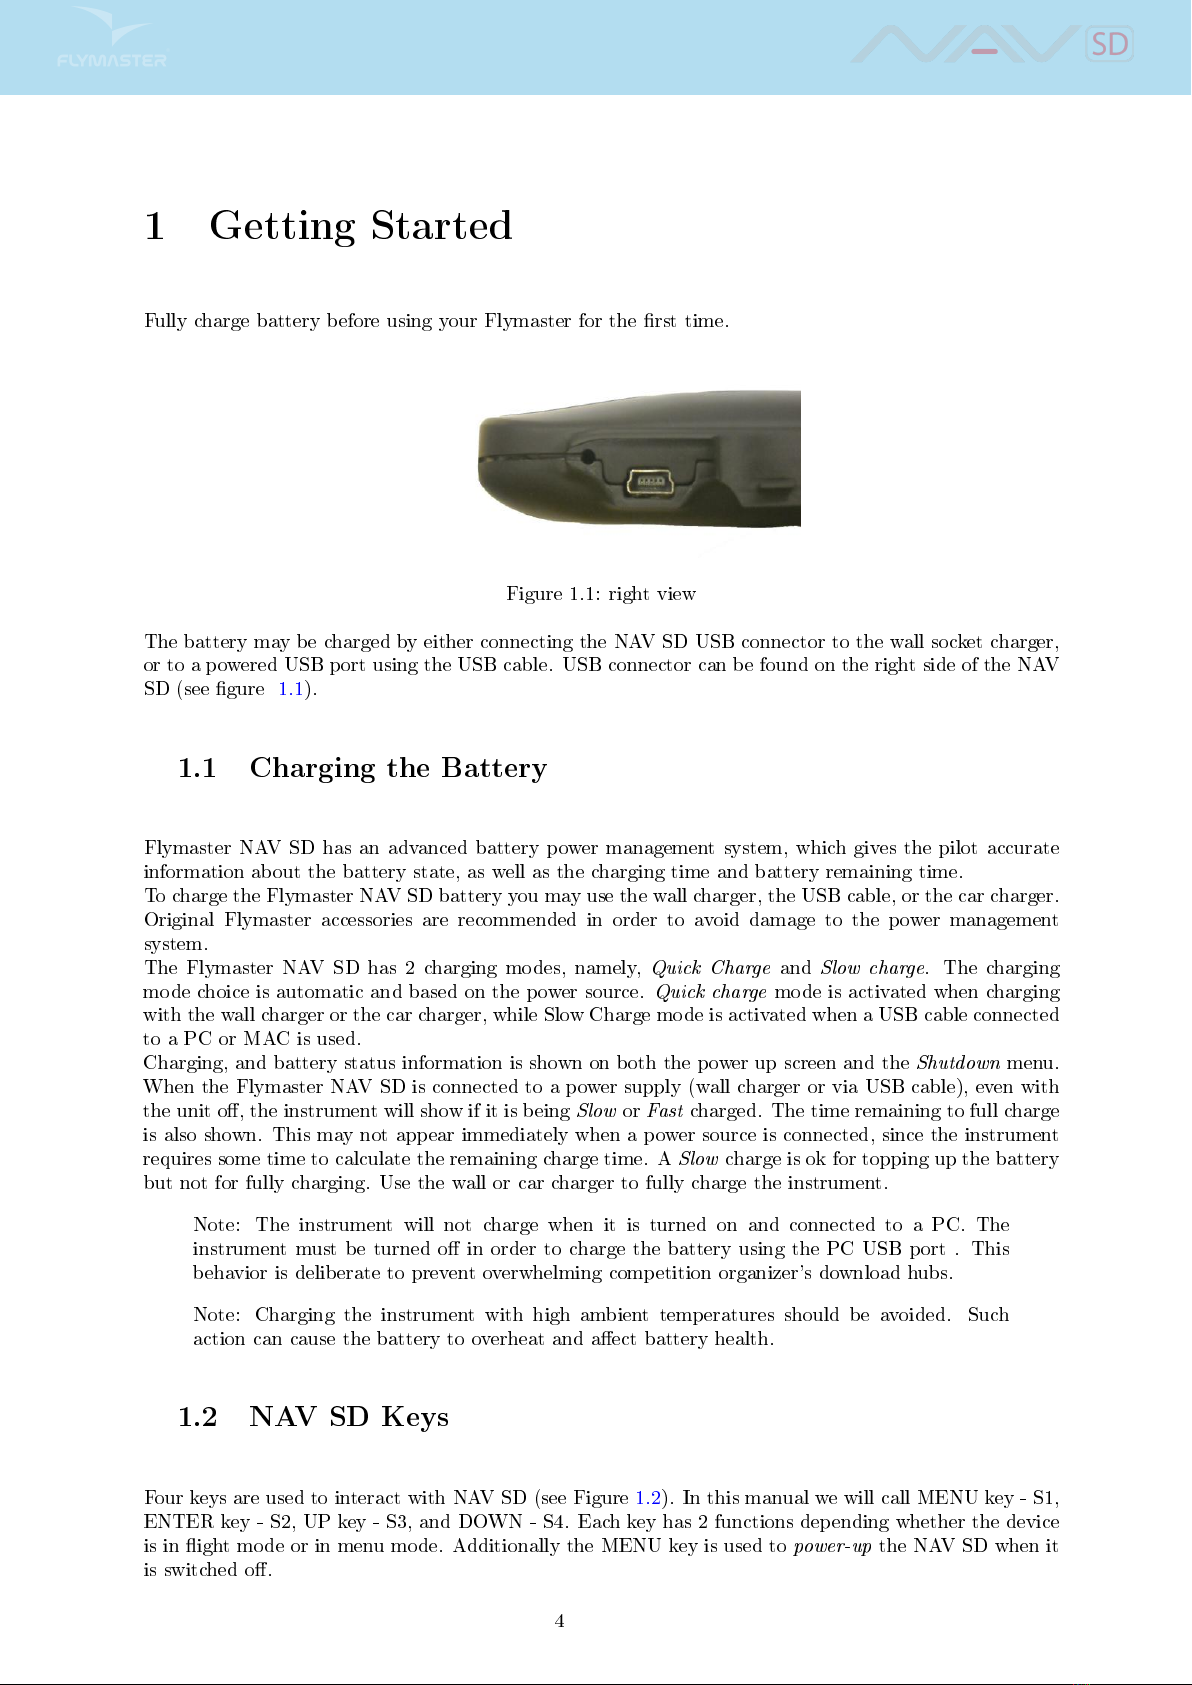
Fully charge battery before using your Flymaster for the rst time.
Figure 1.1: right view
The battery may be charged by either connecting the NAV SD USB connector to the wall socket charger,
or to a powered USB port using the USB cable. USB connector can be found on the right side of the NAV
SD (see gure 1.1).
1.1 Charging the Battery
Flymaster NAV SD has an advanced battery power management system, which gives the pilot accurate
information about the battery state, as well as the charging time and battery remaining time.
To charge the Flymaster NAV SD battery you may use the wall charger, the USB cable, or the car charger.
Original Flymaster accessories are recommended in order to avoid damage to the power management
system.
The Flymaster NAV SD has 2 charging modes, namely,
Quick Charge
and
Slow charge
. The charging
mode choice is automatic and based on the power source.
Quick charge
mode is activated when charging
with the wall charger or the car charger, while Slow Charge mode is activated when a USB cable connected
to a PC or MAC is used.
Charging, and battery status information is shown on both the power up screen and the
Shutdown
menu.
When the Flymaster NAV SD is connected to a power supply (wall charger or via USB cable), even with
the unit o, the instrument will show if it is being
Slow
or
Fast
charged. The time remaining to full charge
is also shown. This may not appear immediately when a power source is connected, since the instrument
requires some time to calculate the remaining charge time. A
Slow
charge is ok for topping up the battery
but not for fully charging. Use the wall or car charger to fully charge the instrument.
Note: The instrument will not charge when it is turned on and connected to a PC. The
instrument must be turned o in order to charge the battery using the PC USB port . This
behavior is deliberate to prevent overwhelming competition organizer's download hubs.
Note: Charging the instrument with high ambient temperatures should be avoided. Such
action can cause the battery to overheat and aect battery health.
1.2 NAV SD Keys
Four keys are used to interact with NAV SD (see Figure 1.2). In this manual we will call MENU key - S1,
ENTER key - S2, UP key - S3, and DOWN - S4. Each key has 2 functions depending whether the device
is in ight mode or in menu mode. Additionally the MENU key is used to
power-up
the NAV SD when it
is switched o.
4
Other manuals for Nav SD
1
Table of contents
Other Flymaster Accessories manuals


