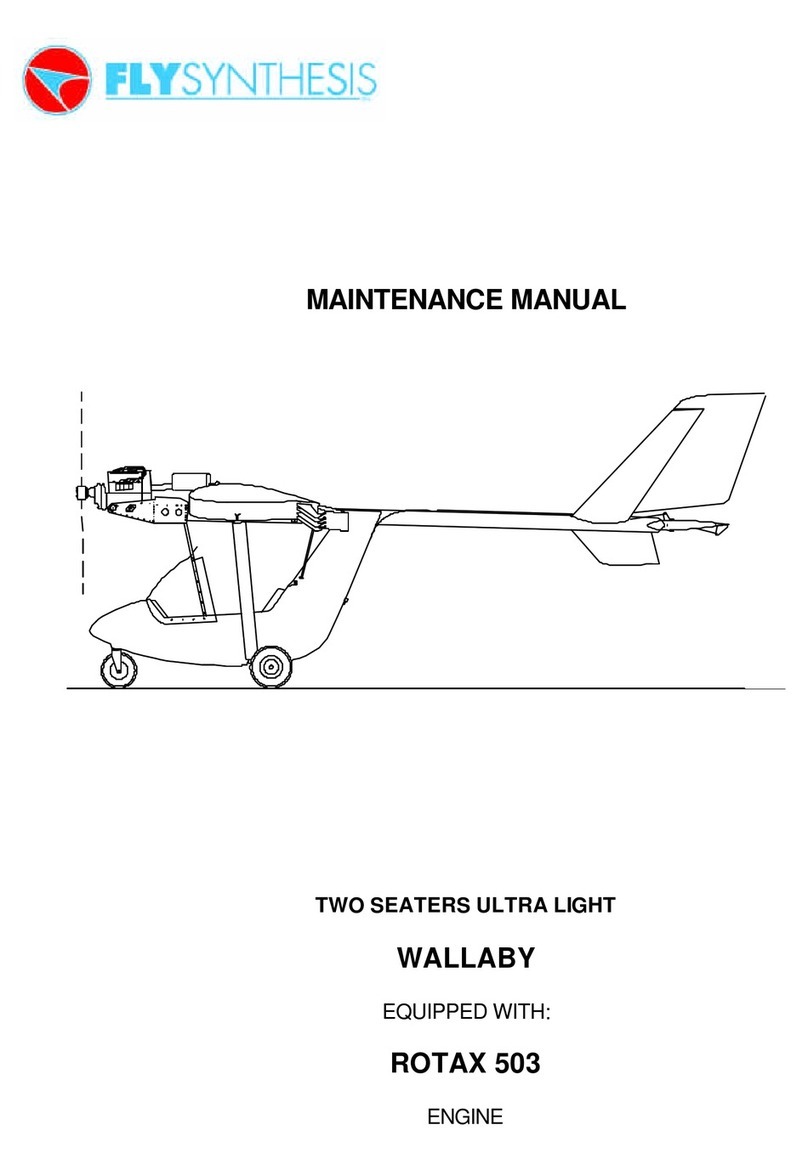
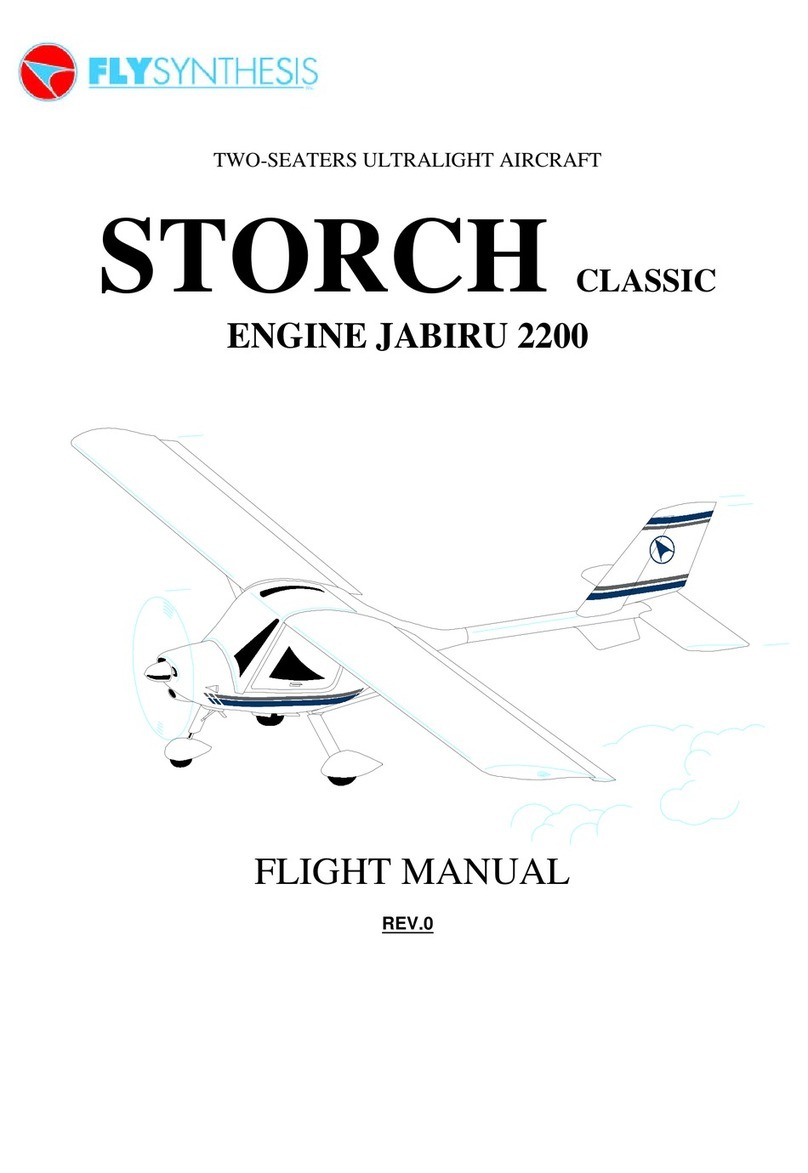
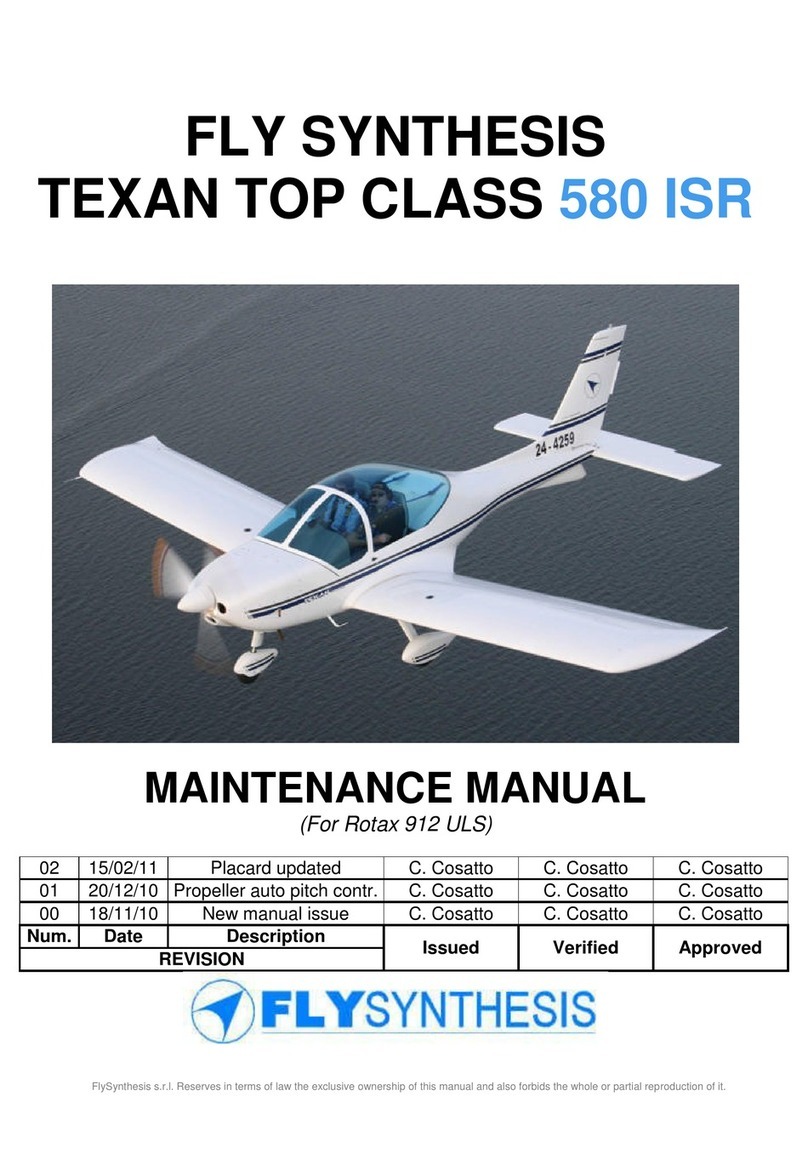
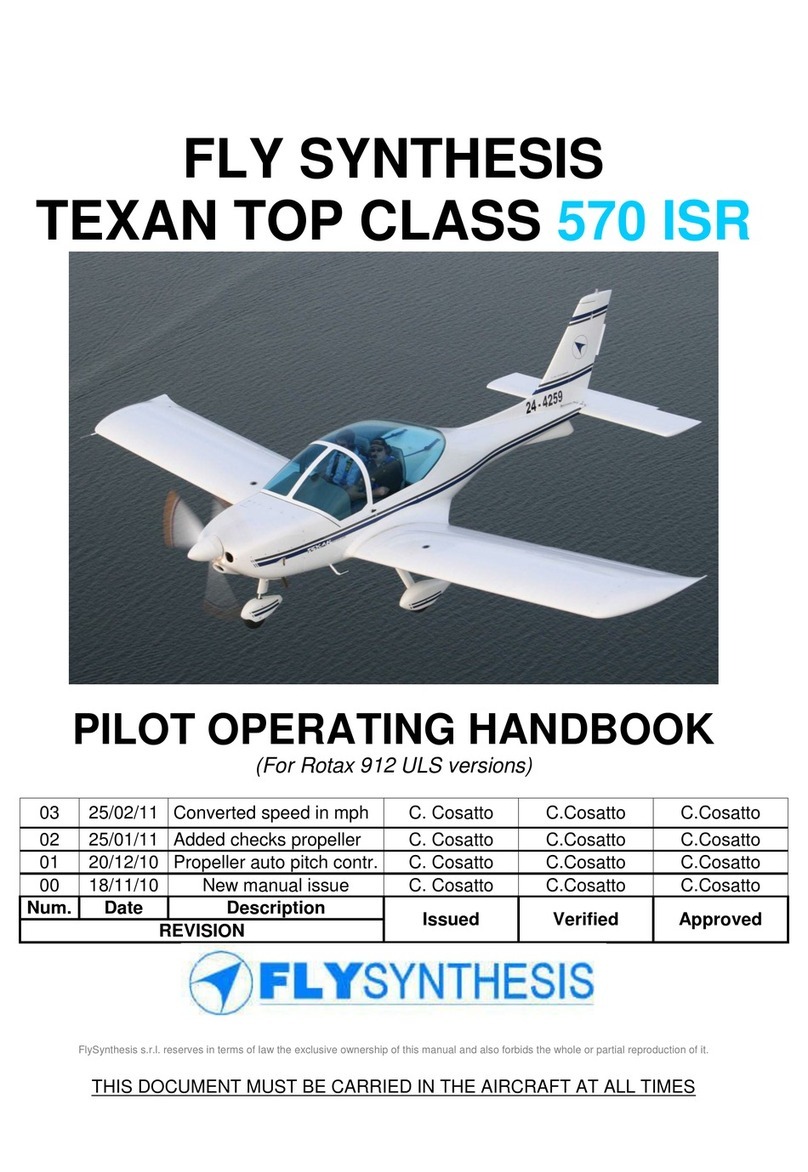
FlySynthesis STORCH CL User manual

STORCH
CL, HS, S VERSION
MAINTENANCE MANUAL
(VALID FOR ROTAX 912 UL/S, 582 UL DCDI AND JABIRU 2200 ENGINES)
01 20/apr/05 Updated manual M. Fiorindo R. Ciotti R. Ciotti
Num.
Date Description
REVISION Preparation Verify Approvation
The FlySynthesis s.r.l. it reserves him to terms of law the exclusive ownership of the present and it also forbids the partial reproduction of it.

AQ 002 Rev.00 Issued/Verify/Approval M. Garofolo 13/july/02
Identification: MM 002 Rev 01
Page: 2of 26
Date: 20/april/2005
Issued: M. Fiorindo
Verify: R.Ciotti
Approval: R. Ciotti
Revisions description:
Updated manual
Storch CL, HS, S
Maintenance Manual
(for Rotax 912 UL/S, 914 UL and
Jabiru 2200 version)
Log of revisions
All revisions to this Maintenance Manual must be recorded in the following table.
Revision Number Revision Date Signature
01 Updated manual Apr.05 M. Fiorindo

AQ 002 Rev.00 Issued/Verify/Approval M. Garofolo 13/july/02
Identification: MM 002 Rev 01
Page: 3of 26
Date: 20/april/2005
Issued: M. Fiorindo
Verify: R.Ciotti
Approval: R. Ciotti
Revisions description:
Updated manual
Storch CL, HS, S
Maintenance Manual
(for Rotax 912 UL/S, 914 UL and
Jabiru 2200 version)
Log of effective pages
Page Date
1Aprile 2005
2Aprile -2005
3Aprile -2005
4Aprile -2005
5Aprile -2005
6Aprile -2005
7Aprile -2005
8Aprile -2005
9Aprile -2005
10 Aprile -2005
11 Aprile -2005
12 Aprile -2005
13 Aprile -2005
14 Aprile -2005
15 Aprile -2005
16 Aprile -2005
17 Aprile -2005
18 Aprile -2005
19 Aprile -2005
20 Aprile -2005
21 Aprile -2005
22 Aprile -2005
23 Aprile -2005
24 Aprile -2005
25 Aprile -2005
26 Aprile –2005

AQ 002 Rev.00 Issued/Verify/Approval M. Garofolo 13/july/02
Identification: MM 002 Rev 01
Page: 4of 26
Date: 20/april/2005
Issued: M. Fiorindo
Verify: R.Ciotti
Approval: R. Ciotti
Revisions description:
Updated manual
Storch CL, HS, S
Maintenance Manual
(for Rotax 912 UL/S, 914 UL and
Jabiru 2200 version)
INDEX
Log of revisions 2
Log of effective pages 3
1ROUTINE MAINTENANCE 5
1.1 GENERAL 5
1.2 MAINTENANCE SCHEDULE 5
1.3 PRE-FLIGHT INSPECTION 7
1.4 DAILY INSPECTION 7
1.5 10-HOURS INSPECTION 9
1.6 20-HOURS INSPECTION 10
1.7 50-HOURS INSPECTION11
1.8 100-HOURS INSPECTION 13
1.9 150-HOURS INSPECTION 14
1.10200-HOURS INSPECTION OR TWO-YEAR INSPECTION (whichever occurs first). 15
1.11 300-HOURS INSPECTION OR TWO-YEAR INSPECTION (whichever occurs first).15
1.12 ANNUAL INSPECTION 16
2LUBRICATION 17
SCHEDULE INDEX
fig. 1 Routine Maintenance Table..........................................................................................6
fig. 2 LUBRICANTS and SEALANTS...............................................................................17
fig. 3 Routine Maintenance Schedule -Power plant ............................................................18
fig. 4 Special Inspections Only for Rotax 912 Engine..........................................................22
fig. 5 Routine Maintenance Schedule -Airframe.................................................................23
1

AQ 002 Rev.00 Issued/Verify/Approval M. Garofolo 13/july/02
Identification: MM 002 Rev 01
Page: 5of 26
Date: 20/april/2005
Issued: M. Fiorindo
Verify: R.Ciotti
Approval: R. Ciotti
Revisions description:
Updated manual
Storch CL, HS, S
Maintenance Manual
(for Rotax 912 UL/S, 914 UL and
Jabiru 2200 version)
1. ROUTINE MAINTENANCE
1.1 GENERAL
No other factors are quite important for the safety and reliability of, the aircraft and its components as a
regular and diligent attention to the routine maintenance steps carried out within the recommended
intervals.
The same applies for a prompt corrective action , introduced for all minor troubles found during the
aircraft in-service life.
This chapter contains the maintenance instructions and checks to be performed on the air-frame,
equipments and engine.
For detailed instructions applicable to the engine and its components (e.g. disassembly, cleaning,
inspection, testing, repair, lubrication, torque loads and reassembly), the operator should refer to the
Operator's Manual and Spare Parts List, last issues, published by engine manufacturer.
1.2 MAINTENANCE SCHEDULE
The maintenance schedule for STORCH is based upon 10 inspections to be accomplished within the
following limits.
PRE--FLIGHT INSPECTION: to be accomplished before each flight.
DAILY INSPECTION: to be accomplished daily, before beginning the flight activity.
10-HOURS INSPECTION: to be accomplished after 10 flight hours.
20-HOURS INSPECTION: to be accomplished after 20 flight hours.
50-HOURS INSPECTION: to be accomplished after 50 flight hours.
100-HOURS INSPECTION: to be accomplished after 100 flight hours.
150-HOURS INSPECTION: to be accomplished a after 150 flight hours.
200-HOURS INSPECTION: to be accomplished after 200 flight hours.
300-HOURS INSPECTION: to be accomplished after 200 flight hours.
ANNUAL INSPECTION: to be accomplished once a year independently of flight hours totalised.
GENERAL OVERHAUL: to be accomplished an airframe and engine at the manufacturer’s facilities after-
150 flight hours.

AQ 002 Rev.00 Issued/Verify/Approval M. Garofolo 13/july/02
Identification: MM 002 Rev 01
Page: 6of 26
Date: 20/april/2005
Issued: M. Fiorindo
Verify: R.Ciotti
Approval: R. Ciotti
Revisions description:
Updated manual
Storch CL, HS, S
Maintenance Manual
(for Rotax 912 UL/S, 914 UL and
Jabiru 2200 version)
fig. 1 Routine Maintenance Table
Flight hours
totalised New and
General
Inspection
10h
Inspection
20h
Inspection
50h
Inspection 100h
Inspection 150h
Inspection
Q.P.O.
200h
Inspection
Q.P.O.
300h
Inspection
Q.P.O.
New X
10 h X
20 h XX
30 h X
40 h XX
50 h XX
60 h XX
70 h X
80 h XX
90 h X
100 h XXXX
110 h X
120 h XX
130 h X
140 h XX
150 h XXX
160 h XX
170 h X
180 h XX
190 h X
200 h XXXXX
210 h X
220 h XX
230 h X
240 h XX
250 h XX
260 h XX
270 h X
280 h XX
290 h X
300 h XX
Q = Qualified P = Personnel O = Only

AQ 002 Rev.00 Issued/Verify/Approval M. Garofolo 13/july/02
Identification: MM 002 Rev 01
Page: 7of 26
Date: 20/april/2005
Issued: M. Fiorindo
Verify: R.Ciotti
Approval: R. Ciotti
Revisions description:
Updated manual
Storch CL, HS, S
Maintenance Manual
(for Rotax 912 UL/S, 914 UL and
Jabiru 2200 version)
1.3 PRE-FLIGHT INSPECTION
Refer to related paragraph of Flight Manual -last issue.
1.4 DAILY INSPECTION
Accomplish a complete Pre-Flight Inspection and the following additional operations:
(1) Ensure that the ignition key is REMOVED.
(2) Remove the upper and lower engine cowlings.
(3) Drain the fuel tanks as written in Flight Manual.
(4) Inspect the carburettor rubber socket or rubber -flange for damage and security of attachment.
(5) Remove the floating chamber from the carburettor and inspect for cleanliness and absence of
water.
(6) Verify the air filter for security of attachment.
(7) Inspect the ignition cable terminals for security of connections to spark plugs.Inspect. all
other-electrical connections for security.
(8) Verify the electrical starter for security of attachment.
(9) Verify the battery for security of attachment.
(10) Inspect the rubber shock absorbers and of engine mount for condition.
(11) Verify the fuel pump, the fuel filter and relevant hoses f-or security of attachment and fuel
(12) Verify the attaching bolts of drive reduction unit supporting plate for tightening.
(13) Turn the propeller by hand and inspect -For abnormal noise.
(14) Verify engine control cables for security.
(15) Check tires pressure for proper-inflation:
-Main wheels 1.2 -2.2 kg/cm2(17 -31 P.s.i.)
-Nose wheel 0.7 -1.0 kg/cm2(10 -14 P.s.i.)

AQ 002 Rev.00 Issued/Verify/Approval M. Garofolo 13/july/02
Identification: MM 002 Rev 01
Page: 8of 26
Date: 20/april/2005
Issued: M. Fiorindo
Verify: R.Ciotti
Approval: R. Ciotti
Revisions description:
Updated manual
Storch CL, HS, S
Maintenance Manual
(for Rotax 912 UL/S, 914 UL and
Jabiru 2200 version)
For aircraft equipped with ROTAX 582 UL engine:
In addition to inspections/checks listed in the previous item (1) through (15), accomplish the following additional
operations:
(16) Verify the radiator mounting -For security. Inspect the radiator for damage and leaks.
(17) Check the coolant level and security of filling cap.
(18) Inspect the coolant hoses for security, leaks and chafing.
(19) Inspect the cylinder heads cylinders and water pump for leaks.
(20) Verify the lubrication oil content in the rotary valve and security of filling cap.
(21) Inspect the oil hoses relevant to rotary valve gear lubrication and oil injection systems for
Security, leaks and chafing.
(22) Verify the integrity of safety locking wires of gearbox, drain and oil level plugs.
(23) BY pushing and pulling the engine shaft along its axis, check the bearings for abnormal play.
For aircraft equipped with ROTAX 912 UL engine:
In addition to inspections/checks listed in the previous item (1) through (15), accomplish the following additional
operations:
(24) Verify the oil and water radiator mounting -For security. Inspect the radiator for damage and leaks.
Check the coolant level and security of filling cap.
(25) Inspect the coolant hoses for security, leaks and chafing.
(26) Inspect the cylinder heads cylinders and water pump for leaks.
(27) Verify the lubrication oil content and security of filling cap.
(28) Inspect the oil hoses relevant to gear lubrication and oil injection systems for Security, leaks
and chafing.
(29) Verify drain and oil level plugs.
(30) BY pushing and pulling the engine shaft along its axis, check the bearings for abnormal play.

AQ 002 Rev.00 Issued/Verify/Approval M. Garofolo 13/july/02
Identification: MM 002 Rev 01
Page: 9of 26
Date: 20/april/2005
Issued: M. Fiorindo
Verify: R.Ciotti
Approval: R. Ciotti
Revisions description:
Updated manual
Storch CL, HS, S
Maintenance Manual
(for Rotax 912 UL/S, 914 UL and
Jabiru 2200 version)
1.5 10-HOURS INSPECTION
(1) Ensure that the ignition key is REMOVED.
(2) Check the manifold attaching bolts and the cylinder head nuts (only air-cooled engines) for proper
torque. Above check should be performed after the first 10 flight hours only.
For sequence and torque loads refer to engine Operator's Manual -last issue.
(3) Inspect the air and fuel filters for clogging.
(4) Inspect the rewind starter rope for conditions (this interval is applicable to aircraft equipped with
engine manual starting only).
Worn or -Frayed ropes are not acceptable. For replacement procedure, refer to engine Operator's Manual -last
issue.
(5) For aircraft equipped with drive belt reduction unit, check: belt tension as follows:
(a) Apply a force of 10 Kg (22 lbs) in the middle of each belt.
(b) Measure the deflection on each belt which should result 7 mm approx. (0.270 in). If
necessary adjust the belt tension as detailed the subsequent items (c), (d), (e) and
(f).
(c) Remove the spinner (if installed) and the propeller.
(d) Using a socket wrench unloose the self-locking nut; for this operation apply an
opposite torque on the proper housing located in the eccentric. To increase the belt
tension turn the eccentric clockwise.
(e) Torque the self-locking nut to 60 Nm (5:1,2 Lbs.in).
(f) Reinstall the propeller. Torque the attaching bolts to 15 Nm (133 lbs.in).
(6) Remove and check the spark plugs for condition. For evaluation criteria consult the engine
Operator's Manual. Spark Plug torque load: 27 Nm (240 lbs-in). Using a suitable solvent ,
clean the ignition cables terminals.
(7) Carefully inspect the whole exhaust system (manifold, muffler, elbow) for cracks; verify the
serviceability of retaining -springs and rubber buffers.
(8) Using a suitable, neutral, aqueous, free of solvents and abrasives detergent, clean the wings
and empennage.
In performing this operation take care that some detergent does not penetrate inside the
airframe: this to avoid contaminations and corrosions in not inspection able places.

AQ 002 Rev.00 Issued/Verify/Approval M. Garofolo 13/july/02
Identification: MM 002 Rev 01
Page: 10 of 26
Date: 20/april/2005
Issued: M. Fiorindo
Verify: R.Ciotti
Approval: R. Ciotti
Revisions description:
Updated manual
Storch CL, HS, S
Maintenance Manual
(for Rotax 912 UL/S, 914 UL and
Jabiru 2200 version)
1.6 20-HOURS INSPECTION
(1) Ensure that the ignition key is REMOVED.
(2) Check: the electrolyte level in the battery.
Replace the spark plugs. For replacement procedure
consult the engine Operator's Manual -last issue.
When engine is cold torque the spark plugs to 27 Nm
(240 lbs-in).
(3) Check the propeller attaching bolts for proper torque.
Required torque load: 15 Nm (133 lbs-in).
(4) Check the-driven wheel self locking nut for proper torque.
Required torque load: 60 Nm (532 lbs-in).
(5) Check the driving wheel attaching bolt for proper torque.
Required torque load: 60 Nm (532 Lbs-in).
(6) Check for proper torque the self-locking nuts and securing the engine to its housing and to the engine
mount respectively.
Torque loads required: nuts: 8 Nm (337 lbs-in); nuts: 22 Nm (195 lbs-in).
(7) Check for proper torque the self-locking nuts securing the engine mount to the fuselage. Torque
load, required: 10 Nm (89 lbs-in).
(8) Check for proper torque the self-locking nuts securing the shock absorbers and to the engine mount .
Torque load required: 10 NT, (89 lbs-ini).
(9) Check for proper torque the bolts securing the-engine cowling to the cylinder heads.
Torque load required: 15 Nm (133 lbs.in).
(10) Carefully inspect the brake control cables for condition (e.g. wear, broken wires) and security of
attachments.
Check that cables conduits are not bended or damaged.
(11) Inspect the push-pull control cables (55), (116) and the trim control cable (103) for general
conditions and, in particular, for cleaning and security of attachments.
(12) Ref. I.F'.C. Fig. 3: check tightening of self-locking nuts (5) and (3) securing the wings to
the tubular framework.
(13) Ref. I.P.C. Fig. 3: check tightening of self locking nuts (42) securing the wing brace struts.
(14) Ref. I.F'.C. Fig. 3: check tightening of self-locking nuts (14), (25), (32) securing the aileron control
1inkages.
(15) Ref. I.P.C. Fig. 3.. check tightening of bolts (21), (28) attaching the aileron hinge supporting plates
(19), (20), (26), (27) to the wings.
(16) Ref. I.P.C. Fig. 7, sheet 4 of 4: check tightening of self-locking nuts (119) attaching the
push-pull control cable to the rudder and (141), (145) securing the rudder hinge pins.
(17) Ref. I.P.C. Fig. 7, sheet 2 of 4: check tightening of self-locking nuts (58) attaching the push-pull
control cables to stabilator hinge support and nuts (72) securing the hinge pin (70).
The same check should be performed on nuts (66) attaching the stabilator to its hinge support
(67) and nut (79) connecting the hydraulic damper (77) to the same support (67).
(18) Ref. I.P.C. Fig. 7, sheet 2 of 4: check tightening of
self-locking nuts (90), (95), (99), (102), relevant to the anti-tab tension/regulator device.
Check the operating rod (96) for abnormal play.
(19) Check: all fuel hose connections for security.
(20) For engines equipped with drive reduction gear only: check oil level in the gearbox.

AQ 002 Rev.00 Issued/Verify/Approval M. Garofolo 13/july/02
Identification: MM 002 Rev 01
Page: 11 of 26
Date: 20/april/2005
Issued: M. Fiorindo
Verify: R.Ciotti
Approval: R. Ciotti
Revisions description:
Updated manual
Storch CL, HS, S
Maintenance Manual
(for Rotax 912 UL/S, 914 UL and
Jabiru 2200 version)
1.7 50-HOURS INSPECTION
(1) Ensure that the ignition key is REMOVED.
(2) Remove the exhaust manifold and carefully inspect the cylinders and piston crowns for carbon
deposits.
If deposit thickness is higher than 0,5 mm (.02 in) decarbonising is required.
For decarbonising, remove the cylinders and the piston rings. Clean the piston ring grooves, piston
crowns and cylinders.
Replace all gaskets and/or rubber rings.
Qualified personnel should accomplish this operation only.
(3) Using a suitable plastic tool move each piston sideway and check for ring sticking in grooves.
Replace gaskets and reinstall the exhaust manifold. Torque the attaching bolts to 22 Nm (195 lbs x
in).
(4) For aircraft equipped with engine electrical starter: remove the electric starter and check the pinion
gear for wear. Reinstall the Assembly and torquethe attaching nuts to 22 Nm (195 lbs.in).
(5) Check engine control cables for proper tension and interference with other equipments.
Clean and lubricate as necessary.
On the carburettor: verify the RPM and CHOKE operating levers for freedom of movement.
(6) Check the carburettor for cleaning and proper adjustment in accordance with engine Operator's
Manual -last issue.
(7) Using a flashlight and a mirror carefully inspect the flight control linkages located behind the
fuselage main frame (just behind the seats) and under the cabin floor ensuring that all self-locking
nuts are securely tightened.
Check all linkage components for wear, smooth operation and interference.
Clean the affected area as necessary.
(8) Thoroughly clean the control stick articulations and examine the assembly for damage and wear.
Verify that all components are secured and the articulation movements are smooth.
Lightly lubricate all moving parts and rod end bearings without rubber protection in accordance with
paragraph. 2 -LUBRICATION.
(9) Ref. I.P.C. Fig. 7, sheet 2 of 4: check tightening of self-locking nuts (76) securing the stabilator
hinge supporting plates (73).
(10) Ref. I.P.C. Fig. 7, sheet 3 of 4: check tightening of pedals hinge bolts (109) and retaining screws
(111). I
(11) Check main landing gear wheels and nose wheel for freedom of rotation. Ensure that bearings are
not noisy and without abnormal play.
(12) Replace the oil in the hydraulic shock strut of nose landing gear.
For this proceed as follows:

AQ 002 Rev.00 Issued/Verify/Approval M. Garofolo 13/july/02
Identification: MM 002 Rev 01
Page: 12 of 26
Date: 20/april/2005
Issued: M. Fiorindo
Verify: R.Ciotti
Approval: R. Ciotti
Revisions description:
Updated manual
Storch CL, HS, S
Maintenance Manual
(for Rotax 912 UL/S, 914 UL and
Jabiru 2200 version)
(a) Remove the lower screw located in the cylinder bottom and the upper one located in the strut;
completely drain the existing oil.
(b) Once the drain is completed reinstall the lower screw and refill through the threaded hole of
upper screw.
Use 140 cc of oil specified in the paragraph. 2 LUBRICATION.
(13) Check the shock strut piston for abnormal play; both transversal and longitudinal play should be 2 -
3 mm max. (.078 in -.120 in max).
Check for no torsional play between pedals and nose wheel.
(14) Ref. I.P.C. Fig. 4: check tightening of self-locking nuts (5), (8), (13), (16), (20), (24).
(15) Re-F. I.P.C. Fig. 5: support the aircraft and remove the main landing gear RH and LH struts (14);
clean the strut housings located in the tubular framework (1) and in the axle assemblies (18), (19).
Lubricate strut housings as necessary in accordance with paragraph. 2 LUBRICATION.
(16) Ref. I.P.C. Fig. 5: reinstall the main landing gear struts and check the self-locking nuts (5), (8), (11),
(17), (24), (33) for tightening.

AQ 002 Rev.00 Issued/Verify/Approval M. Garofolo 13/july/02
Identification: MM 002 Rev 01
Page: 13 of 26
Date: 20/april/2005
Issued: M. Fiorindo
Verify: R.Ciotti
Approval: R. Ciotti
Revisions description:
Updated manual
Storch CL, HS, S
Maintenance Manual
(for Rotax 912 UL/S, 914 UL and
Jabiru 2200 version)
1.8 100-HOURS INSPECTION
(1) Ensure that the ignition key is REMOVED.
(2) Ref. I.P.C. Fig. 6: replace the 6 ea. Exhaust system-retaining springs (28).
(3) Ref. I.P.C. Fig. 6: replace the 3 ea. Muffler buffers
(4) Ref. I.P.C. Fig. 8: replace the fuel filter (7) cartridge.
(5) Ref. I. P.C. Fig. 6: inspect the carburettor air r filter cartridge (7) for damage and clogging.
Replace if necessary or carefully clean the same.
(6) If the aircraft normally operates in very dusty environment, an accurate inspection to piston and
cylinders is required.
To accomplish this inspection the cylinders and pistons removal is requested.
Under normal environment conditions this check should be performed during the 150-hours
inspection.
For what above-mentioned the relevant operations are listed in the relative paragraph.
(7) Remove the fuel pump and clean it inside.
Check the pump for general conditions.
For engines equipped with drive reduction gearbox:
(8) Replace the gearbox, lubrication oil.
The oil replacement is also required after 2 years from last filling. Apply whichever occurs
first.
For relevant procedure, refer to the engine Operator's Manual -last issue.
(9) Check and adjust the preload of "knuckle -joint" spring washers (applicable to gearboxes type A-B).
The adjustment should be performed by qualified personnel only (see ROTAX Service Bulletin
6UL86/E dated Dec. 1986).
(10) For ROTAX -582 UL engines only: replace the rotary valve gear 1Librication oil. For relevant
procedure refer to engine Operator's Manual -last issue.
(11) Ref. I.P.C. Fig. 6: using a 10X magnifying glass Carefully inspect all welding relevant to, engine
housing (4) and engine mount (11) for cracks.
(12) Check tightening of self-locking nuts securing the seat belts (I.P.C. Fig.2, items 10 -14 and Fig. 5
item 11).
(13) Remove the main landing gear wheels and check the brake linings for wear.
Lubricate the brake operating levers (see paragraph 4.2.10 -LUBRICATION).
(14) Control handles in the cabin: disconnect all control cables and check for wear and broken wires;
check terminals for security.
Replace cables if necessary.
(15) Control handles in the cabin: carefully inspect all handles for cleanliness, damage, wear (abnormal
play) and security of attachment.
(16) Support the fuselage and remove the landing gear legs (2 ea.).
Check each leg for linearity.
Distortion allowed: 10 mm MAX (.40 in MAX) measured on one end.
Check if there are flaws with a magnifying glass. If found replace legs.
Clean the housing of legs and legs and put new graphite grease.

AQ 002 Rev.00 Issued/Verify/Approval M. Garofolo 13/july/02
Identification: MM 002 Rev 01
Page: 14 of 26
Date: 20/april/2005
Issued: M. Fiorindo
Verify: R.Ciotti
Approval: R. Ciotti
Revisions description:
Updated manual
Storch CL, HS, S
Maintenance Manual
(for Rotax 912 UL/S, 914 UL and
Jabiru 2200 version)
1.9 150-HOURS INSPECTION
WARNING
DUE TO THEIR COMPLEXITY, QUALIFIED PERSONNEL SHOULD ACCOMPLISH
THE FOLLOWING OPERATIONS ONLY.
FOR DETAILED INSTRUCTIONS AND TECHNICAL DATA APPLICABLE TO ENGINE,
MAINTENANCE REFERS TO OPERATQR’S MANUAL LAST ISSUE.
(1) Ensure that the ignition key is REMOVED.
(2) Ref. ROTAX Spare parts List, Fig. 15 (-For 503 engine) and Fig. 14 (for 582 engine): remove from
the carburettor the jet needle (4) and needle jet (15)-, carefully examine these items for damage and
ovalization. Replace if necessary.
(3) Remove the cylinder heads and cylinders assemblies than proceed as follows:
-Examine the barrel and cylinder heads -f or condition and carbon deposits. Decarbonise as necessary.
-Examine the piston ring grooves for condition.
-Check piston and barrel diameters verifying the clearance between each piston and associated barrel,
which should result 0.07 -0.08 mm (0.0028 -0.0032 in).
-Check the axial play of lower piston ring (with rectangular section).
-Examine inside the barrels +or scorings.
-Examine the crankshaft for damage, corrosion, wear and abnormal noise.
(4) On the reassembling replace the following items:
-cylinder gaskets;
-cylinder head gaskets / rings;
-crankshaft outer seals;
-exhaust manifold gaskets;
-piston pins and needle bearings.
(5) Accomplishing the engine reassembly it is recommended to strictly observe the torque
loads required which are in the Operator's Manual and in the "Description" of Spare Parts
List -last issues.
(6) General airframe overhaul.

AQ 002 Rev.00 Issued/Verify/Approval M. Garofolo 13/july/02
Identification: MM 002 Rev 01
Page: 15 of 26
Date: 20/april/2005
Issued: M. Fiorindo
Verify: R.Ciotti
Approval: R. Ciotti
Revisions description:
Updated manual
Storch CL, HS, S
Maintenance Manual
(for Rotax 912 UL/S, 914 UL and
Jabiru 2200 version)
1.10 200-HOURS INSPECTION OR TWO-YEAR INSPECTION (whichever occurs first).
(1) Ensure that the ignition key is REMOVED.
(2) Check all push-pull control cables and replace if necessary (4 ea.).
(3) Check all flexible control cables and replace if necessary(5 ea.).
(4) Check the ailerons hydraulic dampers ( old models) (6 ea.),
(5) Overhaul the stabi1ator hydraulic damper ( old models) (1 ea.),
(6) Check the front (2 ea.) and rear (2 ea.) engine mount shock absorbers and replace them if
necessary
1.11 300-HOURS INSPECTION OR TWO-YEAR INSPECTION (whichever occurs first).
(1) Check all push-pull control cables and replace if necessary (4 ea.).
(2) Check all flexible control cables and replace if necessary (5 ea.).
(3) Check the front (2 ea.) and rear (2 ea.) engine mount shock absorbers and replace them if
necessary
(4) Replace legs of main landing gear

AQ 002 Rev.00 Issued/Verify/Approval M. Garofolo 13/july/02
Identification: MM 002 Rev 01
Page: 16 of 26
Date: 20/april/2005
Issued: M. Fiorindo
Verify: R.Ciotti
Approval: R. Ciotti
Revisions description:
Updated manual
Storch CL, HS, S
Maintenance Manual
(for Rotax 912 UL/S, 914 UL and
Jabiru 2200 version)
1.12 ANNUAL INSPECTION
(1) Ensure that the ignition key is REMOVED.
(2) Using a suitable torque wrench check the cylinder head securing nuts for proper torque. Torque load
required: 22 Nm (195 lbs.in).
(3) Carefully examine all rivets for security of attachment. Rivets loosened should be replaced.
(4) Bolts and self-locking nuts relevant to the installations listed below should be checked for
tightening:
-Light controls and associated supporting devices;
-connections engine -airframe;
-engine controls and associated supporting devices;
-landing gear.
(5) Verify the nose landing gear for proper operation of hydraulic shock absorber.
(6) Using a 10 X magnifying glass carefully inspect for cracks all welding relevant to:
-tubular framework interconnecting the wings;
-tubular framework supporting the main landing gear;
-nose gear drag struts (2 ea.);
-wheel axles (2 ea.);
-aileron torque tubes (2 ea.);
-pedals assemblies;
-stabilator hinge support;
-exhaust system components (manifold -elbow muffler);
-engine mount.
(7) Front and rear wing fittings: using a vernier slide gauge check the hole diameters by taking two
measures at right angle each other (one vertically and the other horizontally).
Ovalization allowed: 0,5 mm MAX (.02 in MAX).
(8) Carefully examine the wing fitting attaching bolts (4 c-,a.) for damage, distortion and corrosion.
Indentations on bolt working area are not acceptable.
(9) Wing brace strut end fittings:
using a vernier slide gauge check the hole diameters by taking two measures at right angle each
other (one along the fitting centre line and the other at right angle).
Ovalization allowed: 0,4 mm MAX (.(D16 in MAX).
(10) Wing brackets for brace struts:
with the same method used in the previous item (9) check the hole diameters.
Ovalization allowed: 0,4 mm MAX (.016 in MAX).

AQ 002 Rev.00 Issued/Verify/Approval M. Garofolo 13/july/02
Identification: MM 002 Rev 01
Page: 17 of 26
Date: 20/april/2005
Issued: M. Fiorindo
Verify: R.Ciotti
Approval: R. Ciotti
Revisions description:
Updated manual
Storch CL, HS, S
Maintenance Manual
(for Rotax 912 UL/S, 914 UL and
Jabiru 2200 version)
2LUBRICATION
Effective lubrication forms the most important single item in the servicing of any mechanical equipment. The
lubricants specified in Table 4 have been selected to provide an effective lubrication aver the widest aircraft
operating conditions.
To lubricate the parts shown -in Fig. 4-2, 4-3, 4-4, 4-5, 4-6, 4-7, 4-8 use lubricants sparingly providing a
preventive, cleaning.
In Table 4 are also Listed the sealing products used; sealants
should be applied after each removal of
concerned parts and/or whenever, during the inspection, the sate are found loosened.
fig. 2 LUBRICANTS and SEALANTS
CODE
DESCRIPTION
PRODUCT
AWaterproof and high adhesively spray lubricant HHS 2000
Art. 0893 106 -500 ml
Art. 0893 106 -150 ml
Manufacturer:
WURTH Srl
39018 Terlano -Settequerce (Bz) Italy
BAnti seizing compound MOLYCOTE
DOW Corning GmbH
Monaco (Germany)
Cat n° 57236
CSealant medium grade AREXONS
Cod. n° 4705
DSealant high grade LOCTITE 270
Cat. n° 27046
ESealant for joints LOCTITE 572
Cat. n° 57236
FHydraulic oil for nose landing gear shock absorber Type LI/22
Manufacturer:
RAFFINERIA OLII LUBRIFICANTI
20093 COLOGNO MONZESE (Mi)
Italy

fig. 3 Routine Maintenance Schedule -Power plant
Inspection / Checks --- Hours 10 20 30 40 50 60 70 80 90 100
110
120
130
140
150
160
170
180
190
200
210
220
230
240
250
260
270
280
290
300
1. torque exhaust manifold
bolts
X
2. Torque cylinder head
nuts (air-cooled engines
only)
X
3. Check air filter and fuel
filter for conditions
XXXXXXXXXXXXXXXXXXXXXXXXXXXXX
4. Check rewind starter rope
for conditions (manual
start engine only)
XXXXXXXXXXXXXXXXXXXXXXXXXXXXX
5. Check belt tension of
drive reduction unit
XXXXXXXXXXXXXXXXXXXXXXXXXXXXX
6. Inspect spark plugs for
conditions and clean
ignition cable terminal
XXXXXXXXXXXXXXXXXXXXXXXXXXXXX
7. Check exhaust system for
cracks and serviceability
of retaining springs and
rubber buffers
XXXXXXXXXXXXXXXXXXXXXXXXXXXXX
8. Check level of electrolyte
in the battery
XXXXXXXXXXXXXX
9. Replace spark plugs XXXXXXXXXXXXXX
10. Torque propeller
mounting bolts
XXXXXXXXXXXXXX
11. Torque self-locking nut
and mounting bolt of
driven and driving
wheels in the reduction
unit (belt type)
XXXXXXXXXXXXXX
12. Torque self-locking nuts
relevant to engine
installation on its
housing and assembly on
engine mount
XXXXXXXXXXXXXX

AQ 002 Rev.00 Prep/Ver./App. M. Garofolo 13/luglio/2002
Identification: 002 Rev 01
Page : 19/26
Date: 20/april/2005
Preparation: M. Fiorindo
Verify: R.Ciotti
Approvation: R. Ciotti
Revisions description:
Updated manual
Maintenance Manual
Storch CL, HS, S
(valid for Rotax 912 UL/S, 582 UL
DCDI and Jabiru 2200 engines)
Inspection / Checks --- Hours 10 20 30 40 50 60 70 80 90 100
110
120
130
140
150
160
170
180
190
200
210
220
230
240
250
260
270
280
290
300
13. Torque engine mount
self-locking nuts
XXXXXXXXXXXXXX
14. Torque shock absorber
self-locking nuts
XXXXXXXXXXXXXX
15. Torque cylinder head
cowling retaining bolts
XXXXXXXXXXXXXX
16. Check oil level in
gearbox
XXXXXXXXXXXXXX
17. Inspect cylinder and
cylinder heads for
carbon deposits.
Replace exhaust
manifold gaskets.
Cylinder and cylinder
heads gaskets should be
replaced if these items
are removed only.
XXXXX
18. Inspect piston rings for
sticking
XXXXX
19. Inspect electric starter
pinion gear for wear
XXXXX
20. Check engine control
cables for proper
tension and control
handles for smooth
operation. Clean and
lubricate as necessary.
XXXXX

AQ 002 Rev.00 Prep/Ver./App. M. Garofolo 13/luglio/2002
Identification: 002 Rev 01
Page : 20/26
Date: 20/april/2005
Preparation: M. Fiorindo
Verify: R.Ciotti
Approvation: R. Ciotti
Revisions description:
Updated manual
Maintenance Manual
Storch CL, HS, S
(valid for Rotax 912 UL/S, 582 UL
DCDI and Jabiru 2200 engines)
Inspection / Checks --- Hours 10 20 30 40 50 60 70 80 90 100
110
120
130
140
150
160
170
180
190
200
210
220
230
240
250
260
270
280
290
300
21. Check carburettor for
cleanliness and proper
adjustment.
XXXXX
22. Replace exhaust
muffler retaining spring
XX
23. Replace exhaust
muffler buffers
XX
24. Replace cartridge in
the fuel filter
XX
25. Replace or clean the
cartridge in the air filter
XX
26. Inspect pistons and
cylinders for condition
(if the aircraft normally
operates in very dusty
environments)
XX
27. Clean inside the fuel
pump
XX
28. Replace oil in the
gearbox
XXX
29. Check/adjust the spring
washers of “knuckle
joint” in the gearbox
(A-B) types only)
XX
30. Replace rotary valve
lubrication oil (582 UL
engine only)
XX
This manual suits for next models
2
Table of contents
Other FlySynthesis Aircraft manuals
Popular Aircraft manuals by other brands
Eiri-Avion
Eiri-Avion PIK-20 Repair manual

KANGKE INDUSTRIAL
KANGKE INDUSTRIAL SUPER KRAFT PRO-FLY 540 quick start guide
KANGKE INDUSTRIAL
KANGKE INDUSTRIAL Rearwin Speedster Assembly manual

PLKB
PLKB DEPOWER FOIL KITE user manual
Seagull Models
Seagull Models CASSUTT 3M RACER Assembly manual
SKY PARAGLIDERS
SKY PARAGLIDERS ANAKIS 2 user manual
