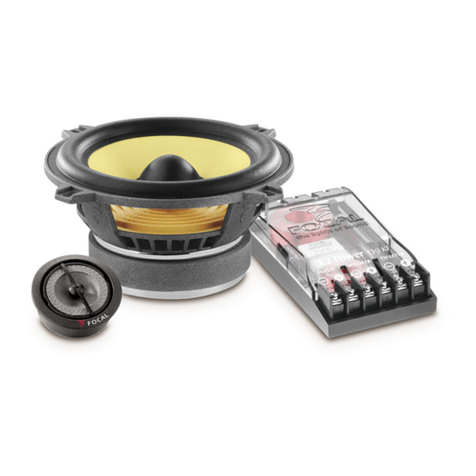
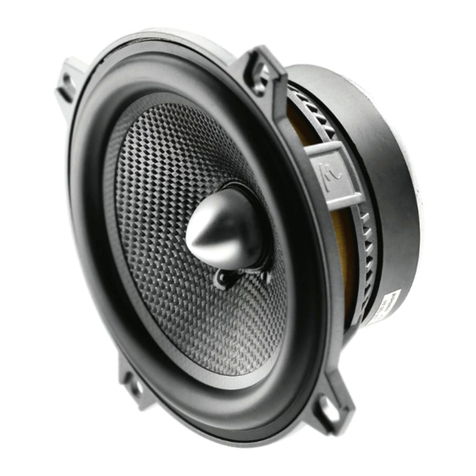
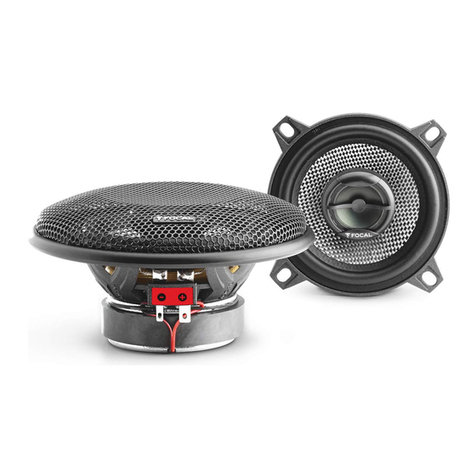
Tweeter
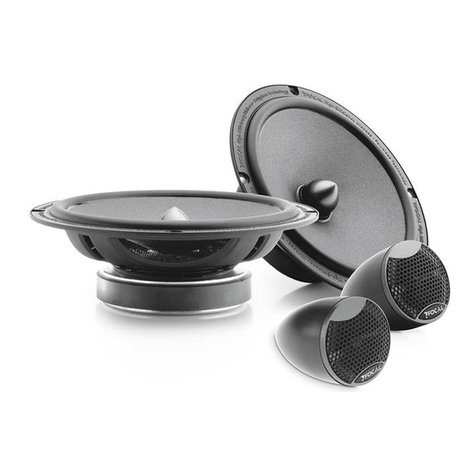
The TNK tweeter has been designed
for flush mount or surface mount
positioning, using the two fixing kits
provided. The choice of install position
is extremely important to deliver
the best performance and maintain
integration into the system. This is a
major factor for high frequency SPL,
and the the stability of the acoustics,
stereophonic imaging, and overall
staging. Please check the drawing to
understand this further.
The standard recommendation for
ideal stereo imaging, is to ensure the
tweeters "left" and "right", are installed
in the same positions. Also they are
approximately at equal distance to the
driver (vice-versa for the passenger).
The various positions advised should
be verified and comparatives made,
for ideal positioning.
The tweeter should always be
positioned ahead of the normal
listening position. The main prefe-
rences are the outer positions of the
dash board (fig. C, 1), close to the
windshield (fig. C, 2). Normally easy
for installation. The location close
to the door mirror (fig. C, 3) is also
regarded as a good position, and
normally only requires a small amount
of install work.
Woofer-midrange
K2 Power woofer-midranges, posi-
tioned ideally high in the doors
(fig. D, 1), produce optimal midrange
frequencies, thus integrating better
into the rest of the system. If the
woofer-mids are positioned low in the
doors (fig. D, 2), the loss of midrange
can be compensated by adjusting the
crossover (see section "adjustment"
page 6).
The woofer-mids from the K2 Power
range can also be placed low in
the "kick-panels" (fig. D, 3) of the
vehicle. This is to further optimise the
stereophonic imaging.
Centre Channel
Ideally suited for an audio video
installation using DVD multi channel
inputs (Dolby Digital, DTS etc), the
ultra compact midrange 100 KRS, has
obvious advantages. With minimum
depth dimension 39mm (1.58"), due
to its efficient neodym motor, the
100 KRS is ideal for centre channel
applications, in normally difficult
locations such as the dash board (fig.
E).
Tweeter installation
Surface-mount
The flush-mounting fixing kit supplied
offers two possibilities for installing
the TNK in an angle of 10°/30°.
This allows more flexibility for the
installation (fig. F).
Fix the assembly using the two screws
provided. Thread the cable from the
tweeter, through the back.
Then decide the defined angle and
lock in place on the support.
Flush-mount
(highly recommended)
Cut a perfectly round hole of 45mm
(1,77“) Push in the support and ensure
it remains flat on the surface. Ensure
it is locked in place with the screws
supplied. Thread the cable from the
tweeter, through the back. Then decide
the defined angle and lock in place
the tweeter on the support (fig. G).
Attention: It is not necessary to twist
lock the TNK in place using a locking
tool (as for TNK).To do so, carefully
push and turn on the outer radius
wave guides, turning the tweeter until
it is locked in place.
Installation and positioning
03
