manuals.online logo
Brands
  1. Home
  2. •
  3. Brands
  4. •
  5. Focal
  6. •
  7. Car Speakers
  8. •
  9. Focal Utopia Series User manual

Focal Utopia Series User manual

This manual suits for next models

4

Other Focal Car Speakers manuals

Focal IFBMW-C User manual

Focal

Focal IFBMW-C User manual

Focal UNIVERSAL ISN User manual

Focal

Focal UNIVERSAL ISN User manual

Focal Utopia Beryllium Line User manual

Focal

Focal Utopia Beryllium Line User manual

Focal PERFOMANCE ACCESS 130 AS User manual

Focal

Focal PERFOMANCE ACCESS 130 AS User manual

Focal K2 POWER 130 KR User manual

Focal

Focal K2 POWER 130 KR User manual

Focal KIT 170 V User manual

Focal

Focal KIT 170 V User manual

Focal ACCESS 2 User manual

Focal

Focal ACCESS 2 User manual

Focal 130/165 VRS User manual

Focal

Focal 130/165 VRS User manual

Focal Car Speaker User manual

Focal

Focal Car Speaker User manual

Focal Utopia Be 5 W2 Be User manual

Focal

Focal Utopia Be 5 W2 Be User manual

Focal Polyglass 165 VB User manual

Focal

Focal Polyglass 165 VB User manual

Focal Polyglass 130 CVX User manual

Focal

Focal Polyglass 130 CVX User manual

Focal Polyglass 130 VRS User manual

Focal

Focal Polyglass 130 VRS User manual

Focal Access Coaxial 690 CA1 User manual

Focal

Focal Access Coaxial 690 CA1 User manual

Focal ACCESS SOLUTION 25 A1 User manual

Focal

Focal ACCESS SOLUTION 25 A1 User manual

Focal INTEGRATION IFVW GOlF 6 User manual

Focal

Focal INTEGRATION IFVW GOlF 6 User manual

Focal Utopia Be 6 W2 Be User manual

Focal

Focal Utopia Be 6 W2 Be User manual

Focal UNIVERSAL ISN User manual

Focal

Focal UNIVERSAL ISN User manual

Focal INTEGRATION PLUG&PLAY IS 165VW User manual

Focal

Focal INTEGRATION PLUG&PLAY IS 165VW User manual

Focal Polyglass 30 A1 User manual

Focal

Focal Polyglass 30 A1 User manual

Focal Spirit of Sound User manual

Focal

Focal Spirit of Sound User manual

Focal BOMBA 20 A1 User manual

Focal

Focal BOMBA 20 A1 User manual

Focal IFP 207 User manual

Focal

Focal IFP 207 User manual

Focal INSIDE C5 Aircross User manual

Focal

Focal INSIDE C5 Aircross User manual

Popular Car Speakers manuals by other brands

Audiopipe TXX-APA-12BL user manual

Audiopipe

Audiopipe TXX-APA-12BL user manual

Bazooka RS10A-hp installation manual

Bazooka

Bazooka RS10A-hp installation manual

Hertz MILLE PRO owner's manual

Hertz

Hertz MILLE PRO owner's manual

Blaupunkt GTt 300 OPERATING AND INSTALLATION Manual

Blaupunkt

Blaupunkt GTt 300 OPERATING AND INSTALLATION Manual

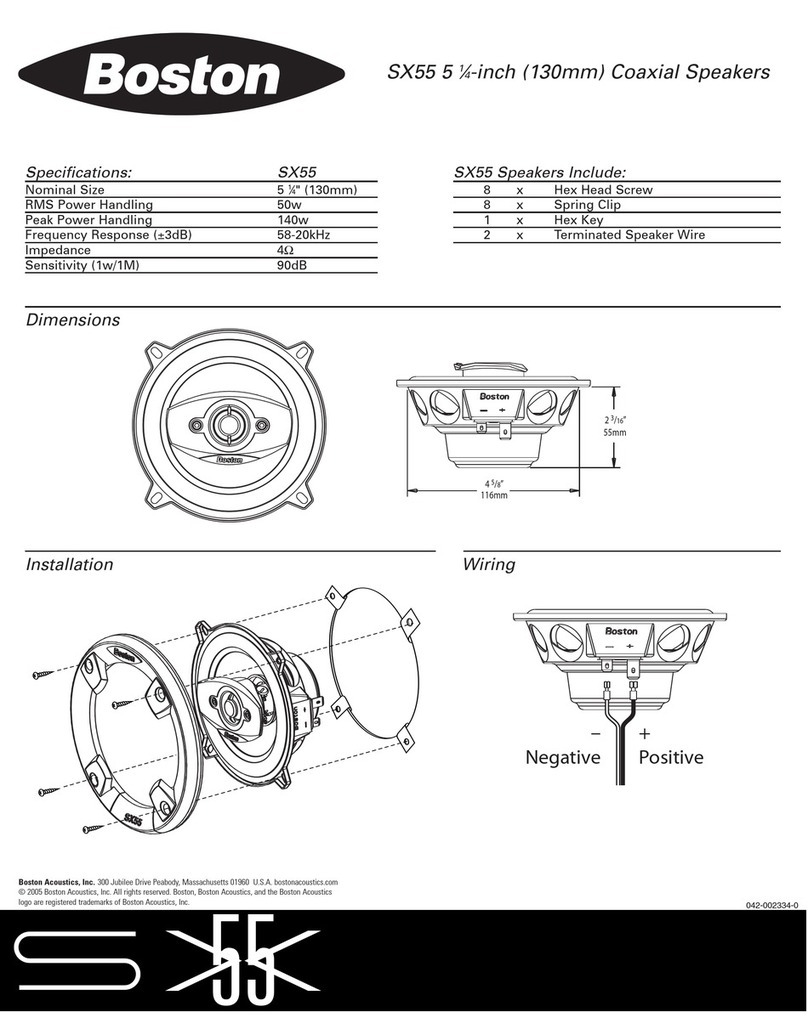
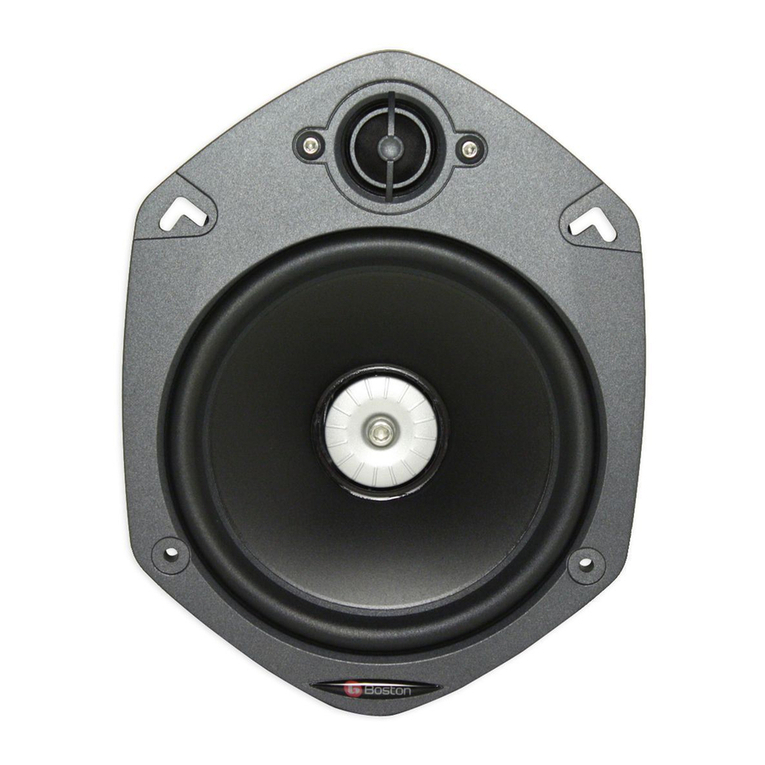
Boston Acoustics SX55 Specifications

Boston Acoustics

Boston Acoustics SX55 Specifications

Kenwood KFC-W212 Service manual

Kenwood

Kenwood KFC-W212 Service manual

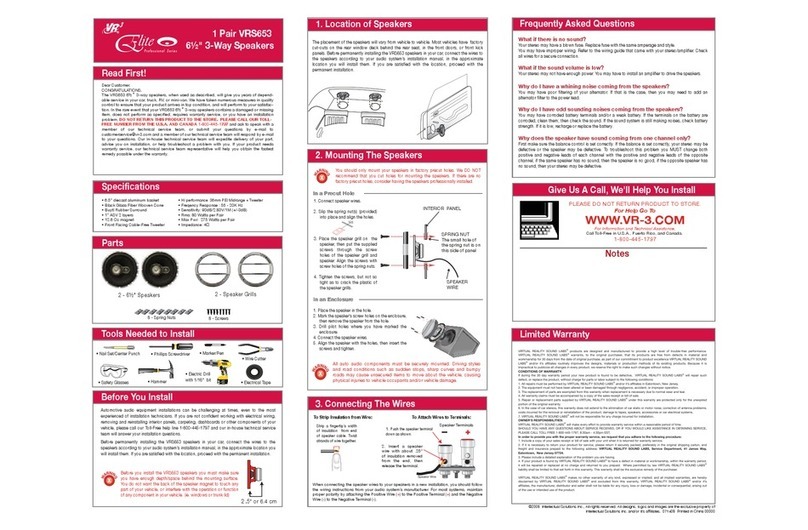
VR3 Elite VRS653 installation manual

VR3

VR3 Elite VRS653 installation manual

Premier TS-W3001D4 Specifications

Premier

Premier TS-W3001D4 Specifications

Infinity 6530cx installation manual

Infinity

Infinity 6530cx installation manual

Blaupunkt GTx Series manual

Blaupunkt

Blaupunkt GTx Series manual

Precision Power PPI4.2 owner's manual

Precision Power

Precision Power PPI4.2 owner's manual

Jensen XS Series instruction sheet

Jensen

Jensen XS Series instruction sheet

AudioBahn AT60 operating instructions

AudioBahn

AudioBahn AT60 operating instructions

Blueant S1 user manual

Blueant

Blueant S1 user manual

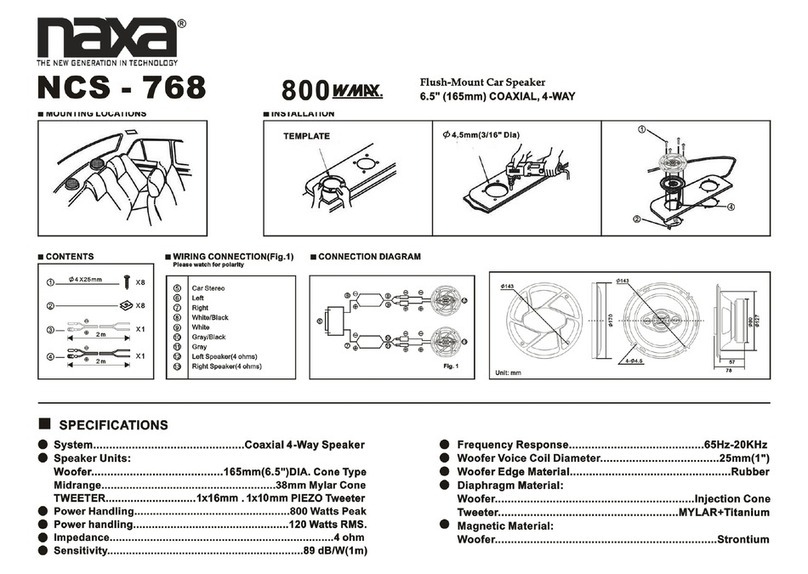
Naxa NCS-768 Installation diagram

Naxa

Naxa NCS-768 Installation diagram

Boston Mobile Audio SR80 owner's manual

Boston Mobile Audio

Boston Mobile Audio SR80 owner's manual

Blaupunkt GTx 352 DE manual

Blaupunkt

Blaupunkt GTx 352 DE manual

Blaupunkt GTt 1200 Mk II operating instructions

Blaupunkt

Blaupunkt GTt 1200 Mk II operating instructions

manuals.online logo
manuals.online logoBrands
  • About & Mission
  • Contact us
  • Privacy Policy
  • Terms and Conditions

Copyright 2025 Manuals.Online. All Rights Reserved.

• Avant tout, il est primordial de vérifier l’espace disponible pour l’encastrement des haut-parleurs
(pour cela nous vous recommandons de vous reporter aux gabarits et plans joints). Assurez vous que
le haut-parleur ne gênera aucune autre fonction (baisse des vitres). Après cette vérification procéder aux
découpes,
• Les haut-parleurs doivent être solidement fixés afin d’éliminer toutes vibrations parasites,
• Le support doit être rigide (renforcé éventuellement avec une plaque de bois),
• L’étanchéité entre l’avant et l’arrière du haut-parleur doit être absolue (utiliser les joints fournis),
• Un matériau amortissant installé sur la garniture de la porte améliorera encore le résultat en réduisant
les vibrations mécaniques de la tôle de la portière. Focal vous recommande l’utilisation de PLAIN-CHANT
(demander à votre revendeur).
Grille
Le résultat optimum sera obtenu en respectant quelques règles simples :
• l’image sonore la plus large et la plus centrée sera obtenue par un écartement
maximum des haut-parleurs et par un positionnement le plus à l’avant possible
(portière ou panneau près du sol “kick pannel”)
• les fréquences médium seront favorisées par un emplacement en haut de portière (un emplace-
ment trop bas favorisera le grave au détriment du médium).
De part sa conception, le tweeter TN 51 est très facile à installer. Cependant, le choix de son emplacement
sera déterminant pour le résultat sonore de votre installation. Avec ces deux amorces de pavillons, la dispersion
horizontale du TN 51 est plus large que sa dispersion verticale (voir dessin). Cette configuration vous permettra
d’optimiser l’image sonore de votre système.
Les tweeters devront être installés soit en haut de portière (ex : support de rétroviseur) soit sur le tableau
de bord. Leur orientation permettra d’optimiser l’image sonore. Le TN 51 doit être installé en position
horizontale comme sur le dessin ci-dessus. Une orientation vers l’oreille de l’auditeur opposé procurera une
image parfaitement centrée (ce positionnement permet de compenser la différence de distance entre les 2
haut-parleurs).
Tweeter
positioning
Les filtres doivent être fixés (vis fournies ou double face)
dans un endroit sec et aéré de préférence.
Pour ouvrir le boîtier, appuyer suivant les flèches du schéma ci-contre,
puis soulever le capot.
Fixation du filtre
There are two mounting possibilities:
surface or flush mounted.
The TN45 arrives supplied in
its flush-mounting pod.
Remove the grille by gently prizing
it off – a paper clip
is good for this. Use the tool supplied to
remove the tweeter from its twist-lock fixing.
INSTALLATION
Important recommendations
Fitting the tweeter
Flush mounting
Cut a neat 45mm hole in the panel
where you want to place the tweeter.
With the metal mounting strip held from behind
(with the ends pointing towards the hole),
insert the screw through the flush-mount pod from
the front and tighten to two parts together. Feed the
wire through the hole in the pod and re-fix
the tweeter and grille in place.
Congratulations on choosing an Utopia line product.
Now that you have purchased one of Focal’s many high technology precision audio
components, make sure that you get the maximum performance from it by following
these instructions – they are there to help YOU. Failure to observe the recommendations
and advice contained in these comprehensive instructions may result in damage to your
loudspeakers or other components and invalidate your warranty. At best, you may
never realize the full potential of your Focal Audiomoble product.
OWNER’S MANUAL
Woofer positioning
Focal Audiomobile® is a trademark of Focal-JMlab®
Focal-JMlab - 15, rue J.C. Verpilleux - BP 201 - 42013 Saint-Etienne cedex 2 - France - Tel. (33) 04 77 43 16 16 - Fax (33) 04 77 37 65 87 - http://www.focal.tm.fr
Surface mounting
Choose the angle that best suits your installation
(10° or 30°) and mount the pod firmly
using the screws supplied.
Feed the wire through the hole in the pod
and re-fix the tweeter and grille in place.
Version Française au verso...
Correct polarity must be maintained for a smooth and balanced sound.
Woofers – the small tag is the negative, the larger is positive
Tweeters – the positive wire is marked with a red line
130 H and 165 H kits (FAH1 crossover)
• the positive wires are marked with a red line
• connect the INPUT wires in parallel with the WOOFER
• connect the TWEETER wires to the TWEETER
2-way crossovers (FAV1, FAK1 and FAK2 crossovers)
• connect the terminals marked INPUT to the loudspeaker outputs of your head unit or amplifier.
• connect the terminals marked LOW to the WOOFER.
• connect the terminals marked HIGH to the TWEETER.
3-way crossovers (FAV2, FAV3 and FAK3 crossovers)
• connect the terminals marked INPUT to the loudspeaker outputs of your head unit or amplifier.
• connect the terminals marked LOW to the WOOFER.
• connect the terminals marked MID to the MIDRANGE.
• connect the terminals marked HIGH to the TWEETER.
Connections
The quality and gauge of wire used will have a strong effect on the quality of sound. Focal Audiomobile
recommend a minimum specification of 1mm2 oxygen free copper (OFC) wire, but ask your dealer for advice
on your specific installation.
A note on wiring
The high output and power handling of Focal Audiomobile loudspeakers means
that high sound pressure levels can be reached.
You are reminded that listening to music at levels beyond 110dB can permanently damage your hearing.
Warning!
A bi-amplified system uses two stereo amplifiers, one to drive the tweeters and one for the woofers. This allows
a more powerful amplifier to be selected for the woofers, normally around two times the power. Bi-amplified
systems bring an improvement in sound quality and more flexibility when setting the sound balance.
Before you attempt this though, the terminals must be modified by cutting the link between the woofer and
tweeter as shown in the diagram.
The treble level can be further adjusted by inserting a series resistor.
The power handling of Focal Audiomobile loudspeakers is very high.
It is therefore important to choose an amplifier powerful enough to drive them properly. An amplifier that is too
small will distort quickly, limiting the level and quality of the sound and eventually causing damage to the
loudspeakers.
Power recommended
Biamplification
(130 HC, 165 HC, 690 HC)
To reinforce bass, add a subwoofer. For the best bass, make it a Focal Audiomobile subwoofer. Simple.
Upgrading the installation
In the unlikely event of any problem,
please contact your Focal Audiomobile retailer.
For export, guarantee conditions conform to those in force in each country,
or as defined by the local distributor.
Guarantee
SESD05119902
Once the complete system has been installed, the tweeter level can be adjusted to best suit the environment
and placement you have chosen. There are three adjustments: 0dB, -2dB, -4dB.
0dB – use this position if the woofer and tweeter have been placed close to each other,
say next to each other in the top half of the door.
-2dB – where the tweeter is closer to you than the woofer, say woofer at bottom of door,
tweeter at top, try this position.
-4dB – we’d recommend this position when the woofer is in the door and the tweeter on the dash.
Adjusting tweeter level (POLYGLASS, POLYKEVLAR line)
Tweeter
Woofer
F i l t r e
Ampli tweeter
Ampli woofer
Autoradio
FA 136 W et FA 165 W
Fonction de transfert du filtre
MID
TWEETERTWEETERMID
TWEETER
Fonction de transfert du filtre Fonction de transfert du filtre
FA 180 W FA 165 W3