Fon LA FONERA + User manual
LA FONERA +
User Manual

2 3
3
1. What’s FON 3
Copyright and Trademarks 3
2. Join FON 4
2.1. Make money with your WiFi 4
3. What´s La Fonera 10
3.1. FON Routers 10
3.2. La Fonera+ description 11
4. Install LA FONERA+ 15
4.1. Before getting started, check to make sure you have 15
4.2. What’s in the box? 15
4.3. Install La Fonera+ 16
4.4. Register your La Fonera+ 21
4.5. Register the La Fonera+ 26
5. Your Fonero profile 29
5.1. Forgot your password? 29
5.2. My Personal Info 19
5.3. My Piggy Bank (Bills) 31
5.5. My Visits 34
5.7. Configure your FON Router 36
5.9. FON Services 39
5.10. My Router Log 39
A. Configure La Fonera 40
A.1. Introduction 40
A.2. How to access the interface 40
A.3. Router status 42
A.4. Configure your public network 43
A.5. Configure your private network 45
A.6. Change La Fonera+’s password 46
A.7. Network access 46
A.8. Advanced configuration 54
B. Troubleshooting 58
B.1. Installation and registration 58
B.2. La Fonera+ 70
B.3. Management Console 79
B.4. Local users 83
B.5. User Zone 84
B.6. La Fonera+ 88
Index

3
3
C. GLOSSARY 98
SPECIFICATIONS 103
WARRANTY STATEMENT 104
SAFETY NOTICES 105
CERTIFICATION 106
NATIONAL RESTRICTIONS 107
USER LICENSE OF THE FON SOFTWARE 111
Index

4 5
5
DOCUMENT INFORMATION
Developed by
© FON Wireless Limited
Departments of Customer Operations and Marketing
If you have any comments about this manual,
please send an email to:
manual@fon.com
Document file
Name: LA FONERA+ USER MANUAL
First Version Date: July 26th, 2007
Current Version: 1.0
Current Version date: July 26th, 2007
Document Information

5
5
1. What’s FON
FON is the largest WiFi community in the world. FON is a Community of people
making WiFi universal and free. Our vision is WiFi everywhere made possible by
the members of the Community, Foneros. We share some of our home Internet
connection and get free access to the Community’s FON Spots worldwide!
Our Community WiFi router, La Fonera, allows everyone to share WiFi in a secure
environment. It takes only five minutes to hook up, and then you’ve got WiFi at
home and around the world for free!
Foneros connect to thousands of WiFi FON Spots worldwide for free. If you still
do not share your WiFi, you can purchase inexpensive access. Find FON Spots on
our FON Maps
FON is a Movimiento of people building a free, global WiFi Community, sharing
our experiences and ideas. Visit our blogs, boards and enjoy our cool features!
Copyright and Trademarks
Specifications are subject to change without notice. All other trademarks mentio-
ned in this Manual or on FON’s Website, apart from the FON related ones, are
the property of their respective owners.
What’s FON
1.

6 7
7
2. Join FON
2.1. Make money with your WiFi
Foneros can now both connect for free and make a little money by participating
in the FON Community. It’s easy. Every time a visitor (non-Fonero) detects your
WiFi signal there’s a good chance you can make a bit of “dinero”.
FON will pay you some of the net revenues that we get every time a visitor pur-
chases a FON Pass through your FON Spot! FON also gives you the option to
personalize your FON Spot and maximize your coverage by up to 5 times with our
long range antenna, the La Fontenna.
Want to help build a WiFi planet and make a little money while doing it?
2. Join FON
7
7
If you have already registered as a Fonero you won’t need to follow these steps,
as you are already a member of the Community. You go through this process after
connecting your La Fonera+. The procedure is going to be the same either way, so
you can come back to this Chapter once you have made your decision.
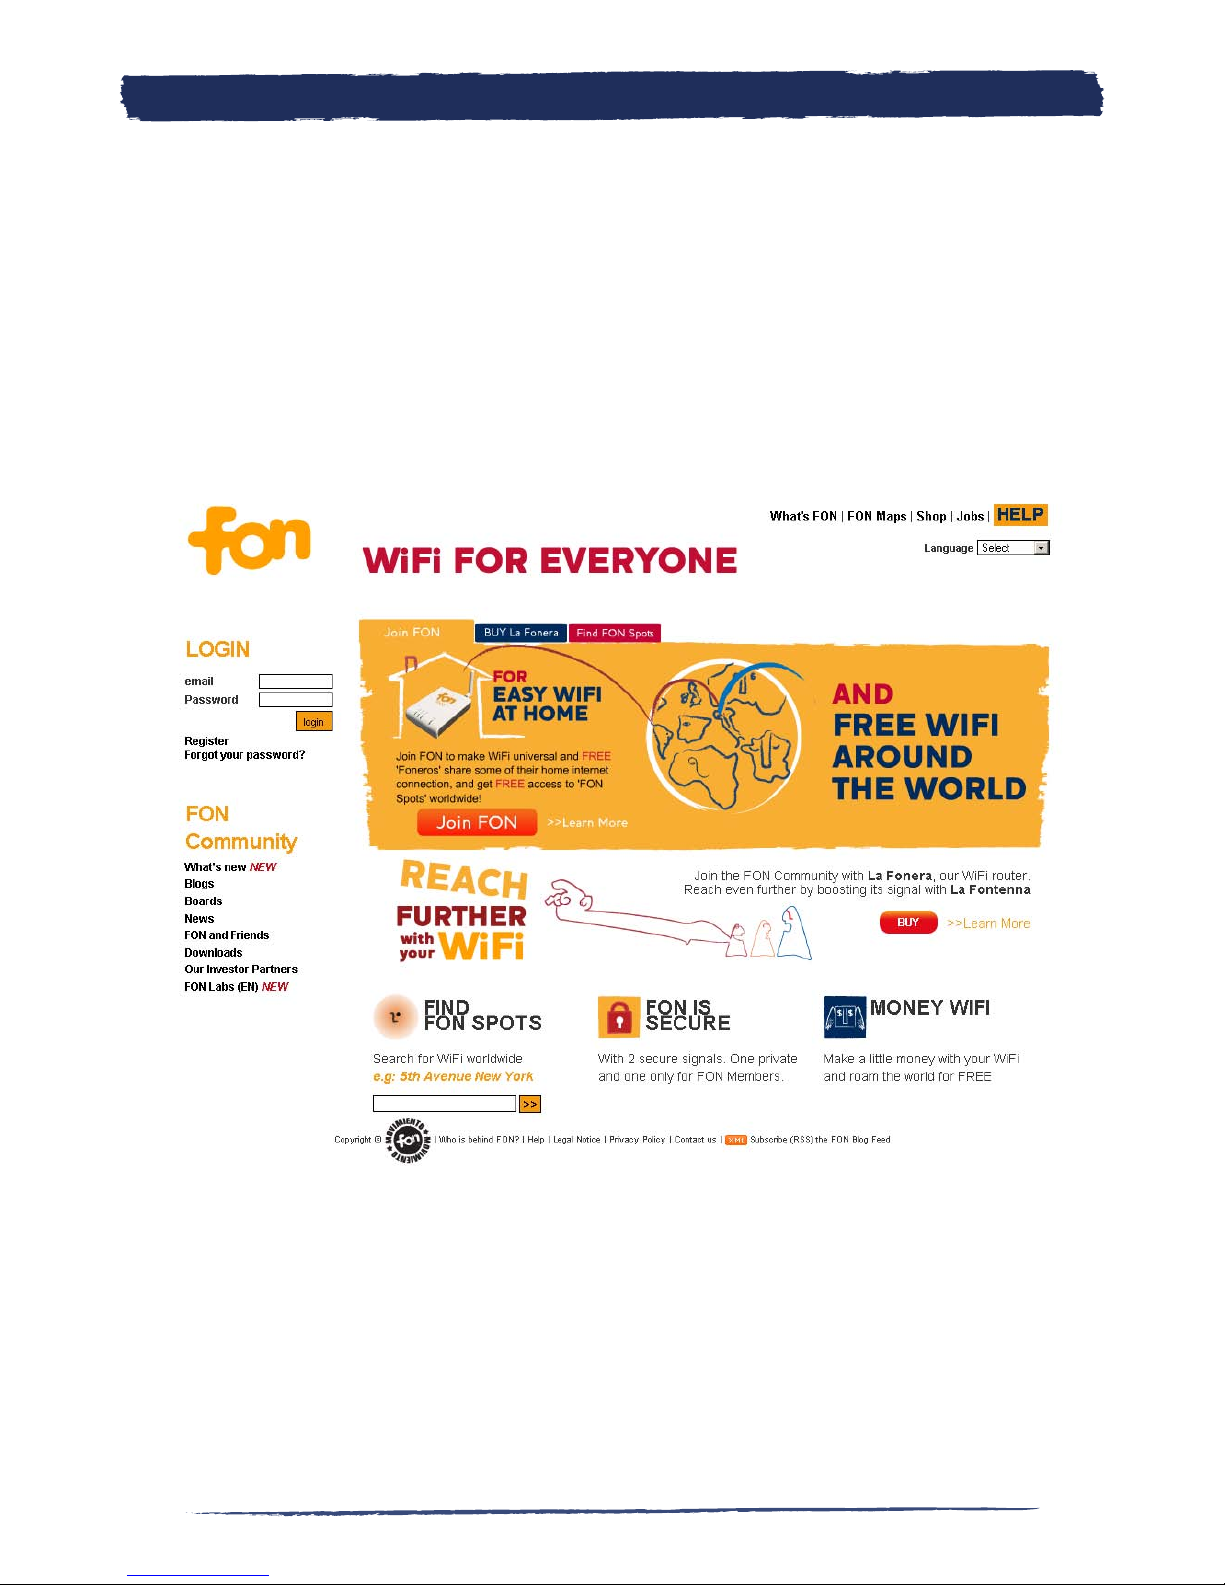
To join the FON Community you must first register through our website,
fon.com
,
where you’ll find our registration form. The first screen you’ll see is our home
page.
Join FON2.
8 9
9
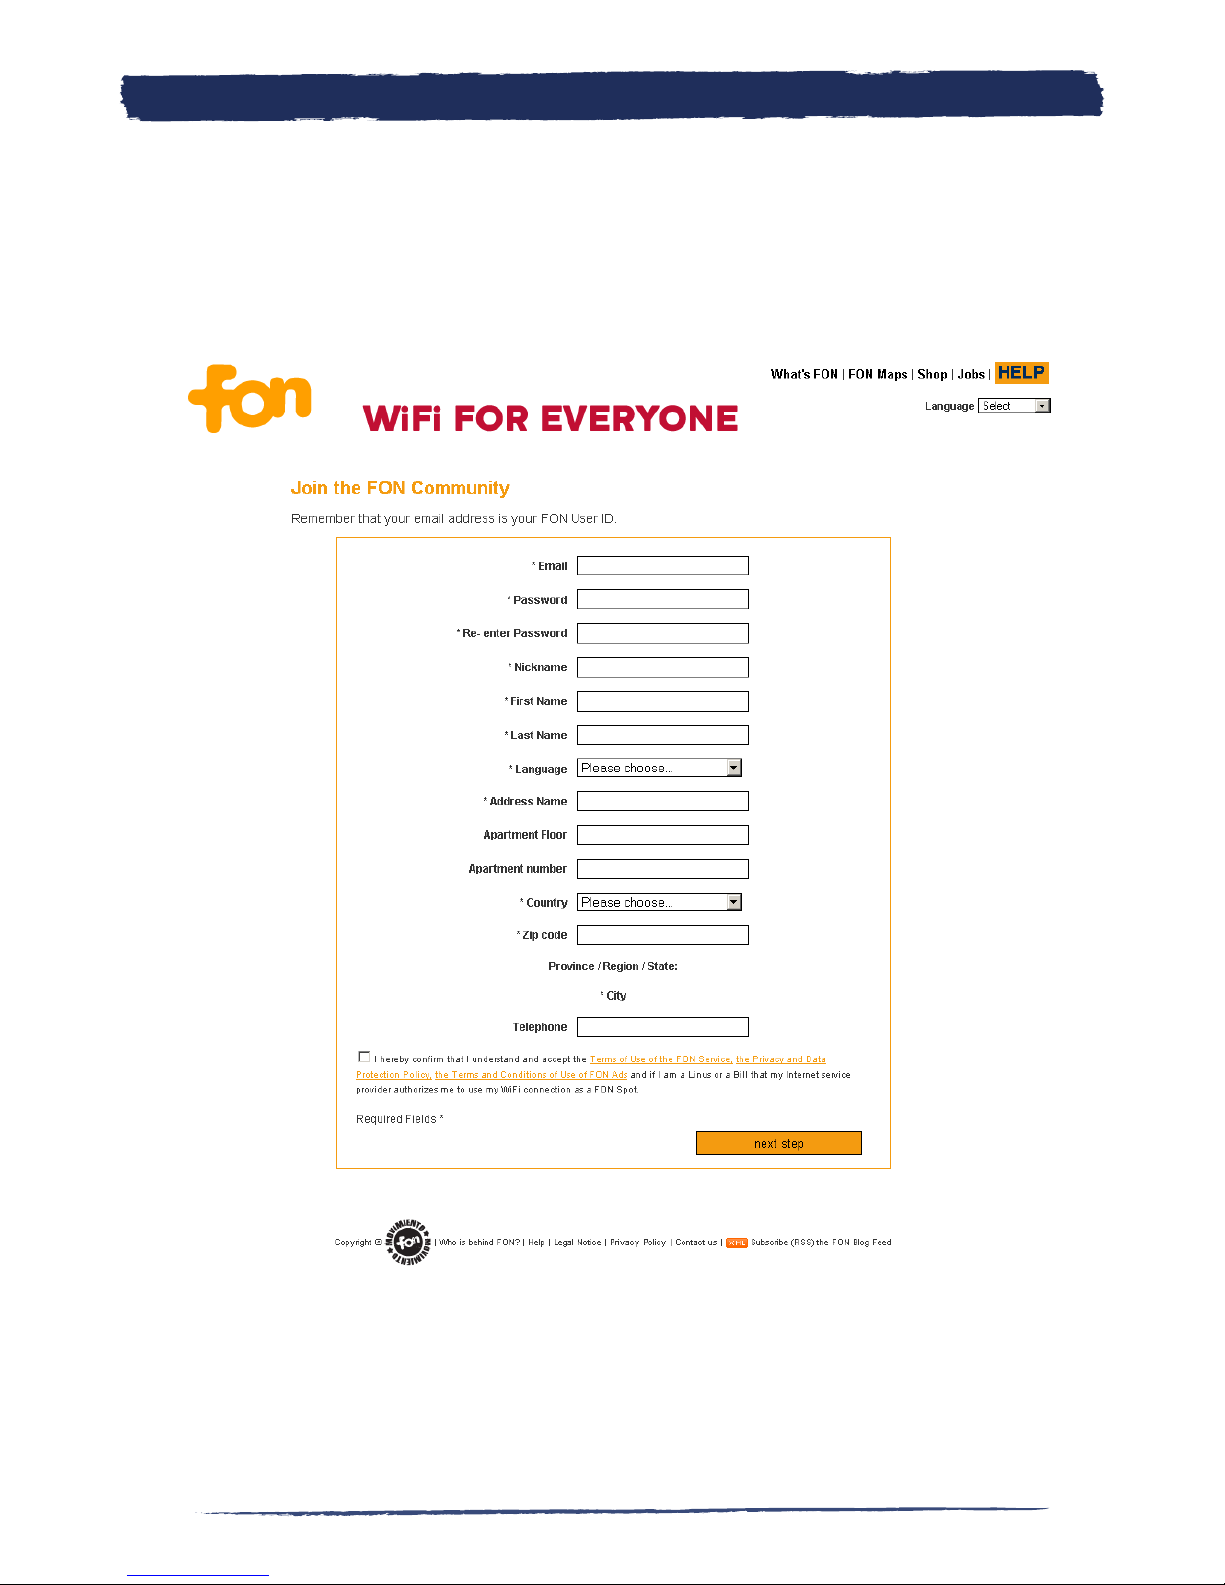
To register, simply click Join FON in the main area. You will need to tell us a bit
about yourself. Don’t worry, we hate spam too, and won’t share any of your perso-
nal information with anyone. Fill in some personal information through the form
that will appear on screen.
Join FON
2.
9
9
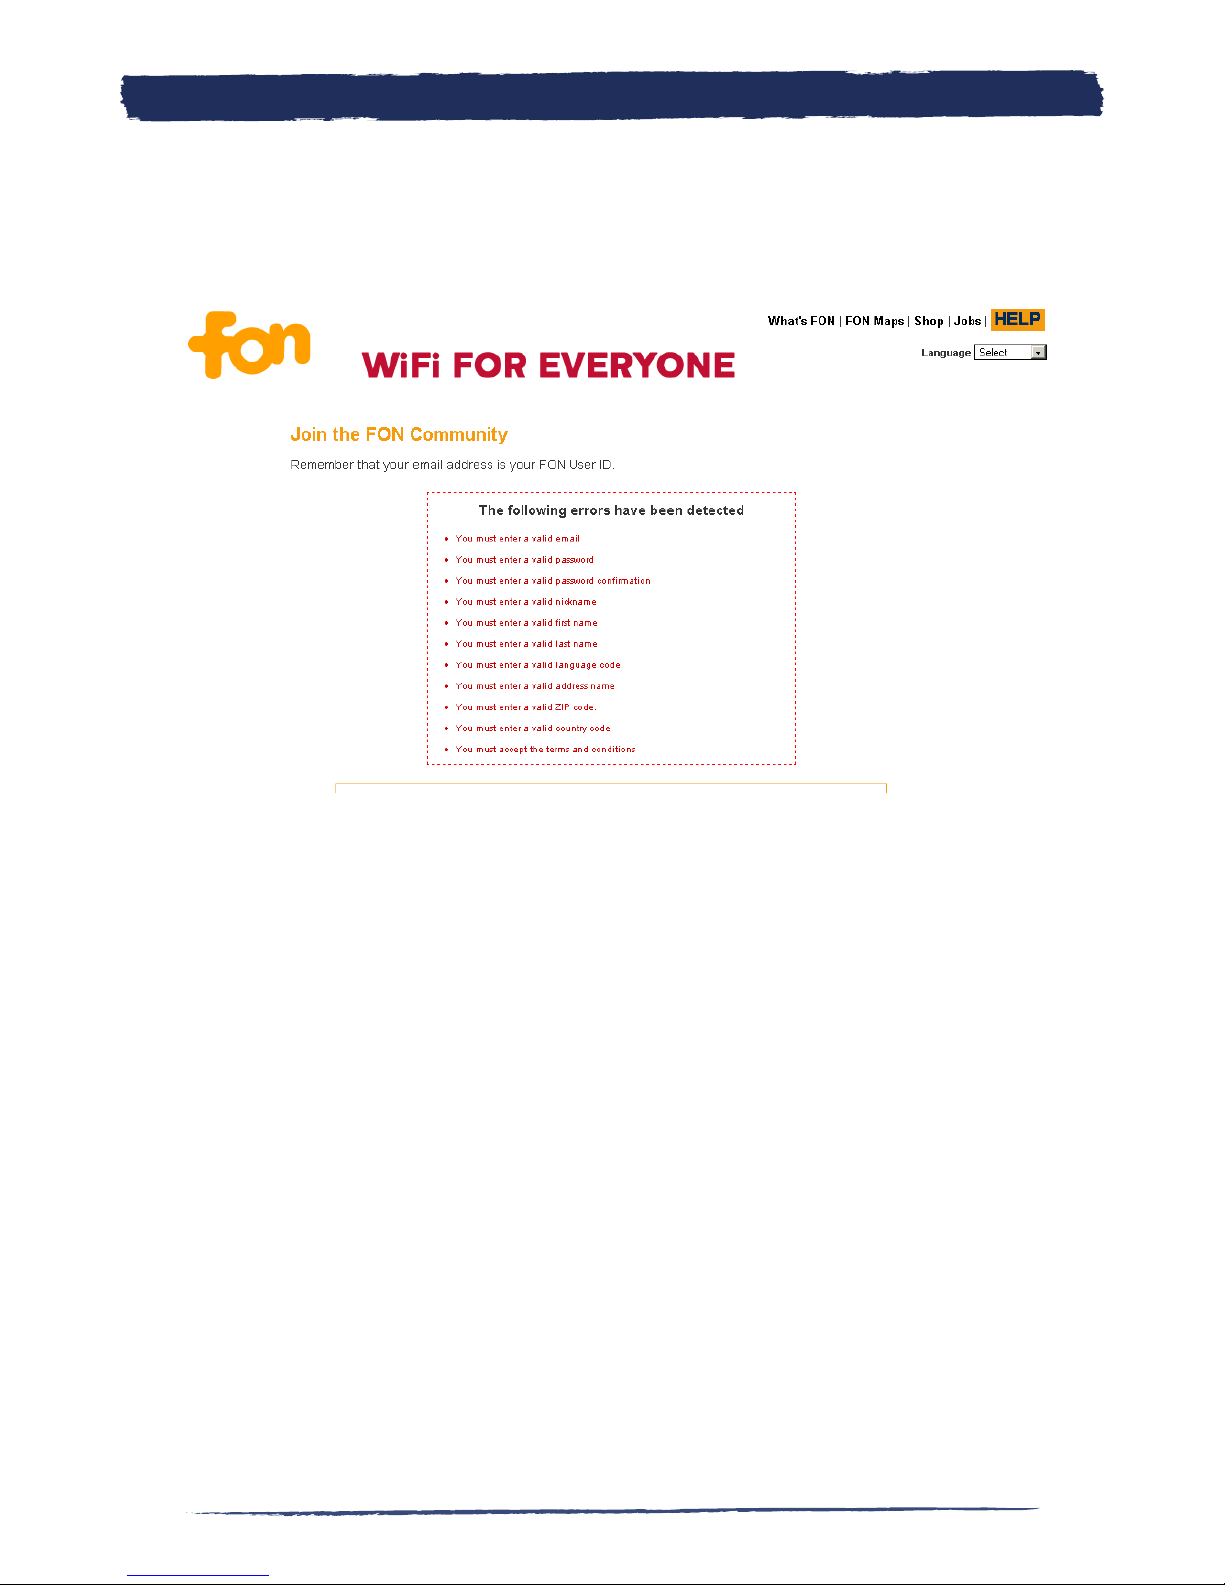
If you don’t fill in the mandatory information (those fields marked with an aste-
risk), an alert like the one shown in the figure will appear.
Join FON2.
10 11
11
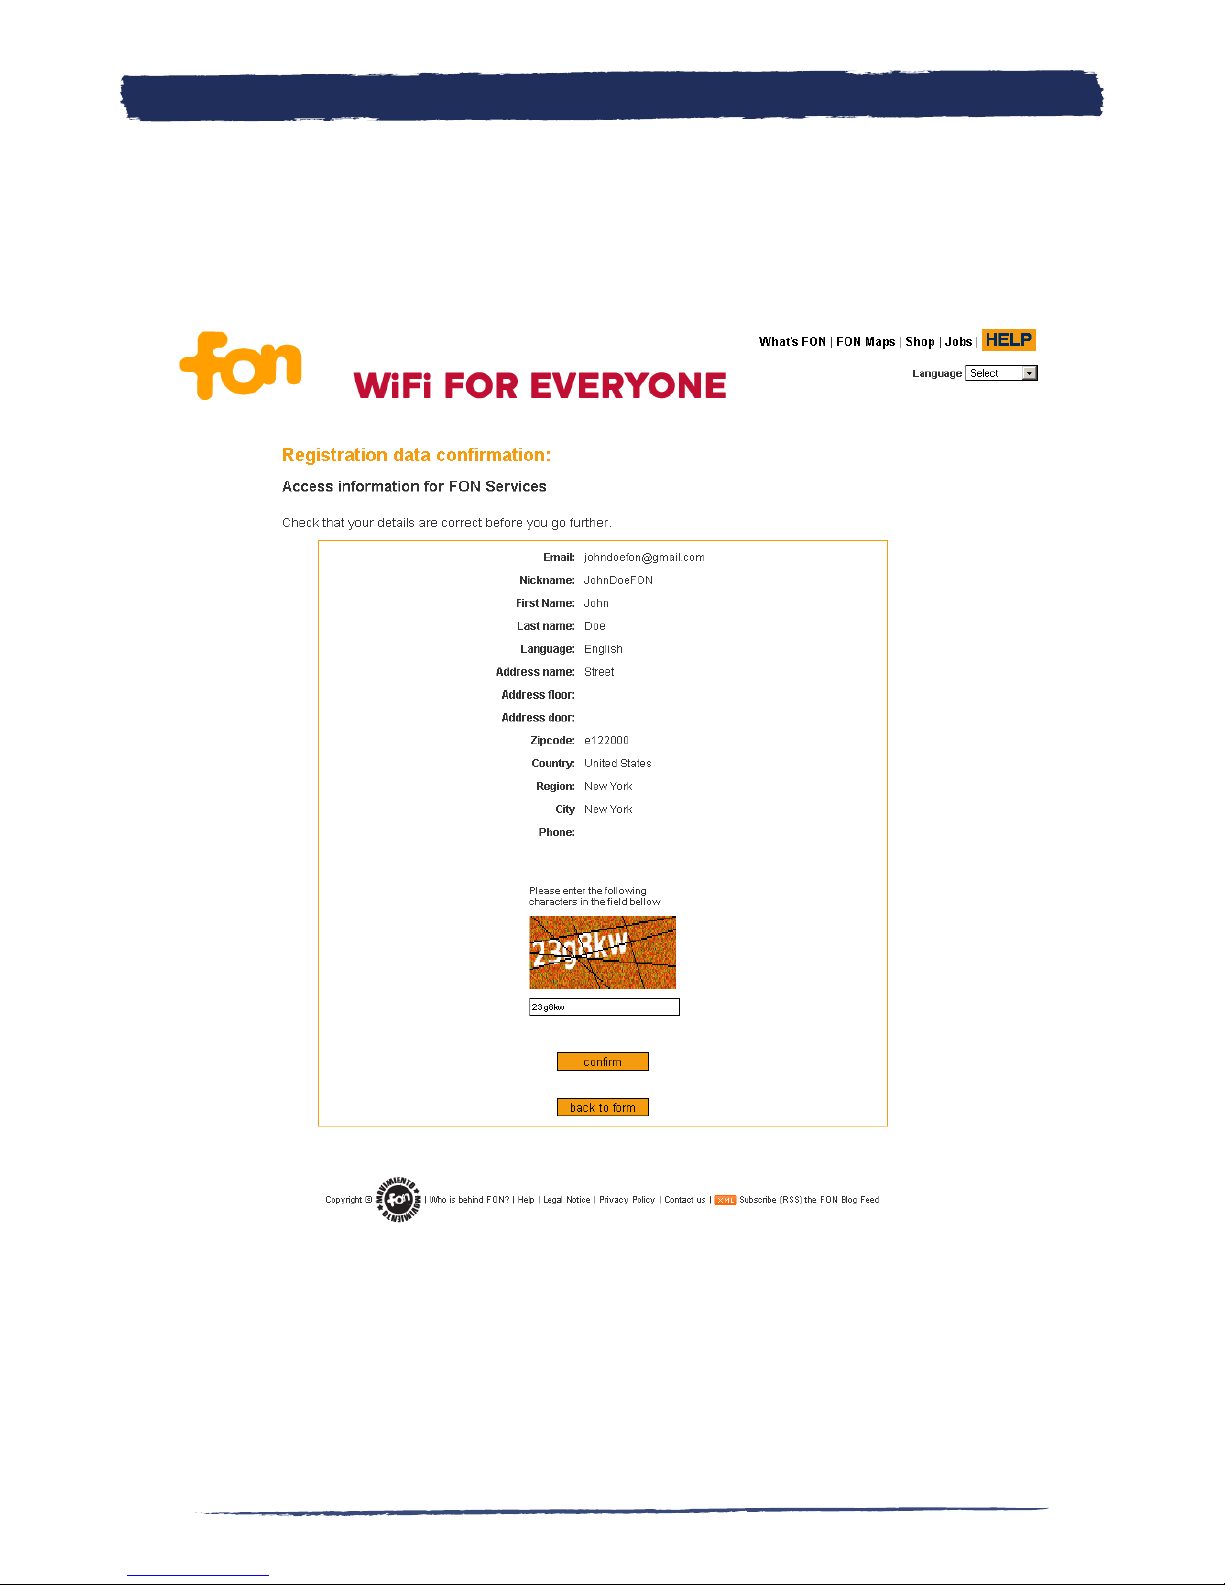
Before completing the “Access information for FON Services” process, you’ll see
a screen showing all the information you have provided. Double check the details
and make changes if you wish to do so by clicking “back to form”. Enter the secu-
rity code and click “Confirm” to complete the process.
Join FON2.
11
11
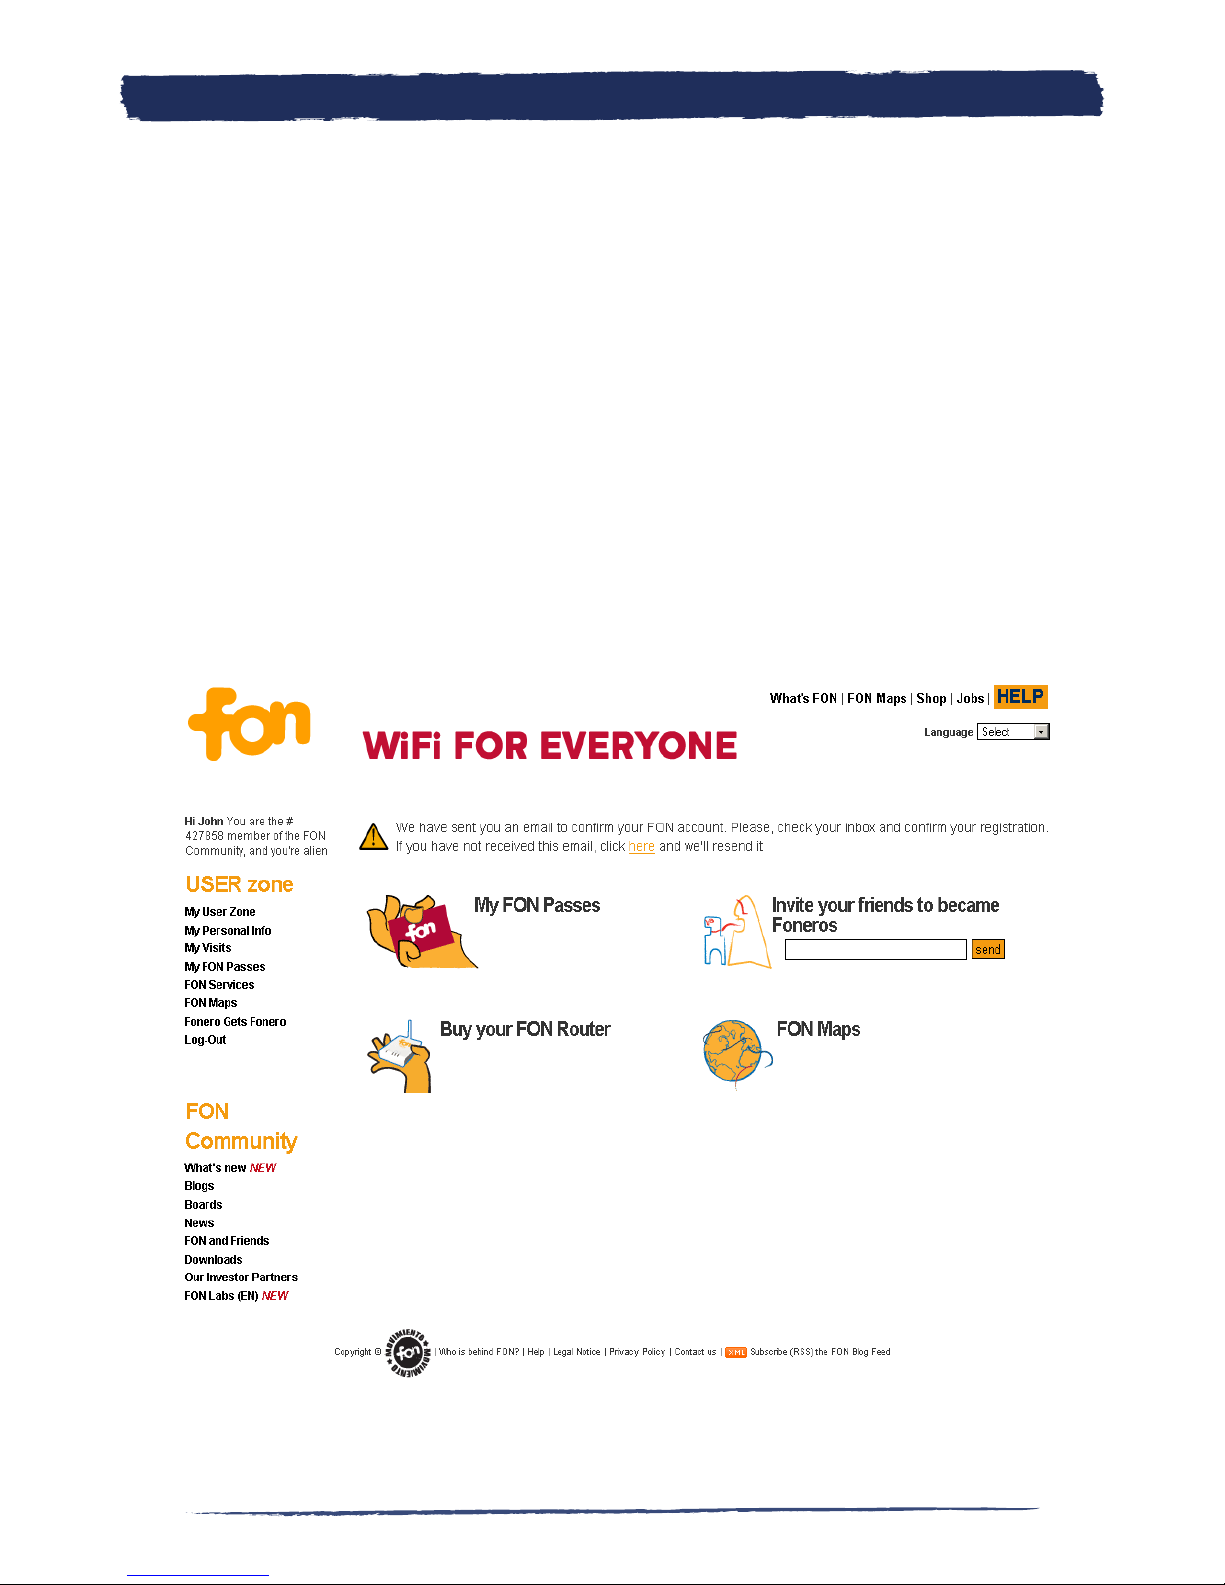
At this point you are already registered. We have sent you an email to confirm
your FON account. Please check your inbox and confirm your registration. If you
have not received this email, you can click on the alert showed in the upper area of
the screen and we’ll resend it.
We think it would be useful for you to spend some time checking out our websi-
te. If you look at the top left hand side of the screen you’ll see the username and
the Fonero number that’s assigned to you. It will also provide you with status and
profile information for the FON Community. You’ll be an Alien by default, but you
can change your status after you register your La Fonera+ in our system. Remem-
ber that Aliens using laptop computers or similar devices can connect to any FON
Spot by purchasing FON Passes. FON Passes are similar to pre-paid cards. Aliens
can pre-purchase these FON Passes and then use them to connect to the Internet
whevenever they find a FON Spot.
Join FON2.

12 13
13
3. What´s La Fonera
3.1. FON Routers
La Fonera+ is our own WiFi router.
A WiFi router is a product that plugs in to your broadband Internet connection,
and turns it into a WiFi access point. That means you can connect your laptop
or handheld games console to the Internet without any wires, so you can move
around your house freely. More and more devices are coming WiFi enabled! The La
Fonera+ supports the 802.11b and 802.11g standards.
The La Fonera+ is a special kind of WiFi router. When you activate your La Fonera+,
you become part of the FON Community. Members of the FON Community share
their WiFi at home, and in return get free WiFi wherever they find a FON Spot.
The La Fonera+ can also be personalized so you can tell other Foneros about your-
self when they log on to your FON Spot. Tell people a bit about yourself, your local
area, or just say ‘hi’ to your fellow Foneros.
What’s La Fonera
3.

13
13
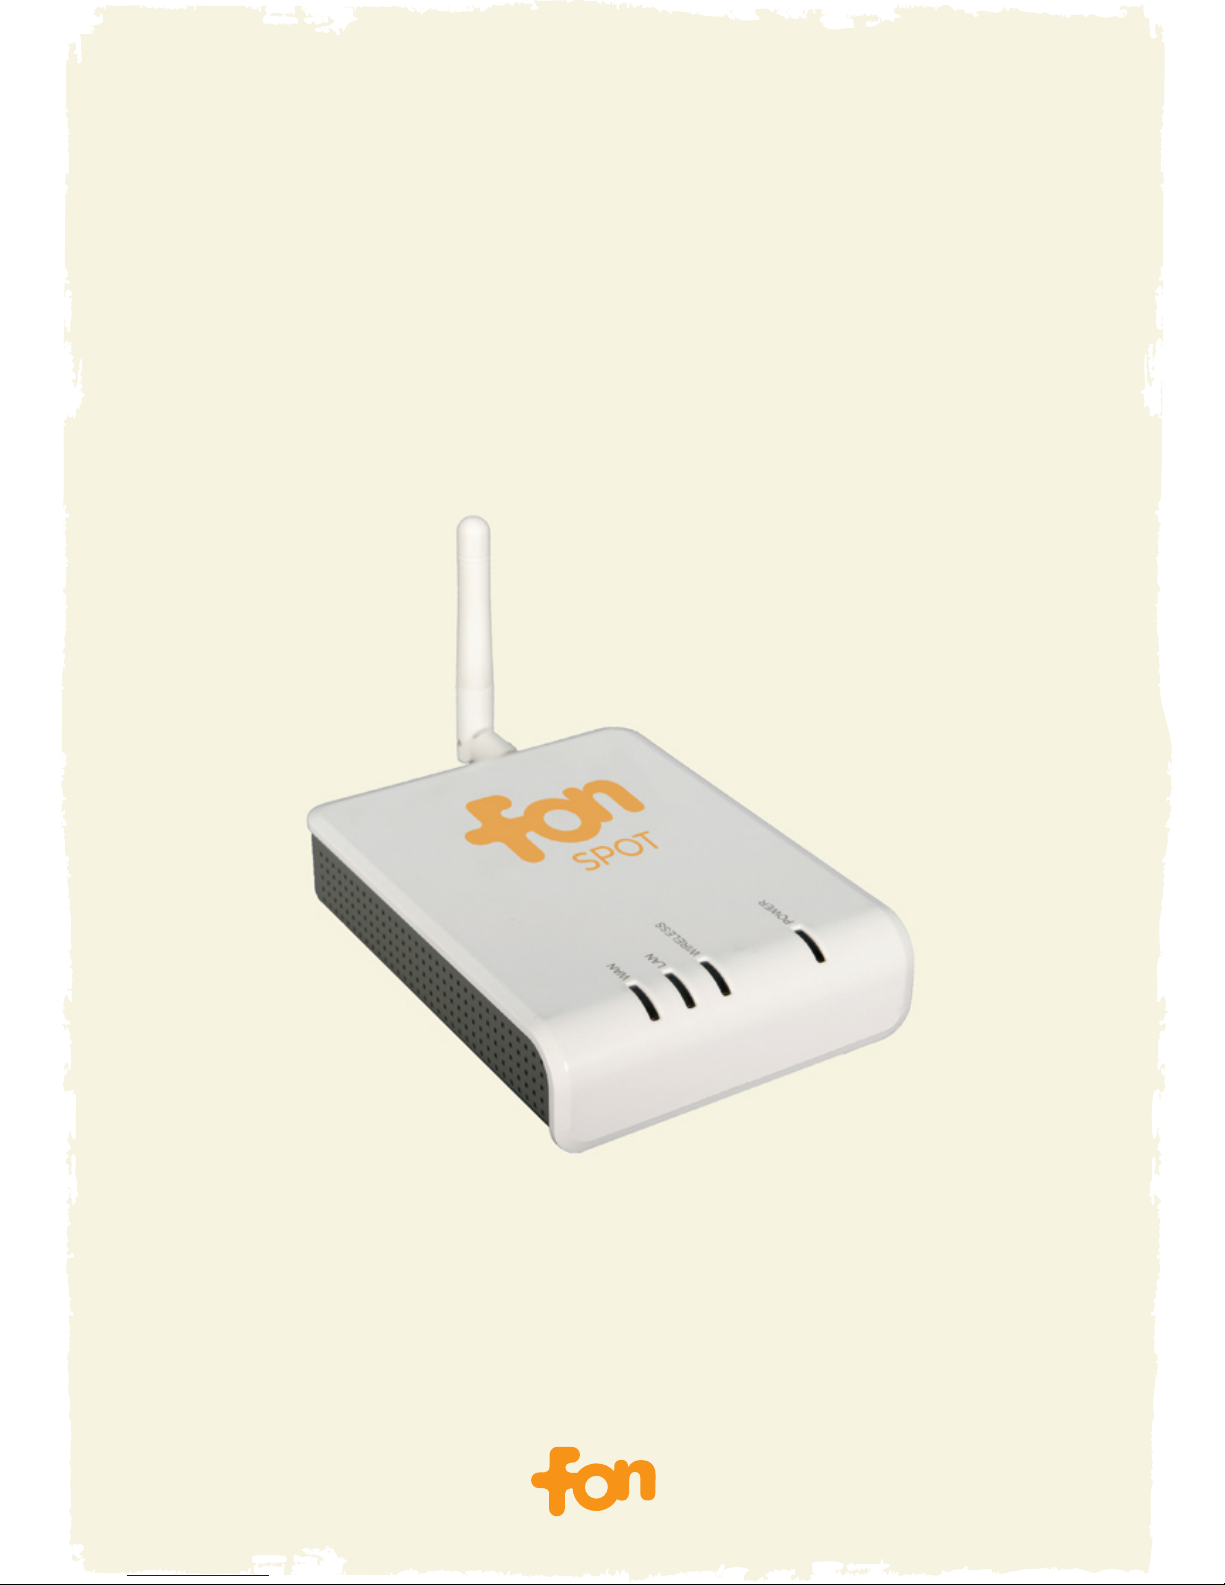
3.2. La Fonera+ description
3.2.1. Lights
The La Fonera+ is specifically designed for use in the FON Community. It has 4
lights which show a different status depending on what is happening. We will give
a short description of how they behave.
POWER light – This light has two different colours.
- ORANGE: It will first appear orange during the boot phase, which lasts
about 5 minutes. Sometimes it can perform an update while booting. If this ha-
ppens, it will make this process take a little longer. Whenever you find this light
on La Fonera+, it means that it is performing some kind of task. Just let the La
Fonera+ finish the task (it can take up to 20 minutes). Contact our Customer Care
service if this colour stays permanent for more than 30 minutes. This light will also
blink when it is in the special “failsafe” mode. You can find more information about
the failsafe mode in this Manual.
- GREEN: Green means that everything is working correctly.
INTERNET light – This light has one single colour (green) but can show three di-
fferent states. It indicates the status of the WHITE port (WAN).
- OFF: Check that you have connected the cable that goes to your ISP
router correctly, as the La Fonera+ isn’t receiving an Internet signal.
- BLINKING: This is the normal status that means that there is Internet activity.
- CONSTANT. This means that the cable on the WHITE port (WAN) is pro-
perly connected on both sides, but there is no traffic at that moment.
What’s La Fonera
3.
14 15
15
COMPUTER light – This light has one single colour (green) but can show three
different states. It is the light that indicates the status of the BLACK port (LAN)..
- OFF: There is no cable connected to the BLACK port (LAN). This means
that you did not use the wired configuration or that it is not properly connected or
not connected at all. In the case that you want to connect to the Internet using a
cable, follow the steps for that type of connection below in the Manual.
- BLINKING: This is the normal status when the port is being used, which
means that there is wired activity.
- CONSTANT. This means that the cable on the BLACK port (LAN) is pro-
perly connected to your device, but that no wired activity is being carried out at
that moment.
WIRELESS light – This light has two different colours.
- GREEN: When this colour is shown, normally it will be blinking which
means that there is activity in any of the two networks (public – FON_AP or priva-
te – MyPlace).
- CONSTANT. This means that there is a Fonero connected to your La Fone-
ra+. If he is an Alien he has used a FON Pass, or it could also be a Linus or a Bill.
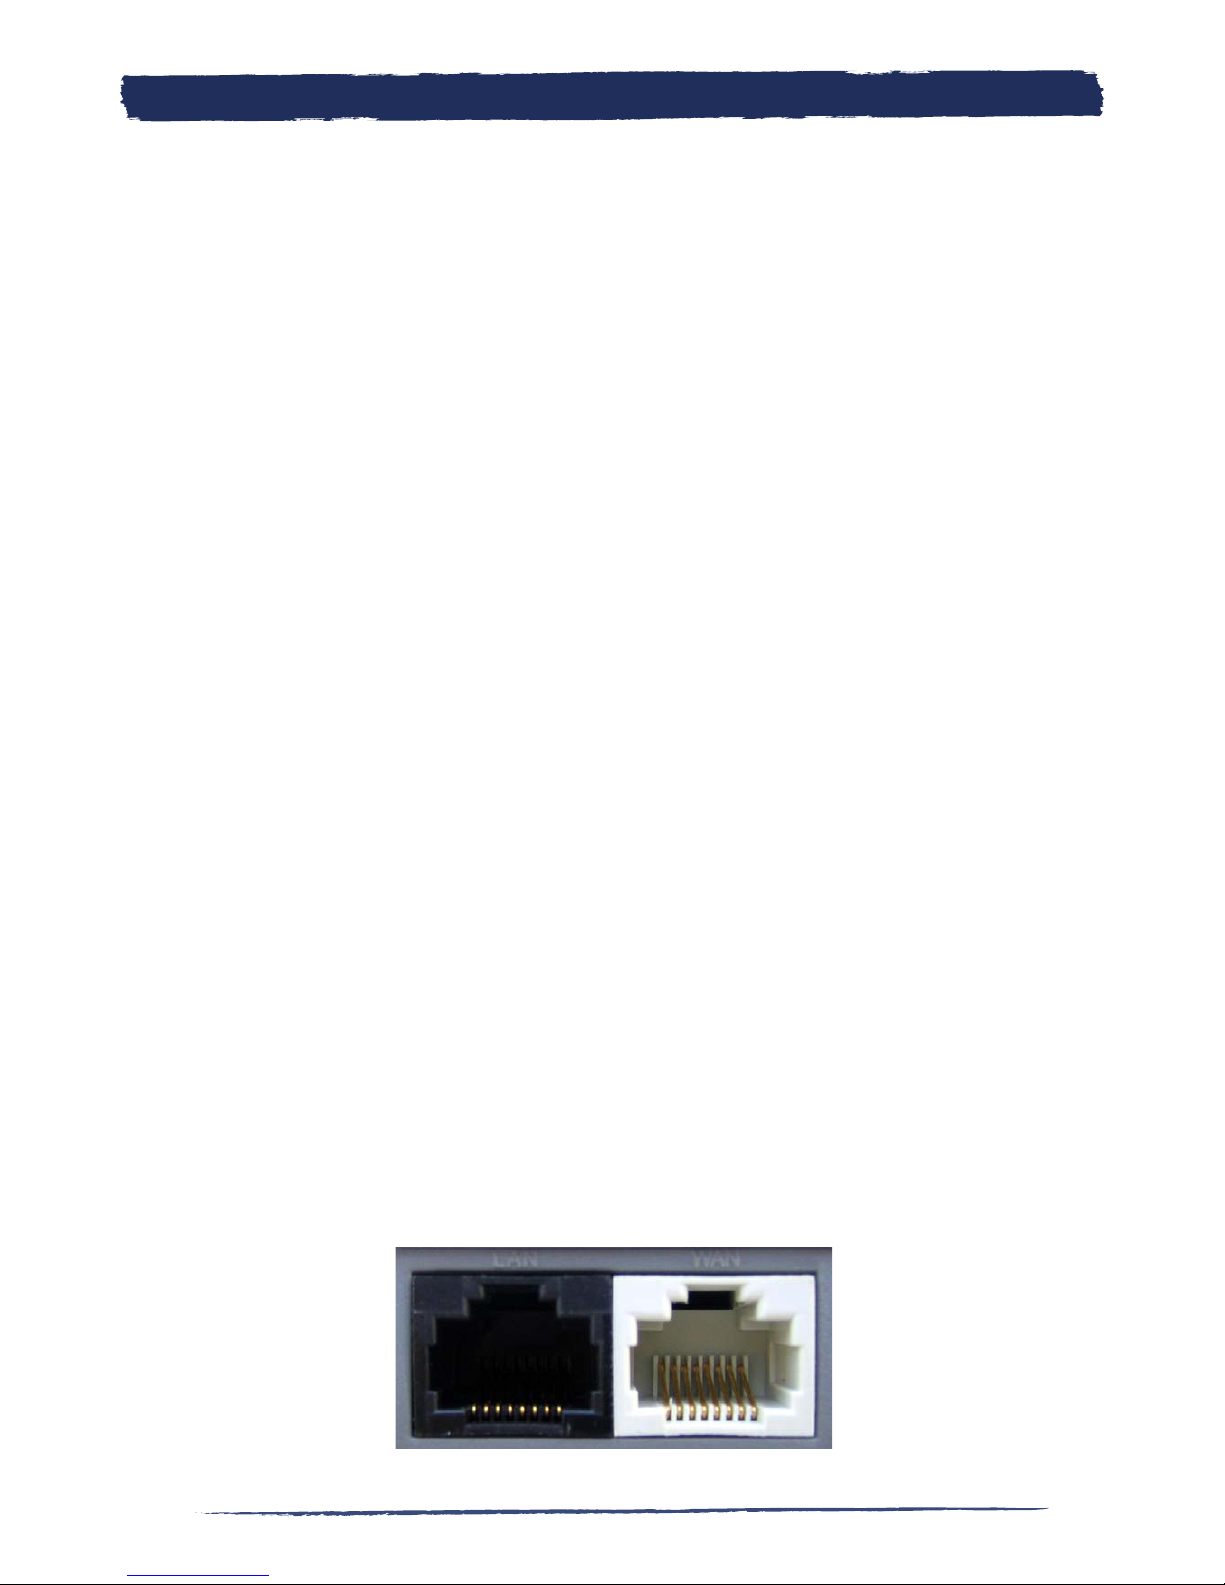
3.2.2. Ports
The La Fonera+ has two ports so that you can keep your usual wired network with
those ISP routers that only have one port. In the installation section of this Manual
you can find further information about how to connect the ports. Here we will
detail them in a more descriptive way.
What’s La Fonera
3.

15
15
WHITE port (WAN). This port is used to communicate with your ISP router and
subsequently with the Internet. You can use the network cable that comes with the
Fonera+ to perform the connection.
BLACK port (LAN). You can use this port to connect another device to your La
Fonera+. It is very important if your ISP router only has one port and you formerly
had a wired connection, as you will use it to keep your network configured the
same way it was before. If this is your case, you will need to use another network
cable (not provided), as well as if you want to connect an external wired device.
3.2.3 WiFi
WiFi is, in one word, freedom. And FON is the best way to experience that free-
dom. WiFi lets you to connect any wireless device (PC, laptop, PDA…) to each
other without having messy cables all around. It makes the idea of being able to
work on your laptop or just surf the Web from anywhere a reality, like an airport
or a coffee shop.
a) How does WiFi work?
WiFi stands for Wireless Fidelity and is used for networks which use radio tech-
nologies based on the IEEE 802.11 specifications to provide secure, reliable and
fast wireless connectivity. WiFi can be used to interconnect computers, to connect
computers or other devices to the Internet and to wired networks (those that use
Ethernet). The two most common protocols are 802.11b and 802.11g. The La Fo-
nera+ has a 54 Mbps data rate that is similar to the performance of a basic wired
network.
b) What can WiFi do for me?
With FON, you can use WiFi almost everywhere in the world. At home it allows
you to connect multiple computers to each other, to other devices and to the
Internet using a single high-speed connection. This way you can share things like
your printer or a scanner (if they’re WiFi enabled). This means that everyone in
your private network (MyPlace) can share files, photos or documents and print
them out on the printer that is connected to the desktop computer. This can be
done without messy cables all around the house. At the same time, it is totally se-
cured as those connected to the public network will not have access to your private
network.
What’s La Fonera
3.
16 17
17
c) What if I’m not at home?
Don’t worry, with FON you can find FONSpots in public places like coffee shops,
hotels, airports, parks and many other locations. Just take a look at our Maps
(maps.fon.com), and you’ll find fast and secure Internet access wherever you go.
d) Is it complicated to connect to a FON Spot?
Using a wireless device to connect to a FON Spot is easy. You just need a compa-
tible wireless device (or a card or USB connection that you can buy in our Shop
shop.fon.com) and your user name and password to connect to the FON Spot. If
you’re a Fonero, you’ll have free WiFi everywhere, and if you are an Alien (me-
aning a non member), you can connect by purchasing a an affordable FON Pass.
3.2.4 Security
a) FON provide safe WiFi
The La Fonera+ protects your connection with two secured WiFi signals:
1. One encrypted WiFi signal that is only for your own private use
2. A second one that requires authentication and is for all other registered Foneros
b) PRIVATE...MYPLACE
With your private FON signal, only you can access your computer and files. The en-
crypted signal is yours alone and YOU ARE THE ONLY ONE who has the key!
c) PUBLIC...FON_AP
With the public FON signal, only registered Foneros can access the FON Community
but cannot access your private network. ONLY FONEROS have keys that connect to this
signal! If someone doesn’t play by the rules, FON will be able to identify them through
the public FON signal.
Remember! FON is a Community of registered users. All Foneros are required to enter
their username and password to access the FON Community. NO KEYS, NO FON. The
security and protection of all Foneros is safeguarded. The La Fonera+ updates reinforce
your connection’s security! Keep your La Fonera+ online...it updates automatically!
What’s La Fonera
3.

17
17
4. Install LA FONERA+
NOTE: If you still have problems after reading the instructions provided in this
manual, you can check our Support site (fon.com/support), where you will find the
latest information.
4.1. Before getting started, check to make sure you have
* Broadband connection (DSL, cable, etc.)
* You must have a DSL Router or cable modem to use the broadband connec-
tion. USB modems can’t be used with the La Fonera+.
* To experience the most that FON has to offer, connect to the La Fonera+
with a WiFi enabled device.
If you have all the components listed above, you’re ready to begin installing the La
Fonera+’.
4.2. What’s in the box?
* A white network cable that you’ll be using to connect the La Fonera+ to
your router.
* An AC Adapter to power the La Fonera+.
* The La Fonera+ (of course), that you’ll be using to become a part of the
FON Community.
* A quick installation guide that includes the basic steps you’ll need to follow
to establish the connection.
Install La Fonera+
4.

18 19
19
4.3. Install La Fonera+
The La Fonera+’s installation is a quick and simple process. You don’t need to make
any changes to your current connection, unless you are using a single port router.
In that case your installation will have one additional step.
NOTE: You will need to take one thing into consideration: you won’t be able to use
the La Fonera+ with a USB modem/router, regardless of whether it is from a cable
or DSL provider. This is because you won’t have an Ethernet port to connect the
La Fonera+ to.
With this new La Fonera+ you have two options to perform the installation. One is
via WiFi only, and the second is via both WiFi and wired.
If your ISP router has only one Ethernet port you will have to carry out an additio-
nal step if you want to maintain your present configuration. We suppose that your
scenario fits with one in which this port is being used. If not, continue with the
normal configuration.
You must unplug the network cable which is already occupying the only port of
your router and plug this network cable into the black port (LAN) of the La Fo-
nera+. The remaining procedure is the same, as you now have one spare Ethernet
port in your router. Now the La Fonera+ will act as a bridge between your wired
device and your ISP’s router.
IF YOU ONLY HAVE 1 ETHERNET PORT IN YOUR ROUTER
Install La Fonera+
4.
19
19
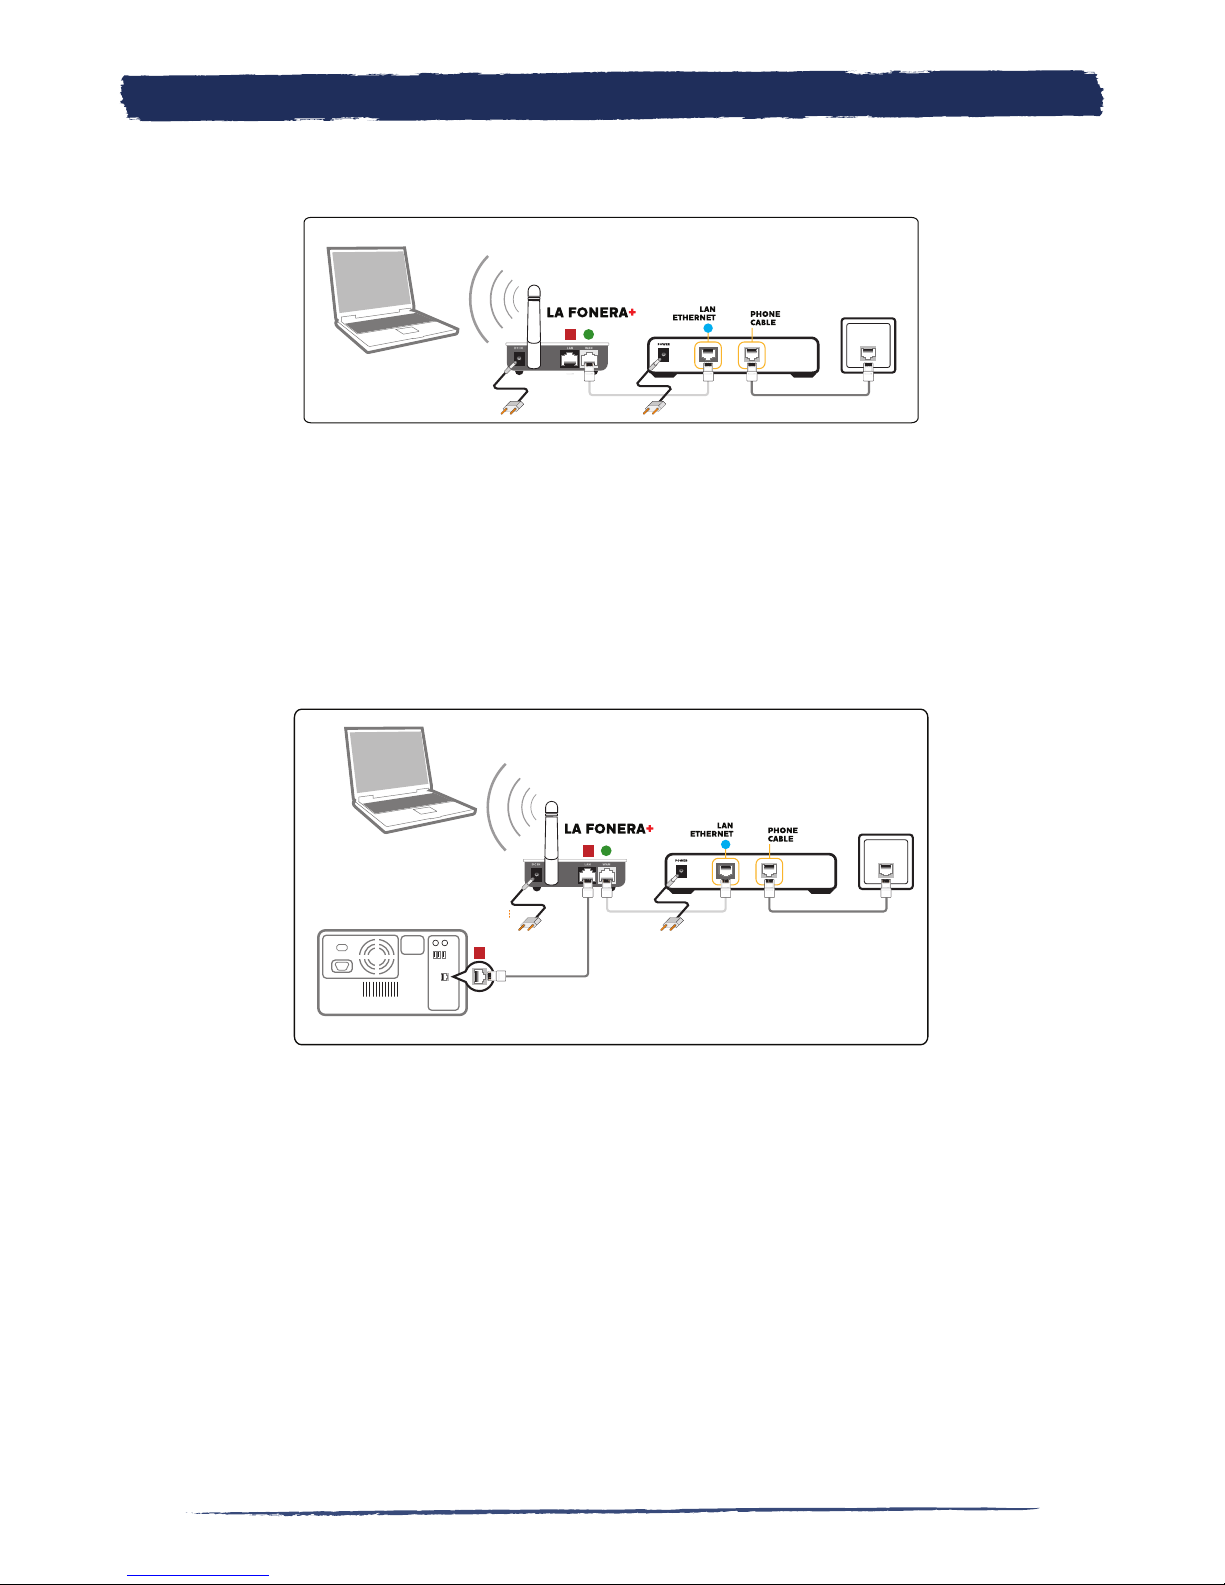
4.3.1. Only WiFi installation
4.3.2. WiFi and wired installation
a. Connect one end of the white network cable to the La Fonera+’s white port (WAN).
b. Connect the other end of the network cable to one of your ISP router’s LAN Ethernet Ports
c. Plug the AC adapter into the La Fonera+
a. Connect one end of the white network cable to the La Fonera+’s white port (WAN).
b. Connect the other end of the network cable to one of your ISP router’s LAN Ethernet Ports
c. Plug the AC adapter into the La Fonera+
d. If you want to use a wired connection or if your device is not WiFi enabled, connect your
device’s Ethernet port to the La Fonera+ black port (LAN) as shown in the picture.
Install La Fonera+
4.

20 21
21
At this point you should see two lights lit on your La Fonera+: the POWER and
INTERNET lights, as seen in the figure. If they’re not lit, check the connections,
the power outlet, etc. If you still can’t see the lights, contact us at www.fon.com/
support.
WARNING: Once you plug your La Fonera into your network, please do not dis-
connect it. The router will be immediately updated with the last version of FON
and any interruption may damage its software. For more information, please visit
www.fon.com/landing/gettingstarted
4.4. Register your La Fonera+
Now that your hardware (your router and La Fonera+) is up and running, let’s
check your computer’s configuration to establish the connection.
This procedure will vary a bit if you’re using a WiFi enabled device or if you use the
wired configuration. We’ll see both of them.
The first thing you need to do is locate the new wireless networks you should have
access to when connecting the La Fonera+. Let’s follow this step by step:
NOTE: The instructions provided in this Manual only apply to Windows XP. For
other operative systems, check the support site (www.fon.com/support).
4.4.1. WiFi configuration
The first step you need to take before connecting to the FON WiFi signal is to find
your La Fonera+’s SSIDs (the names that identify network connections), that will
allow access. Remember that the La Fonera+ will provide you with access to two
wireless networks, a public one and a private one. You will need to connect to the
public network first to register your La Fonera+. Let’s see how:
1. You have various options to locate your network.
1.1. The easiest one is locating the small computer icon you see in the figure on
the Windows task bar, next to the clock. Double click it and jump to the next step.
Install La Fonera+
4.
Table of contents
Other Fon Network Router manuals


