Forgemaster COMPANION User manual
Popular Burner manuals by other brands

baltur
baltur TBL 1000 ME Instruction manual for installation, use and maintenance

Riello
Riello Gulliver RG4D Installation, use and maintenance instructions
baltur
baltur BT 17N Instruction manual for installation, use and maintenance
Bentone
Bentone B 30 A Installation and maintenance instruction
Carlin
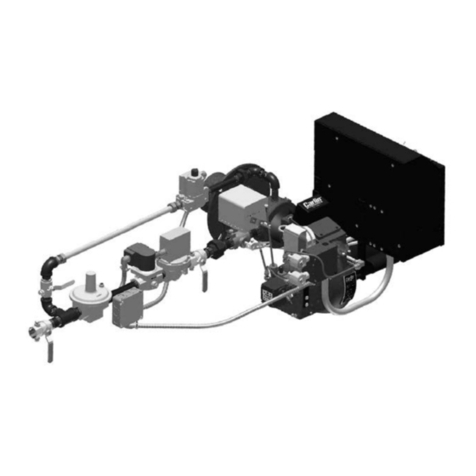
Carlin 702G/O instruction manual
Benjamin Heating products
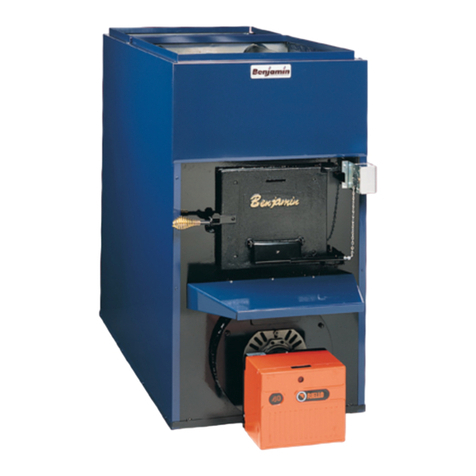
Benjamin Heating products FS140 owner's manual

Honeywell
Honeywell Ecomax Series technical information

Delta Heat
Delta Heat DHSB1D Use & care manual

Enertech
Enertech Bentone B2S Classic Installation and maintenance instruction

Pellergy
Pellergy PB-1525 Installation & operation manual
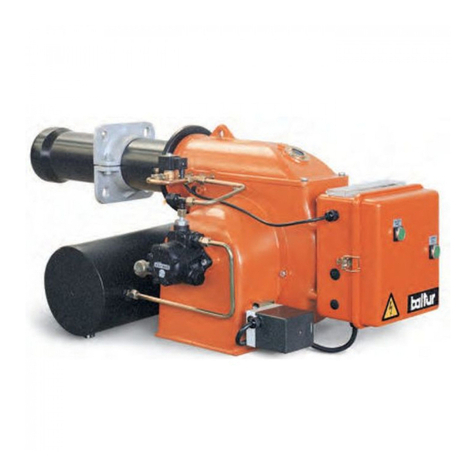
baltur
baltur BT 75 DSNM-D Instruction
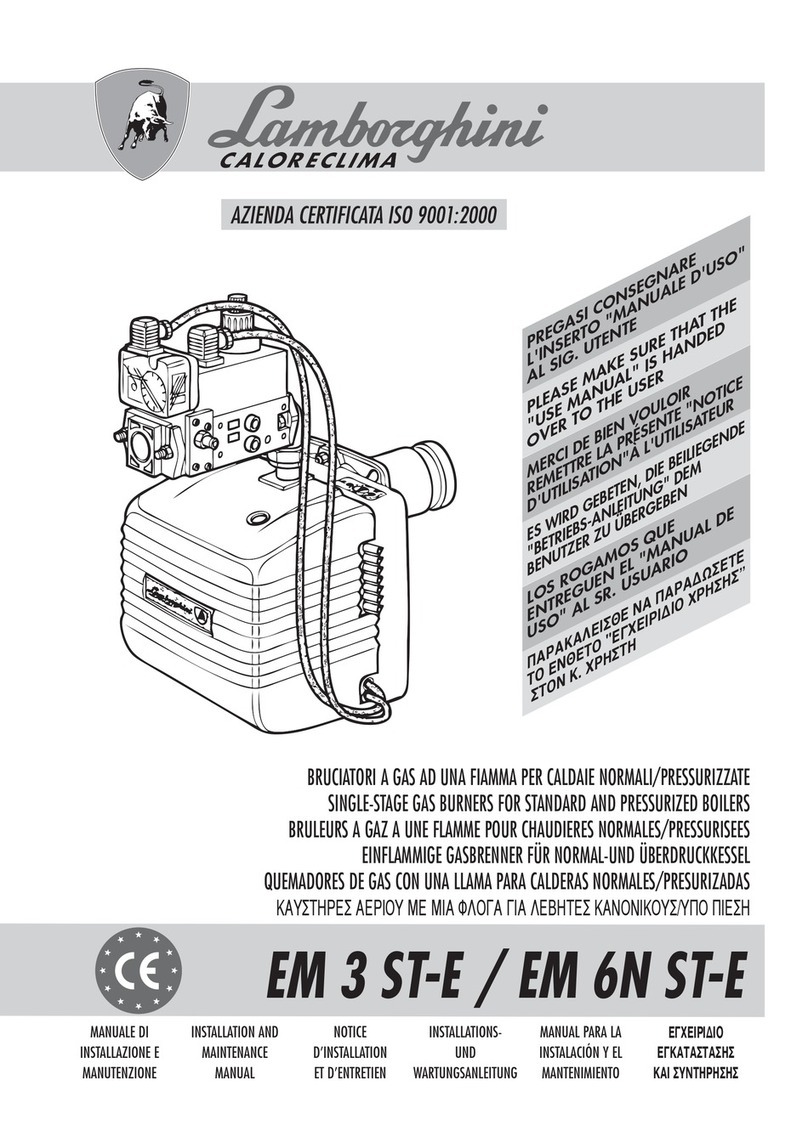
Lamborghini Caloreclima
Lamborghini Caloreclima EM 3 ST-E Installation and maintenance manual
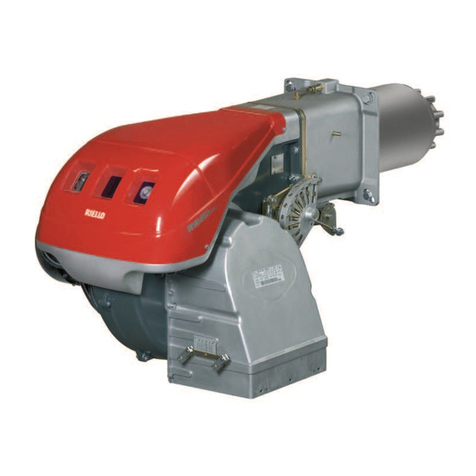
Riello
Riello RS 160/M BLU Installation, use and maintenance instructions
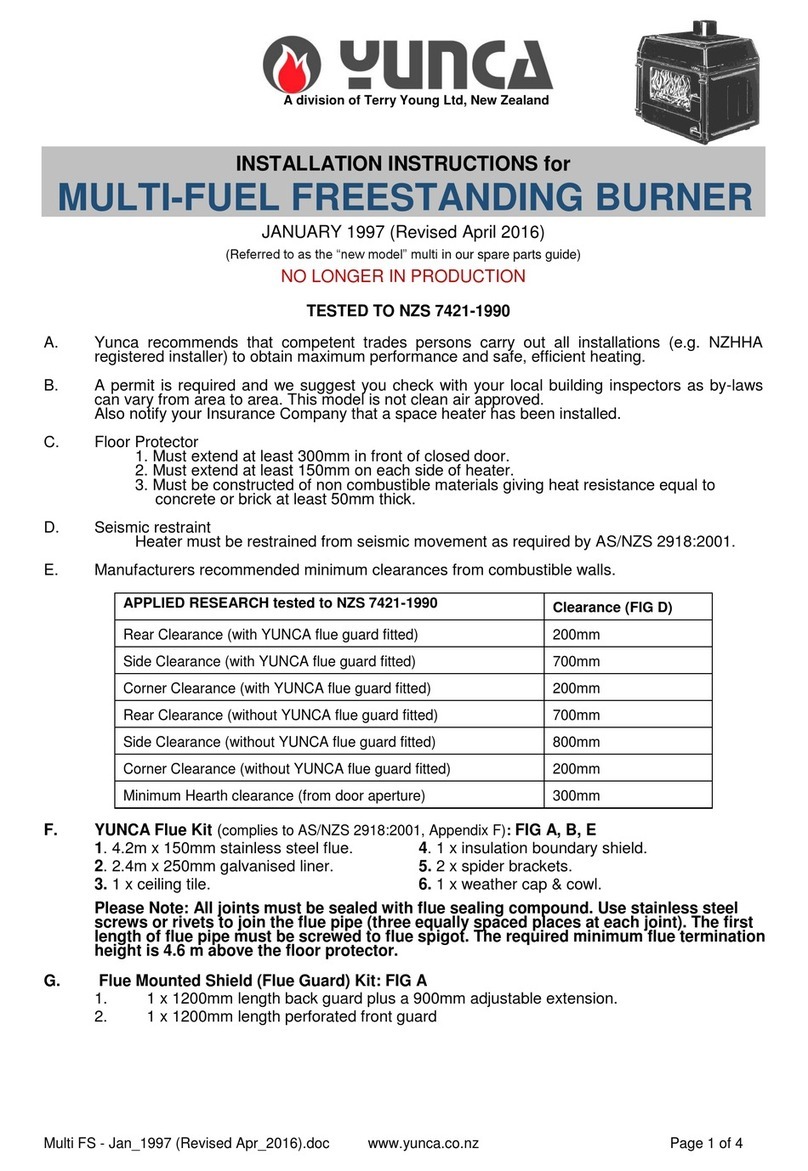
Yunca Gas
Yunca Gas NZS 7421-1990 installation instructions

Ecoflam
Ecoflam BLU 500.1 PR manual

baltur
baltur COMIST 18 instructions
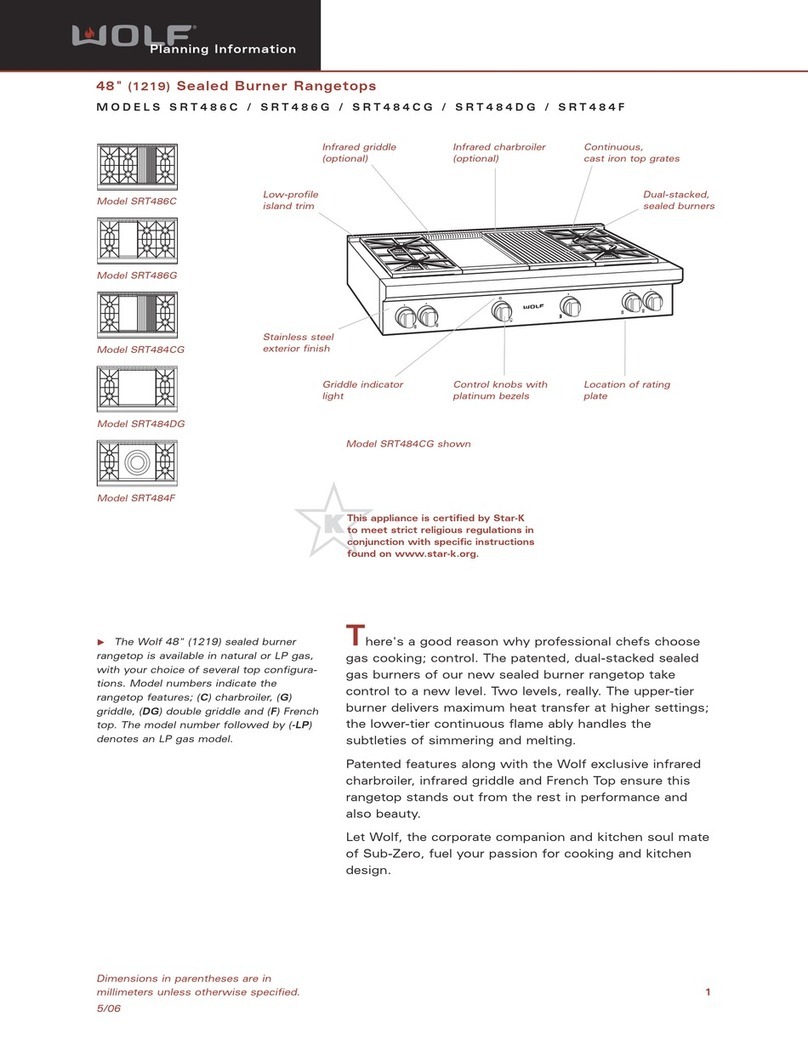
Wolf
Wolf SRT484DG Planning information
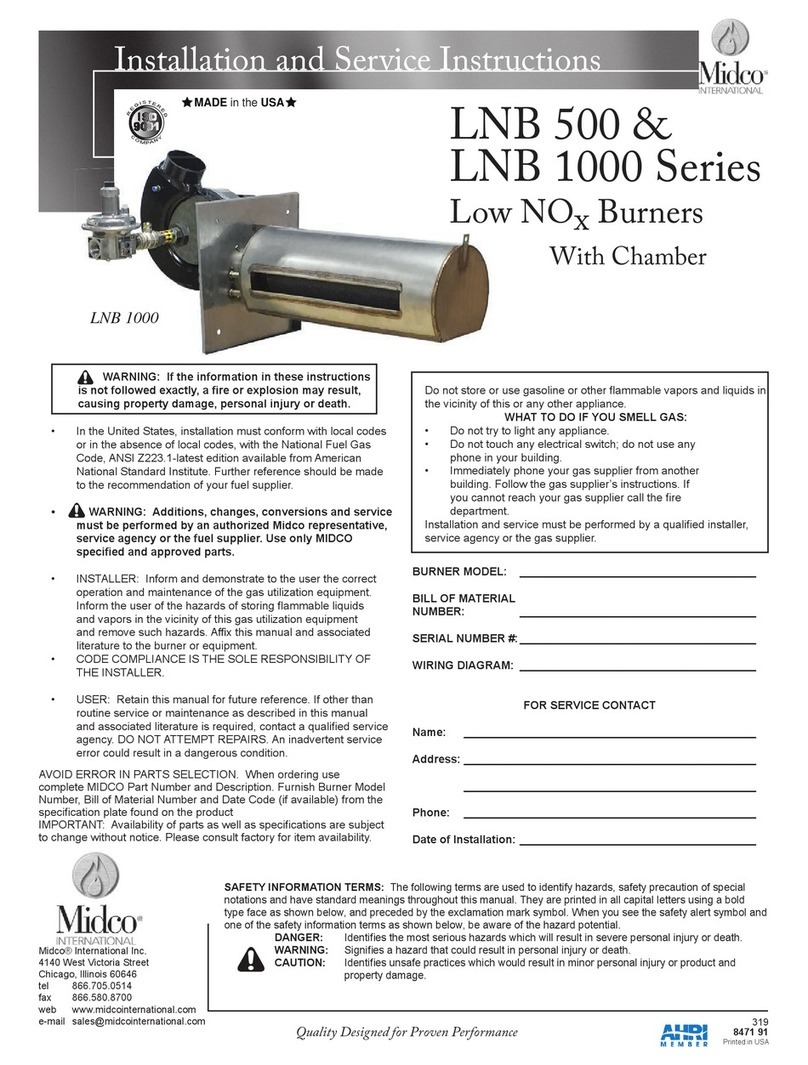
Midco
Midco LNB 500 Series Installation and service instructions

