HD 29M16 Rev0.Nov15, 2016 1 of 5
PARTS LIST
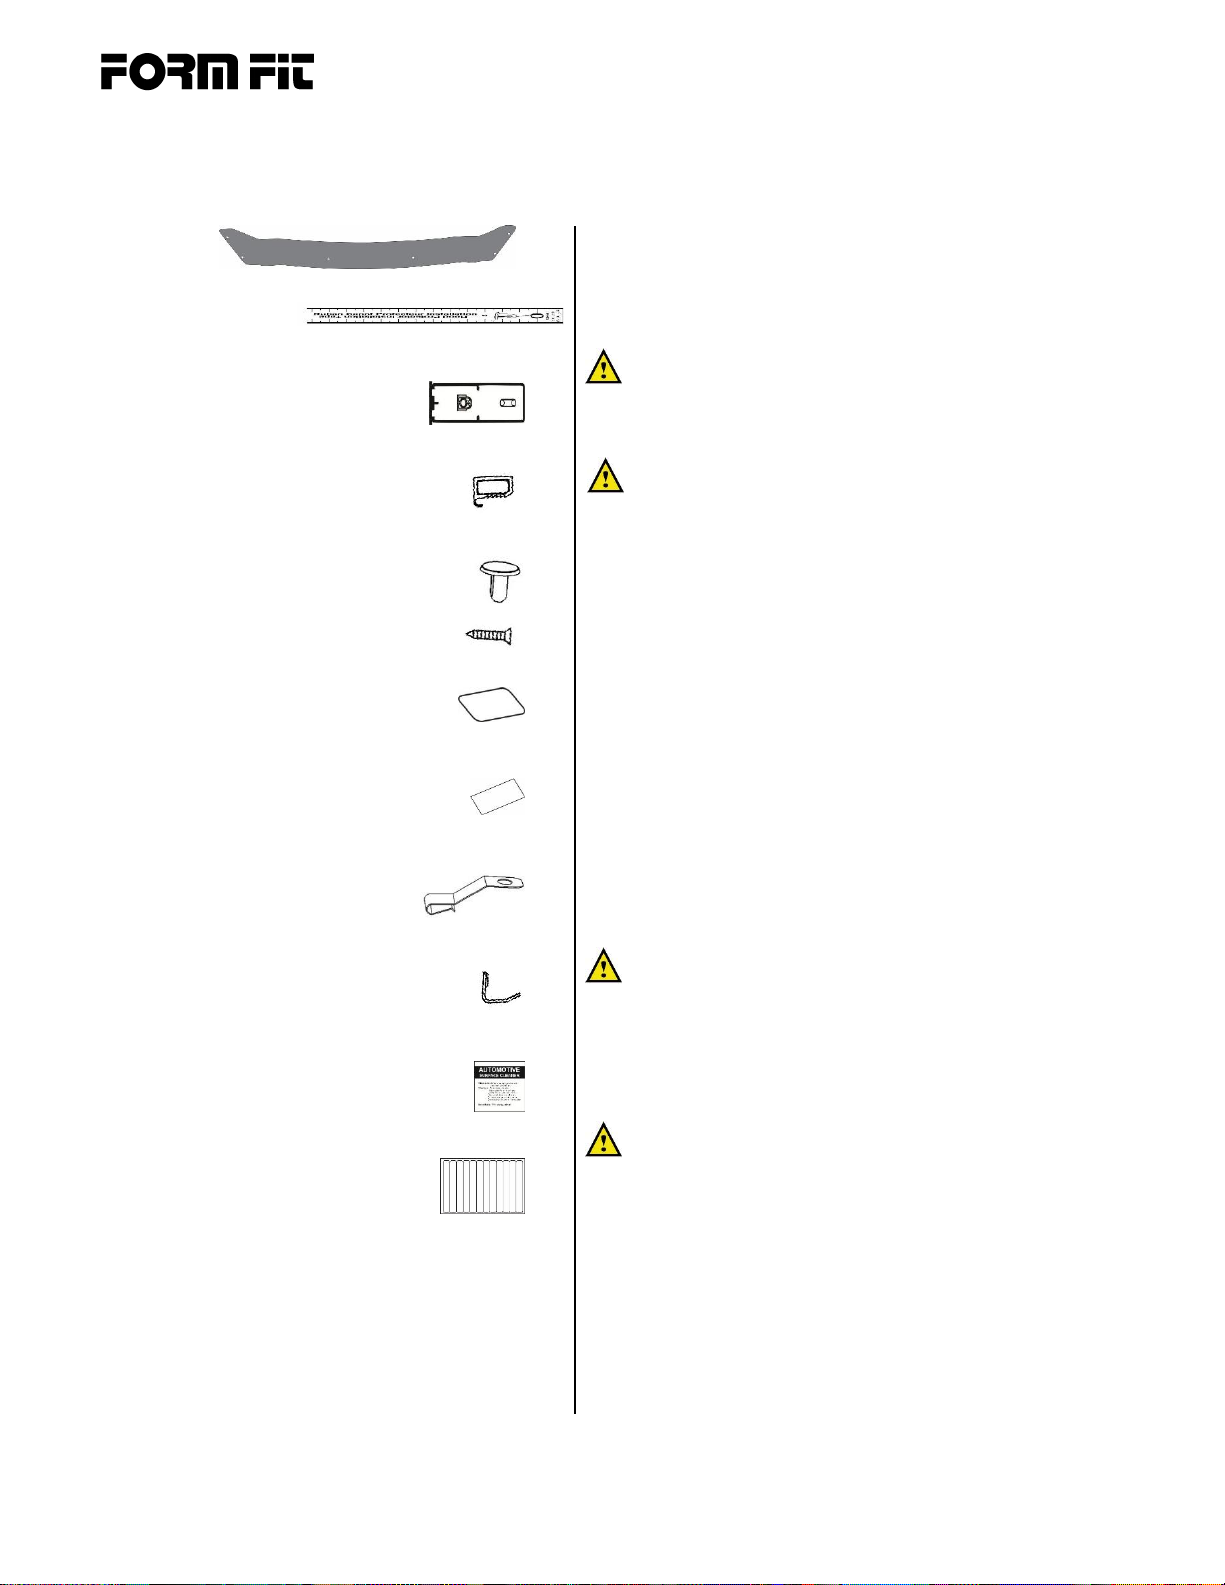
Hood protector
Protège-capot
Installation tape measure
Ruban adhésif d'installation
Adhesive pedestals (3)
Adhésifs piédestaux (3)
Clip bodies (2)
Corps de pince (2)
Pins (5)
Goupille (5)
Screws (5)
Vis (5)
Anti-abrasion pads- large (2)
Tampons anti-abrasion-grand (2)
Anti-abrasion pads- small (3)
Anti-abrasion tampons-petit (3)
Metal mounting brackets (3)
les supports de montage métal (3)
Metal “L” brackets (2)
Supports métalliques en « L » (2)
Surface cleaner (1)
Nettoyant de surface (1)
Re-useable tape strips (1)
Bandes de ruban adhésif réutilisable(1)
TOOLS AND SUPPLIES REQUIRED
OUTILS ET FOURNITURES NÉCESSAIRES
Long shank Phillips screwdriver #2
Tige longue tournevis cruciforme Phillips #2
Tape measure
Ruban à mesurer
Masking tape
Ruban adhésif de masquage
Clean cloth or paper towel
Nettoyer le chiffon ou un essuie-tout
INSTALLATION
Ensure the vehicle is clean and completely dry before
installation.
This product uses a 3M adhesive that requires installation and
curing temperatures of 15° to 43°C (60° to 110°F) for 1 hr. to
develop maximum adhesion to the hood surface. Failure to install
this product at the proper temperature or allow adequate curing
time before use is not covered under warranty.
Proper installation of the adhesive pedestal system requires
the use of a #2 Phillips screwdriver, preferably with a long
shank. The shank of the screwdriver needs to fit through the
hole in the pedestal. Use of the correct screwdriver will facilitate
a trouble free installation. Do not attempt to use #1 or smaller
Phillips screwdriver or any type of powered screwdriver.
CARE
Hand clean the protector using a mild soap and water solution
or plastic cleaner only.
Avoid automatic car-wash equipment where a brush and/or soft
cloth come in contact with the hood protector. Touch-less style
automatic car-wash equipment is less likely to harm the air
protector.
Service
Periodically check to confirm the protector is securely attached
to the hood.
WARNINGS
Do not pull/push on the protector when opening/ closing the
hood.
Assurez-vous que le véhicule est propre et bien sèche avant
l'installation.
Ce produit utilise un adhésif 3M qui nécessite l'installation et le
durcissement des températures de 15° à 43° C (60° à 110° F)
pour 1 h pour développer une adhérence maximale à la surface
de la hotte. Temps avant usage n'est pas couvert par la garantie
de durcissement échec pour installer ce produit à la bonne
température ou autoriser adéquate.
Une installation correcte du système adhésif de piédestal
nécessite l'utilisation d'un tournevis cruciforme # 2, de
préférence avec une longue tige. La tige du tournevis doit
passer à travers le trou dans le socle. L'utilisation du tournevis
correct faciliter une installation sans problème. Ne pas tenter
d'utiliser un tournevis # 1 ou petites Phillips ou tout autre type
de tournevis électrique.
SOINS
main nettoyer le protecteur à l'aide d'une solution douce de
savon et d'eau ou un nettoyant plastique uniquement. Éviter
les équipements automatiques de lavage où une brosse ou un
chiffon doux viennent en contact avec le protecteur de capot.
Équipement de lave-auto automatique touch sans style est
moins susceptible de nuire à la protection de l'air.
SERVICE
périodiquement vérifier pour confirmer le protecteur soit
solidement fixé à la hotte.
AVERTISSEMENTS
ne pas tirer/pousser sur le protecteur lors de l'ouverture /
fermeture de la capote.
Installation Instructions
Mitsubishi Mirage 2017- up


