
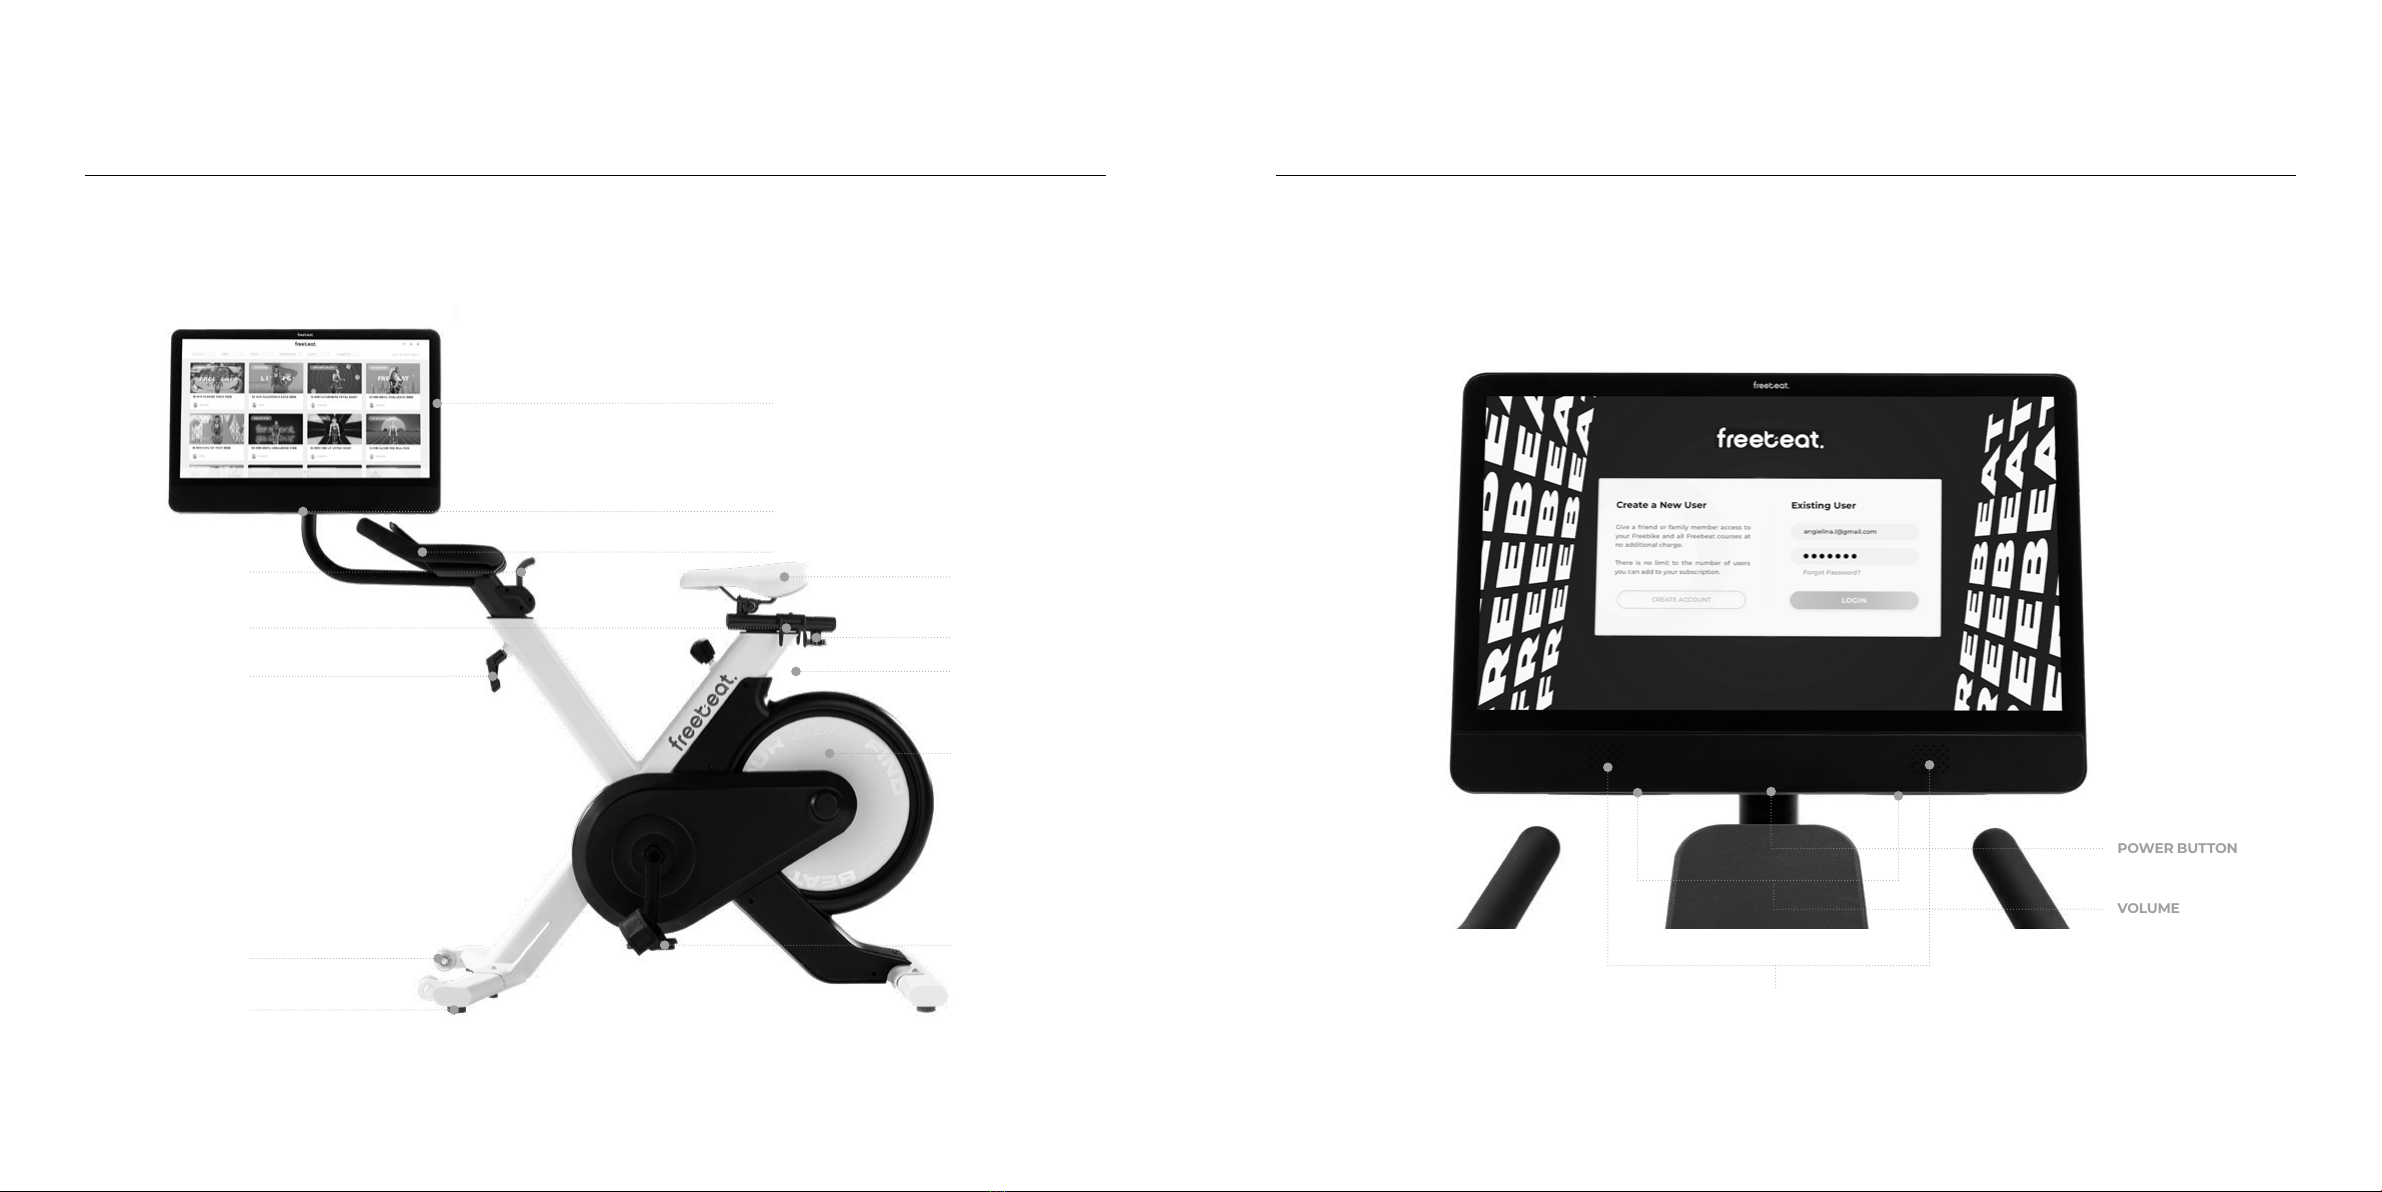
06 07
NOTICES
Before using the equipment
for exercise, check carefully to
ensure that it has been correctly
assembled.
Professional Installation
Correct Order
•Before using the equipment for
exercise, please read the manual
book carefully and familiarize all
the functions of the equipment.
•This machine is designed
for using by adults and children
should not be allowed to play
with it. Children at play behave
may occur unpredictably and
dangerous situations for which the
manufacturer cannot be held liable.
•The maximum user weight is
100 kg. It doesn’t allow two or more
person exercise on the treadmill at
the same time.
•The ywheel is designed as
bi-direction running, so it can not be
turned in a second. It needs to push
the brake button, and then turn
away.
•A slight noise of production
on the belt or motor is due to the
construction and has no negative
eects upon operation.
•Before use, always check all
screws and plug-in connections as
well as respective safety devices t
correctly.
• Do not use corrosive or abrasive
materials to clean the equipment.
Ensure that such materials are not
allowed to pollute the environment.
• The saddle and handle are
designed as step-less adjustment,
so please make sure the minimum
insert depth is 55mm and fasten up.
•To avoid injuries in case of
emergencies, always make sure that
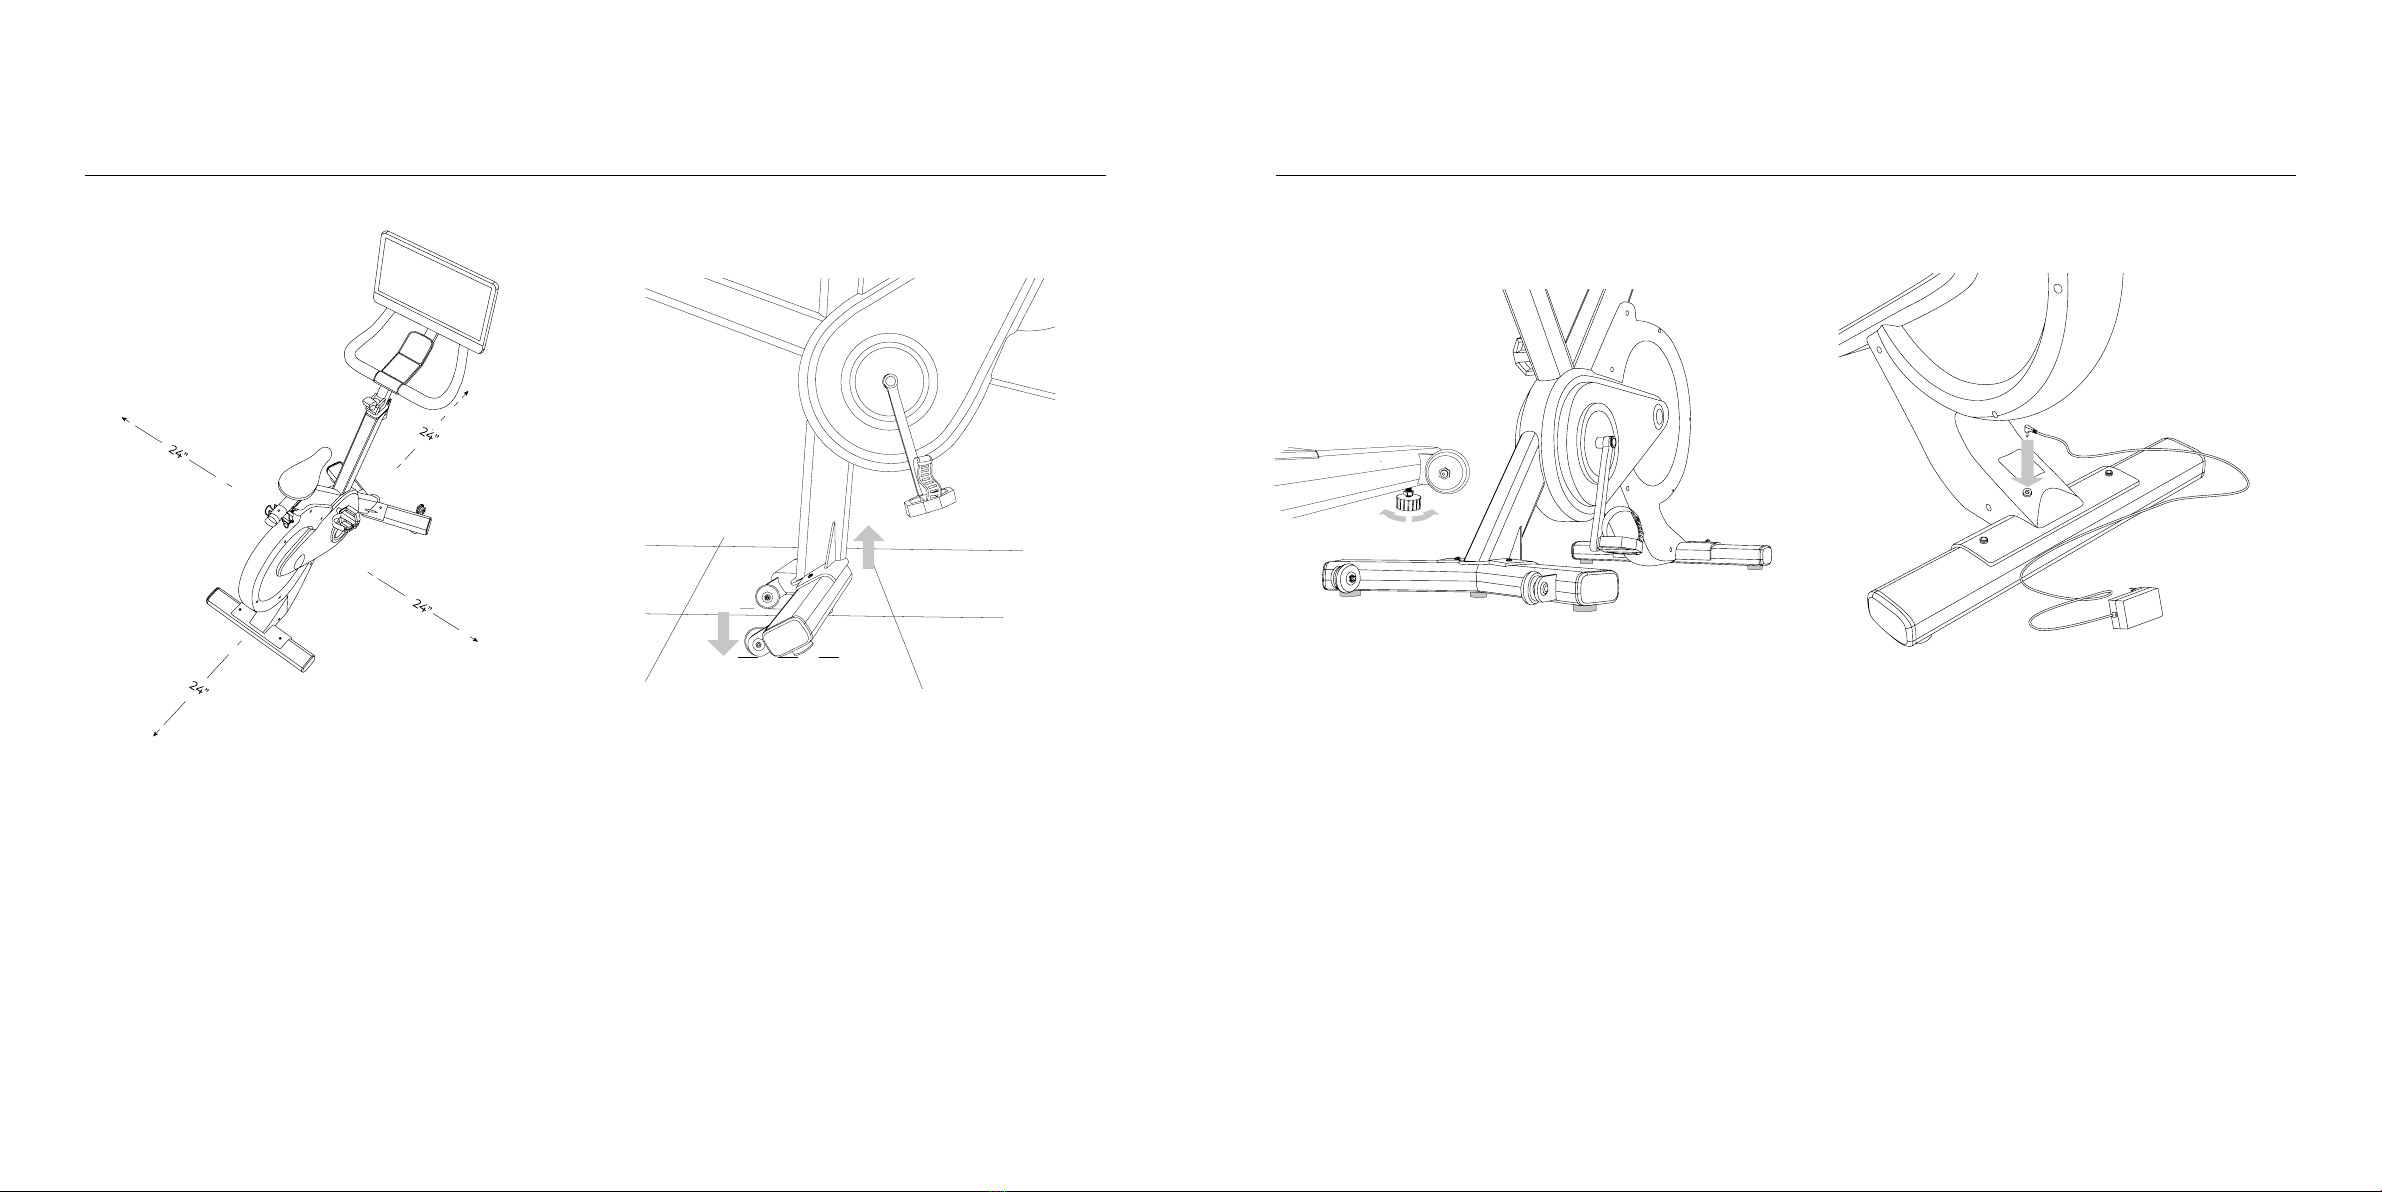
you have enough space behind your
exercise bike (min. 2000 mm x 1000
mm).
•Make certain that no other
persons are in the area of your
exercise bike, because they may be
injured.
•Always wear suitable shoes and
clothes when using the equipment.
Don’t wear loose clothes in case to
be engulfed into the exercise bike.
Barefoot; wearing high-heel shoes;
wearing shoe leather are not allowed
in exercising. In case your foot slips
from the footplate, please insert your
foot into the plate cover.
•The resistance is adjusted by
the applied force between the
brakesheet and ywheel. You can
rotate the brake button clockwise/
anti-clockwise so as to increase/
decrease the resistance.
•Packaging materials are always
handled with care to avoid all
possible hazards. Such as children
playing with plastic bags, may cause
the risk of suocation!
•The equipment must be properly
installed by an adult. If in doubt
and need help from others, look for
someone with technical skills.
•Please install the equipment
carefully and pay attention to your
safety to avoid injuries caused by
careless use of tools or manual
handling.
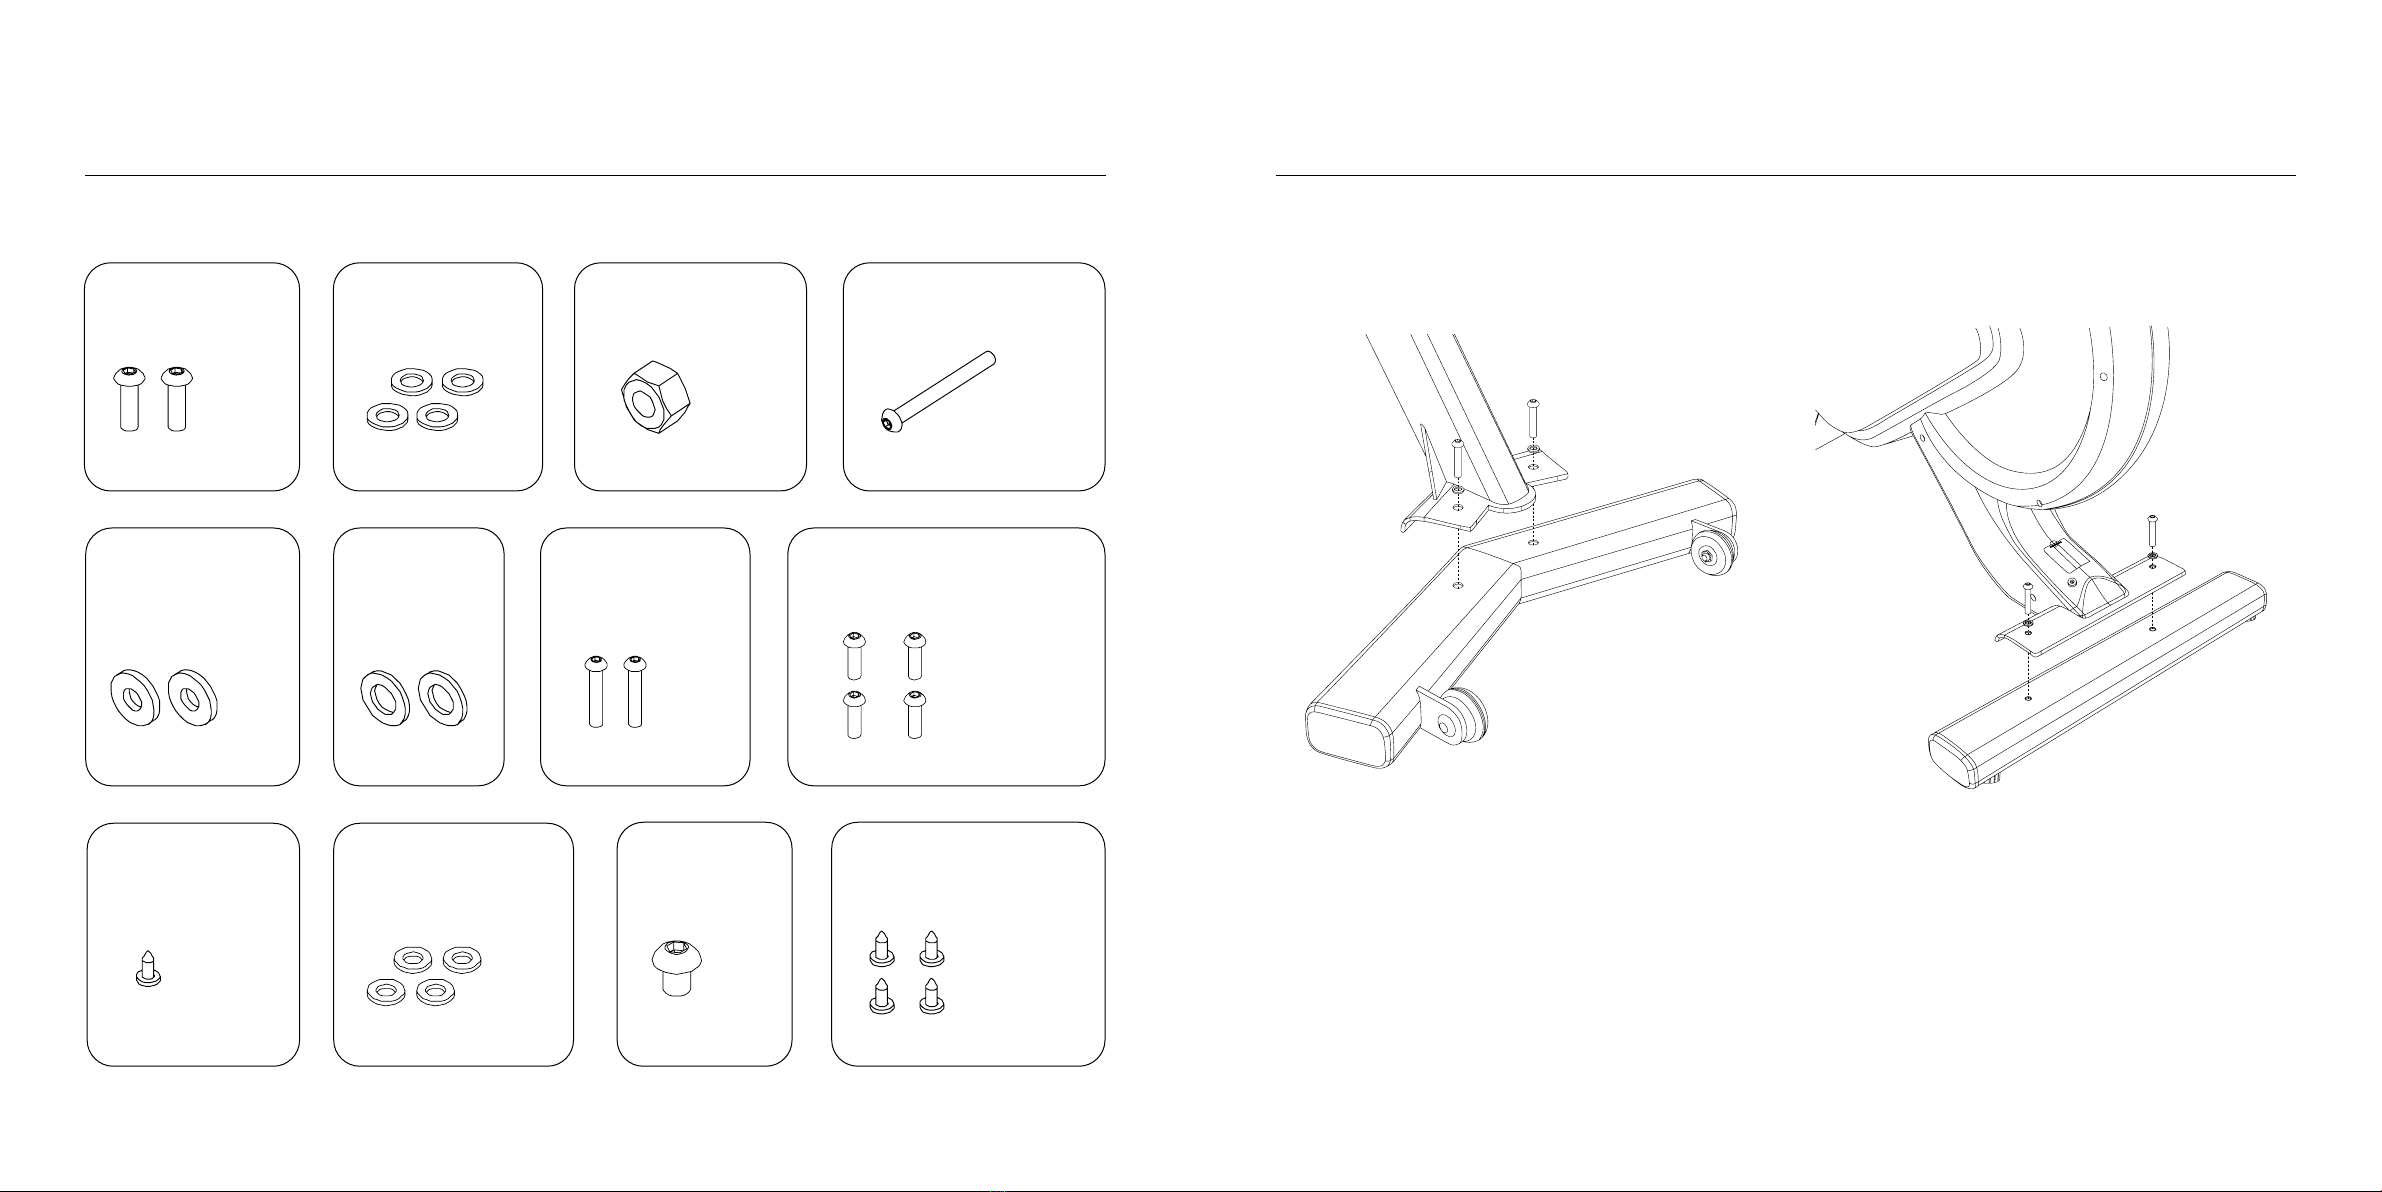
•Open all individual parts and
place them on the oor in turn.
To avoid scratch parts or your oor,
place these parts on cartons or
gaskets.
•For technical reasons, we reserve
the right to perform the preliminary
installation work.(e.g., install the
plug).
•Fix all parts with screws but do
not lock them rst. Then check
Packaging Disposal
•Please be sure to keep the
packing for the event of repairs /
warranty matters.
•At the end of the product’s
life cycle, it cannot be treated as
ordinary household waste, but
must be transported to a recycling
site. Please check with your local
municipal administration for a place
to dispose of the product.
if they are properly installed and
lock the screws completely with a
wrench. Finally check that all the
nuts are fully locked.
07


 Service manual")


