Freemindtronic VIKEY ONE NFC PRO USB2.0 User manual

QUICK START GUIDE
EVIKEY ONE NFC PRO USB2.0 & USB3.0
V2.1 | 2017/11/02
USB Key Contactless Cyber Secure
FULL COMPATIBLE |USB 1.0 / 2.0 / 3.0 / OTG
Don't forget to activate the NFC
on your smartphone and to save
this guide on your computer
before you begin the settings
ONE NFC
FRENCH TROPHY OF THE EMBEDDED SYSTEMS
“CONNECTED DEVICE” 2014
MADE IN FRANCE
INTERNATIONAL PATENTS

Thank you for having chosen EVIKEY ONE NFC,USB
key cyber secure contactless, the safe box for your
data.
EVIKEY ONE NFC integrates the latest innovations from
the invention Fullprotect® of Freemindtronic, silver
medalist in 2010 for the international invention.
EVIKEY ONE NFC is designed to ease up your
experience in your mobile data in secure safe box.
EVIKEY ONE NFC creates its own energy source to
be set without USB port connection.
Thanks to sharing your feedback and contribute to
the improvement of EVIKEY solutions.
INVISIBLE
LOCKING by EMBEDDED
SYSTEM :
C O NTAC TLESSLY
WITHO UT C O MPUTER SO FTWARE
WITHO UT BATTERY
WITHOUT DRIVERS
WITHO UT INTERNET C O NNEC TIO N
WITHO UT C O NNEC TIO N TO USB PO RT
EVIKEY THE MOBILE SAFE
BOX FOR YOUR DATA.
ONE NFC
EVIKEY USER GUIDE |Doc rev. 2,1 |Page 2

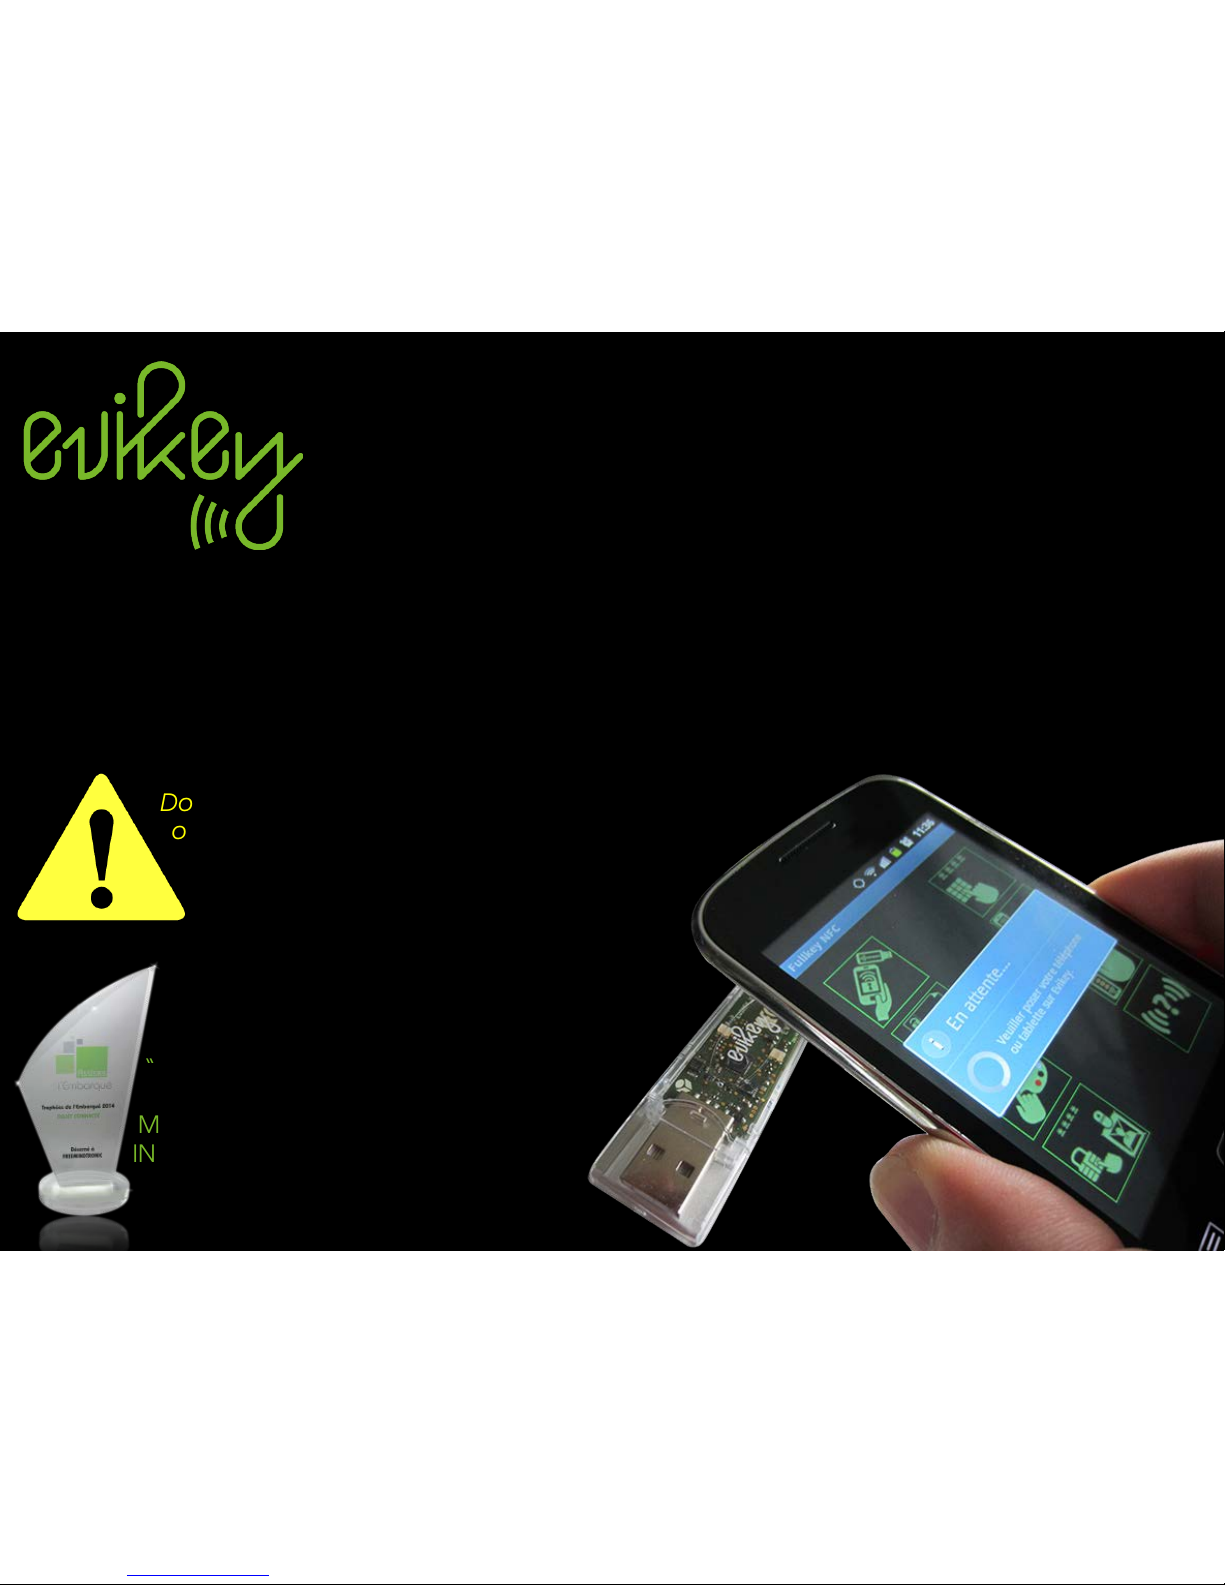
KEEP YOUR DATA SECURED
Electrical insulation of the flash memory
through embedded electronic
4 electronic security levels embedded
Administrator functions embedded
Electronic systems with hardness coating:
PCBA : waterproof, mechanical
and thermal stress-resistant
Quality and control of authenticity Evidentia
(more than 40 manufacturing checkpoints and
unique number readable through NFC) Flash memory USB 2.0 or USB 3.0
Used time embedded
NFC recovering energy
NFC memory access secured
NFC dynamic access
2 Customizable LEDs (Events notification)
Unforgeable electronic black box
Smart protections against electronic attacks
Electrical and thermal automatic multi protection (power supply and USB data)
International patents Fullprotect® and Fullsecure® smart diagnostic embedded
NFC
ONE NFC
EVIKEY USER GUIDE |Doc rev. 2,1 |Page 3

A default administrator PIN is
defined in your configuration
Remember to change it.
ORIGINALCONFIGURATION
Shipped from the factory your key is not locked.It is visible as ageneric USB
key.
To activate EVIKEY®you will be able to choose among 3ways to unlock.
These modes can be easily interchanged depending on the security level you
want to apply (see step 4).
Connect your EVIKEY ONE NFC to a powered USB port for 60 seconds for its first
initialization.
1. Download the app FULLKEY-NFC on your mobile ( See step 1)
2. Register your USB key EVIKEY ONE NFC, in app FULLKEY-NFC (See step 2)
3. The default name for your key is EVIKEY®.You can change it (See step 5)
WARNING
GETTING STARTED
ONE NFC
EVIKEY USER GUIDE |Doc rev. 2,1 |Page 4

PRINCIPLES OF USE EVIKEY ONE NFC
•FULLKEY NFC app displays a message to invite you to approach the
antenna of tablet or your smartphone nearest the USB key EVIKEY ONE
NFC.
•FULLKEY NFC, displays a message that shows you the reading via NFC is
successful or a failure. On error retry the operation until success.
•You must connect your EVIKEY ONE NFC to a powered USB port to
validate and activate your setting.
•EVIKEY ONE NFC flashes blue to indicate that amessage has been
recorded in the black box log.This message is available in read only (step
9or 14).
•To activate your new settings specified in your EVIKEY ONE NFC you must
disconnect and reconnect on the USB port.The new setting is activated.
EVIKEY USER GUIDE |Doc rev. 2,1 |Page 5
PRINCIPLE OF THE CONTACTLESSLY NFC
ONE NFC
NFC

EVIKEY USER GUIDE |Doc rev. 2,1 |Page 6
ACCESSIBLE FROM THE BUTTON "MENU" ON YOUR DEVICE *
PARAMETERS SCREEN
STEP 3
STEP 4
STEP 2
STEP 5
STEP 6
Mise en veille
STEP 7 Standby
PIN code modification
Mobile phone recording
Record Name
Unlocking mode
USB stick known
FULLKEY
(*) see next page examples of "menu" button on different smartphones

HOW TO ACCESS PARAMETERS MENU
ON YOUR DEVICE
EVIKEY USER GUIDE |Doc rev. 2,1 |Page 7
The menu button for most devices is a physical button on your phone. The icon for the menu button has a
different appearance depending on the phones. (Here in after menu button examples)
If you have Android 4.0 (also
known as Ice Cream Sandwich),
your menu button is on the screen
and look like this:
For phones without a "menu button"
press the button "application
switching":
On some Android 4.2 phones, the
menu button is in the action bar:
Some pictures of "menu" button on smartphones, tablets :

EVIKEY USER GUIDE |Doc rev. 2,1 |Page 8
NEEDED STEPS
ACTIVATE NFC
install Fullkey
(see step 1)
1
MENU
"Parameters"
List of recognized key
Add the key
(see step 2)
2
MENU
"Parameters"
PIN change
(see step 3)
3
MENU
"Parameters"
Mobile registration
(see step 6)
4
MENU
"Parameters"
Unlock mode
(see step 4)
5
MENU
"Parameters"
Name registration
(see step 5)
6
Your EVIKEY is now configured.
Discover its other functions through steps 7-15
ONE NFC
****
+
****

EVIKEY USER GUIDE |Doc rev. 2,1 |Page 9
INSTALL FULLKEY-NFC
ON YOUR MOBILE
GOOGLE PLAY 1. Connect with your tablet or mobile
phone to your Google Play account,
locate and install the FULLKEY-NFC
Application
2. Run the application by clicking on the
following icon
ONE NFC
STEP 01

EVIKEY USER GUIDE |Doc rev. 1.6 |Page 10
REGISTER YOUR EVIKEY
WITH ‘FULL KEY-NFC APPLICATION’
Procedure
1. Press the menu button on your phone or
tablet
2. Select ""Parameters""
3. Select “USB stick known"
4. Press the green button (add key)
STEP needed
before using EVIKEY
A message prompts you to place the Mobile on EVIKEY®
Place the mobile on EVIKEY®
New message « NFC reading completed » write via
NFC has succeeded
If message « NFC writing error, », appears retry operation
Your EVIKEY® is now registered in app FULLKEY-NFC
USB stick known
WARNING
ONE NFC
STEP 02

EVIKEY USER GUIDE |Doc rev. 2,1 |Page 11
CHANGING THE PIN ONLY
BY THE ADMINISTRATOR
There is only one USER PIN. The administrator can
communicate it to several people.
To create a user PIN, follow the instructions on the screen..
The administrator determines how long in seconds for the
temporary user PIN.
Follow the screen indications to create it.
At the end of period, EVIKEY®will lock at the end of
copying or transferring files.
The temporary PIN has expired. You can repeat this
process as often as necessary.
NOTE:
The default administrator
PIN
is in your manual
The Administrator PIN allow
to set and unlock EVIKEY®.
•The
user PIN
only to
unlock EVIKEY®.
•The
temporary PIN
only
to unlock EVIKEY® by one
user during a limited
period
PIN code modification
Procedure
1. Press the menu button on your phone or
tablet
2. Select "Parameters"
3. Select PIN CODE MODIFICATION
4. Enter actual Administrator PIN
5. Enter new Administrator PIN
6. Confirm the new Administrator PIN
7. Press on green button (Validate)
8. Place the mobile on EVIKEY
9. Message « NFC Writing finished »
ONE NFC
STEP 03

EVIKEY USER GUIDE |Doc rev. 2,1 |Page 12
SELECT YOUR UNLOCK MODE
FOR YOUR EVIKEY
Only the administrator
can change the unlock
mode
If you choose unlock
mode level 4, it is
imperative that your
EVIKEY® must be paired
with your mobile (step
6), otherwise it will be
impossible to unlock
EVIKEY®
If you change the
unlock mode when your
EVIKEY ONE NFC is
connected, you must
disconnect to activate
the new release mode.
Unlocking mode
You can select the unlock mode
depending on the desired security level.
•LEVEL 1 : Key is unlocked
•LEVEL 2 : Unlocking by mobile OR by PIN
•LEVEL 3 : Unlocking by PIN only
•LEVEL 4 : Unlocking by mobile AND by PIN
•
Procedure
1. Press the menu button on your phone or
tablet
2. Select "Parameters"
3. Select Unlocking Mode
4. Enter Administrator PIN,
5. Select the LEVEL and OK for validation,
6. Place mobile on EVIKEY
7. Message « NFC writing finished »
1. If error message appear retry operation
8. Connect EVIKEY to validate operation
9. EVIKEY flashing in blue when
information is registered
WARNING
ONE NFC
STEP 04

EVIKEY USER GUIDE |Doc rev. 2,1 |Page 13
ENTER THE NAME OF YOUR EVIKEY
Record name
Procedure
1. Press the menu button on your
phone or tablet
2. Select "Parameters"
3. Select « Record Name »
4. Enter the new name
5. Enter Administrator PIN
6. Press on green button (OK)
7. Message « Place your mobile or
tablet on EVIKEY »
8. Message « NFC writing finished »
1. If error message appears retry
operation
9. Connect EVIKEY to validate
operation
10. EVIKEY flashing in blue when
information is registered
ONE NFC
STEP 05

EVIKEY USER GUIDE |Doc rev. 2,1 |Page 14
PAIRING BETWEEN EVIKEY AND MOBILE
Procedure
1. Press the menu button on your
phone or tablet
2. Select « Parameters »
3. Select «mobile phone recording »,
4. Select 1, 2 or 3 to register in EVIKEY
ONE NFC the paired mobile serial
number
5. Enter the Administrator PIN
6. Press on green button (OK)
7. Message « Place you mobile or
tablet on EVIKEY »
8. Message « NFC writing finished »
9. If error message appears retry
operation
10. Connect EVIKEY to validate
operation
11. EVIKEY flashing in blue when
information is registered
Mobile phone recording
NOTE:
Pairing allows you to
unlock EVIKEY without
entering the PIN. It also
helps if the release mode is
level 4, to prohibit any
mobiles to unlock EVIKEY.
You can pair up to 3
mobiles.
ONE NFC
STEP 06

COMPATIBILITY
EVIKEY ONE NFC is compatible with all IT systems (1) using USB 1.0, 2.0, 3.0. EVIKEY
ONE NFC works with all devices (2) compatible OTG (On-The-Go) with a USB OTG
adapter not included.
The different operating systems do not need drivers to identify the flash memory
EVIKEY ONE NFC where you store your data.
In case you encounter a driver problem please let us know as soon as possible to
resolve it.
EVIKEY ONE NFC is in principle compatible with all devices(2) equipped with NFC
(3). To set parameters of your EVIKEY ONE NFC , FULLKEY application is
developed for the Android® operating system and compatible from release
2.3.3.
Google Play®automatically detects the compatibility of your device with
NFC (3) and the version of your operating system (4) Android.
SAFETY BOX AND INVISIBILITY
When EVIKEY ONE NFC is locked, multi Fullprotect®protection activate itself
automatically and the USB key is completely invisible for all electronic systems.
EVIKEY ONE NFC is an invisible safe-box for USB ports when the armored door of
access to your data is electronically locked.
You decide who, how, where, how long you authorize access to data from
EVIKEY ONE NFC by opening the "armored door" of your electronic safe-box.
NOTE:
1) IT System: Computers (PC,
MAC, industrial IT, …)
2) Devices: smartphone,
tablets, industrial devices,
3) NFC (Near Field
Communication) : allows
information exchange
between devices(2) and
EVIKEY ONE NFC®
4) Operating system (OS):
Linux®, Windows®, MAC®,
Android®, OS2®, other EVIKEY USER GUIDE |Doc rev. 2,1 |Page 15
ESSENTIAL INFORMATIONS
ONE NFC

COMFORT OF USE
EVIKEY ONE NFC in mode security default locks itself.
EVIKEY ONE NFC can be use like a standard USB key without security
There are 3modes of unlocking, changing the unlock mode is fast and
easy.
M2M(5)mode allow to unlock by NFC(3)without password.
Customize your EVIKEY®changing the Leds colors or the name.It will be
recognizable.
During the data transfer your Leds customized flashing on your EVIKEY
EVIKEY ONE NFC embeds a synchronization between the data fl o w, the
electrical energy used by the USB flash memory electronics where you
store your data and the colored LEDs that indicate the activity.
This allows you visualize in real time the end of the copy of a file. LEDs stop
flashing and remain fixed.Yo u can disconnect your key safely.
EVIKEY USER GUIDE |Doc rev. 2,1 |Page 16
ESSENTIAL INFORMATIONS
NOTE:
1. IT System: Computers (PC,
MAC, industrial IT, …)
2. Devices: smartphone,
tablets, industrial devices,
3. NFC (Near Field
Communication) : allows
information exchange
between devices(2) and
EVIKEY ONE NFC®
4. Operating system (OS):
Linux®, Windows®, MAC®,
Android®, OS2®, other
5. M2M: Machine to machine,
Devices(2) paired to
EVIKEY® are used without
password to unlock
ONE NFC

MECHANICAL COMFORT
It is possible that the key protection cap is a little hard to remove the first few
times, it's normal.
NFC antennas in these devices (2) do not have the same power and are not
located in one place. It is important that you can identify where the NFC
antenna is located in your device
This will facilitate the use of your EVIKEY ONE NFC daily and limits the risk of
communication error with your EVIKEY ONE NFC.
EVIKEY ONE NFC is autonomous in electrical energy, without abattery.It creates
its own energy by EH (6)devices (2).You can set your EVIKEY ONE NFC directly
without connecting to apowered USB port. However, to make your active
"Parameters" you must connect to a powered USB port.
SECURED COMFORT
EVIKEY ONE NFC settings are achievable only through NFC(3).There is no
software to install on the computer systems (1).
EVIKEY ONE NFC has an admin mode and user mode.Only the administrator
can access to the EVIKEY ONE NFC configuration.You must change the
default PIN (7)with your personal PIN (See Step 3).
You can allow a user access to your EVIKEY® permanently or temporarily (step 3)
EVIKEY USER GUIDE |Doc rev. 2,1 |Page 17
ESSENTIAL INFORMATIONS
NOTE
:
1) IT System: Computers (PC,
MAC, industrial IT, …)
2) Devices: smartphone,
tablets, industrial devices,
3) NFC (Near Field
Communication) : allows
information exchange
between devices(2) and
EVIKEY ONE NFC®
4) Operating system (OS):
Linux®, Windows®, MAC®,
Android®, OS2®, other
5) M2M: Machine to machine,
Devices(2) paired to
EVIKEY® are used without
password to unlock
6) EH (Energy Harvesting)
energy generator by NFC
signal
7) Default PIN Administrator
present in user manual
ONE NFC

GROUNDBREAKING WARRANTY
The manufacturer's warranty of EVIKEY ONE NFC products is based on the
usage time and not on the date of purchase.
•The electronics warranty is 5 years under power,
•The electronics warranty on the USB flash memory system is 9000 hours for the
4GB versions.
The black box ensures traceability and the warranty counting.It is available by
clicking on the button (step 14)
ANTI INFRINGEMENT & EMBEDDED QUALITY
CONTROL
All EVIKEY ONE NFC products have unique electronic numbers controlled by the
sealed black box fullprotect®easily accessible via NFC.An intelligent device
identifies automatically if your EVIKEY ONE NFC is not acounterfeit.The
FULLKEY-NFC application does not work with acounterfeit..
EVIKEY®has a complex system of damage to the fullprotect®electronics and
environmental integrity.The EVIKEY®electronics are tested and checked
individually. The results are plotted and associated with serial numbers.Any
change to the electronics EVIKEY®detected non-compliant fullprotect®
definitively lock EVIKEY ONE NFC.
An error message will be available through NFC by clicking on the icon (step
9).
ONE NFC
EVIKEY USER GUIDE |Doc rev. 2,1|Page 18
ESSENTIAL INFORMATIONS

Status LED1 LED2 NOTES
Locked Red OFF Alternance LED1 et LED2
Activity on memory
flash Green* Green* Flashing LED1 et LED2
Unlock Green* Green* Simultaneous LED1 et LED2
USB activity Green* Green* Simultaneous LED1 et LED2
Lock by waiver PIN Red Green Alternance LED1 et LED2
Temporary lock Green Blue Alternance LED1 et LED2
Definitive lock Red Blue Alternance LED1 et LED2
Too warm (158°F) Red Orange Alternance LED1 et LED2
Too cold (32°F) Blue Cyan Alternance LED1 et LED2
Black box message Blue Blue Flashing LED1 et LED2
Hardware error White White Fast flashing simultaneous
LED1 et LED2
SOS White White Morse code, simultaneous
LED1 et LED2
(*) The default color is green,
it can be changed by the
administrator (see step 11).
EVIKEY USER GUIDE |Doc rev. 2,1|Page 19
LIGHT CODES
ONE NFC

EVIKEY USER GUIDE |Doc rev. 2,1|Page 20
FULLKEY HOME PAGE
STEP 12
STEP 8
STEP 7
STEP 11
STEP 14
STEP 10
STEP 9
STEP 13
STEP 7:
Unlock by mobile
STEP 8 :
Unlock by PIN
code
STEP 9:
Unlock history
STEP 11:
Change Leds color
STEP 13:
EVIKEY Definitive lock
STEP 10:
Events history
STEP 12:
SOS Mode
STEP 14:
EVIKEY
Information
ONE NFC
This manual suits for next models
1
Table of contents
Popular Storage manuals by other brands

Sonnet
Sonnet FUSION FIBRE-FOR-4 User's quick start guide

Keter
Keter 150 US GAL 570L user manual

M-Systems Flash Disk Pioneers
M-Systems Flash Disk Pioneers FFD 3.5" Ultra320 SCSI user manual

ASUSTOR
ASUSTOR AS64 Series installation guide

Apricorn
Apricorn Aegis Secure Key 3NXC quick start guide

Synology
Synology DX513 user guide