manuals.online logo
Brands
  1. Home
  2. •
  3. Brands
  4. •
  5. Fricosmos
  6. •
  7. Outdoor Fountain
  8. •
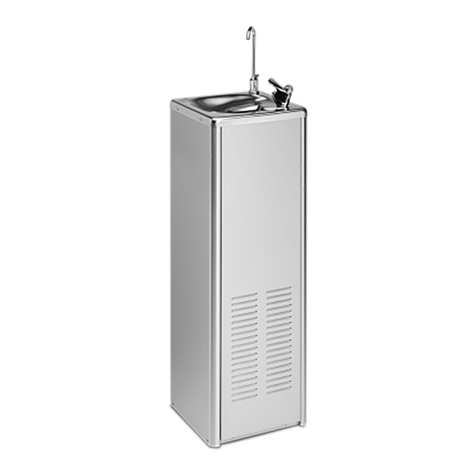
  9. Fricosmos 064206 User manual

Fricosmos 064206 User manual

Fuente de agua de columna
Column fountain
Fontaine d´eau de colonne
Trinkbrunnen typ “Standsäule”
Ref: 064206
Fricosmos, S.A.
Polígono industrial nº 1, C/ C, 16-18
28938 Móstoles (Madrid) - España
Tel. (+34) 902 304 420
Fax. (+34) 902 636 683
www.fricosmos.com [email protected] Skype user: fricosmos
Reg. San. 39.2737/M
COMPONENTES Y REPUESTOS - COMPONENTS AND PARTS
COMPOSANTS ET PIÈCES - KOMPONENTEN UND TEILE
2 X 409822
464252464250 454202 2 X 421240
El equipo tiene garantía de dos años El mal uso del equipo elimina la garantía.
This device has two years of warranty. An improper use void the warranty of the unit.
L’appareil a deux années de garantie. Une mauvaise utilisation du destructeur annulera la garantie.
Das Gerät ist für zwei Jahre garantiert. Missbrauch von Geräten entfällt die Garantie.
GARANTÍA - WARRANTY - GARANTIE - GARANTIE
• Use sólo agua y jabón neutro en la limpieza.
• Frote con un paño suave.
• Enjuague con abundante agua.
• Seque con un paño suave.
• No emplee ácidos o detergentes agresivos, ni raspe con estropajos, espátulas, cuchillas u objetos cortantes o
punzantes.
MANTENIMIENTO - MAINTENANCE - ENTRETIEN - REINIGUNG
• Use only mild soap and water to clean.
• Wipe with a soft cloth.
• Rinse with water.
• Dry with a soft cloth.
• Do not use acids or harsh detergents or scrub with scouring pads, spatulas, knives or sharp objects.
• Utilisez un savon doux et de l’eau pour nettoyer.
• Essuyez avec un chiffon doux.
• Rincer à l’eau.
• Sécher avec un chiffon doux.
• Ne pas utiliser de produits acides ou des détergents agressifs ou frotter avec un tampon à récurer, spatules,
couteaux ou des objets pointus.
• Verwenden Sie nur milde Seife und Wasser zu reinigen.
• mit einem weichen Tuch abwischen.
• Spülen mit Wasser.
• Trocknen mit einem weichen Tuch.
• Verwenden Sie keine Säuren oder scharfen Reinigungsmitteln oder schrubben mit Scheuerschwämme, Spa-
chtel, Messer oder scharfen Gegenständen.
MONTAJE
Verifique el contenido.
Evite la suciedad en tuberías y el entorno antes de instalar. Si la instalación de fontanería es nueva,
dejar correr el agua. Utilice teflón para sellar las conexiones.
Seleccione el lugar ideal para la colocación de la fuente.
Marque en la pared la posición de los taladros de fijación a la altura de la encimera desea-
da menos 21mm (ejemplo: para 850mm hacer taladros a 829mm).
Taladre la pared y coloque los tacos y las alcayatas.
Fije los grifos introduciéndolos por los orificios de la encimera con las tuercas correspon-
dientes.
Instale la válvula de desagüe y rebosadero en los taladros correspondientes de la fuente.
Cuelgue la fuente en las alcayatas apoyándola en el suelo.
Conecte las tomas de entrada de agua a los grifos.
Conecte la válvula de desagüe a la salida de aguas de la instalación.
Abra las llaves de paso de la instalación.
Lea las instrucciones antes de conectar el equipo y consérvelas en un lugar seguro para su
consulta.
Read the instructions before connecting the device and store them in a safe place for refe-
rence.
Lisez ces instructions avant de brancher le destructeur et conservez-les dans un endroit sûr
pour sa consultation.
Lesen Sie die Anweisungen, bevor Sie das Gerät benutzen und halten Sie sie an einem siche-
ren Ort als Referenz aufbewahrt.
Para abrir el agua presione el pulsador del grifo correspondiente.
Al soltar cortará el suinistro de agua.
MANEJO
INSTALATION
Check the contents.
Avoid dirt in pipes and in the area before assembly. If the plumbing is new, let the water flow.
Use tefflon to seal connexions.
Select the ideal location for the placement of the source.
Mark on the wall the position of the mounting holes to the desired height of the worktop
least 21mm (example: height 850mm to 829mm-boring).
Drill out the holes onto the wall and insert the plugs and the bend-screws.
Set by introducing taps countertop holes with nuts.
Install the drain valve and overflow into the corresponding holes in the source.
Hang the fountain from the bend-screws and stand it on the floor
Connect the water inlet to the taps.
Connect the drain valve on the water outlet installation.
Open the stopcocks installation.
To open the water tap press the corresponding button.
Releasing suinistro cut the water.
USE
INSTALLATION
Vérifiez le contenu.
Évitez la saleté dans les tuyaux et l’environnement avant d’installer. Si l’installation de plomberie
est neuve, laisser couler l’eau. Utilisez du teflon pour sceller les connexions.
Sélectionnez l’emplacement idéal pour le placement de la source.
Marque sur le mur la position des trous de montage à la hauteur désirée du 21mm au plan
de travail (exemple: hauteur 850 mm à 829mm de forage).
Percez le mur et insérez les chevilles et les pitons.
Installer la soupape de vidange et de trop-plein dans les trous correspondants dans la
source.
Ancré au mur avec des vis source d’accompagnement.
Posez la fontaine sur le sol et accrochez la fontaine sur les pitons.
Connectez l’arrivée d’eau au robinet.
Raccordez le robinet de vidange de l’installation de sortie d’eau.
Ouvrez les robinets de l’installation.
Pour ouvrir le robinet d’eau appuyez sur le bouton correspondant.
Libérer suinistro coupé l’eau.
UTILISATION
AUFSTELLUNG
Überprüfen Sie den Inhalt.
Vermeiden Sie Schmutz in den Rohren und des Umfeldes vor der Installation. Wenn die Wasserlei-
tungen neu ist, lassen Sie das Wasser laufen. Benutzen Sie für die Versiegelung der Verbindungen
Teflon.
Wählen Sie den idealen Standort für die Platzierung des Trinkbrunnens.
Markieren Sie an der Wand die Position der Montagelöcher in der gewünschten Höhe
mindestens 21mm (Beispiel: 850mm bis 829mm-langweilig).
Bohren Sie die Löcher in die Wand und bringen Sie die Dübel und Haken an.
Befestigen Sie die Armaturen mit den Schrauben in den dafür vorgesehen Bohrungen.
Befestigen Sie das Ablaufventil und den Überlauf an den vorgesehenen Bohrungen des
Trinkbrunnens.
Hängen Sie den Trinkbrunnen an die Halterungerungen in der Wand fest.
Verbinden Sie den Wassereinlauf mit der Armatur.
Verbinden Sie das Abwasserventil mit dem Wasserablauf.
Öffnen Sie den Haupthahn.
Zum Öffnen des Wasserkreislaufs betätigen Sie die vorgesehenen Druckknöpfe. Wenn Sie
die Druckknöpfe los lassen, wird der Wasserkreislauf unterbrochen.
BETRIEB

Other Fricosmos Outdoor Fountain manuals

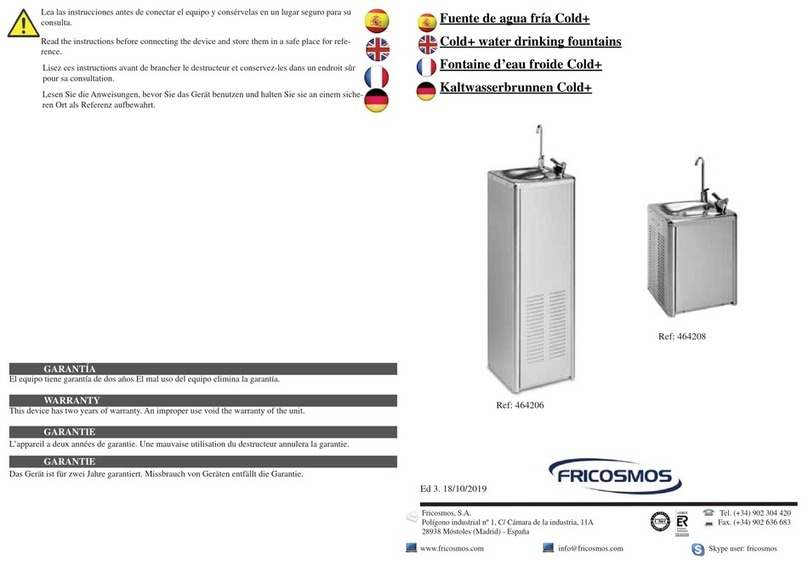
Fricosmos Cold+ User manual

Fricosmos

Fricosmos Cold+ User manual

Fricosmos 464206 User manual

Fricosmos

Fricosmos 464206 User manual

Popular Outdoor Fountain manuals by other brands

Garden Treasures F31200EA quick guide

Garden Treasures

Garden Treasures F31200EA quick guide

Air Wolf T Series manual

Air Wolf

Air Wolf T Series manual

Aqua Cooler VERSAFILLER Series Usage and Care Manual

Aqua Cooler

Aqua Cooler VERSAFILLER Series Usage and Care Manual

Angelo Decor AD97741 quick start guide

Angelo Decor

Angelo Decor AD97741 quick start guide

Alpine TIZ194BZ owner's manual

Alpine

Alpine TIZ194BZ owner's manual

Campania International Rosette M Series Assembly instructions

Campania International

Campania International Rosette M Series Assembly instructions

Sunnydaze Decor SSS-633 manual

Sunnydaze Decor

Sunnydaze Decor SSS-633 manual

HoMedics enviraScape ARTESIAN GLOBE WFL-ART Instruction manual and  warranty information

HoMedics

HoMedics enviraScape ARTESIAN GLOBE WFL-ART Instruction manual and warranty information

Blumfeldt Blumquell manual

Blumfeldt

Blumfeldt Blumquell manual

Messner Versailles VA operating instructions

Messner

Messner Versailles VA operating instructions

Fountain Medici Ellipse manual

Fountain

Fountain Medici Ellipse manual

Murdock A181CUSP Series Installation and maintenance  instruction

Murdock

Murdock A181CUSP Series Installation and maintenance instruction

Britex DSR installation guide

Britex

Britex DSR installation guide

Oase UST 150 operating instructions

Oase

Oase UST 150 operating instructions

Sunnydaze Decor SSS-688 quick start guide

Sunnydaze Decor

Sunnydaze Decor SSS-688 quick start guide

Haws 3300FR Installation, operation & maintenance instructions

Haws

Haws 3300FR Installation, operation & maintenance instructions

Bradley Terreon Multi-Fount Series installation instructions

Bradley

Bradley Terreon Multi-Fount Series installation instructions

Bermuda BER6026 instructions

Bermuda

Bermuda BER6026 instructions

manuals.online logo
manuals.online logoBrands
  • About & Mission
  • Contact us
  • Privacy Policy
  • Terms and Conditions

Copyright 2025 Manuals.Online. All Rights Reserved.